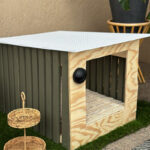
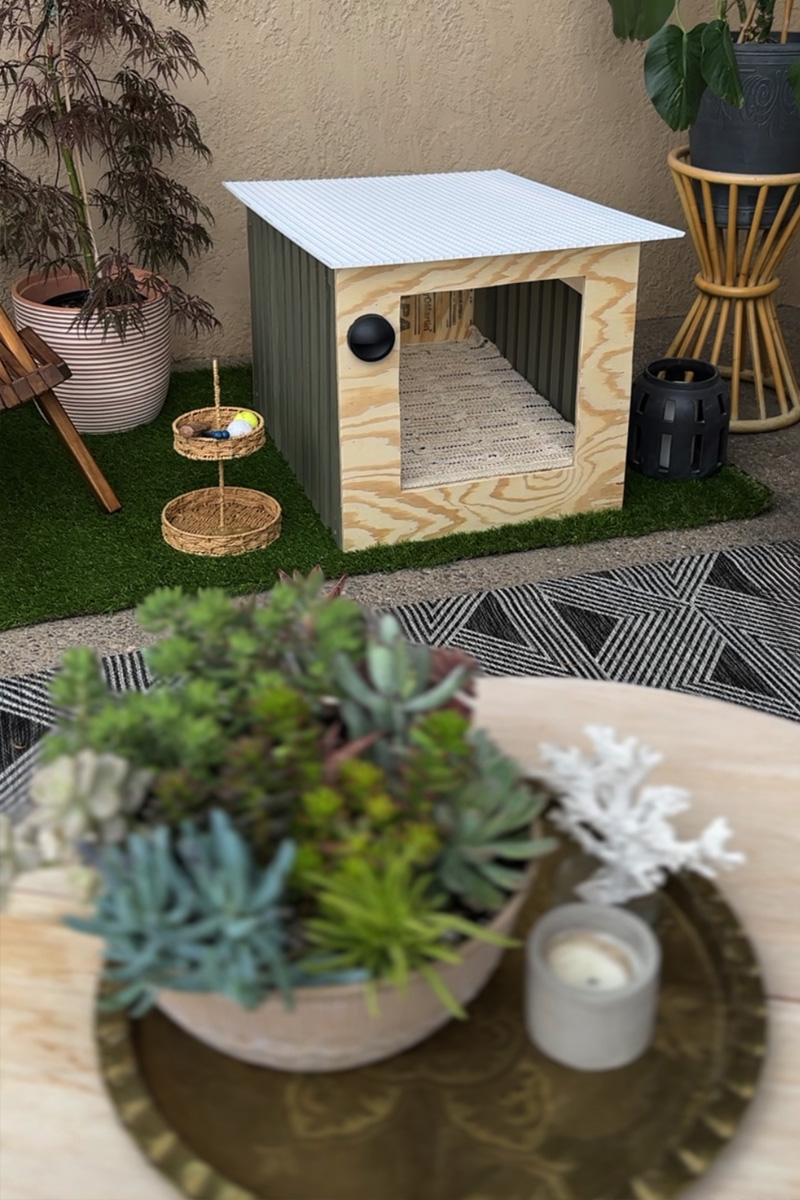
DIY Midcentury Modern Dog House
INSIDE : Learn how to build a DIY Midcentury modern dog house for under $200. This step-by-step guide includes tutorial and tips for using affordable materials. Create a trendy and comfortable home for your dog today!
This post may contain affiliate links. See full disclosure here.
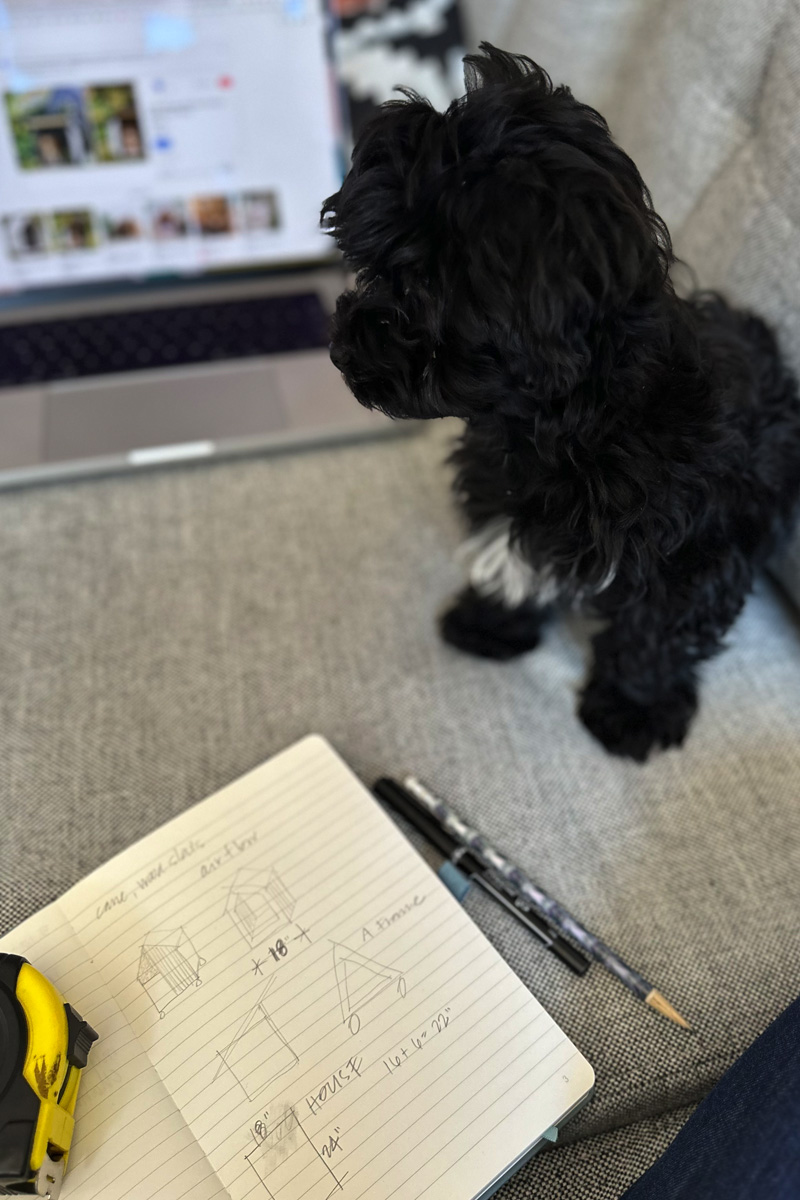
We recently got a little black Havanese puppy who we named Lou. He is an adorable fluff ball and I decided to build him a little hangout dog house when we all spend time outdoors.
I did lots of research and sketching and decided upon a small Mid Century Modern Dog House vibe!
What supplies are needed to build a MCM dog house?
- (3) 8′ long 2×4 wood pieces
- (8) 6′ white pine trim pieces
- (2) 24 x 36 plywood flat pieces
- wood nails
- nail gun + battery pack
- wood glue
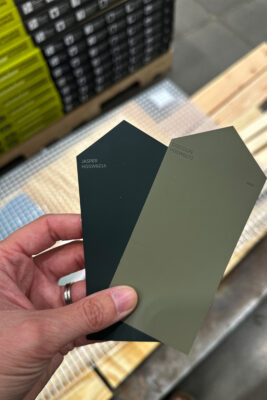
- paint (I used HGTV Home by Sherwin-Williams Cocoon (HGSW6173))
- egg crate panel material
- miter saw
- jigsaw
- speed square
- measuring tape
- clamps
- cordless drill
- durable rug (Woven Striped Flatweave Rug Black/Cream from Target’s Threshold line)
- staple gun
- Craft paint brush + Wooster hand held brush
- Solar light


Here are some of the tools I used…

How big of a doghouse should you build?
When trying to decide how much room does a dog needs for their doghouse, it’s important to make it big enough they can stand up and turn around but to give them a feeling of safety, you also don’t want to make it too large. Dogs love to feel like they are in their den, so here is how to best size your dog house.
Start by measuring the length of the dog (in inches) from the tip of their nose to the base of their tail. Then, add 6 inches to this number.
Next, take the total number you got multiply it by itself. This will give you the dog’s minimum floor space in square inches.
How to build the frame of a DIY Doghouse
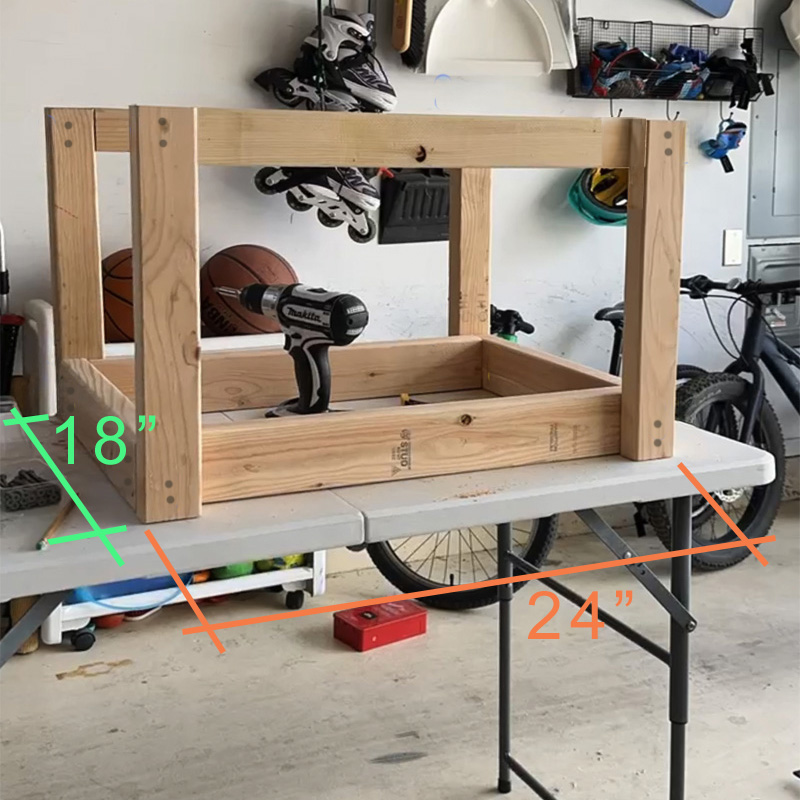
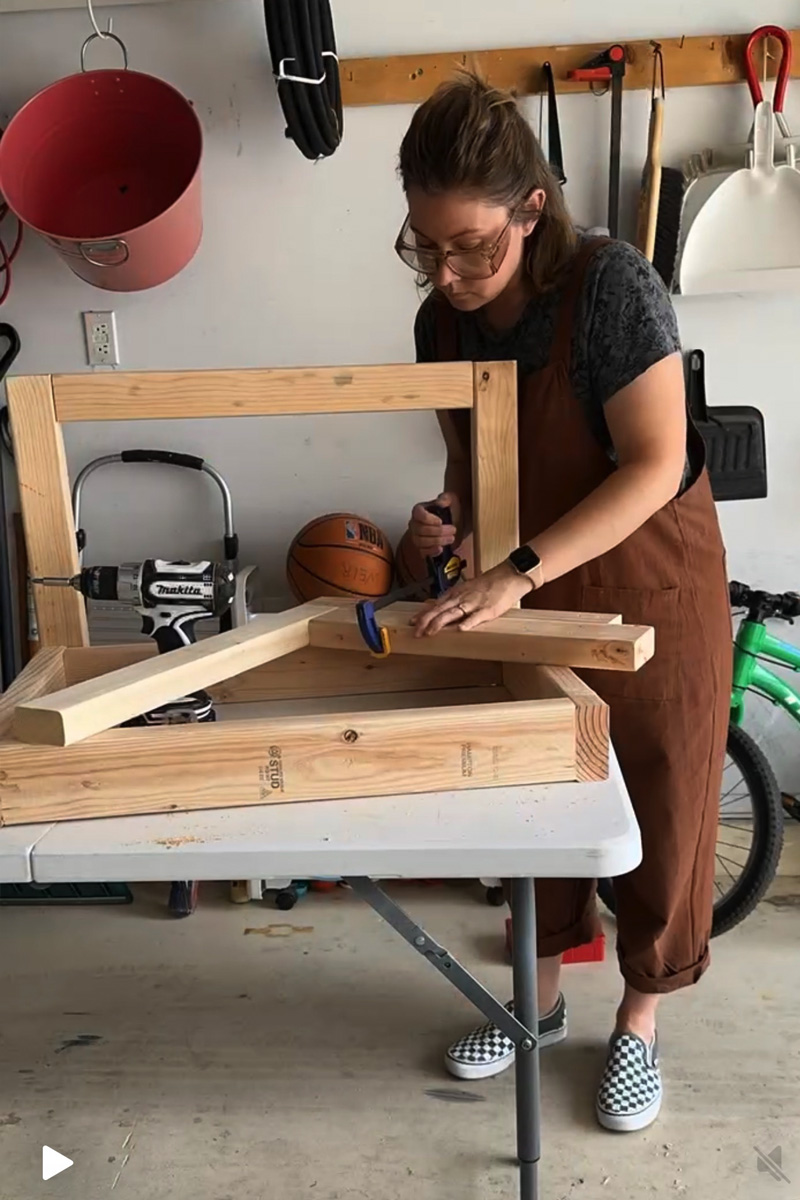
Once you know the square feet you will need for your doghouse it’s times to create the frame. I used (2) 2×4’s for my frame base.
Measure and mark at 18″ and 24″. You will need (8) 24″ pieces and (4) 18″ pieces in total. Be sure to use a speed square and measuring tape for straight lines.
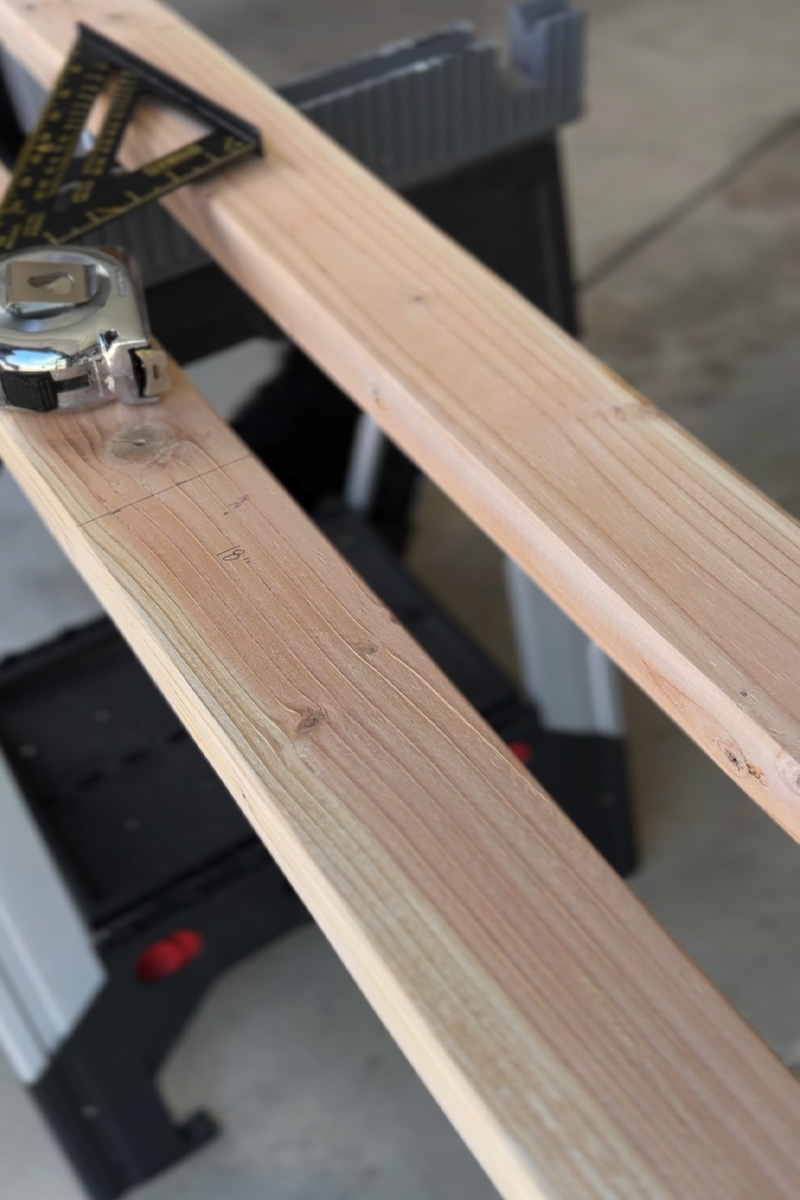
I used a miter saw to make all of the cuts.

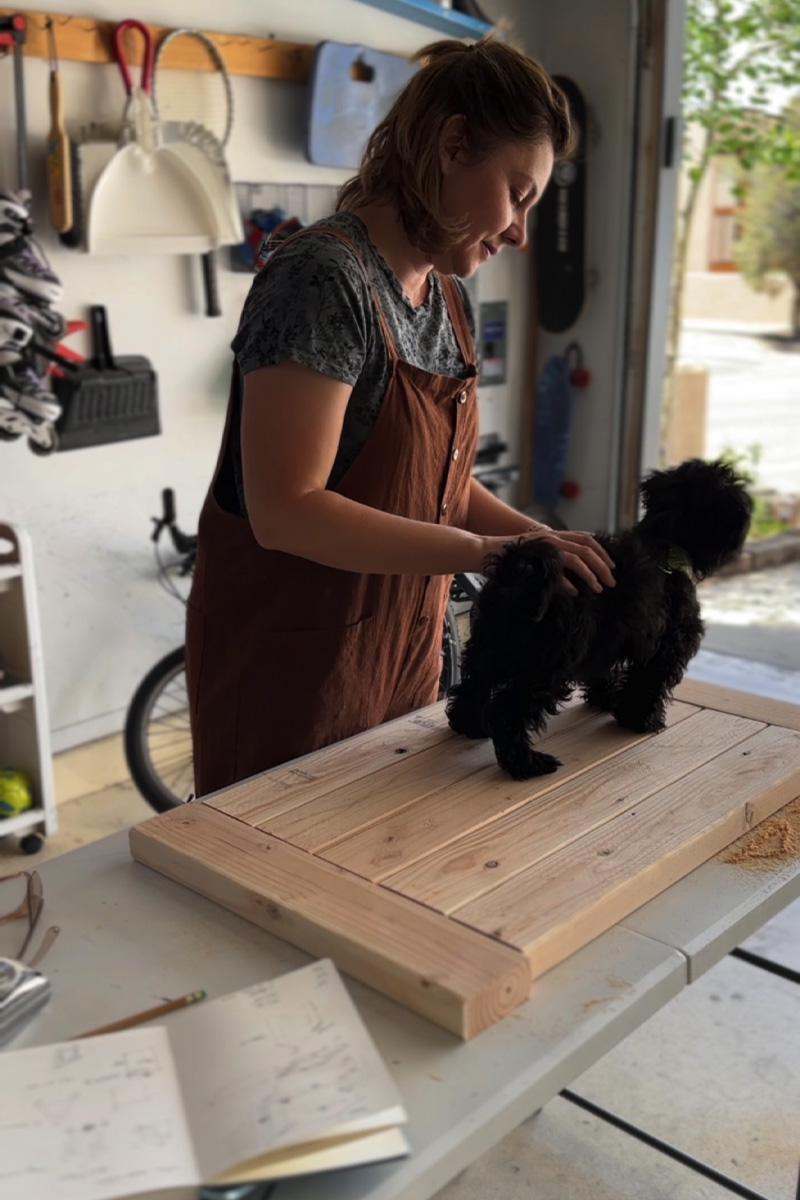
I then laid out all the wood cuts to make sure they were plumb and straight and popped our little Lou on top. This is not how I built the wooden doghouse, but it was cute to see him in his soon to be house!
You can see how my basic 18″ x 24″ measurements came together below.
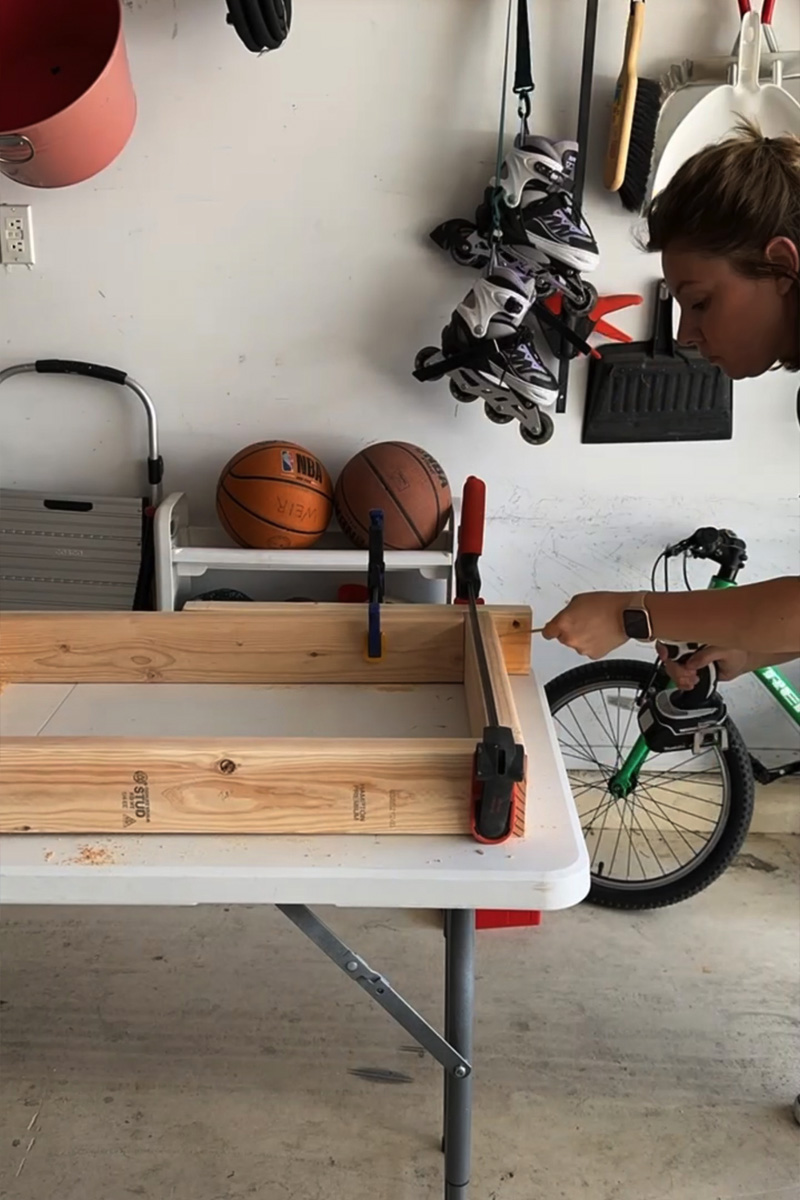
I laid two of the 24″ boards and one of the 18″ boards on their edge and using a clamp and an additional board to keep things at a 90′ angle, used wood screws and installed two screws on each end.
You can see the completed base in the below image.

And I’ve created a graphic to show screw locations. I started the base installation with the yellow dots for the screws.
And then as I built the wall structures, I placed wood screws in the blue dot locations (as shown below).
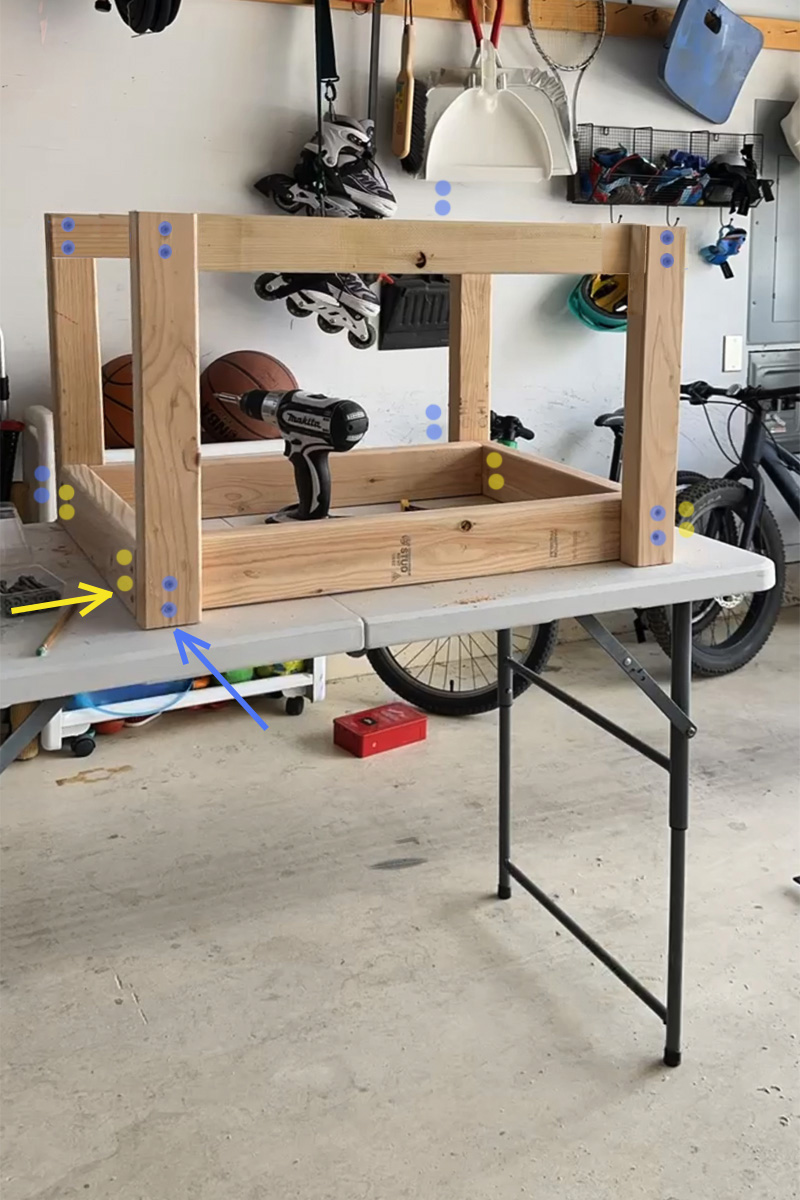
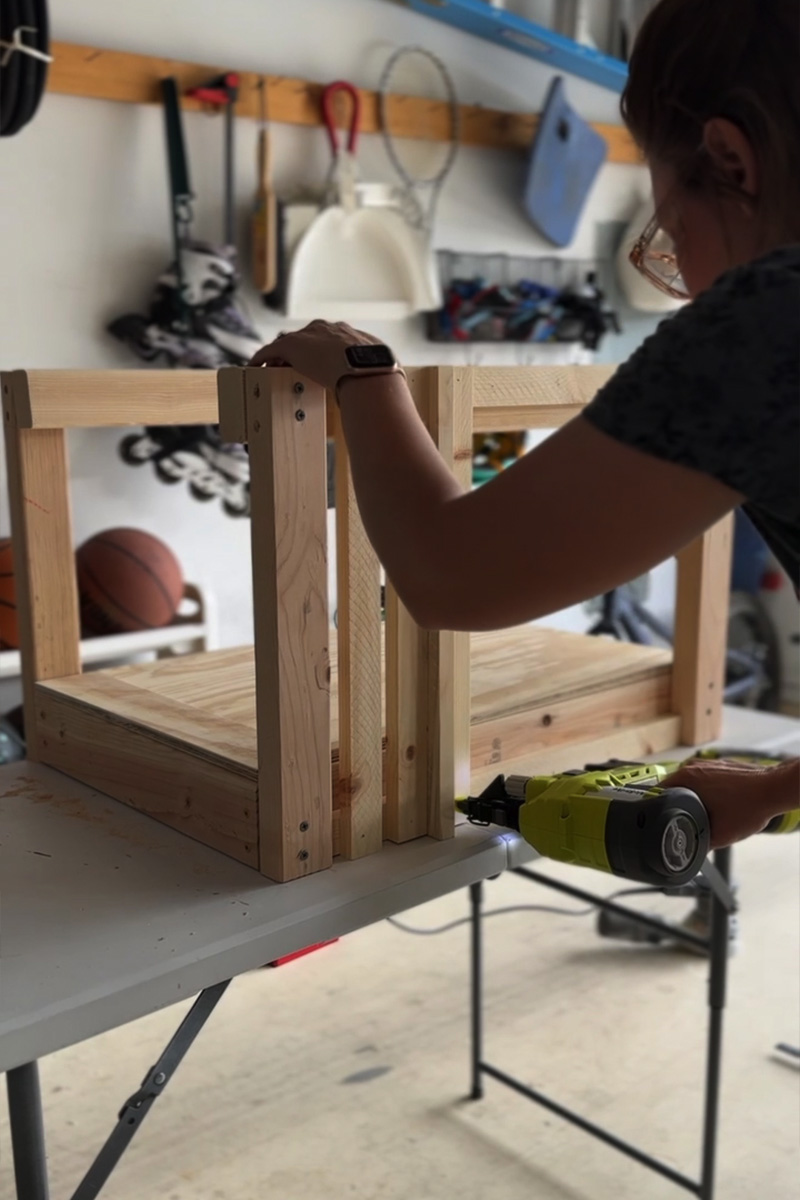
Continue to use clamps and spare boards to keep all your frame pieces plumb and at 90′ angles.
Using a cordless drill is essential for these steps.
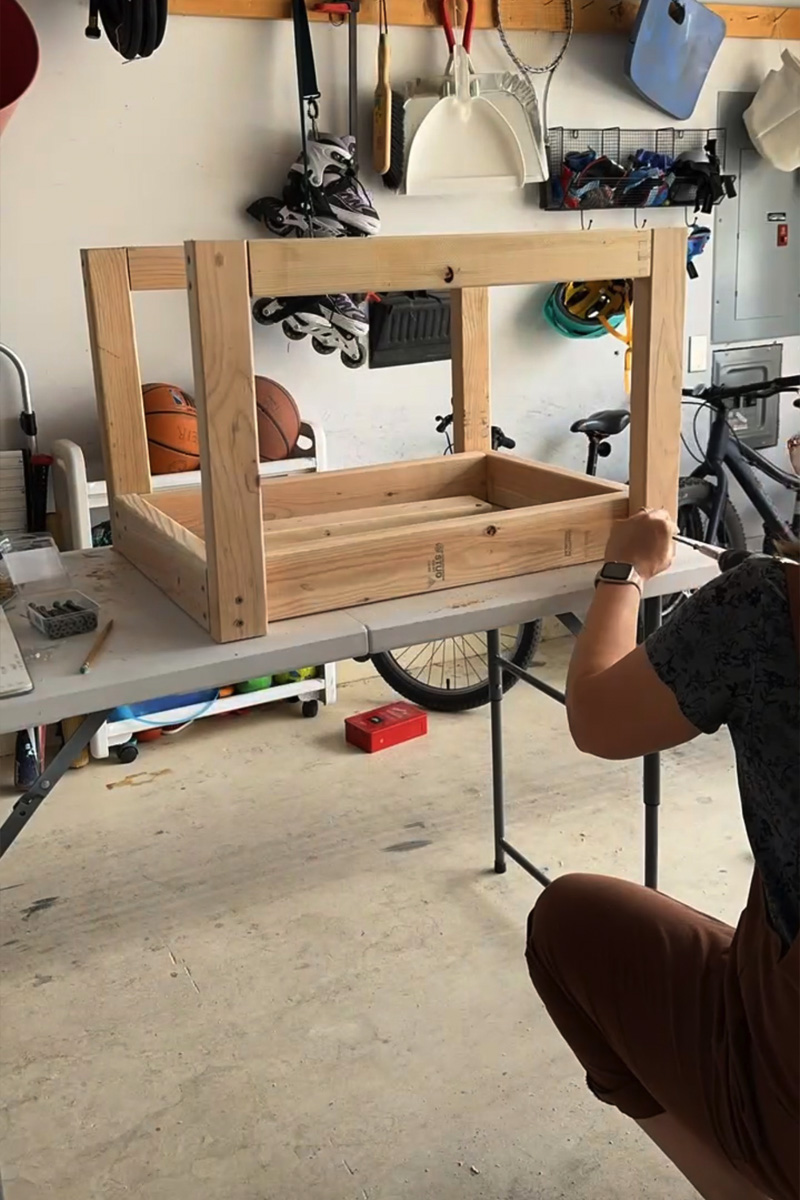
Wooden dog house walls
Now that my DIY frame has been constructed, it is time to add in the gorgeous wood trim to give the Mid Century Modern look.
I quick placed the flooring in to make sure it fit properly. Don’t secure it down yet, there are a few more fun steps to add there.
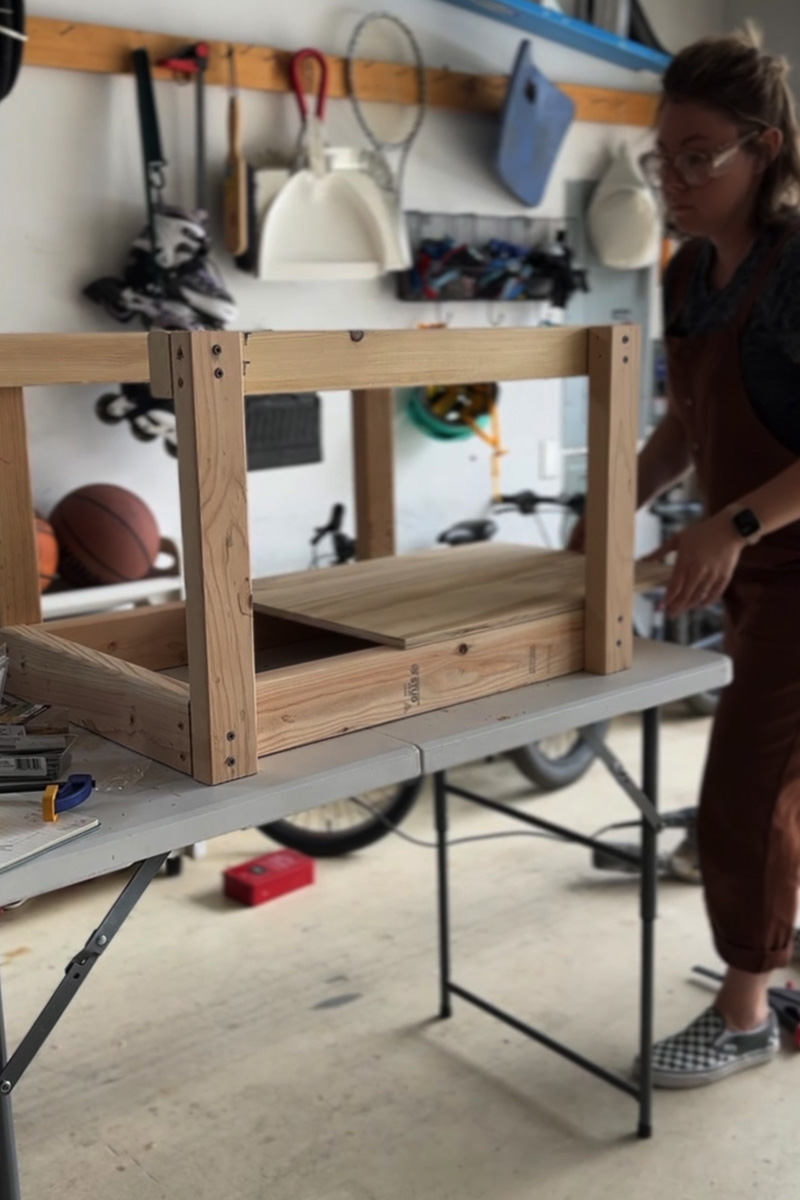
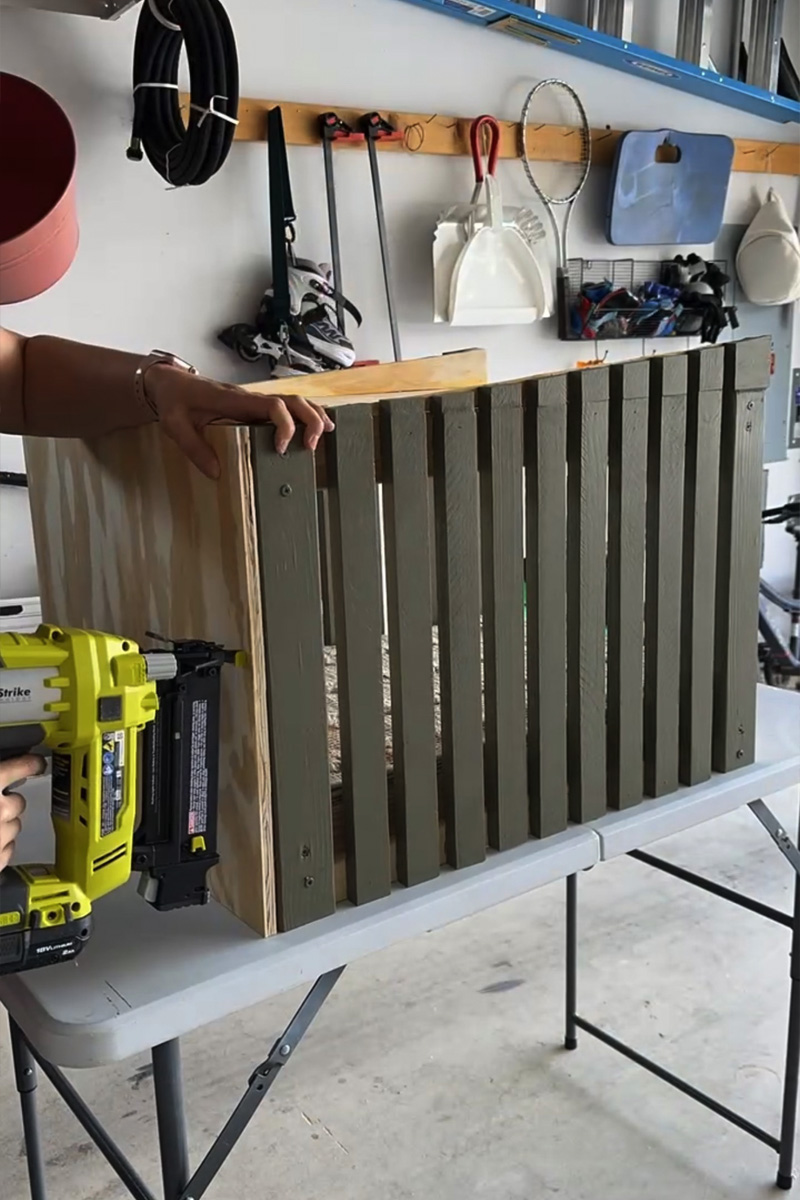
Since my wood trim pieces weren’t as thick as the 2×4’s, I measured and cut to exact dimensions the wood trim and using my nail gun, secured them to each side on the top and bottom. This acted almost as a frame for the trim wall pieces.
There are four of these frame pieces in total on either side. And now as a add my trim pieces, they will be perfect flush with the edges of the 2×4’s – score!
NOTE : As I moved forward on the wood trim, I decided to slightly pivot my design to create even more of an MCM feel. So, I will now direct you in how to make the modification and therefore for the next few images I’ll be directing you differently than they show.
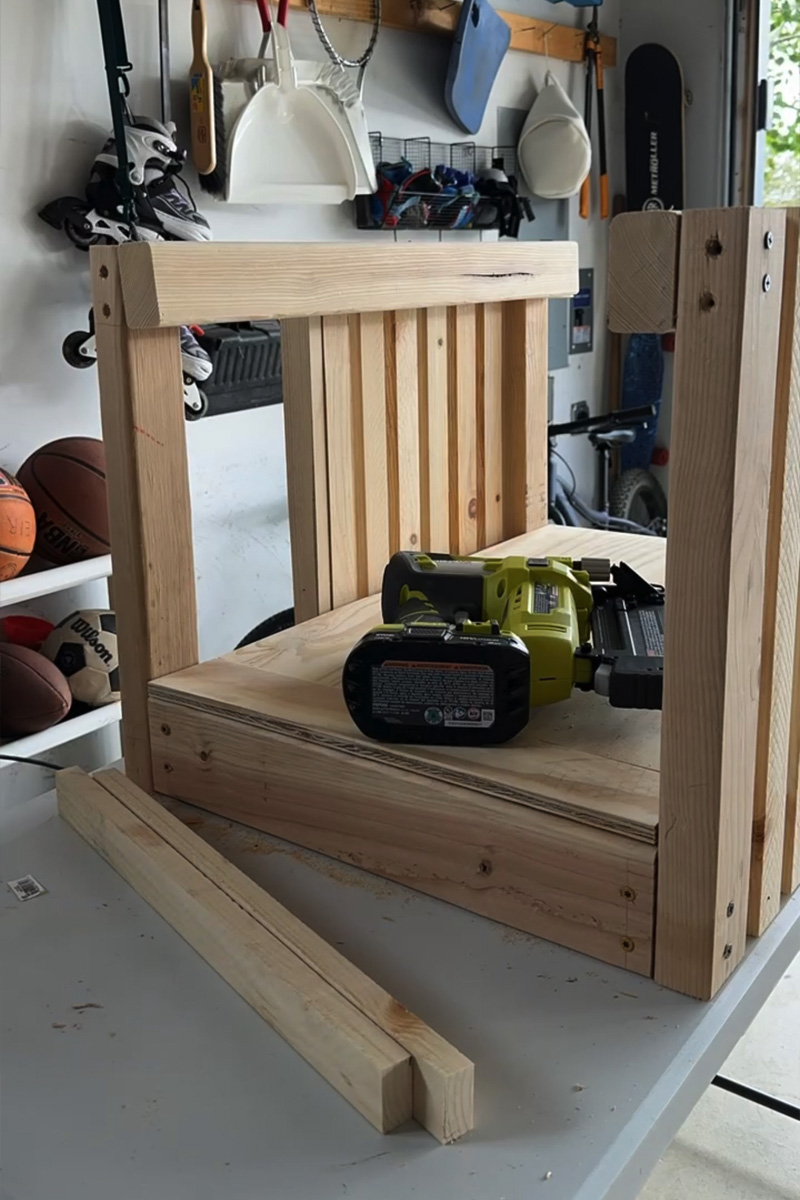
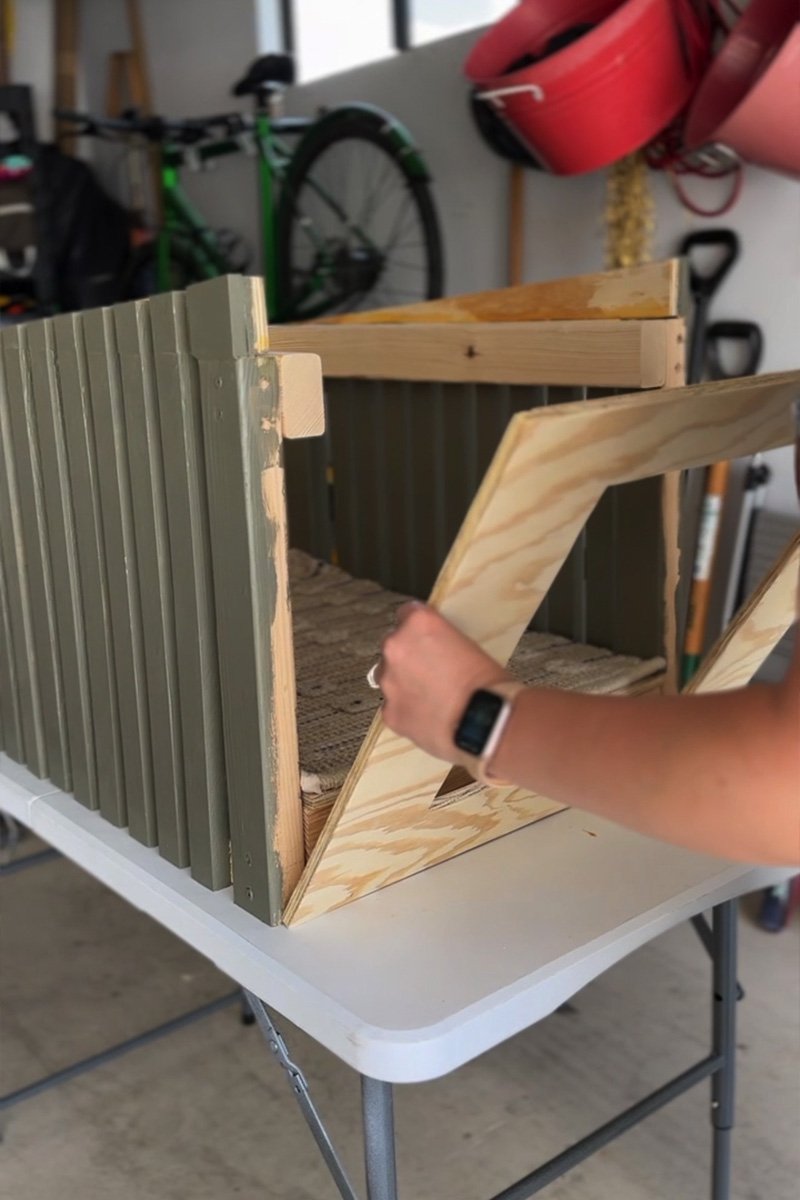
At this point, you will be cutting your wood slat trim pieces. To create a fun MCM look, I wanted a slanted roofline. With the back of the doghouse being 18″ tall and the front of the doghouse measuring at 20″ tall.
Instead of cutting all the trim pieces 18″ across the board, take into consideration that you will be cutting them on an angle, gaining in height as you go.
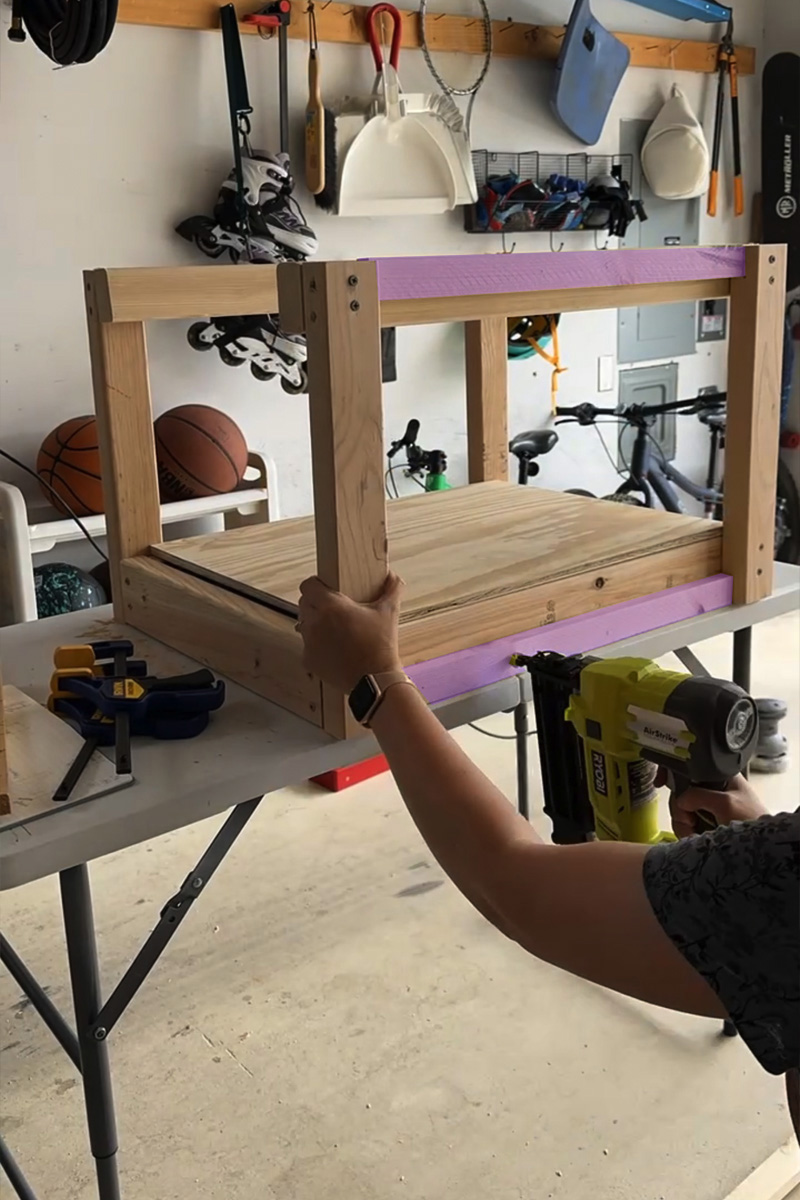
Place a spare wood trim piece sideways as a spacer and using a nail gun add two nails on the top and bottom to secure in place. You will be nailing into the frame piece you added in the step above.
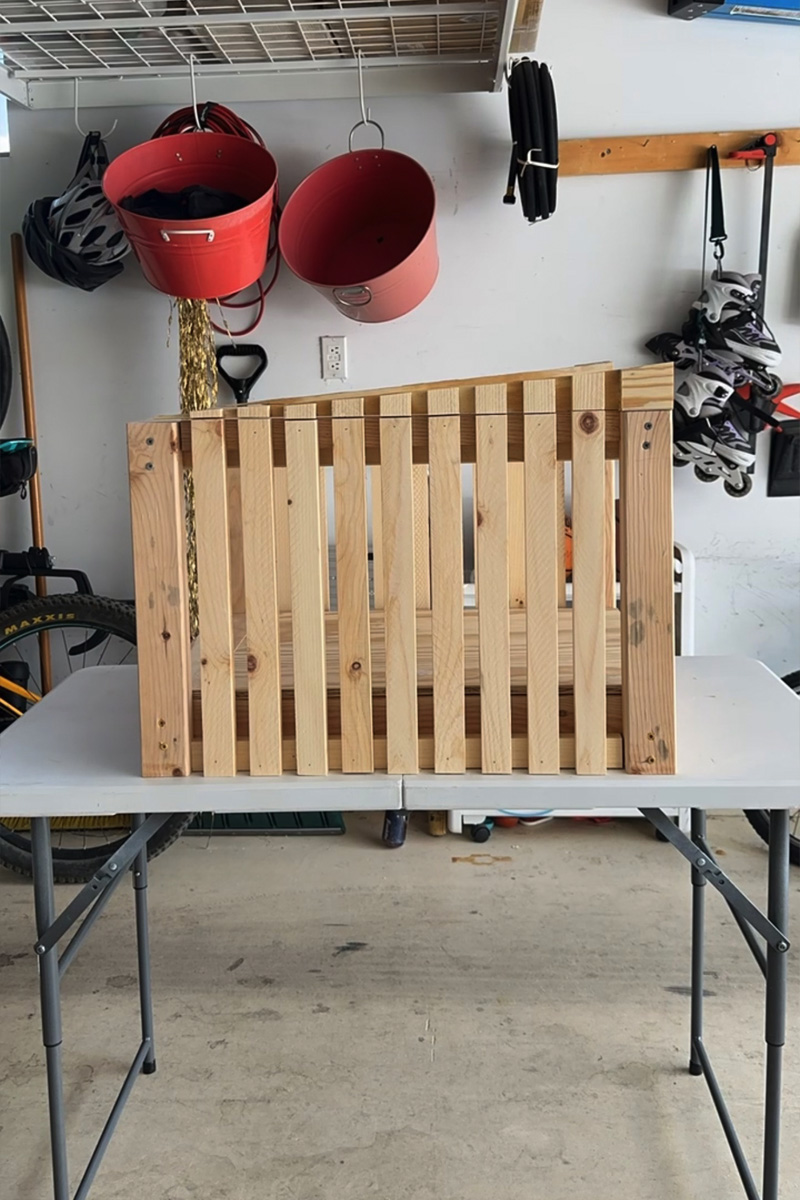
I did this same treatment in my office a few years back on my Painted Wood Slat Wall and I STILL LOVE IT SO MUCH!
You can see here how I finished both wood slat walls and then made the decision to add in an angle. I had to basically create a narrow narrow slice of wood with the trim installed on it. Thankfully, I made this mistake so you wouldn’t have to. I tried to add wood filler and sand the line out, but you can still see it in my final design sadly. Hopefully your DIY dog house won’t have this though.
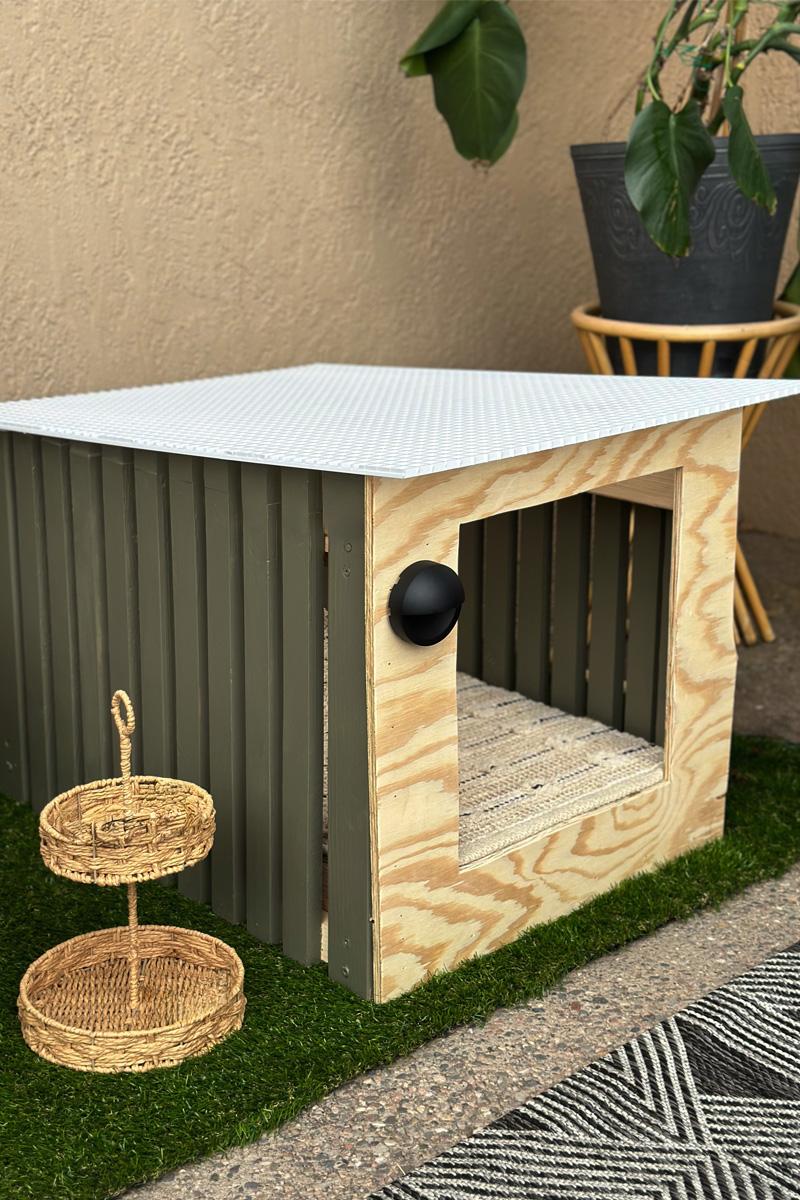
Painting your trendy dog house
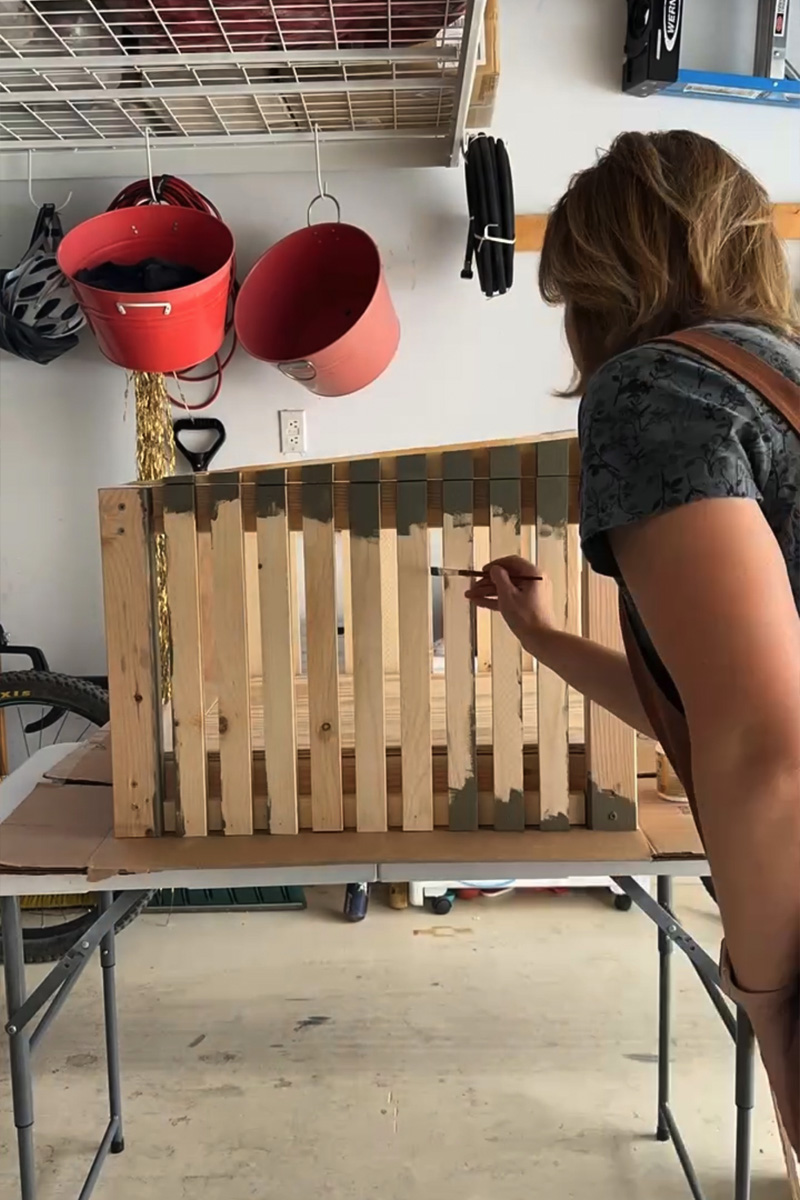
I choose to paint the dog house with HGTV Home by Sherwin-Williams Cocoon (HGSW6173). I love this color and it was so perfect for this MCM vibed house!
I used a small craft brush for in between the wood slats and my favorite Wooster hand held brush for the remaining areas.
Let it be known also that I only painted the walls of my dog house. I love the look of raw wood and painted wood. I think it gives a very modern look.
Adding a rug to your doghouse floor
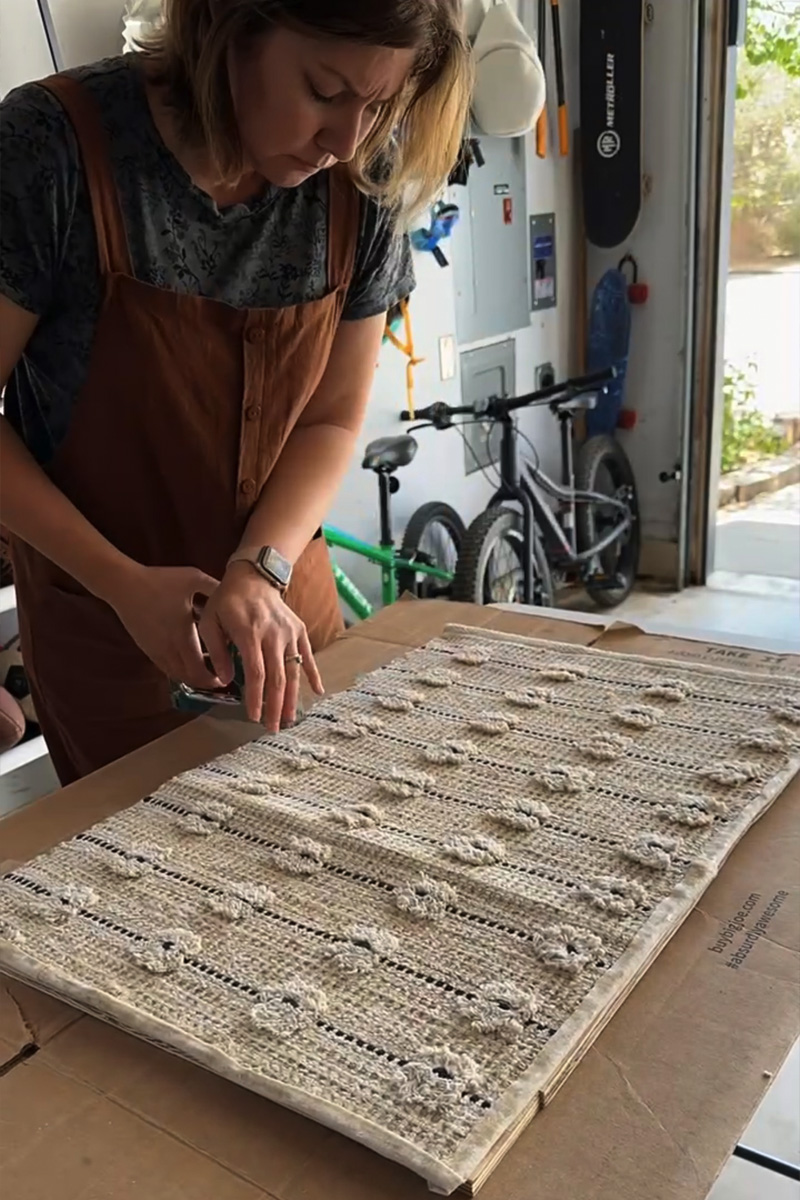
Adding a rug to the floor of our wooden dog house was a fun detail to add. I used a Woven Striped Flatweave Rug Black/Cream from Target’s Threshold line. It felt soft, but still could hold up to dog usage.
I ever so slightly cut down the rug to fit my 18″ x 24″ plywood floor and then using a staple gun secured the rug down.
Once the rug is secured, go ahead and add in your flooring to the structure. It should be a nice snug fit.
Adding the front and back walls to your doghouse
The final steps to creating this DIY dog house is adding the front and back wall structures.
Measure the exact dimension of the back from edge to edge and using a jigsaw, cut a piece of plywood down to size.
Use your nail gun to secure to the 2 x 4 edges.
For the front panel wall, take into consideration the height of your 2 x 4 base. I wanted a nice clean square entrance, so I used a jigsaw to cut the front wall’s outer dimensions and then all to cut the interior entrance as well. Secure with your nail gun.
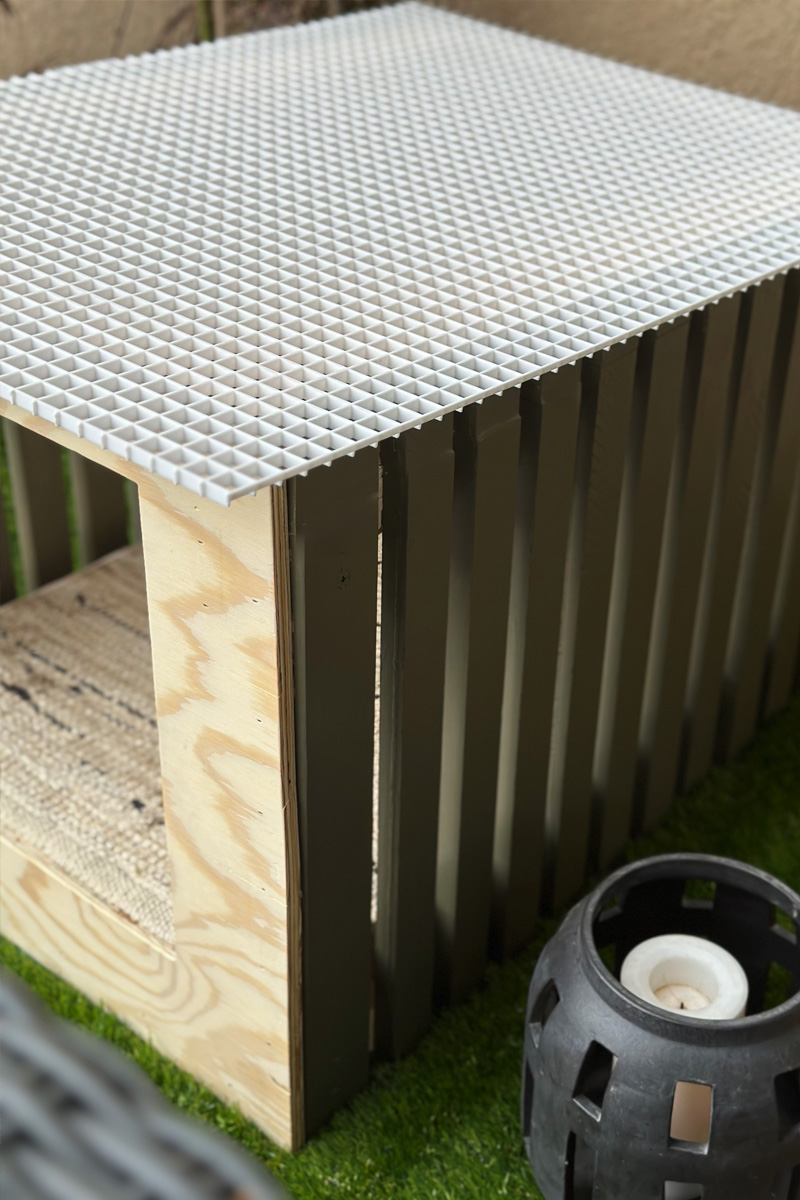
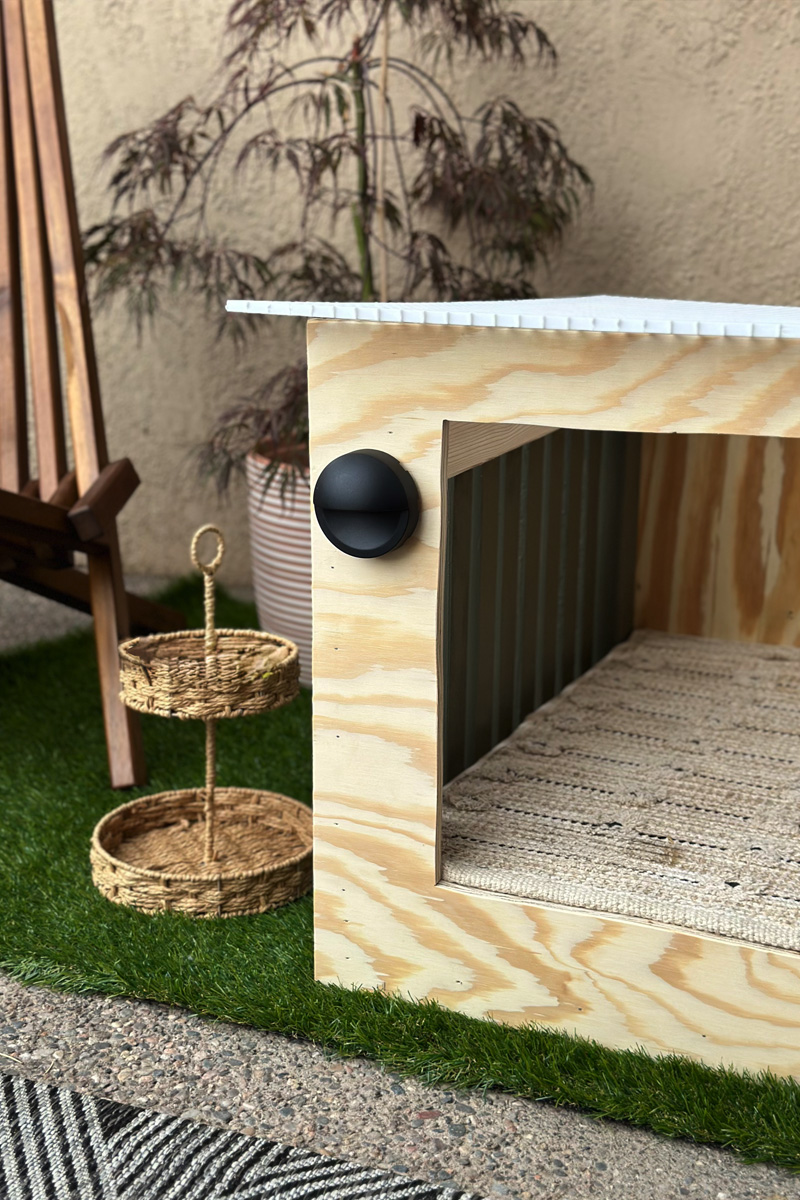
Air flow Egg Crate Roof
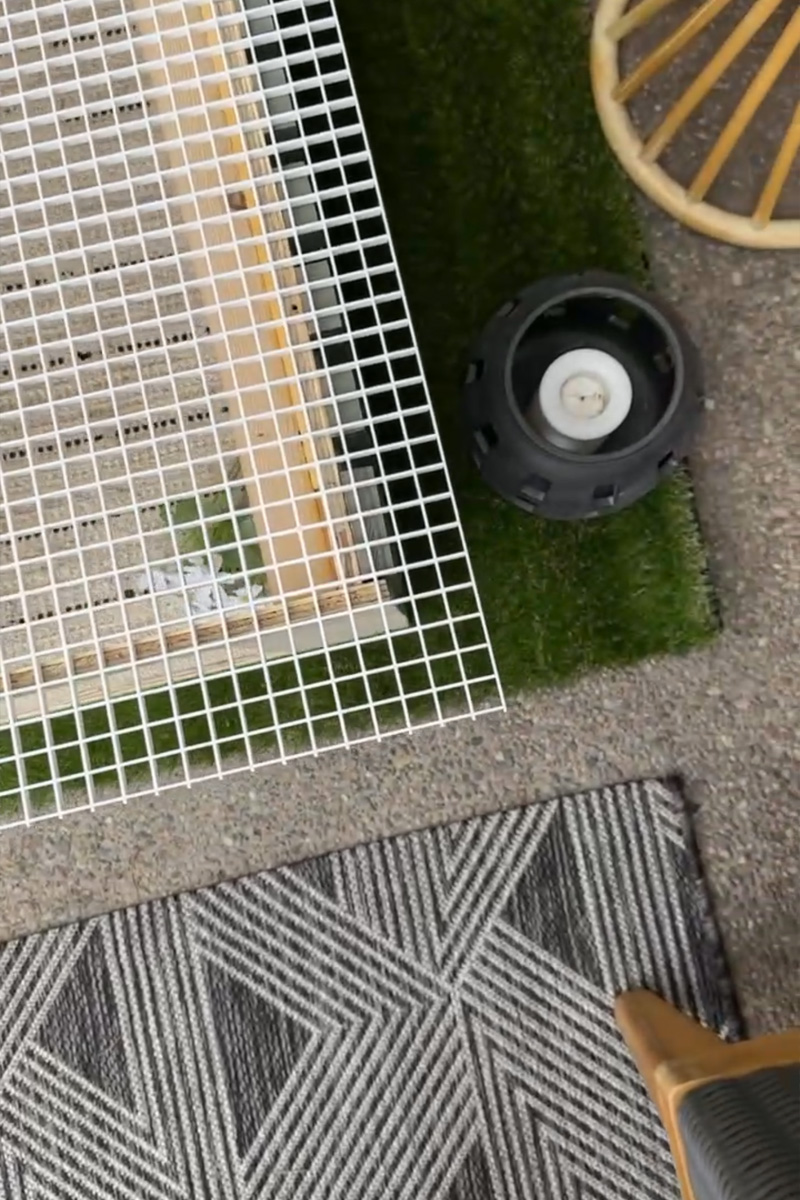
Since we live in the desert and heat is more of an issue than rain, I opted for air flow over water protection. I found an egg crate panel material that is used for ceiling halogen lighting. I cut it down to 18″ x 24″ and secured it to the top of the dog house.
Adding final touches to your doghouse
The final touches for this dog house was adding a solar light to the front. It was as simple as adding a small screw for the light to rest on and with a few hours of sunlight to charge it – the light turned on at dusk and turned off at dawn. SO FUN!
Dog House Build
Although this isn’t a home our Havanese, Lou will be living in full time, it was such to create a special place for him in our backyard. I looked online at pre-fabricated dog houses and they can really get expensive. Being able to make a cheap dog house build that our dog loves relaxing in AND looks so dang trendy is a major win in my opinion!
Happy puppy, happy family!
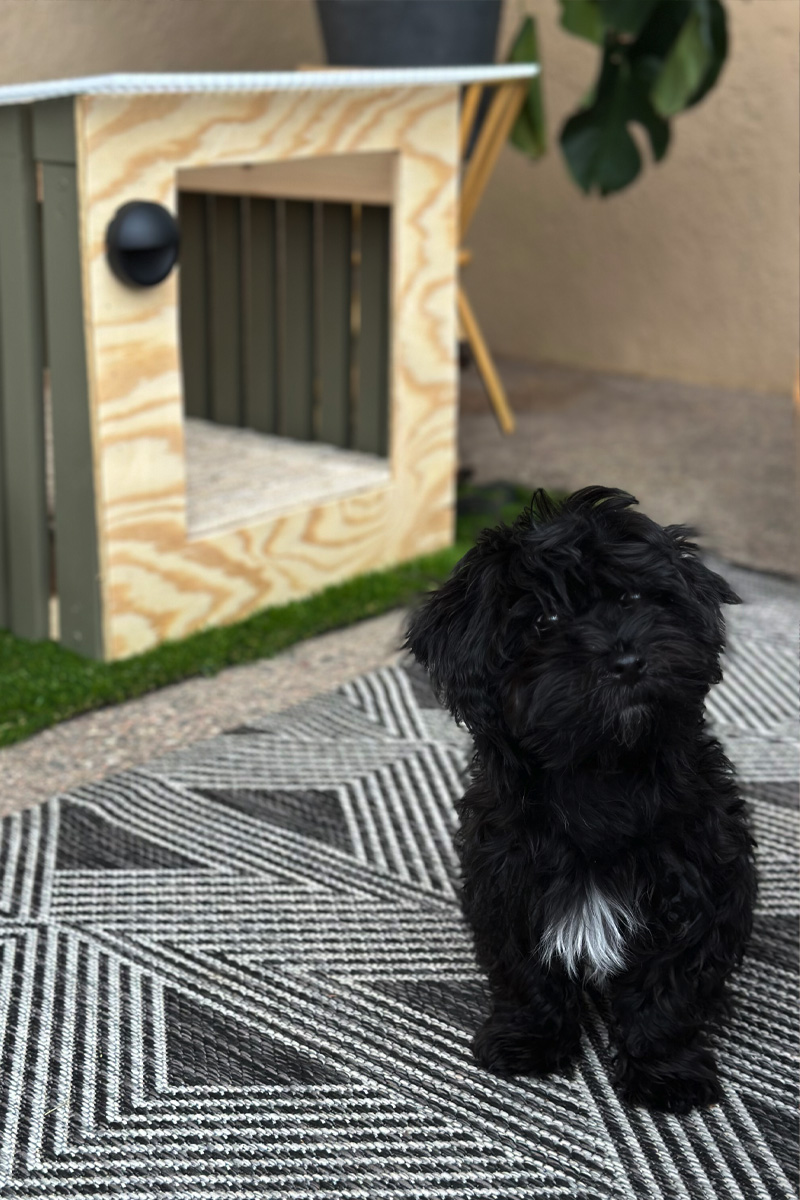
From a dream to a modern reality, this DIY dog house was fun to build and I love all the small details of it. I love the raw wood and green combination. I love how the rug adds texture and makes it a little softer for our dog. And the solar light is the final fun touch!
During the winter months I covered the doghouse and it faired the season just fine.
Give your dog the coolest DIY digs on the block! This project was fun to make, cheaper than pre-built dog houses and is so stylish. Your furry dog friend will love their new designer digs and you’ll love the look.
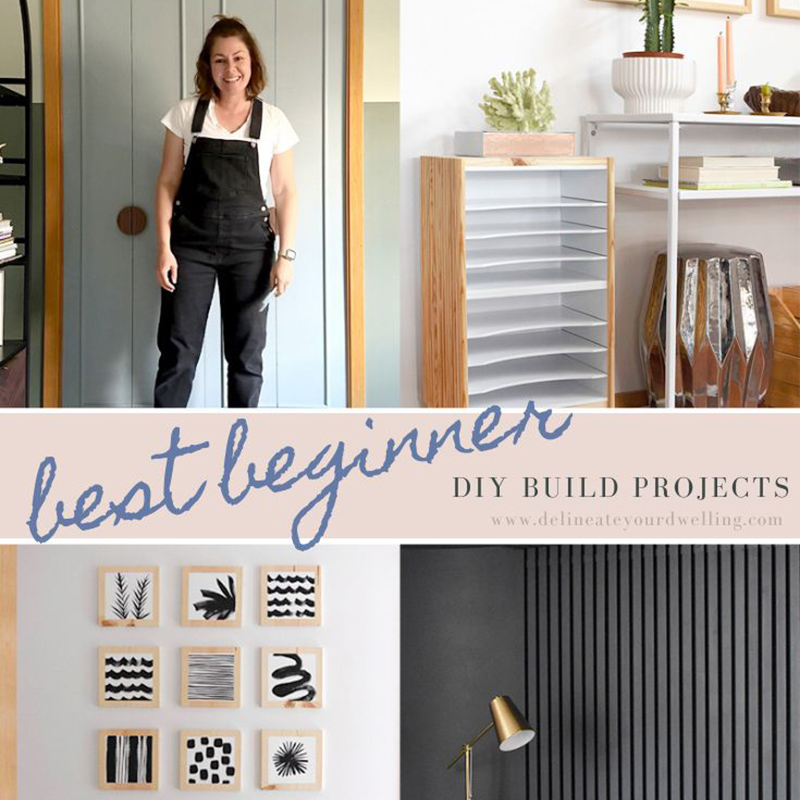
Looking for other DIY build projects? Here are some of my faves!