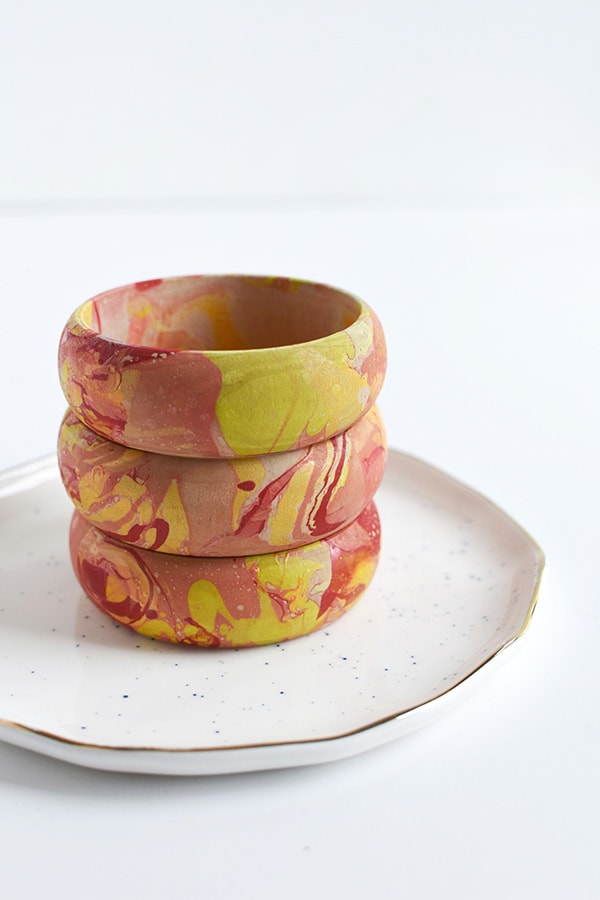
Colorful Marbled Bangles
INSIDE : How to make simple Colorful Marbled Bangles using easy nail polish techniques! You will love their finished gorgeous look.
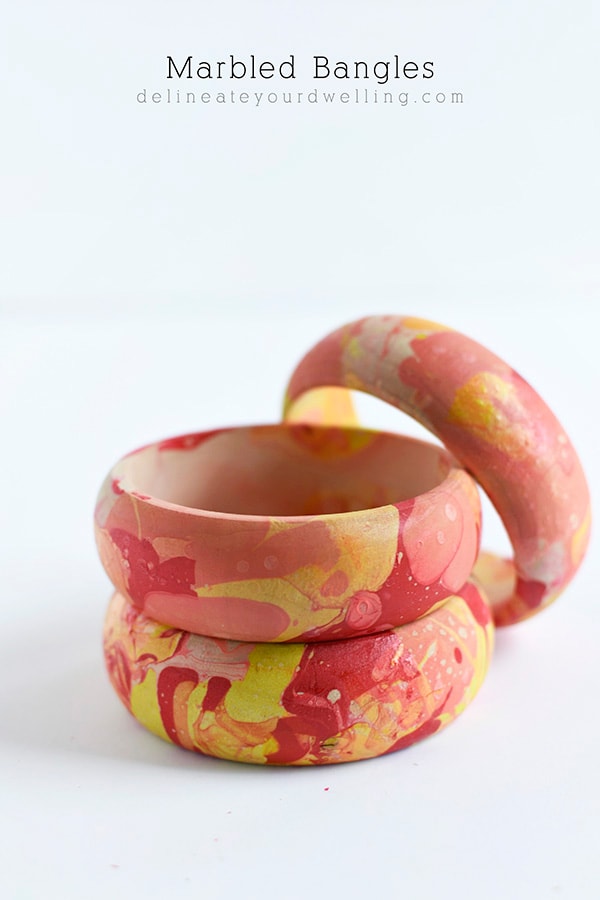
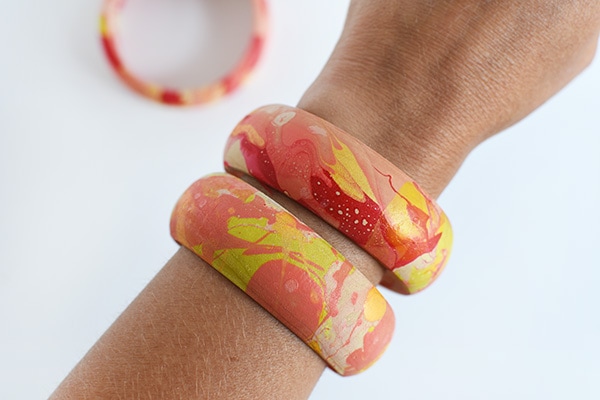
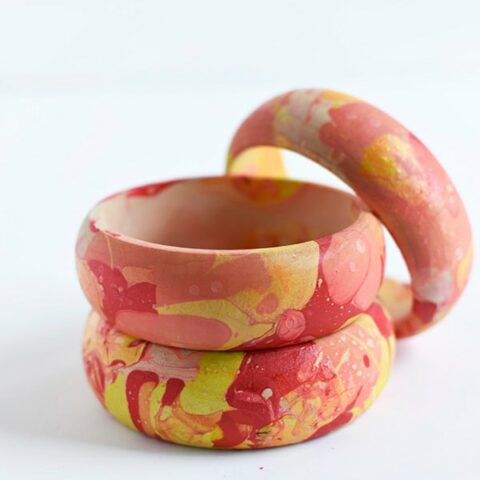
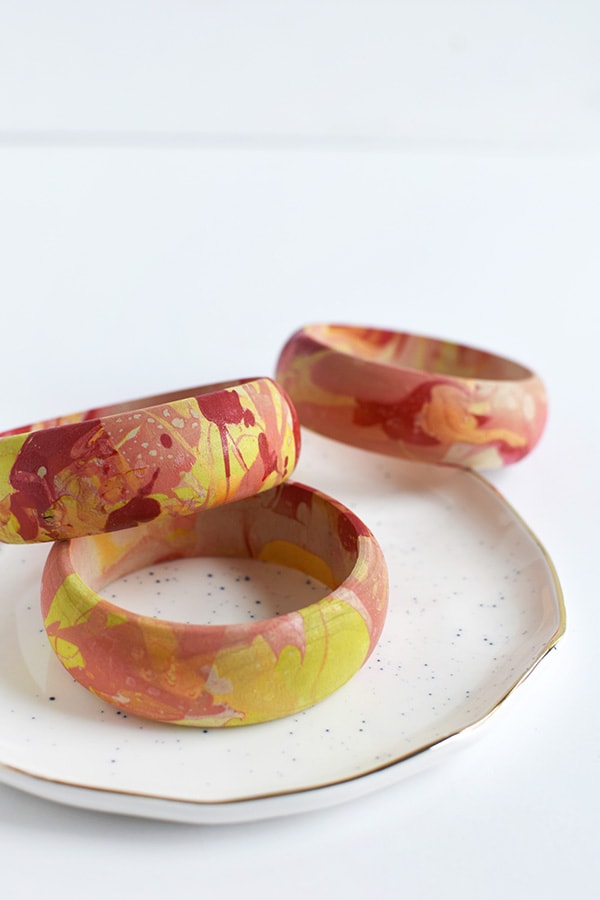
I clearly will never tire of marbling. I have tried so many different techniques when it comes to marbling items and I have to say, I love them all. Today, I am sharing how to create the most lovely Colorful Marbled Bangles, the perfect accessory to any outfit!
If you are looking for more information about everything involving marbling, my Marbling 101 post might be just what you are looking for!
Read to the bottom of the post to see the full tutorial on how to make this beauty!
I love how gorgeous the colors become when you use this marbling technique.
You might also be interested in the BOOK that I wrote all about Marbling projects!!
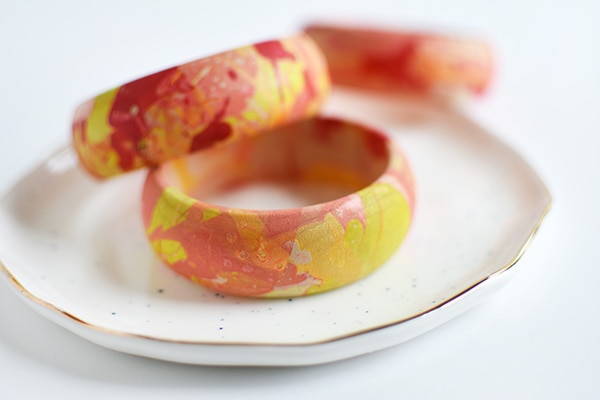
Note : Once the bangles dry, there isn’t any tackiness to them from the nail polish.
This post may contain affiliate links. See full disclosure here.
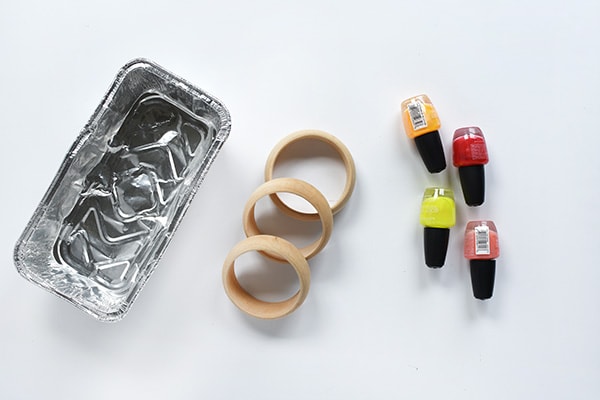
What supplies do you need to marble bangle bracelets?
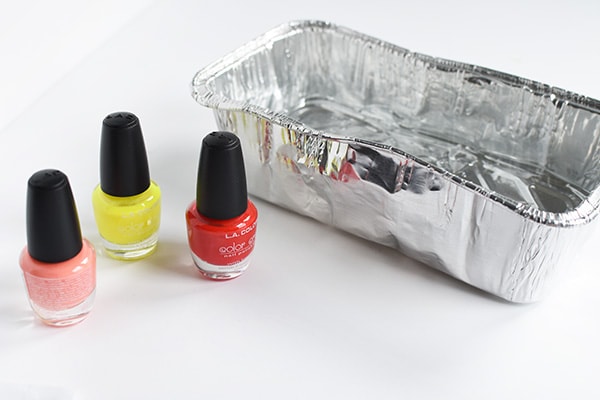
Nail Polish (4 different vibrant colors)
A small disposable tin tray
Wooden Skewer to mix
Wooden Bangles
HOW TO MAKE MARBLED BRACELETS:
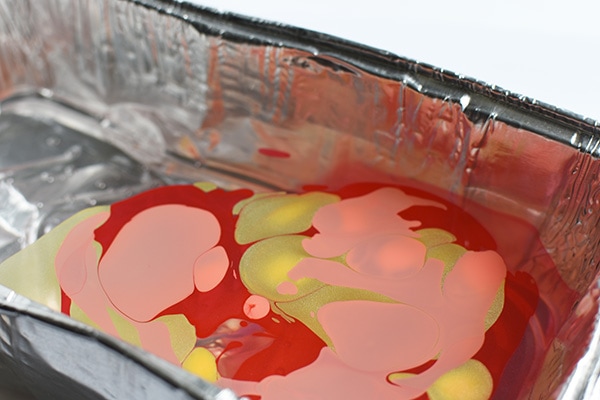
Start by filling your tin or plastic container with water deep enough to fully submerge your bangle.
Note: Lesson learned, unscrew the nail polishes that you plan to use prior to starting. Otherwise, your nail polishes can start to dry out sitting in the water while you are unscrewing other bottle’s lids.
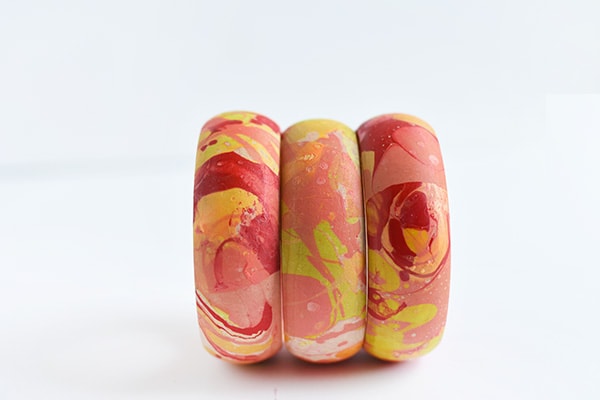
Have fun dripping and adding dots of nail polish to the water. This might be my favorite part.
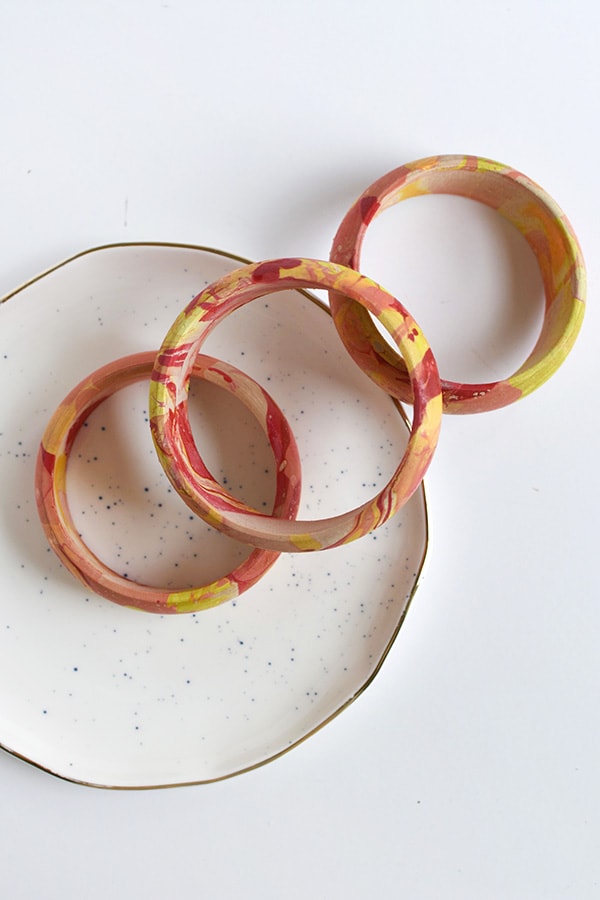
Take the bangle and dip quickly in and then out of the water. Set aside on a paper plate or wax paper to dry.
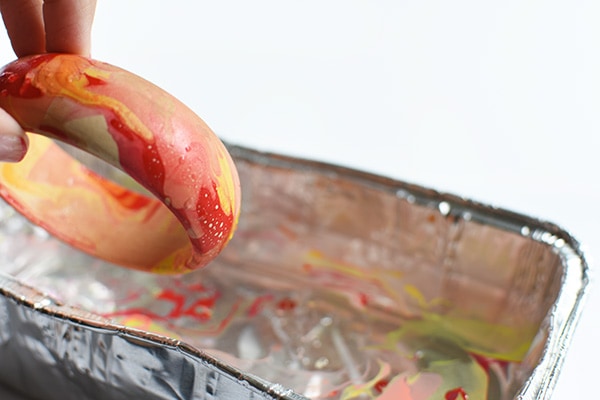
Allow the bangles to dry throughly and you are all set!
Colorful Marbled Bangles
How to make simple Colorful Marbled Bangles using easy nail polish techniques! You will love their finished gorgeous look.
Materials
- Nail Polish (4 different vibrant colors)
- A small disposable tin tray
- Wooden Skewer to mix
- Wooden Bangles
Instructions
- Start by filling your tin or plastic container with water deep enough to fully submerge your bangle.
- Have fun dripping and adding dots of nail polish to the water. (This might be my favorite part.)
- Take the bangle and dip quickly in and then out of the water. Set aside on a paper plate or wax paper to dry.
- Allow the bangles to dry throughly and you are all set!
Notes
- Unscrew the nail polishes that you plan to use prior to starting. Otherwise, your nail polishes can start to dry out sitting in the water while you are unscrewing other bottle’s lids.
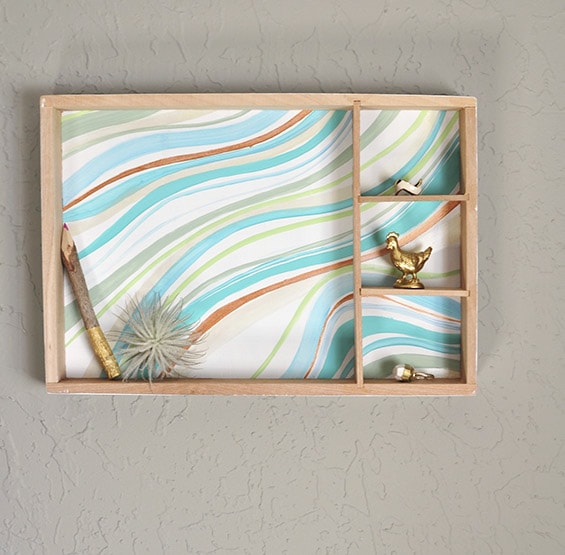
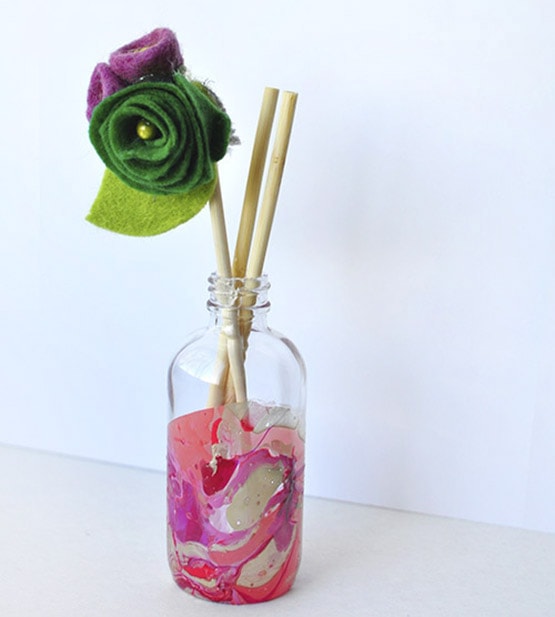
Interested in my many other marbled projects? You can check out some of these!