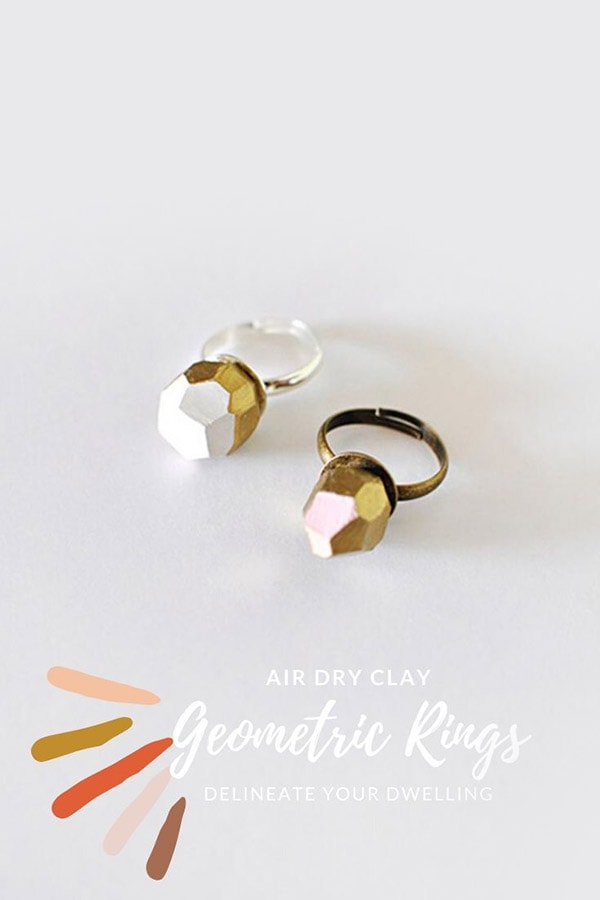
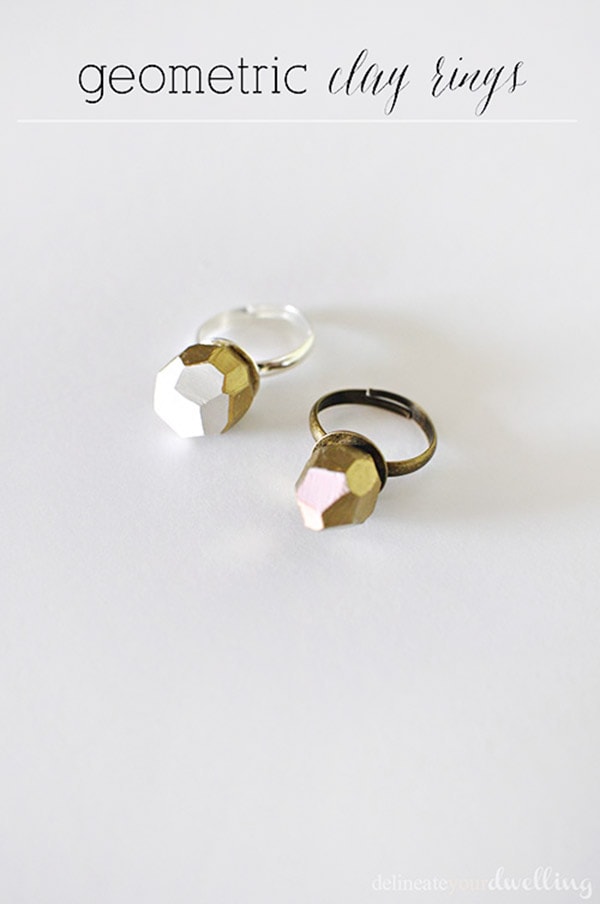
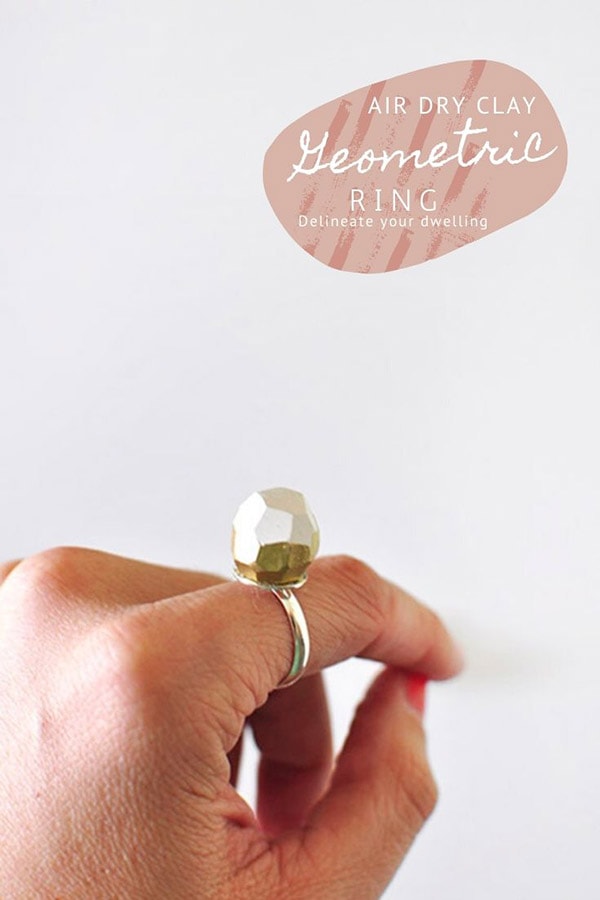
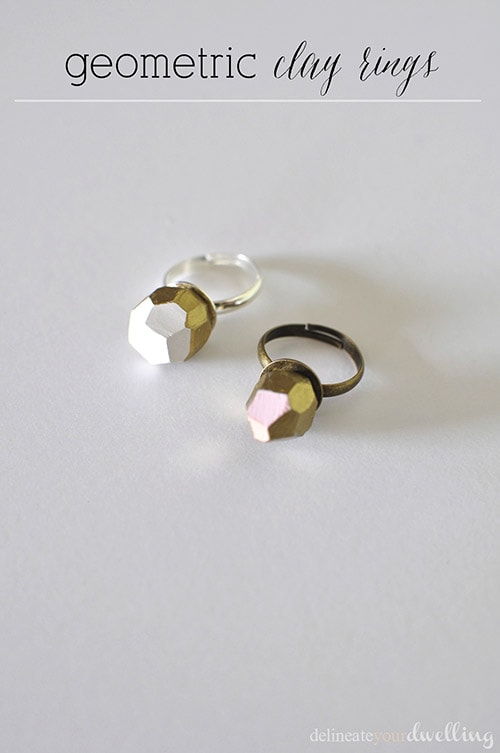
Geometric Clay Rings
INSIDE : Learn how to make these fun Geometric Air Dry Clay Rings. It’s so fun to make a statement, why not DIY it and be make it your very own.
This post may contain affiliate links. See full disclosure here.
This post has been updated since it’s original November 2014 publish date.
I have found a new love and it’s called Air Dry Clay! This is one of my favorite projects that I’ve made in a while and I am so excited to share how to make Geometric Clay Rings with you today.
You might also be interested in my Best Tips for using Air Dry Clay post.
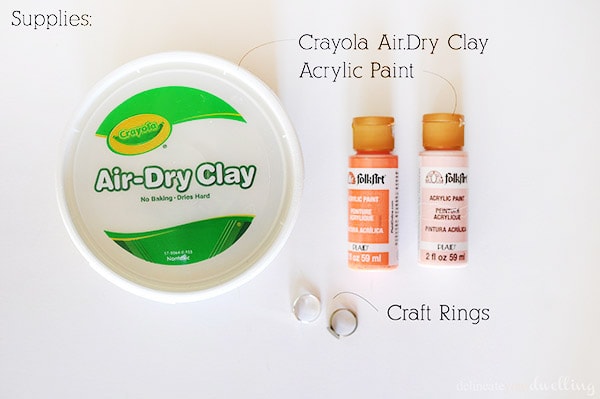
What supplies do I need to make Geometric Clay Rings?
- White Air Dry Clay
- Acrylic Paint
- Crafting Jewelry Ring base (another option)
- Gold Foil Paint Pen
- E-6000 Industrial Strength Adhesive
- Kitchen Knife
- Cutting board
Optional : A small bowl filled with rice.
How to make a Clay Ring
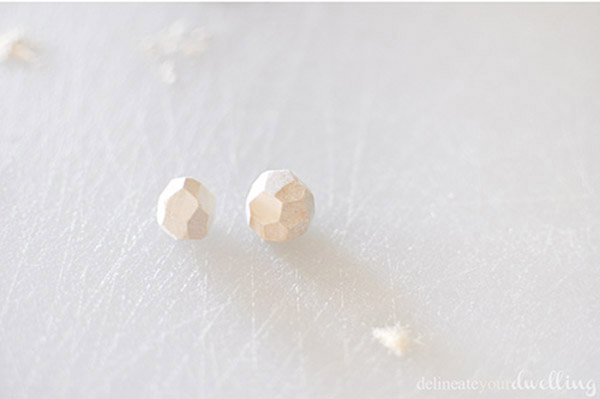
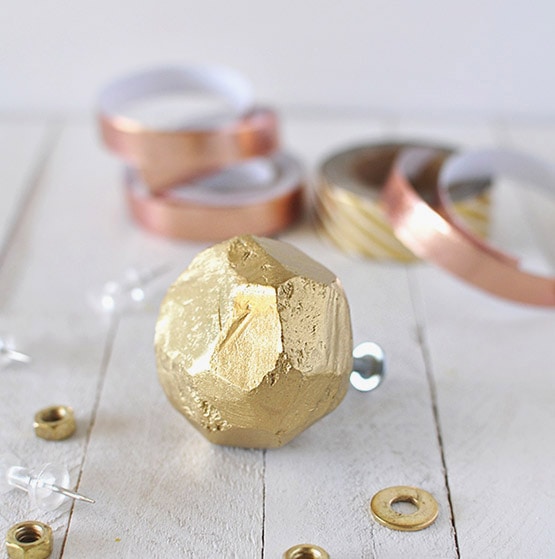
The first step to making a clay ring is to roll a small ball of air dry clay in the basic size and shape you want your finished geometric “gem”.
I was making two rings, so once I had rolled them into balls – I let them both dry a few hours. That helps make them just hard enough that I could carve and shape them a bit.
Note, if they are too wet still, they will pull and misshape too easily and that is not ideal.
Once the ball of clay is SLIGHTLY dry to the touch, using a cutting board and knife slowly cut small edges off the ball to begin creating a “gemstone” like look.
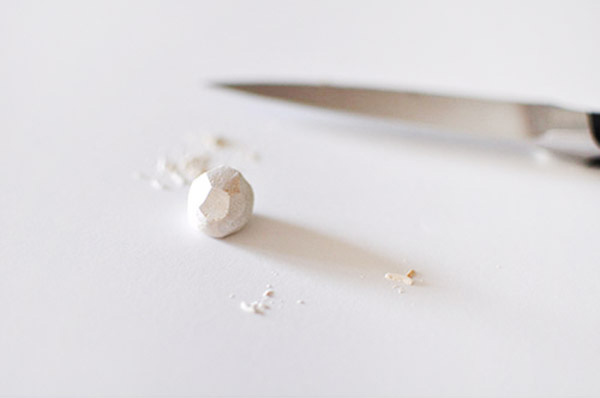
You can see how there is no right or wrong shape here. Just continue making the small cuts until you like what shape you have made.
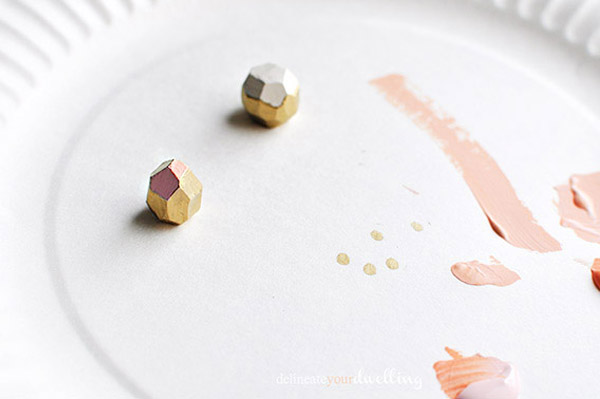
After the clay gems have completely dried out (24 hours is more than sufficient for these small sizes), it’s time to have fun painting!
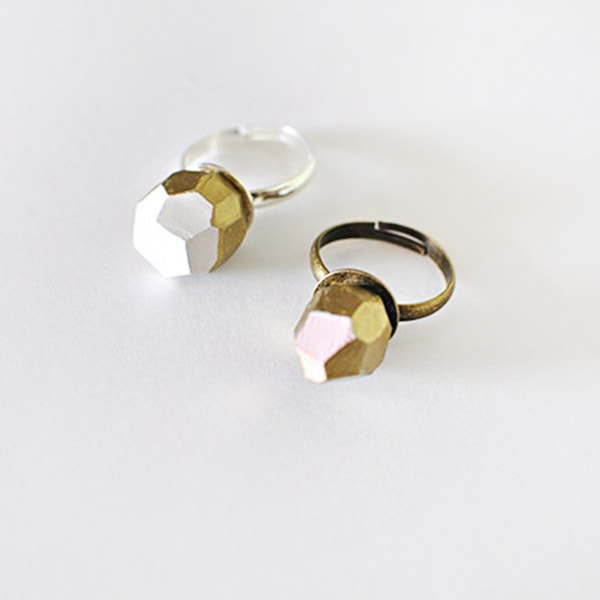
I used my gold foil paint pen and to paint the oblong shape mostly gold with a small spot of pink and orange. The more circular shape got half gold and half white.
Once the paint had dried, I adhered the geometric gems to the ring bases using E-6000 Industrial Strength Adhesive.
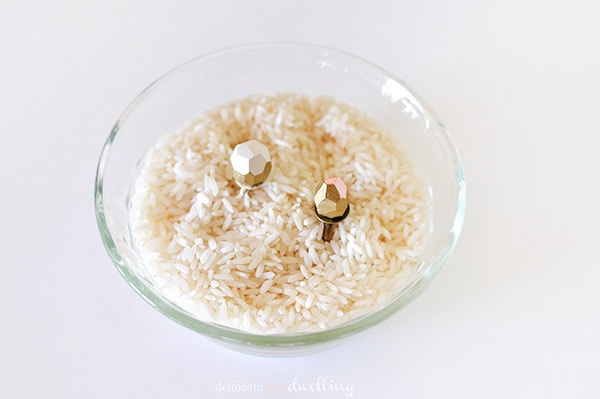
Drying your Clay Ring in Rice
While your clay ring dries, a helpful tip is to place the rings in a small bowl of rice. This allows them to be propped up correctly.
Follow dry time based on the directions of your glue.
Clay Ring
I am so in love with these cute clay rings! My favorite thing is combining natural materials like air dry clay and turning it into something more streamlined and modern. These simple geometric clay rings definitely do that well.
I think I’ll need to plan a girl’s night out just so I have an excuse to wear my fun diy clay ring! What do you think?
Clay Ring Ideas
Other fun clay ring ideas include –
- Smiley face ring
- Peace Sign ring
- Sunshine ring
- Pumpkin ring
- Gemstone ring
- Snowflake ring
- Flower ring
- Plant Leaf ring
Don’t forget to follow me on Pinterest so you don’t miss any great project ideas!
Looking for some of my Air Dry Clay projects? Hope you are inspired by them!
TIPS, TECHNIQUES + TRICKS FOR USING AIR DRY CLAY.
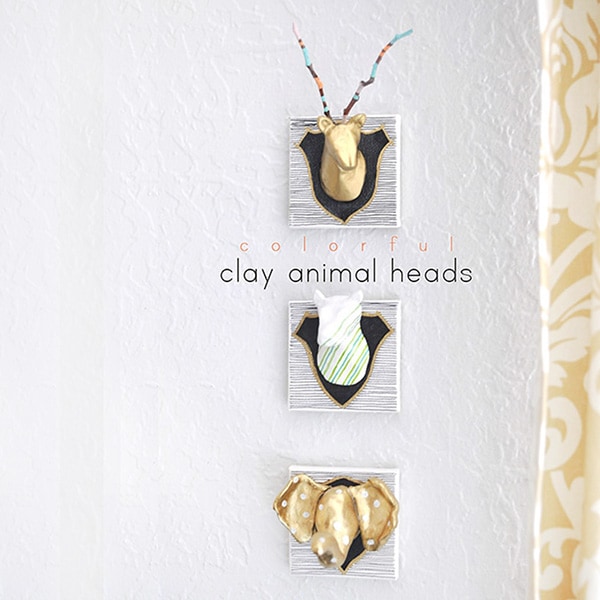
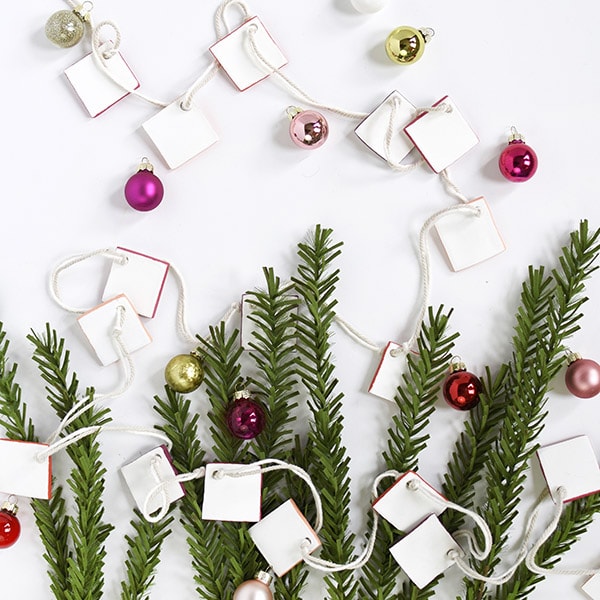
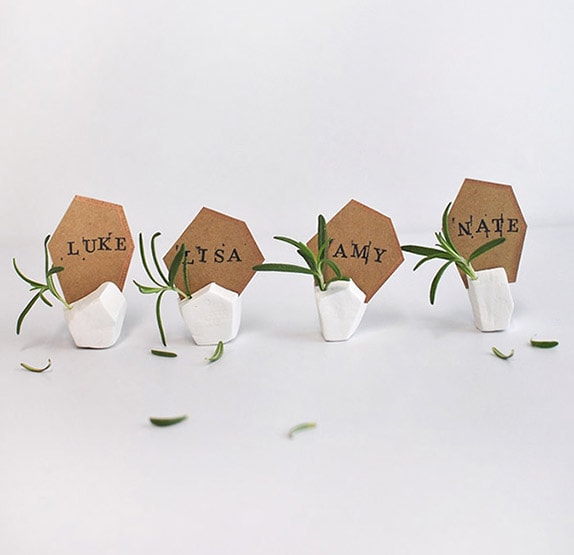
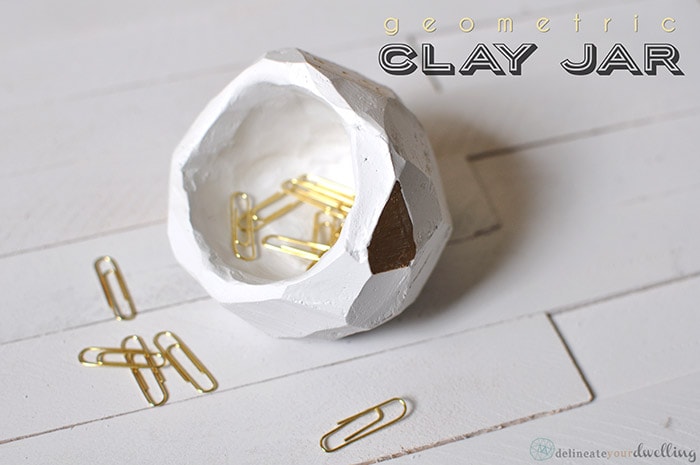
Colorful Clay Animal Heads | DIY Clay Garland | Geometric Place card Holders | Clay Rings | Clay TDAY Banner | Colorful Clay Animal Heads | Geometric Clay Jar | Fourth of July Tea Light Holder


If you liked this project, you might also like these:
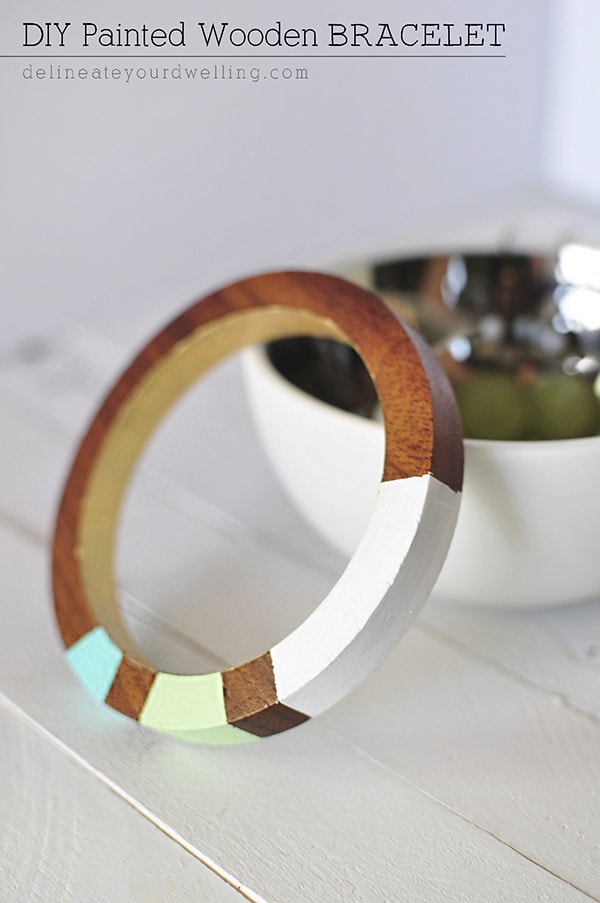
Faux Aqua Agate Leather Cuff Bracelet
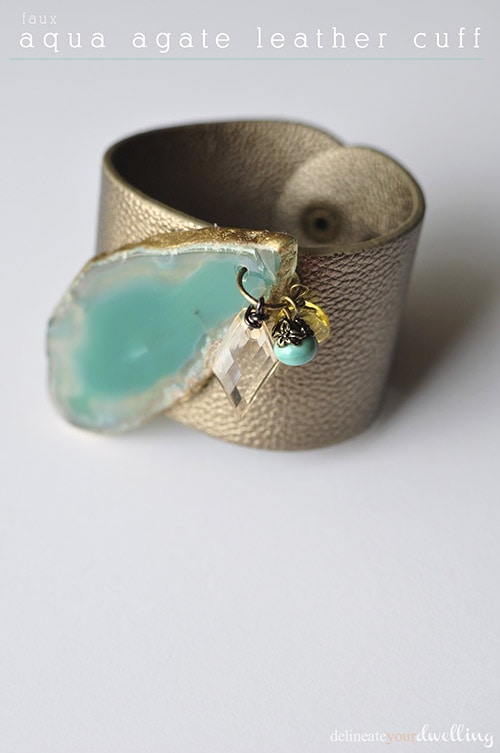


Thanks for sharing…
The air dry clay is soooo soft, does it get hard enough that you won’t break or misform it or something if it bumps into something?
You would be surprised, Mary! After even a few hours, you’ll notice QUITE a bit of difference. When it’s something small like a ring, it gets hard much faster. But, yes after a full day your ring will be hard hard hard. I wear my ring all the time!
Thanks so much! 🙂 My daughter wants a mask, but I’d been scared to try it because of how soft it is. So looks like I have a owl to build now.