Modern Narrow Display Shelf
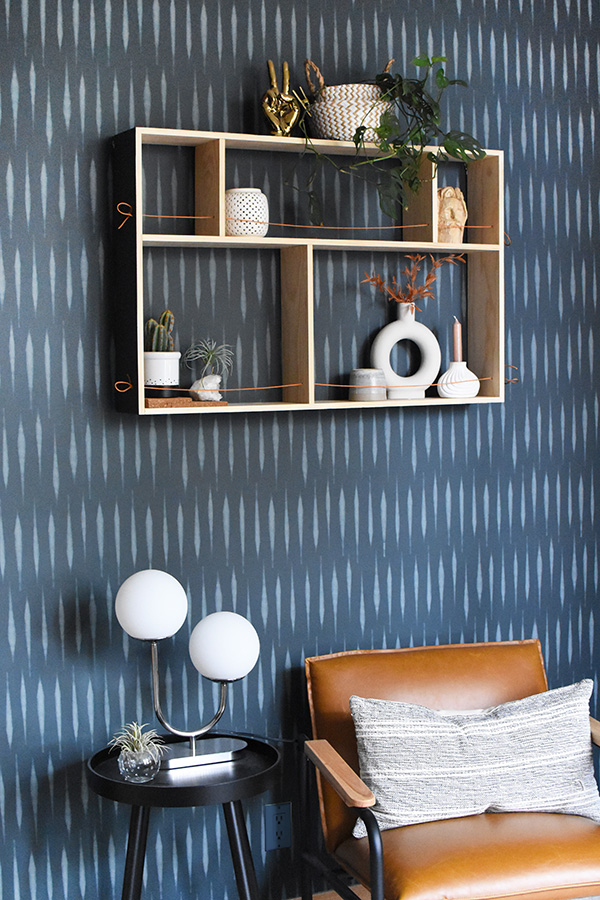
INSIDE : Learn how to construct a Modern Narrow Display Shelf to store your beautiful home decor treasures! Add a contrasting color cording detail for a fun twist.
This post may contain affiliate links. See full disclosure here.
Does anyone else have endless candles, pottery pieces, plants, knick knacks and thrifted treasures like me???! Well, I am always in need of places to show off all my finds, but I don’t always want a big huge cabinet or dresser sitting out.
I decided to build myself a very thin profile modern DIY Display Shelf to display everything off in my office! And bonus, HGTV was so excited about the project – they wanted in on the action. You can see the video of it they shared on their social media soon!
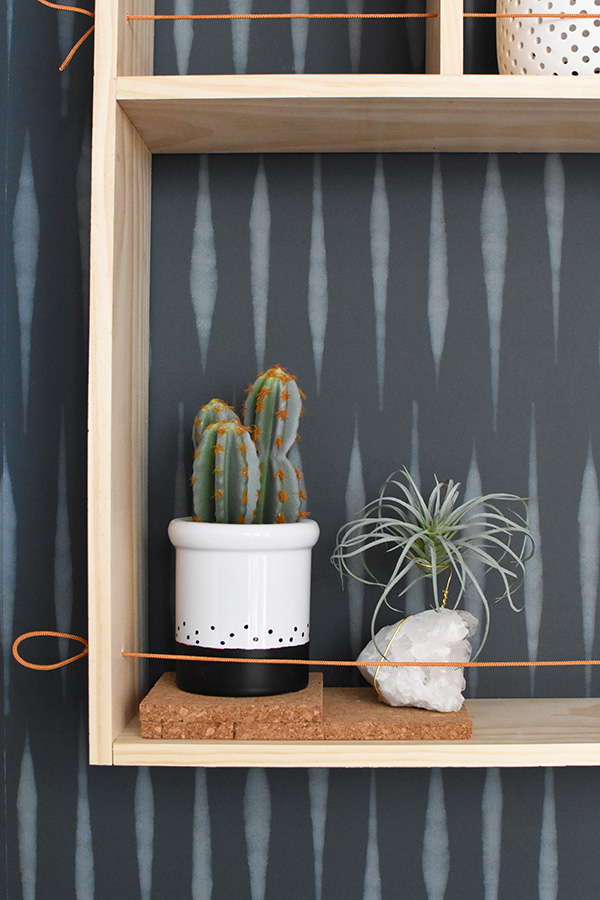
What materials do I need to build a DIY Display Shelf?
- (3) 36″ Wood (Horizontal Shelves)
- (2) 24″ Wood (Vertical Sides)
- (2) 8-1/2″ Wood (Small Vertical pieces)
- (1) 14″ Wood (Longer Vertical piece)
- Orange Para-cord, 2 pieces roughly 44″ length each (or thin bungee)
- Painter’s tape
- Paint brush
- Paint (I used leftover from my Office, so it would match the walls – Nocturnal Blue)
- Miter Saw + Safety Glasses
- Nail Gun + Compressor
- Electric Drill + Drill Bits
- Clamps
- Carpenter’s Square
- Speed Square
- Level
- Heavy Duty D Ring Picture Hangers
- Painter’s Tape
- Pencil
How to build a thin profile display wall shelf
Begin by measuring out 36″ on your wood and using a Carpenters Square to draw your cut line. You will repeat this three times for the three horizontal shelf pieces.
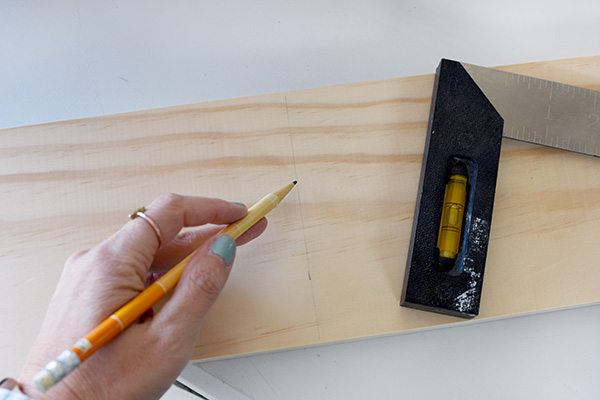
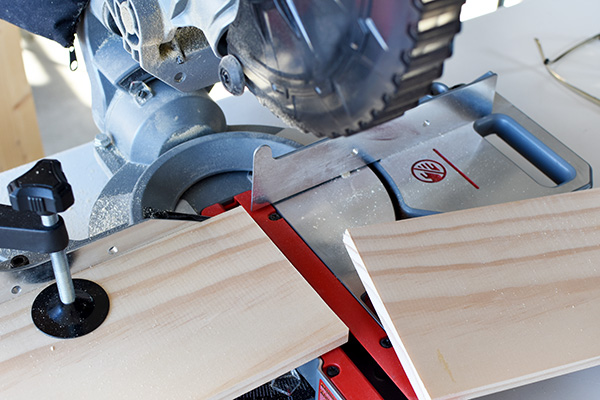
Then measure and cut the remaining wood pieces. See cut list above in supplies for all measurements.
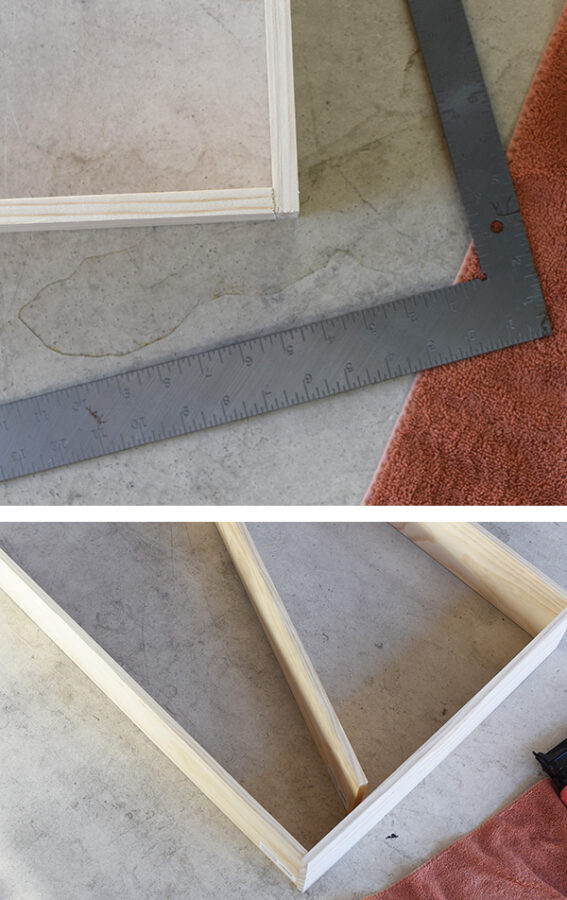
Lay all your main wood pieces (don’t worry about the inside small vertical pieces yet) on a flat surface and begin to dry fit them to make sure everything is plum and square.
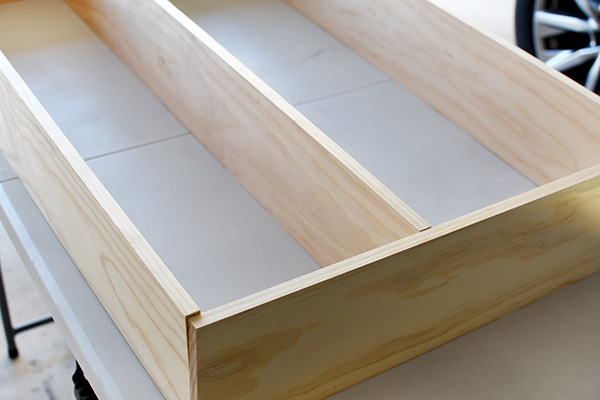
Use your big carpenter’s square to check that everything is once more at a perfect 90′ angle and using your nail gun, add three nails to the edge to secure. I added a nail near one edge, the middle and near the other edge.
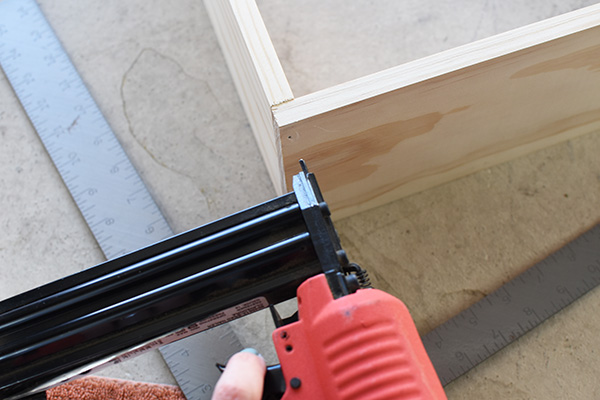
Once your basic rectangle shape has been built, it’s time to add in your middle shelf. You can add it at whatever height you like, but I installed mine 9″ from the top of my shelf.
Interested in learning more about the Best Beginner DIY Tools? Check out this post!
Adding a Para-cord detail
I used a 7/32 drill bit to add a little cording detail on my display shelf.
I didn’t want the cord to cover up huge amounts of the shelf decor items, so I kept the height at 1-1/2″ from the bottom of each shelf.
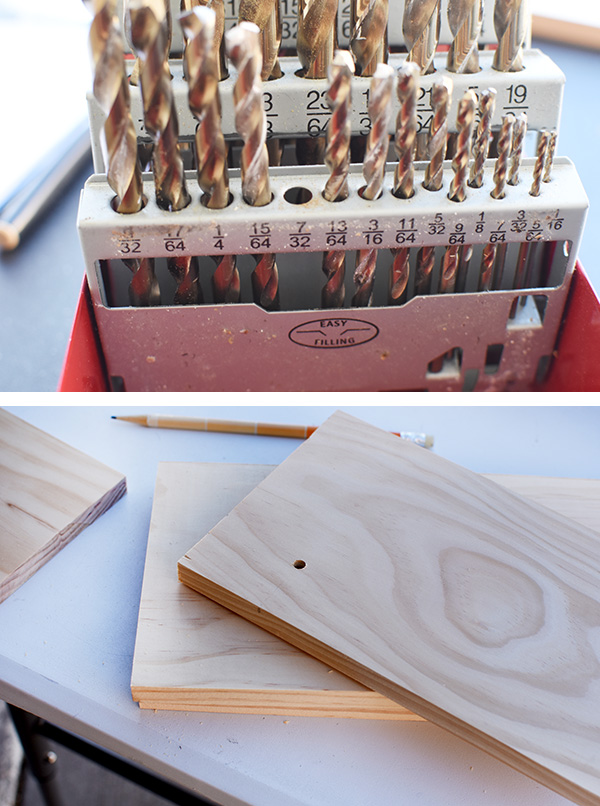
Measure and mark the same height on your two small vertical boards and using the drill, drill holes through the small vertical boards and your vertical side pieces.
Once the small vertical boards have been drilled, you can add them to your shelf. I did three nails on both the top and bottom to secure.
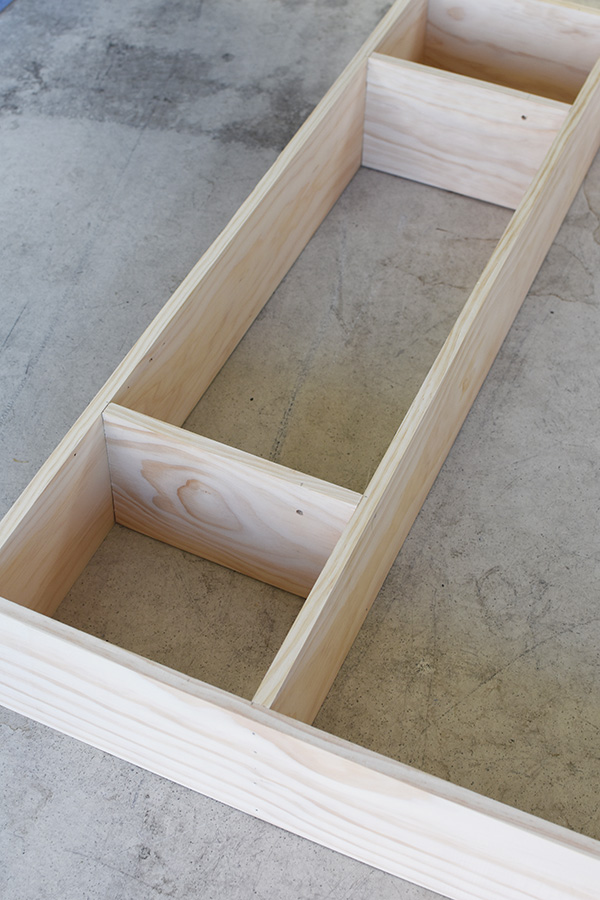
Painting Narrow DIY Display Shelf
Now that your Display Shelf has been constructed, it’s time to add some interest with paint!
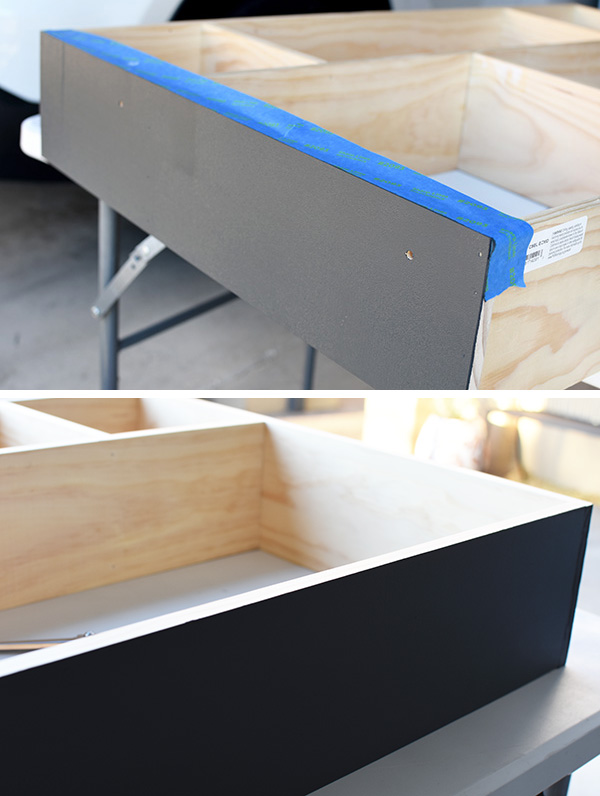
I love the mix of color and natural wood, so I decided to add my blue paint color (matches my Moody office wall, Nocturnal Blue) only on the outside edges.
I used painter’s tape to cover the raw wood edge and got to painting! Each outside edge received two coats of paint for even coverage.
Adding the cording detail
Cording was really a fun detail to this project and picking which color I was going to use was so difficult. I wanted a fun contrasting color to the blue and couldn’t decide between a light lavender color and this fun orange. I went with orange in the end.
Start by stringing your para-cord through the first hole and string all the way through.
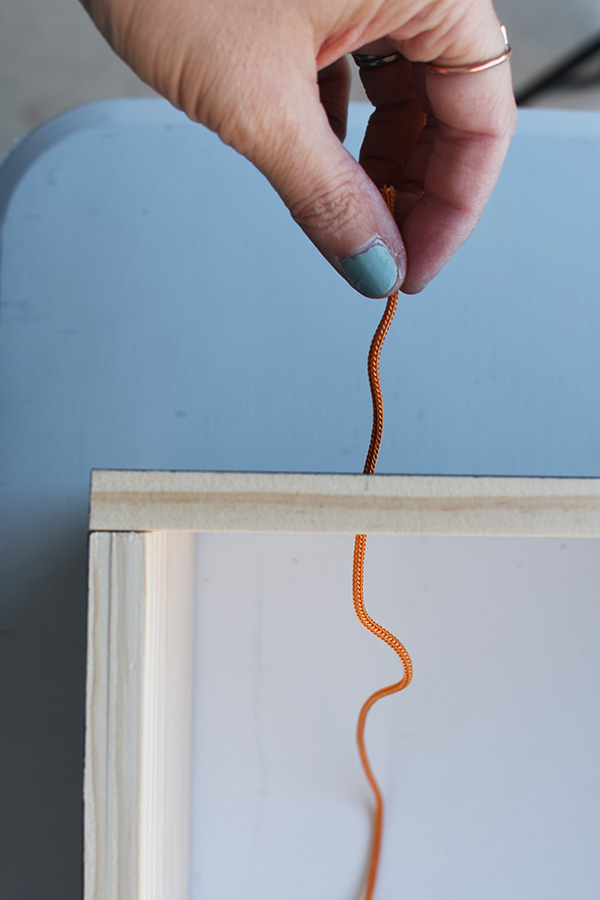
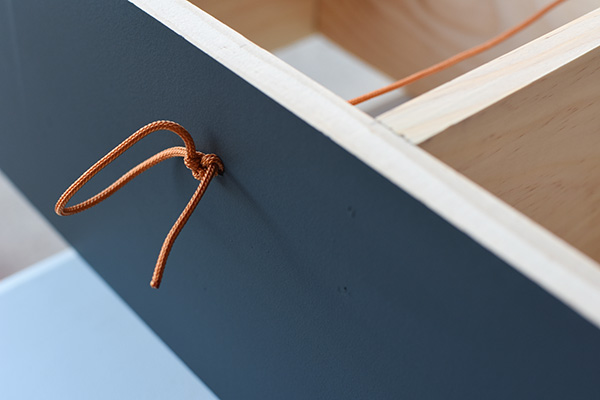
Tie a fun knot at one end, pull the string snug and tie a knot on the other end.
Narrow Display Shelf
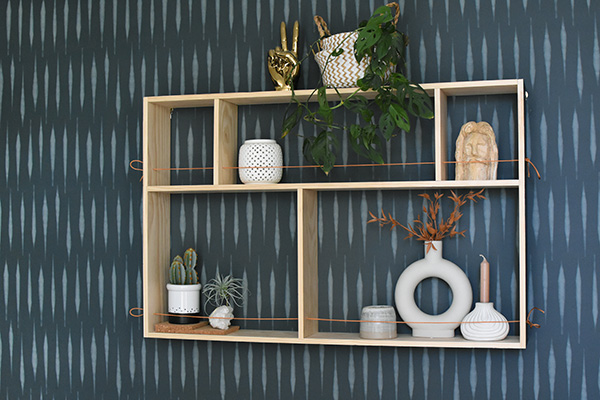
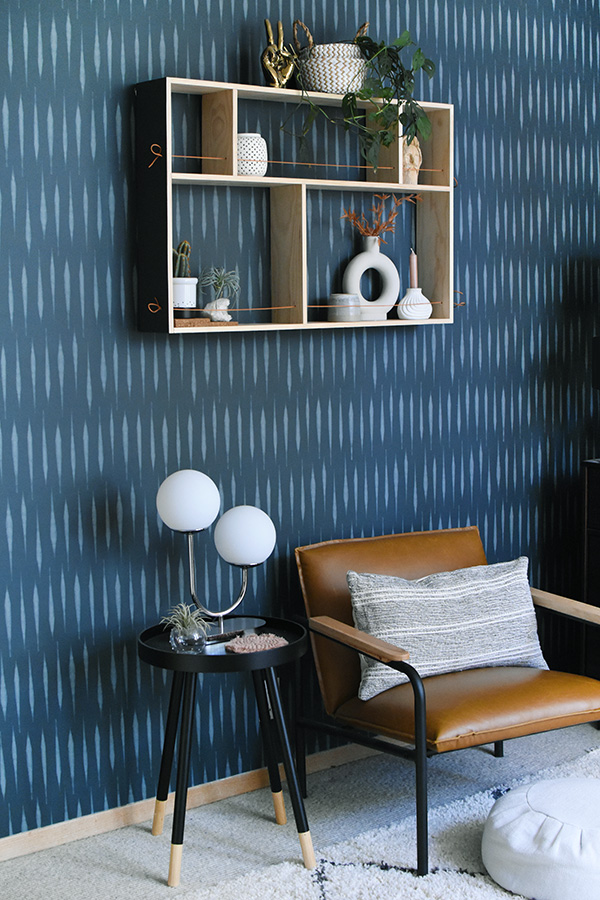
How fun is this narrow display shelf?! I love how it turned out and that the outside blends so seamlessly with the color of the wall.
To hang it on the wall, I installed two Heavy Duty D Ring Picture Hangers to the two vertical boards. They hold up to 40 lbs. each, so this shelf isn’t going anywhere.
Looking for other display shelves? You might like some of these…
Is it cheaper to build your own shelf?
This is a great question! Obviously you will need to already own a few tools to make this project economical. However, if you own even a hand saw, hammer and electric drill – this is a project you can make yourself.
This project cost me : $40
- Wood – $30
- Cording – $10
- Everything else I already owned
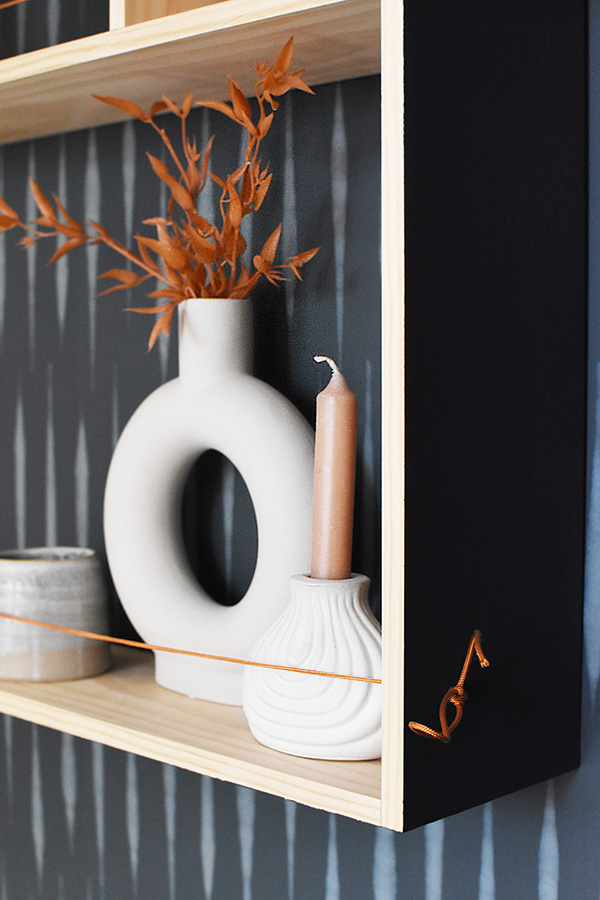
It is the perfect shelf to hold a few fun thrifted items and some plants. I like that it doesn’t take up huge amounts of space in the room, either.
Looking for some other simple DIY build projects? You might be interested in these!

