Master Bedroom Refresh painting + colors, week 2
INSIDE: Check in on my Master Bedroom Refresh painting and colors for week 2 of the New Year, New Room challenge. See the patches, painting and product updates!
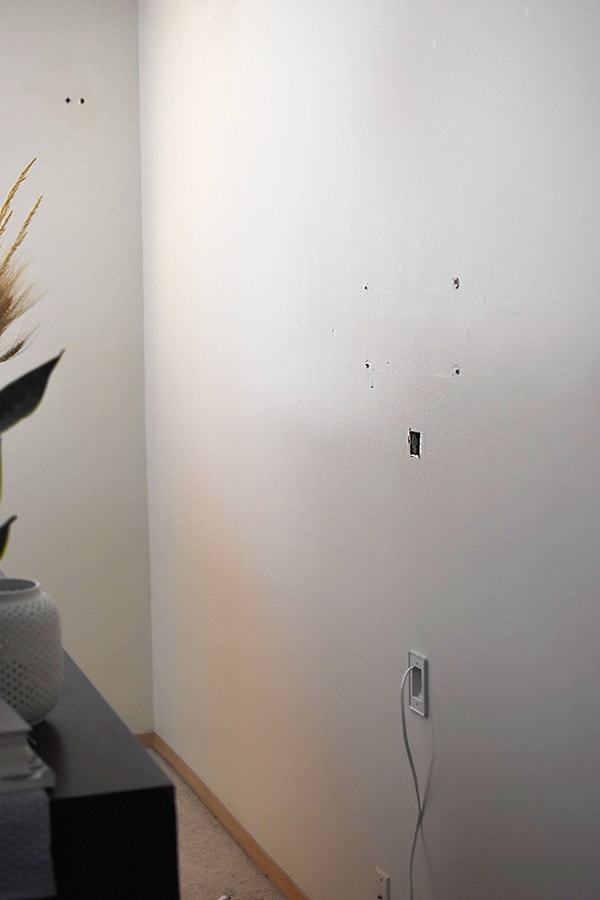
During week one, I have been a busy little painting bee! I first put all the furniture we are keeping, into the center of the room. I immediately remembered there were numerous holes in our walls. The previous owners had installed a television and never patched all the holes. The biggest hole was about 2″x2″.
I just covered the holes with artwork and forgot they were even there, until now.
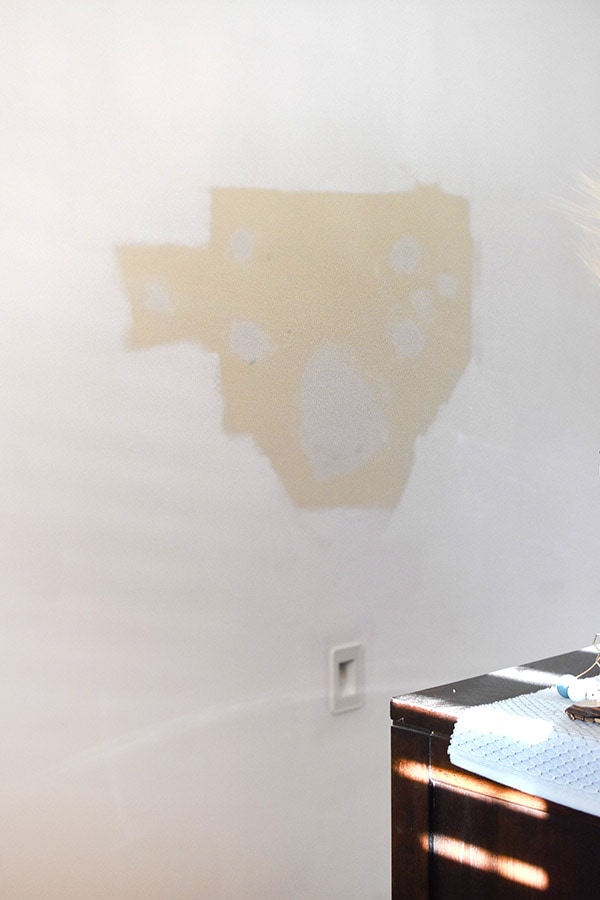
So, before I started painting, I needed to patch up the holes. I did not know how to patch holes and looked up how to do that on Youtube. The first Youtube video I found about patching small holes in your wall was from Chris Loves Julia, fellow bloggers – yay!
How to patch a small hole in your wall
-Adhesive Mesh Wall Tape Patch
-Dry Wall Joint Compound
-Putty Knife
-Utility Knife
First, cut the mesh tape about an inch wider than your hole. Next, using a utility knife, cut the exact shape of your hole. Then, cut another piece of tape and place your cut piece over top. This method helps secure your mesh tape and aids in it not pushing into the hole, once you apply dry wall joint compound.
Once you have this double layer of mesh tape covering the hole, it’s time to apply the dry wall compound. Put a thin layer over the mesh tape and using a putty knife, smooth out the compound. Allow to dry completely and reapply.
After reapplying and again, allowing it to dry – lightly sand the compound. Keep applying, drying and sanding until you can no longer see the mesh tape pattern.
Once you can no longer see the mesh tape through the dry wall compound, you can safely paint! You can see below that I painted white all around the hole patching area until it was completely dried and sanded.
After the numerous patches had completely dried, it was time to start painting the walls. Per my plan last week, I am only painting three of the walls white and then one wall is going to be a dark deep blue/green color.
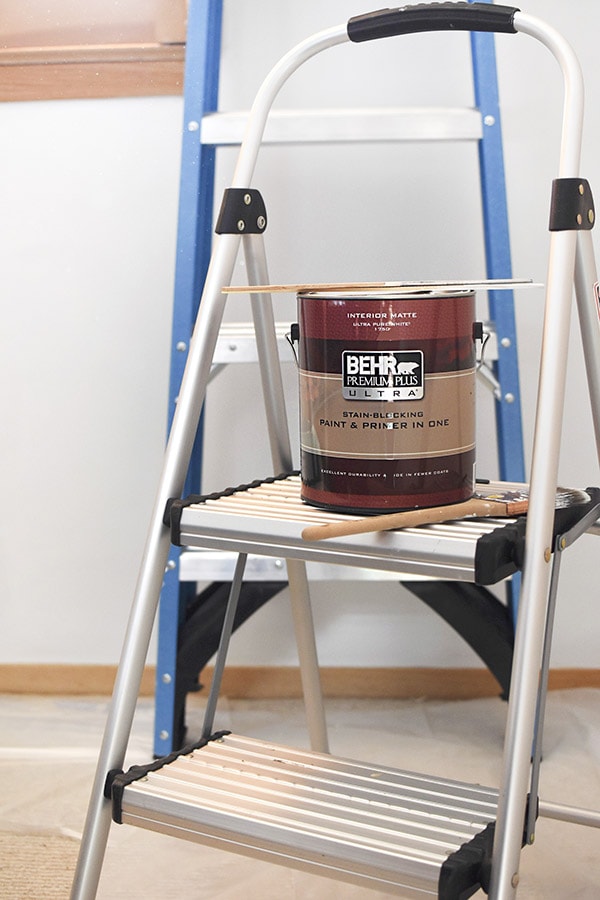
I have been a long fan of Behr paint and picked up two gallons of Behr Premium Plus Ultra ‘Bit of Sugar’ from Home Depot and was excited to use it again in our Master Bedroom.
The white paint instantly makes the room feel so much more modern and fresh.
Master Bedroom Refresh painting + colors
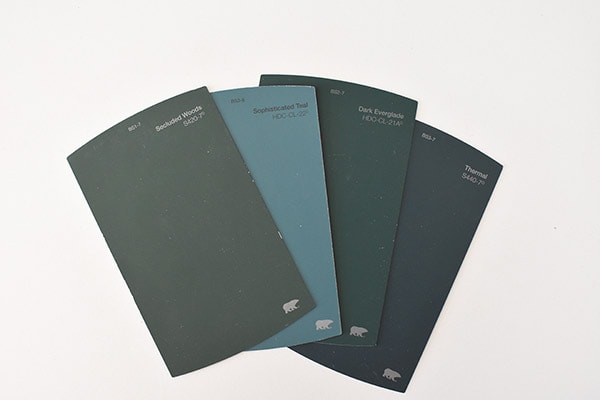
Next up was picking my accent wall color! I went to Home Depot, who is now one of our brand sponsors, and picked up these four color samples. I choose Secluded Woods, Sophisticated Teal, Dark Everglade and Thermal.
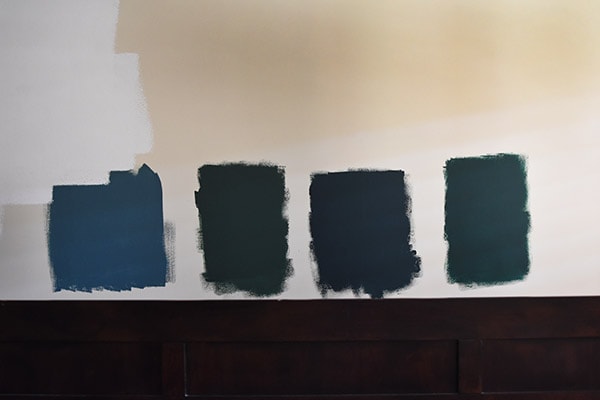
I painted all four paint samples on the wall behind our bed to get a good idea of what they would look like. I also did a poll on Instagram Stories to see what people were liking the most and I was so thrilled to see that all of us were on the same page!
The accent color that I decided on was Thermal (the third color in the picture below). This week, I will be working on painting the accent wall.
PLAN OF ACTION THIS WEEK:
-I plan to finish painting the room this next week.
-Start working on a fun little DIY project that will go on the wall, above our bed.
I expect quite a few of my gorgeous sponsored products to start arriving this week, which I am SO EXCITED ABOUT!! Be sure to check in to see how it all works out and what cool DIY I create for next week.
ROOM REFRESH TO-DO LIST:
-Remove the clutter + “catch-all vibe” of the room -Paint the cream walls a fresh white
-Paint a dramatic accent wall
-Create a focal point on main bedroom wall
-Bring in a few new pieces of furniture/lighting to get away from the matchy/matchy feel
-Add texture, pattern and color to the room
-Create our personality in the space
Do you think I can get it all done in now 3 weeks???? I’m sharing daily updates on Instagram Stories and I’d love to you to follow along.
Completed Room updates :
Week 1 Master Bedroom Refresh Plan
Week 2 Painting + Colors
Week 3 How to create an Organic Paint Accent Line
Week 4 Dried Pampas Grass Wreath DIY
Week 5 Master Bedroom Refresh Reveal
Be sure to check out the 16 other amazing Room Refresh plans from the other participating bloggers! I am loving seeing their weekly progress.
Casa Watkins Living // The Boho Abode // Delineate Your Dwelling // Haneen’s Haven // The Happy Housie // Homemade by Carmona // House by Hoff // Jeweled Interiors // Kaleidoscope Living // Our Fifth House // PMQ for Two // Rain on a Tin Roof // Southern State of Mind // Taryn Whiteaker // This is Our Bliss // Thou Swell // Up To Date Interiors
And I can’t end this post without sharing our generous sponsors! In the coming weeks you will see me sharing more about many of them.
I am specifically using : Home Depot, Spoonflower, Mohawk, Liberty Hardware and Smith Honig.




I think it will look amazing!!! And once you’ve done all the painting job, it will be ready in no time.
Good work!
Loving those colors Amy! I’m always drawn to colors that balance cool blues and warm greens. Excited to see the full room!
I LOVE the mood board for this! It’s going to look great! BTW, can you share a link to the dresser on the board?
I love that white paint! Such a pretty wall color. And thermal is a gorgeous color. It’s the perfect accent. Such exciting progress!
The white will be such an improvement over our old cream, nice and fresh! I can’t wait to get started on the fun Thermal color now. 😉