How to Antique Glass with Rub N Buff

INSIDE : Learn how to Antique Glass with Rub N Buff paint products. The end result is so beautiful, it looks just like aged brass! Then follow along as I turn this thrifted brass dish into a gorgeous DIY Candle Holder.
This post may contain affiliate links. See full disclosure here.
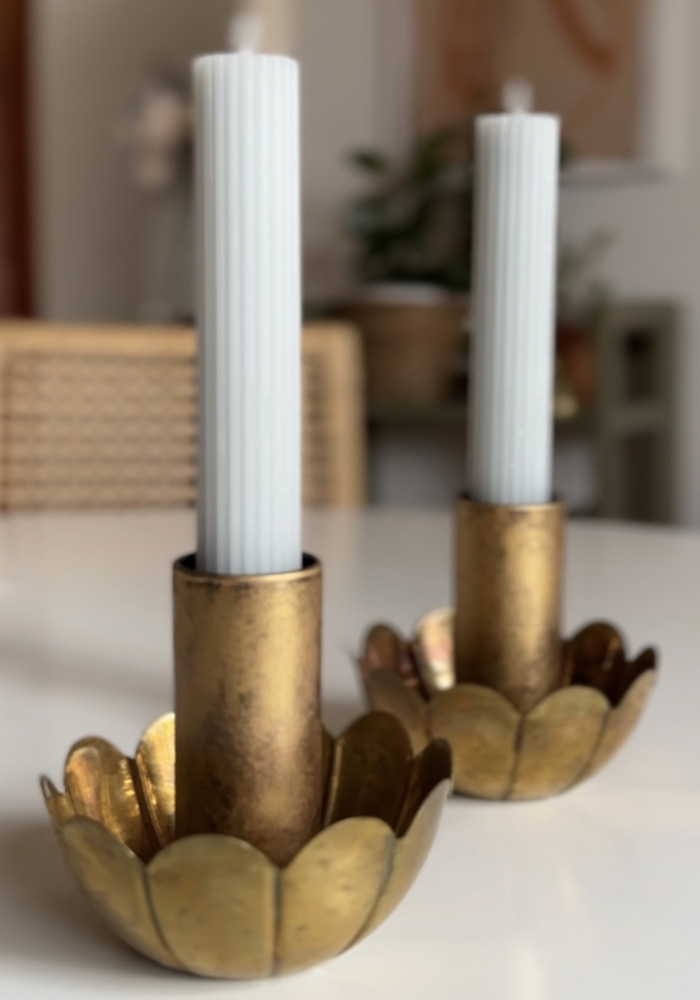
I recently thrifted these beautiful flower shaped brass dishes from a local Albuquerque thrift store. I was completely in love with them and their $4 price… and I had a fun idea to turn them into candle holders of some kind.
I got to dreaming a bit and decided with a little addition, it would be so simple. Let’s get into the supplies needed first!
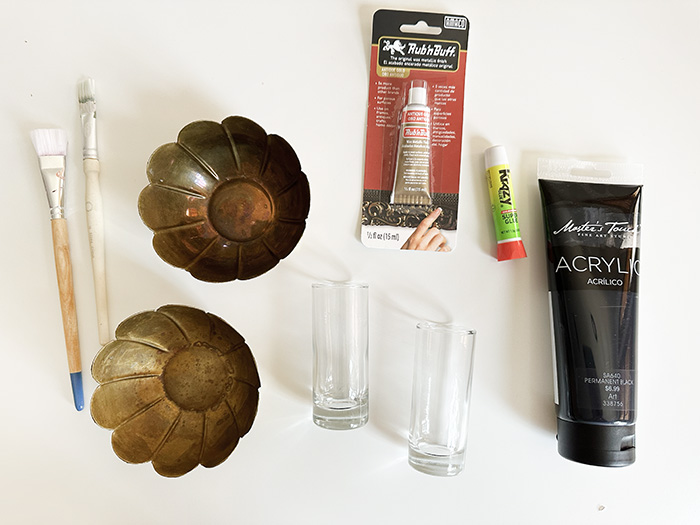
What do I need to make a DIY Thrifted Brass Candleholder?
- Brass Dishes
- Glassware (I used Dollar Store Double Shot glasses)
- Black Acrylic Paint
- Rub N Buff (Antique Gold + Gold Leaf)
- Paint Brush
- Soft Makeup Brush
- Krazy Glue
- Sticky Putty
- Soft Blue Taper Candles (similar, similar, similar in Sage Green)
DIY Thrifted Brass Candleholders
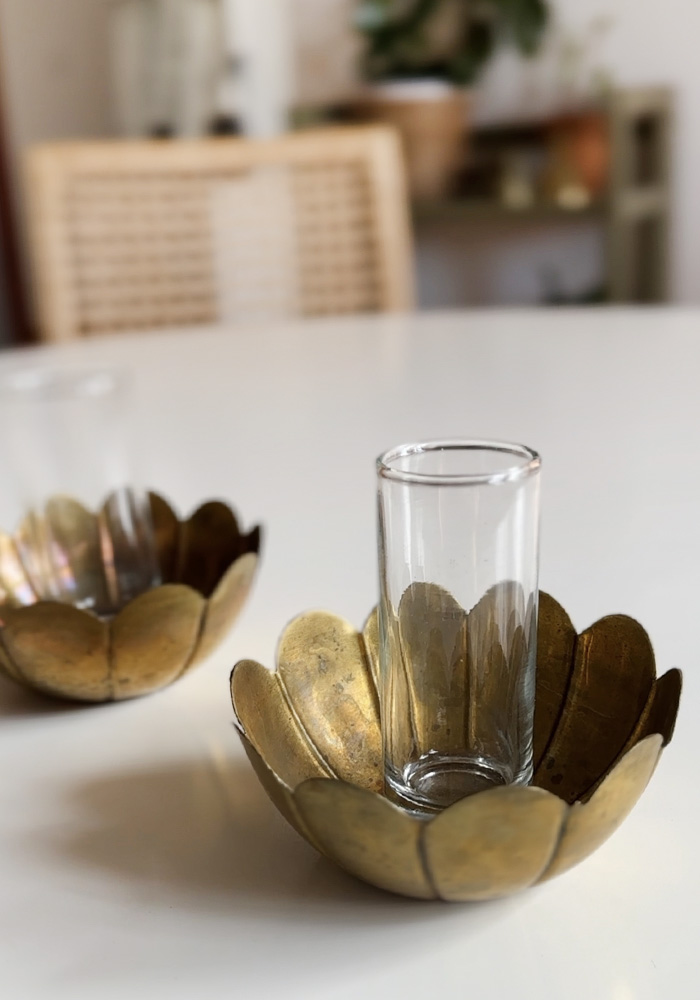
I shared last week how I purchased these two double shot glasses from the Dollar Store (similar) and found an easy way to remove a printed label from a glass jar.
Here I just placed the glasses in my thrifted brass dishes to do a dry run and see if I liked the look of them together. Thrifting and DIY go so well together, it was a match made in heaven!
Time to start making these glasses look antique and as brass like as possible.
Differences between gold foil sheets and Rub N Buff
I have heard about Rub N Buff products for a while now. I am a huge fan of gold foil for these types of crafts, however gold foil gives more of a shiny “gold sheet look” to any project used on.
You apply special glue to your project and then once it becomes tacky, you sheet by sheet apply the gold leafing to your project. Then, you slowly brush off any excess gold, leaving you with a beautiful gold foil look. However, it always feels messy to me and with much use the gold foil sheets do come off.
From what I can tell Rub N Buff was easier to apply, in my opinion. There was no need to sand, apply extra glue and I didn’t have fly away gold leaf floating in the air. Rub N Buff can get messy, but I used a brush to apply it and didn’t really have an issue. If you plan to apply it with your finger, be sure to wear gloves.
I’m sure with extensive handling the Rub N Buff product would also come off… however it feels more like a waxy paint, than an applied sheet. So, it still felt more permanent to me than Gold Foil Sheets.
How to Antique Glass with Rub N Buff
Rub N Buff is wonderful because it does not require sanding or priming. However, to create the antiqued patina look of my brass dish I was trying to replicate, I knew I needed to give this piece some depth of color.
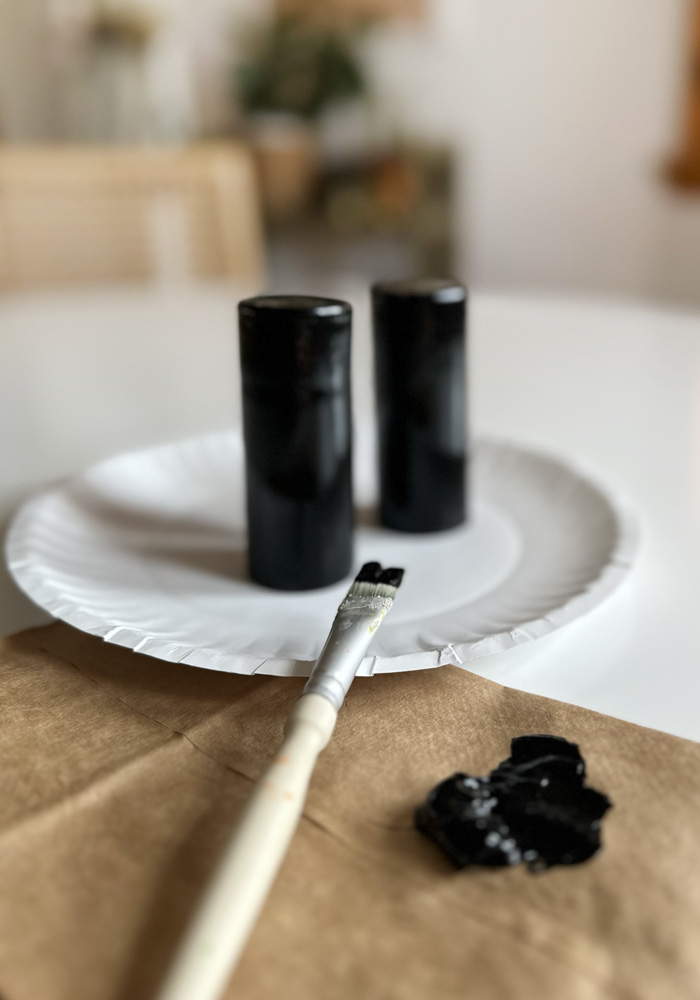
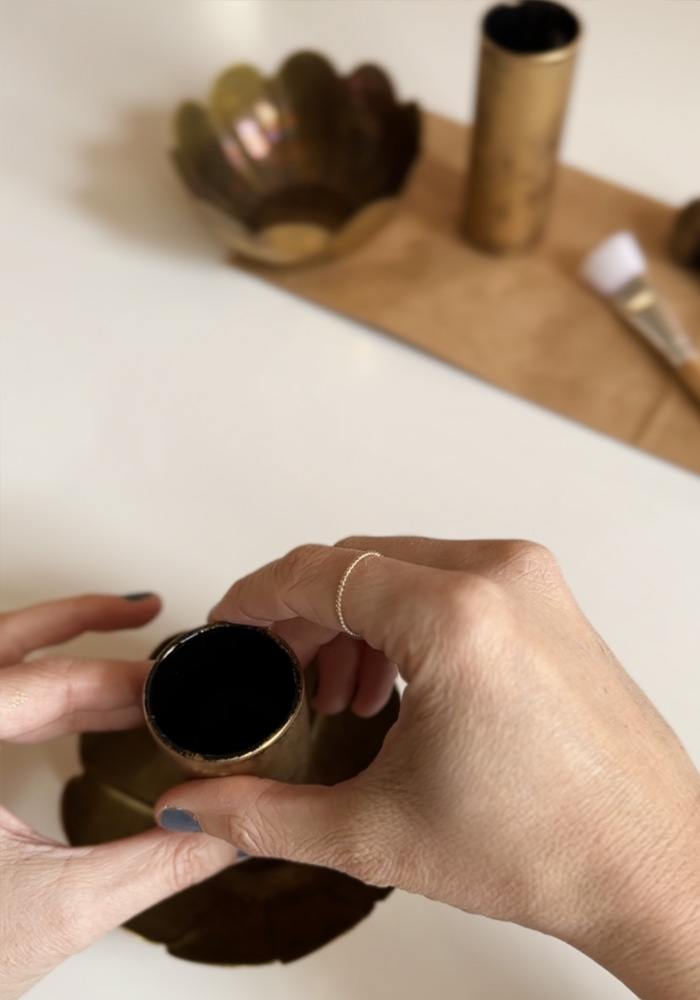
I started off by painting both glasses with black acrylic paint. This step doesn’t need to be fancy or perfect. You are simply creating your base layer here.
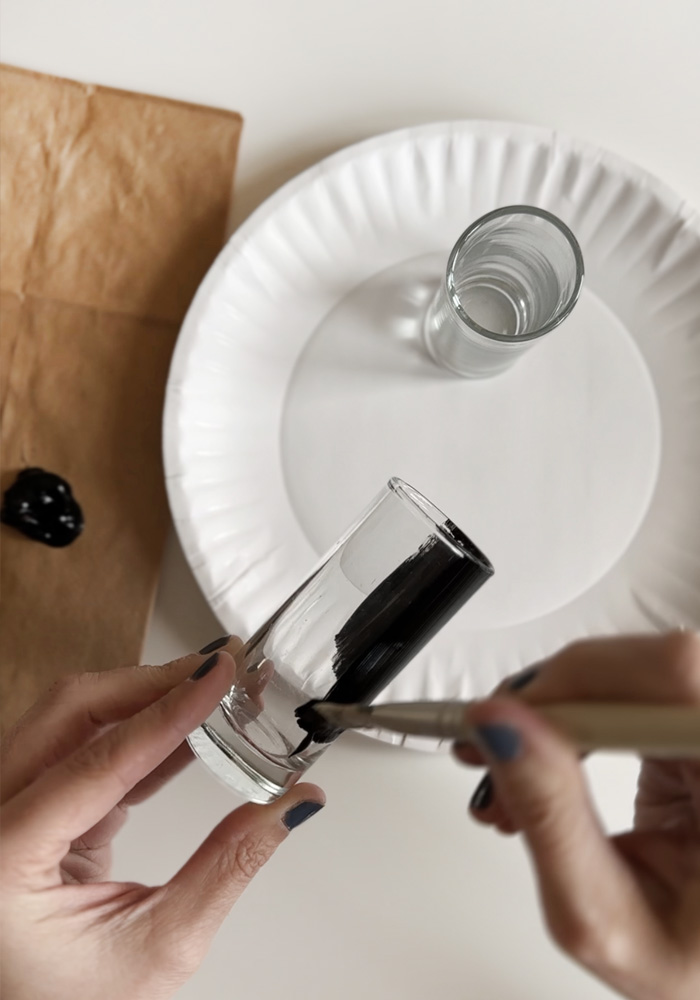
Allow for your paint to fully dry before the next steps.
What can Rub N Buff be used on?
Rub N Buff can be used on almost any solid surface including glass, wood, plastic and metal.
Simple process for creating Antique Brass
Once my base paint layer has fully dried, I was time to start creating the antiqued brass look.
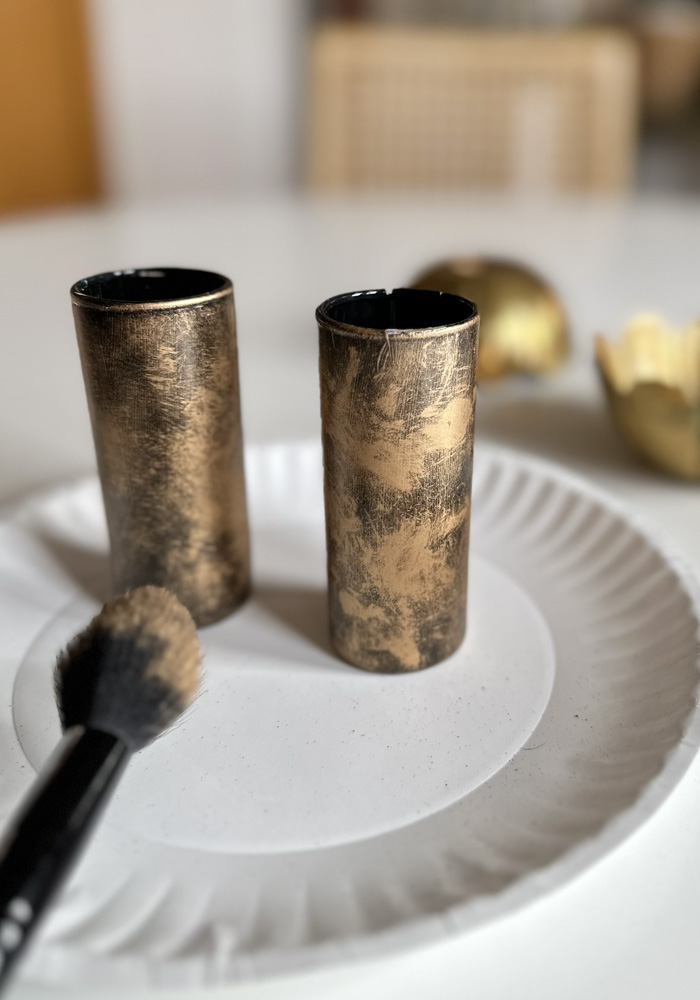
Using a gentle makeup type brush, I started adding first the Antique Gold Rub N Buff.
The Antique Gold Rub N Buff color is beautiful and has a bit of warmer bronze like gold to it. I studied my two brass dishes and thought there was some warmer tones to their patina… so using the Antique Gold first was a perfect layer to start with.
NOTE : Rub N Buff is like a very thin wax paint. However, it does not really “spread” like paint might. The area you place it, it sort of stays. So I used more of a dabbing type motion, than a paint brush spreading like motion.
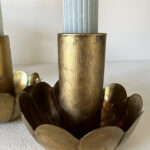
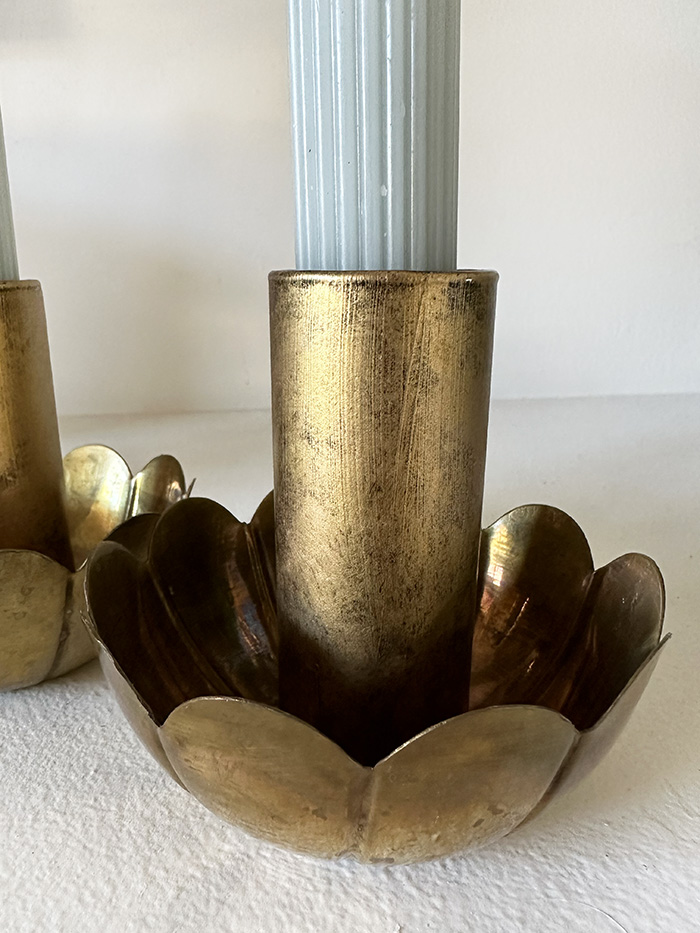
Once the Antique Gold was dry, I applied Rub N Buff Gold Leaf color. This color most similarly resembled the main colors of my Antique Brass dishes.
I used the same dabbing motions and tried my best to not completely cover every inch of the glass with Rub N Buff, but allow for some of the black acrylic paint and the Antique Gold color to also show through.
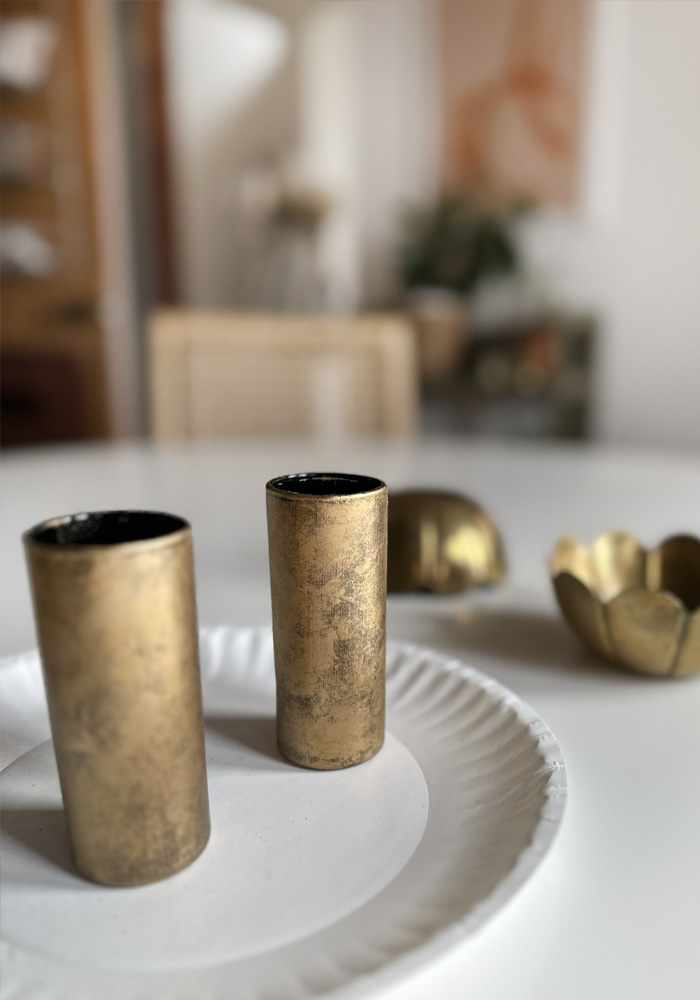
The entire Rub N Buff process took no time at all. It dries very quickly and was easy to apply. This entire antiquing step took maybe 20 minutes total for both glass pieces.
I love a quick DIY like that!
Making Antique Brass Taper Candle holder
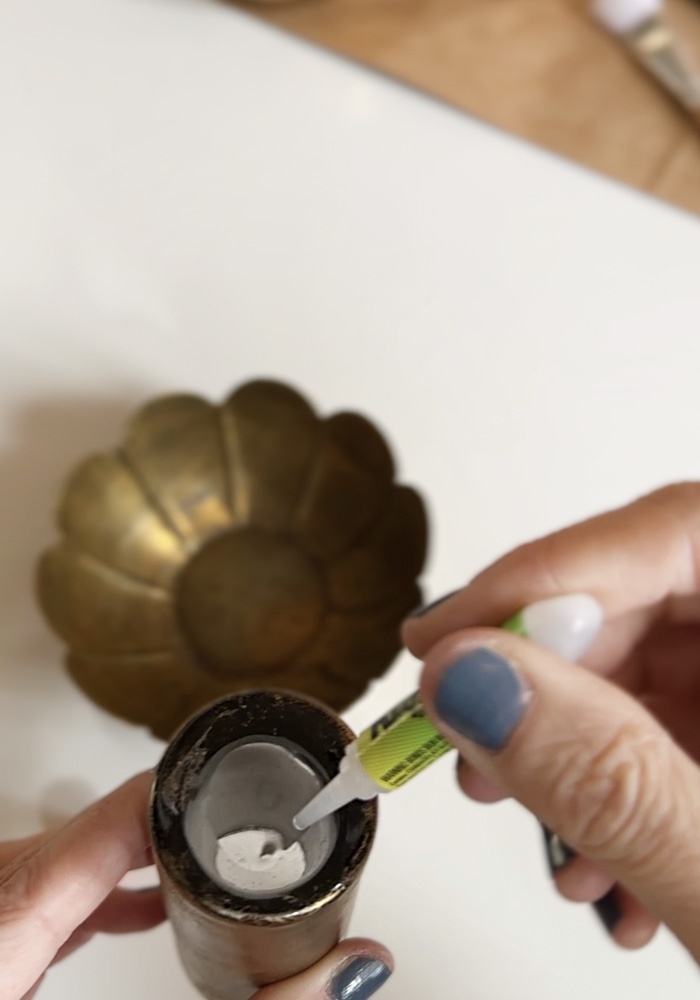
After adding Rub n Buff to my glass, it was time to adhere my glass to the brass dish to create a candle holder.
I used a combination of sticky putty and krazy glue to keep everything in place. The sticky putty held my glass in place in the short term (although, I think it’s strong enough to hold in place permanently) and then used krazy glue to hold it long term.
Does Rub N Buff stick to glass?
Yes, Rub N Buff does stick to glass however, it’s helpful to add a layer of paint first for easier adhering. If there isn’t anything but shiny glass… the rub n buff will have a harder time staying put when you paint it on.
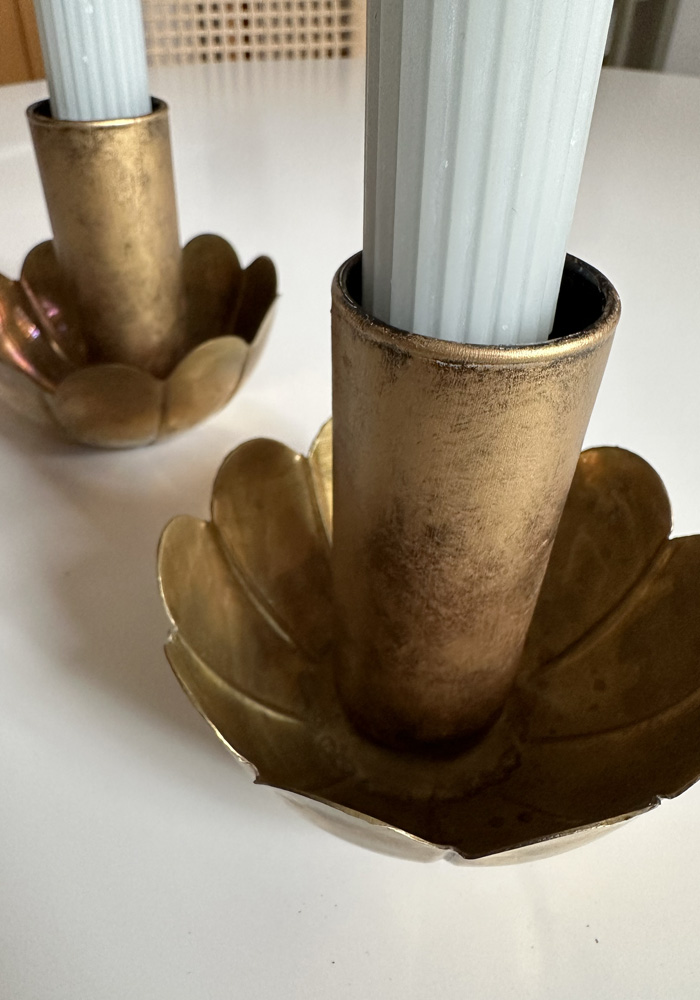
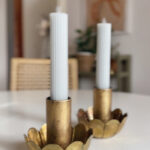
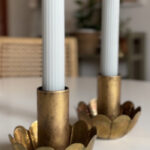
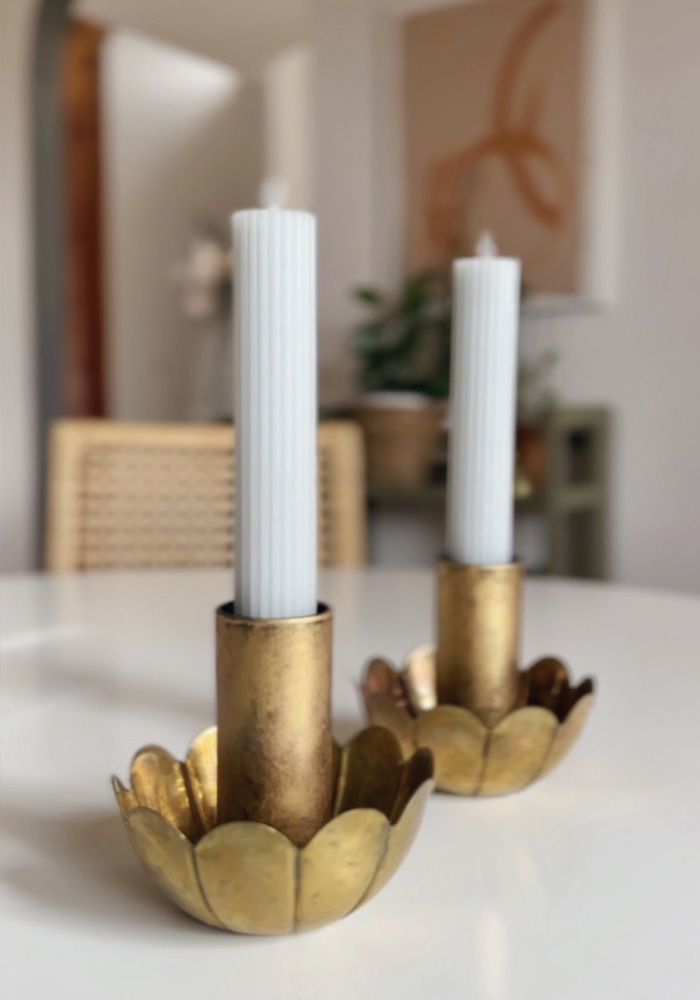
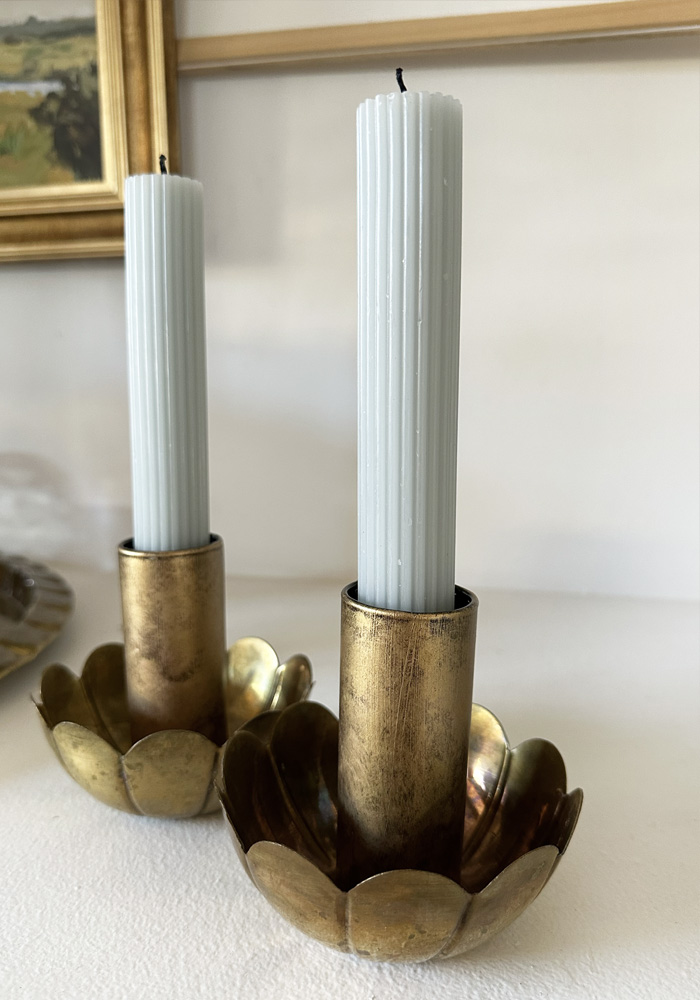
Once the glue had set, I was able to place my taper candles in and…. ah it was so satisfying!
Here are some other great ideas for where you can use Rub n Buff in your home
- Sconces
- Artwork
- Picture frames
- Wooden Bowls
- Cabinet hardware
- Curtain rods
- Decorative Planter
- Mirror frames
- Door knobs
- Plastic or Wood Easter Eggs
- Furniture legs
- Candle holders
- Vases
- Table Centerpiece
- Lamps
- Mirror frame
- Decorative trays
Rub N Buff Colors
Rub n Buff comes in a lovely variety of colors ranging from silvers, white, black and a variety of golds.
- Spanish Copper
- Patina
- Silver Leaf
- Ruby
- Antique Gold
- Grecian Gold
- Autumn Gold
- European Gold
- Gold Leaf
- Antique White
- Ebony
- Pewter
Greetings. Today I tried making a clear glass vase look more like metal, using your Rub N Buff idea. It turned out just great! Thank you for the idea. Your candle holders are lovely.
Ah, this makes me so happy to hear!! Thank you for leaving a comment and sharing. 😉