DIY Gold Plant Lady Skeleton for Halloween


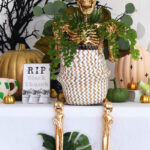

INSIDE : Add a non-spooky, plant-loving twist to your Halloween decor! See how to style a DIY gold plant lady skeleton with mini houseplants and chic fall accents.

This post contains affiliate links. See my full disclosure here.
This post has been updated since it’s original September 2019 publish date.
When I saw that Oriental Trading had a small gold skeleton, my creative wheels started turning and I knew I had the perfect idea for it! I am a plant lover through and through and I knew this was my opportunity to take a potentially “spooky skeleton” and put my plant loving spin on it.
Speaking of which, did you see my recent French Bull Dog skeleton? I’ve got to say, she actually turned out so “barkingly” adorable – ha. Did you catch her little pink hair bow even?

What You Need to Make a Plant Lady Skeleton
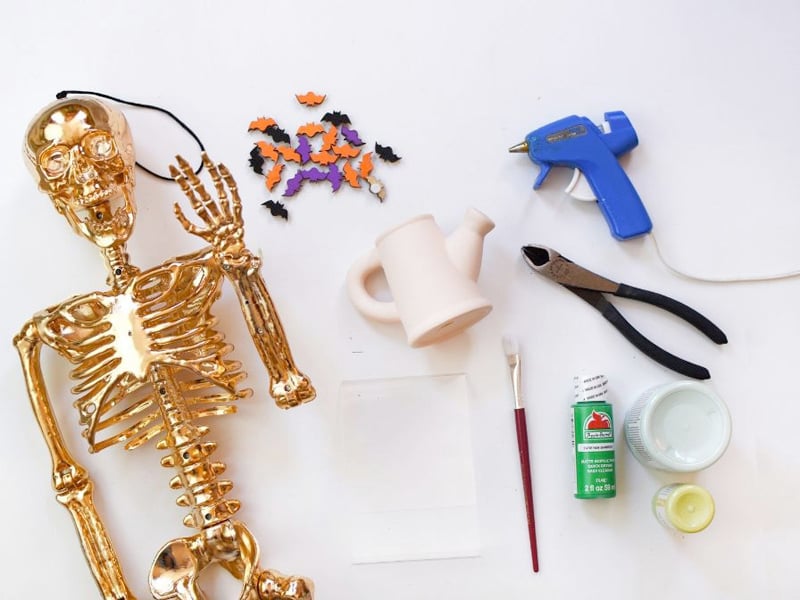
You can go as detailed and elaborate as you would like on this fun Halloween project. Below is a list of all the items I used on my setup!
- 3′ Skeleton
- Fake greenery
- Potted plants
- Hot glue gun
- Mini ceramic watering can
- Mini Gold Pumpkins
- Small decorative potted plants (real or fake work great here)
- Framed “RIP Black Thumb” print
- Sparkly Silver moon garland
- Mini wooden bats
- Paint (I used black, green, mint blue and a citrus green color) and brushes
- Black Sparkly Bat wreath
- Optional : Wire snips for the greenery
How to Style Your Plant Lady Halloween Display
Spray Paint your skeleton
To style this adorable plant lady skeleton, start with your skeleton. Hopefully you were able to find a cute gold skeleton, but if not – do not fear. Rustoleum gold spray can work wonders on all things and skeletons are one of them!
Add greenery to skeleton
Part of making this a plant lady skeleton is adding all the plants you can! You can use plants and greenery from your backyard or just grab some spare fake greenery you’ve got stashed around.
I used various magnolia leaves, eucalyptus leaves, mini monstera leaves, grasses and even some succulents.
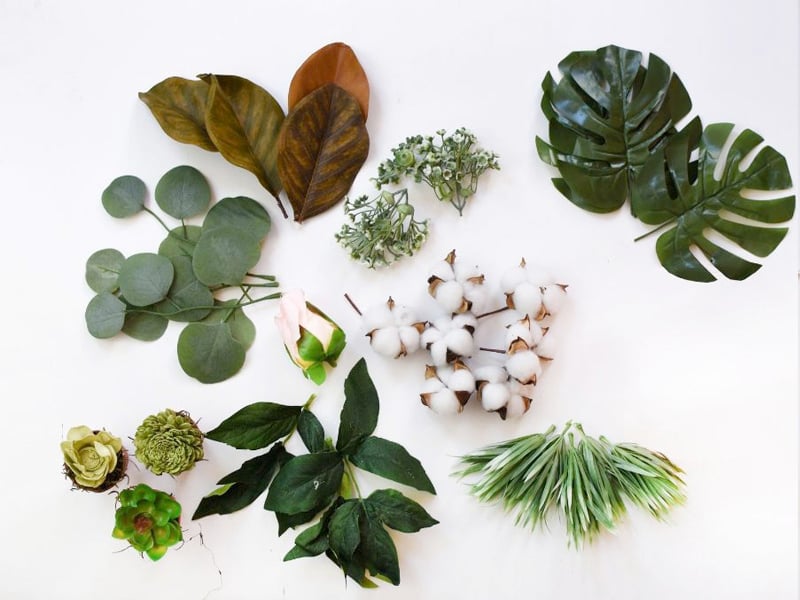
Start by adding a few layers of greenery to your skeleton’s ankles (or even just one ankle) and hot glue it to secure. Have fun with going a bit bolder than you may think, it makes a fun impact!
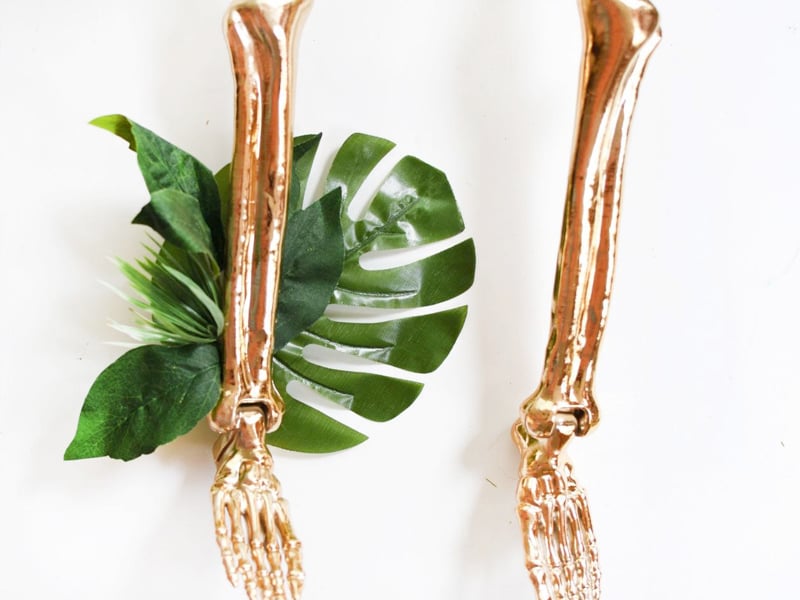
I also added a fun backdrop of greenery behind my skeleton by layering magnolia leaves, eucalyptus and the monstera leaves and hot gluing to secure. Be as liberal as needed with the glue as needed to make it all stick.
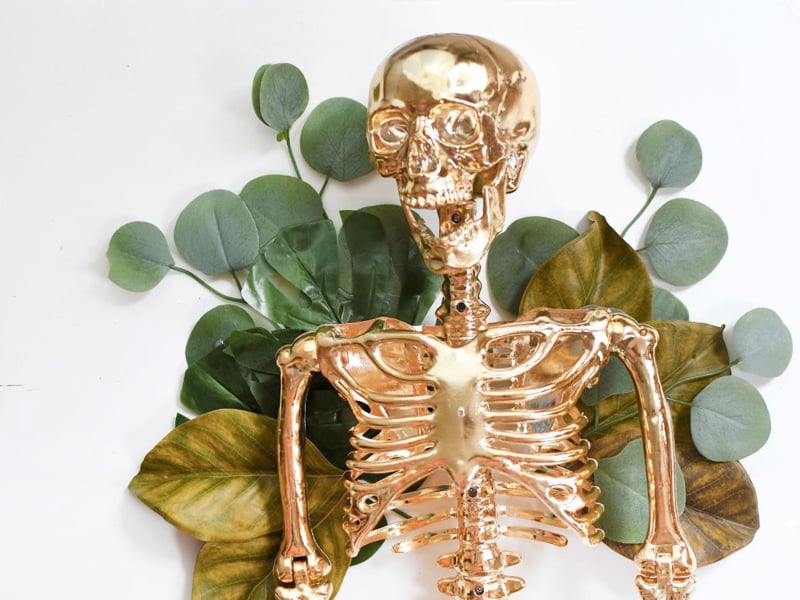
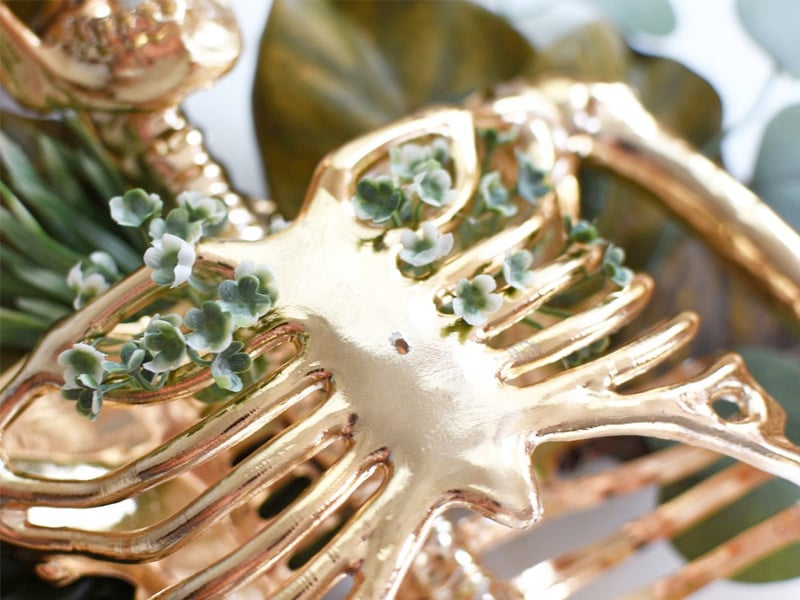
And for a final sweet little touch, I sprinkled in some smaller flowers to the skeleton’s ribcage.
Add your main potted plant
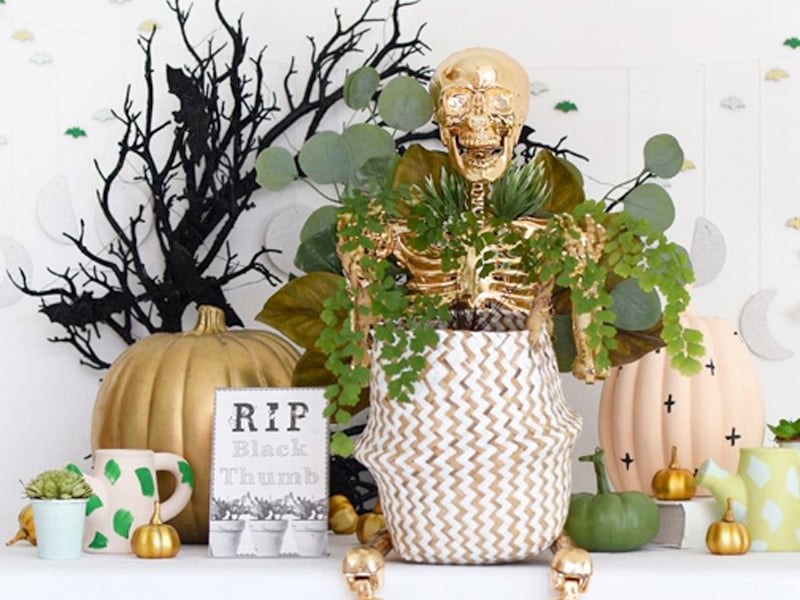
Once you skeleton is dry, set it out front and center on your display area. I loved having my skeleton hold a real plant, but if you are nervous about it drying out, a fake plant would work just as well. Make sure to find a plant and pot that are proportionately sized for your skeletons lap/hands distance.
I used a small fern and placed it in a simple wicker pot in my skeleton’s “hands”/lap.
Gold Halloween skeleton display details
The details are what makes any display go from cute to really spectacular and all the plant and halloween details really came together so well for this setup!
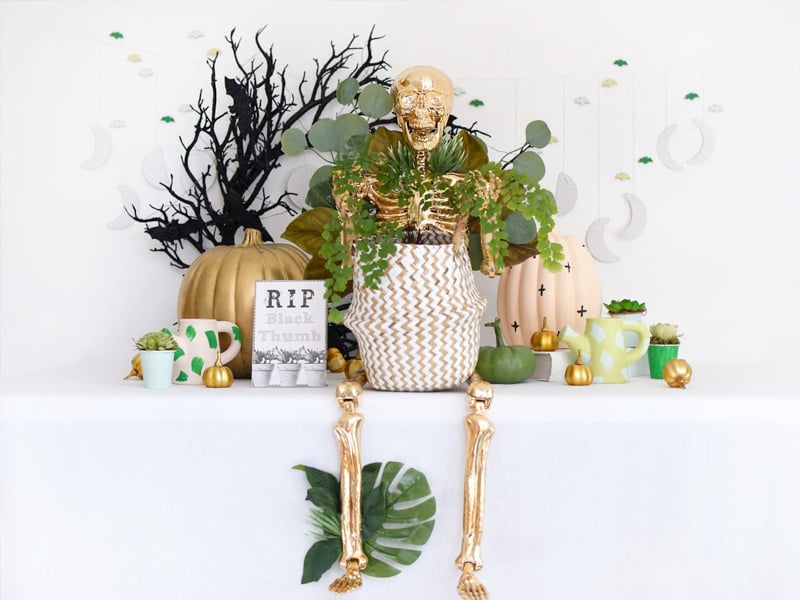
From the shimmery silver moon phase garland, the adorable brushstroke ceramic watering cans and the Pastel Pumpkins, I just fell in love with every single detail of my Golden Plant Lady skeleton!

Cute Mini Bats
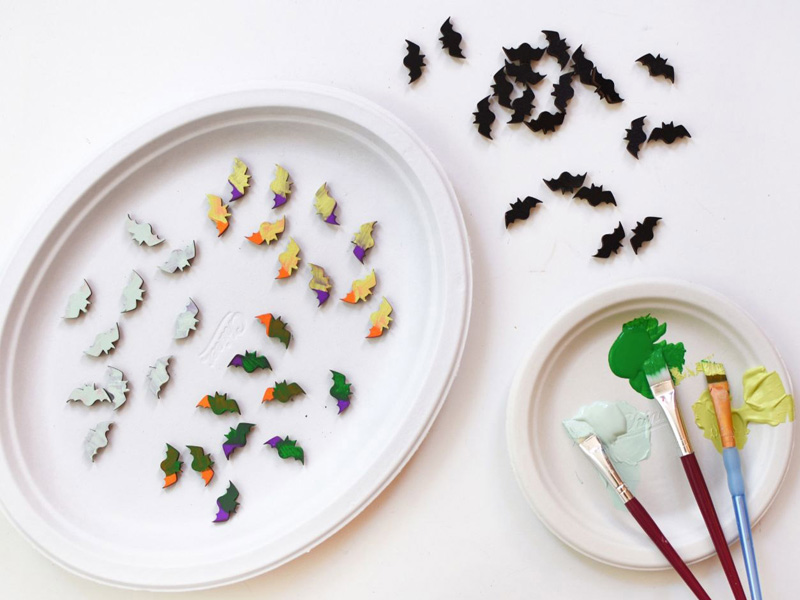
I found these simple wooden mini bats that came in black and bright orange. They would have been fine in those colors, but I opted to keep the black and paint the orange ones my other accent colors, a minty blue, a bold grass green and a citrus green/yellow color.
Once the bats were dry, I used sticky tac and secured them to the wall as a cute backdrop.
Dash Painted Watering Cans
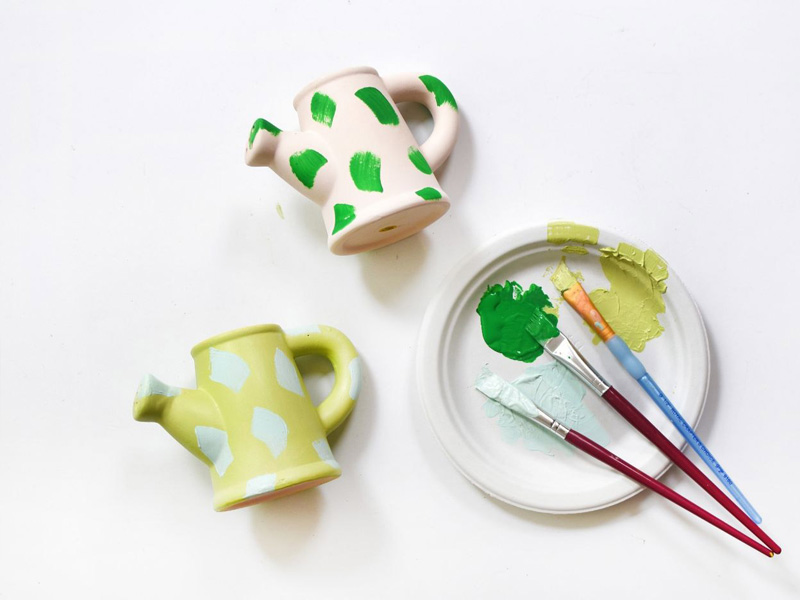
These watering cans were such an adorable add to my little cutesy plant Halloween setup! They came as raw ceramic and I had fun painting them in my color palette.
One I left in it’s raw ceramic base and did fun bright green dashes. The other I painted in a citrusy green base color and added minty blue dashes to it. They both were so adorable!
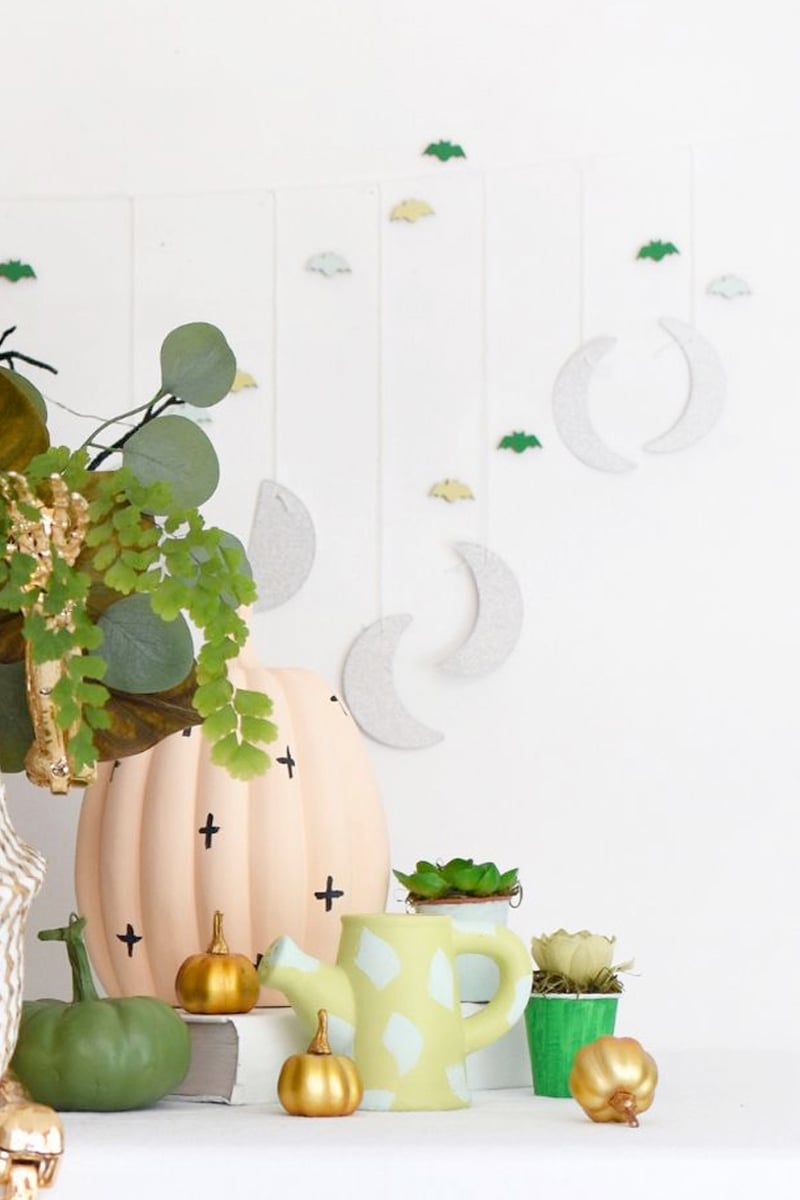
You can see how everything started to layer so well together! The bats and moons on the wall, the watering cans, potted succulents, mini gold and green pumpkins and the painted watering cans in the foreground.
Black Wreath + RIP Black Thumb print
On the other side, I added a spooky (and glittery) black twig Halloween wreath against the wall. I displayed one of my larger gold pumpkins, a few of the smaller detail items and a darling little RIP Black Thumbs print I designed.
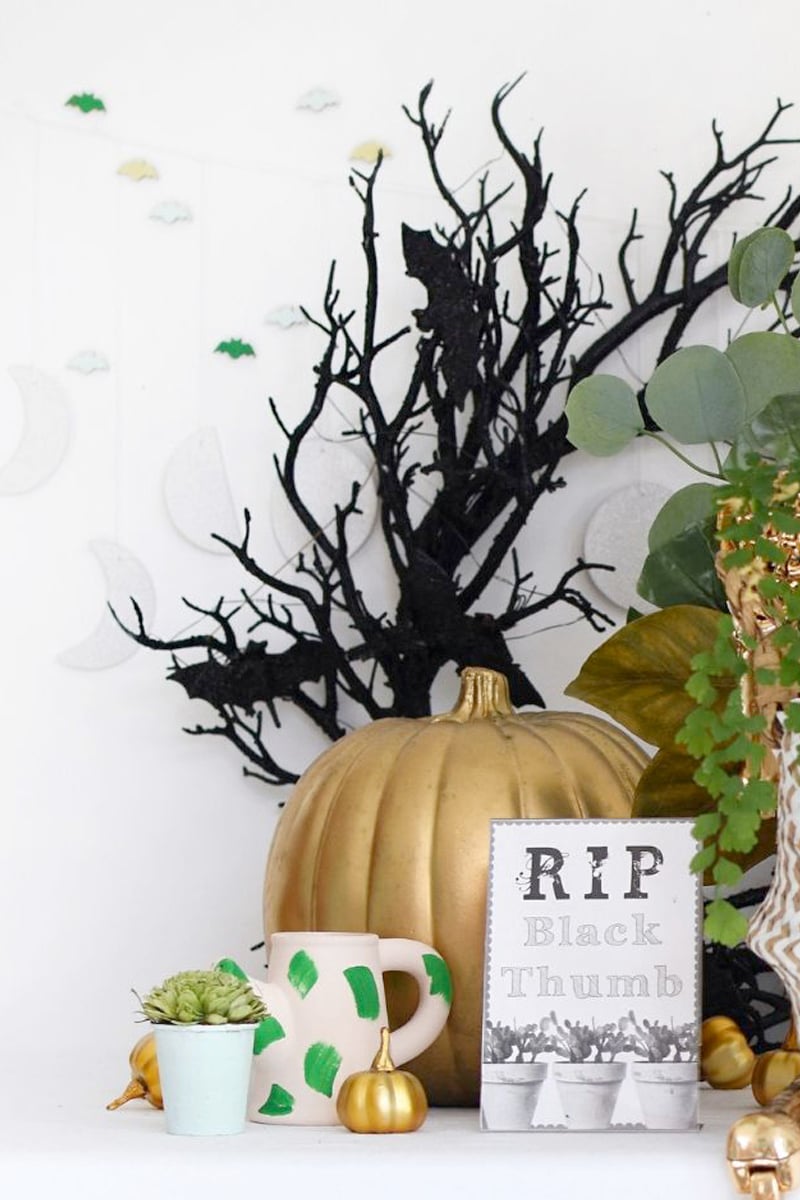
The RIP Black Thumb print is available at Oriental Trading’s FUN365 site. I used a simple clear acrylic picture frame to hold it up and it worked perfectly in this setting.

Where to Find Skeletons and Accessories
I noticed that Oriental Trading’s skeletons are currently sold out. Here are a few other spots that may have them : 16″ skeleton (will need to be spray painted), green lit up skeleton, large 5′ tall skeleton (will need to be painted), 5′ skeleton and he’s already GOLD!
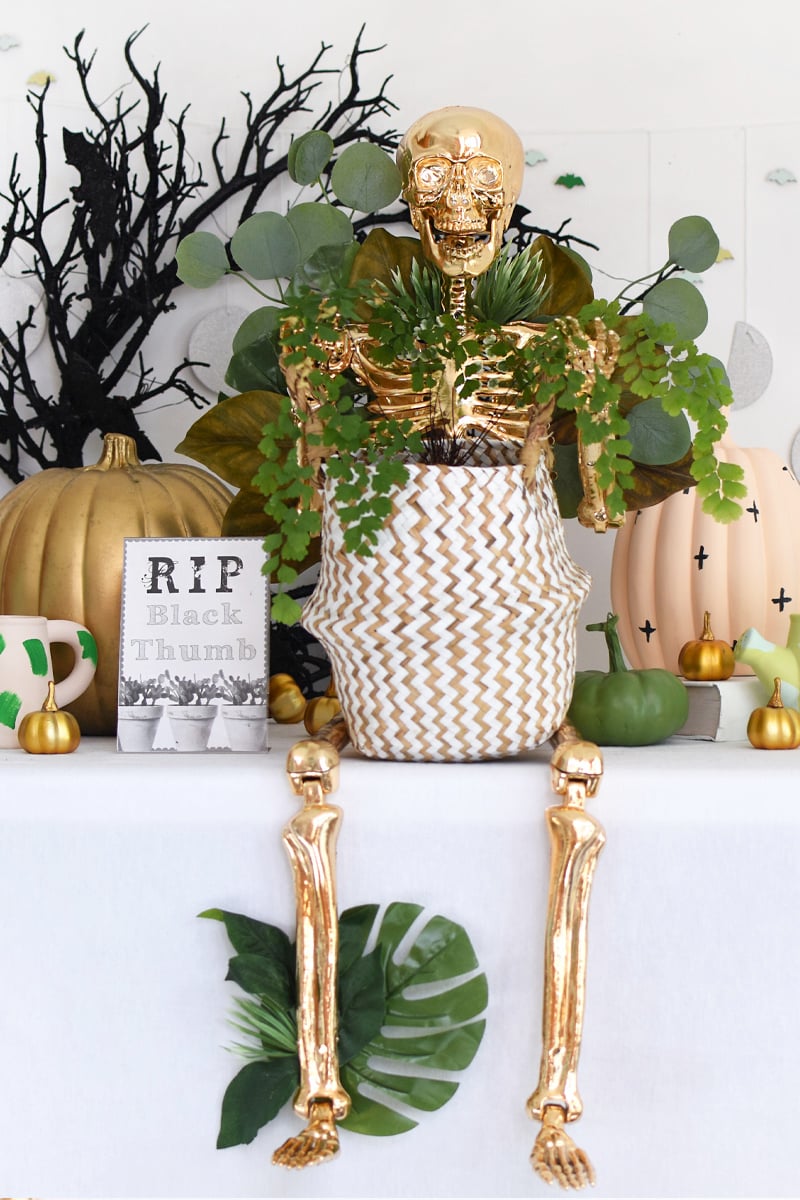
DIY Gold Skeleton Halloween
Halloween has become such a huge decorating holiday over the years. And I always think it doesn’t always have to be spooky, in this case it can be Halloween green!
I think having a setup like this would be so darling on your front porch. You could sneak in a few small haystacks and fall mums to add a bit more color.
There really are endless ways to take this fun idea in your space.
Don’t forget to pin this for later!

Looking for some fun fall Bat decorations to go with your skeletons? Check these cuties out…

More DIY Halloween & Fall Decor Ideas
Looking for some of my other fun Fall crafts? I have a slew of them.
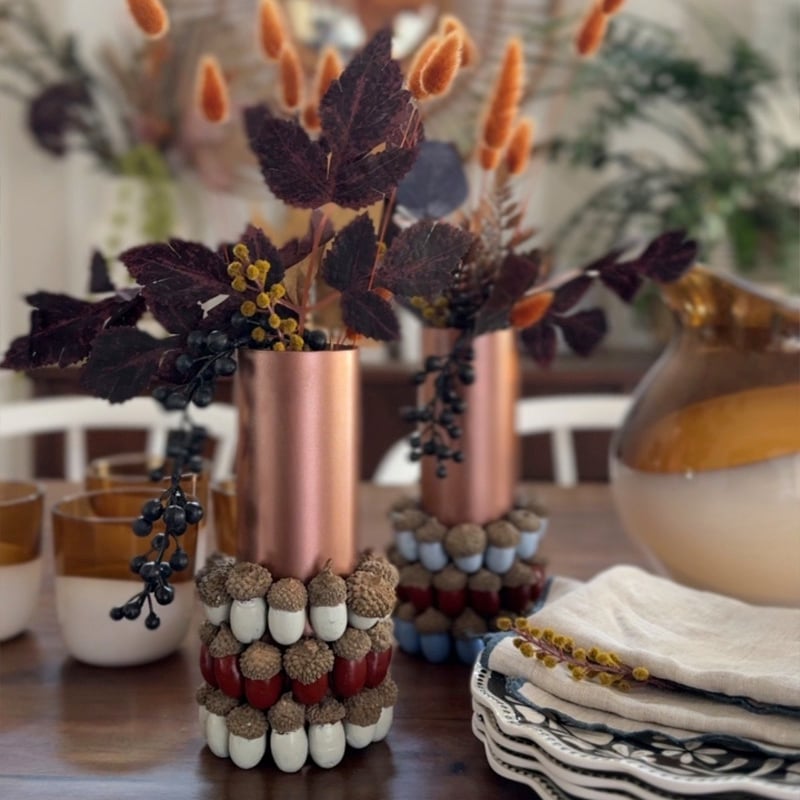
Affordable Fall Acorn Centerpiece
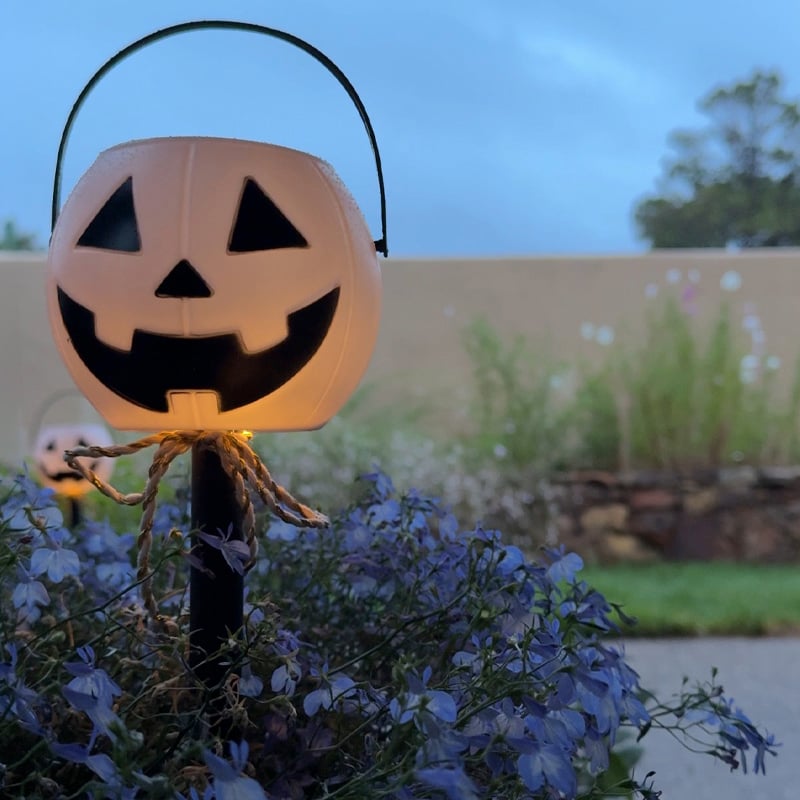
DIY Mini Pumpkin Night Solar Outdoor Lights
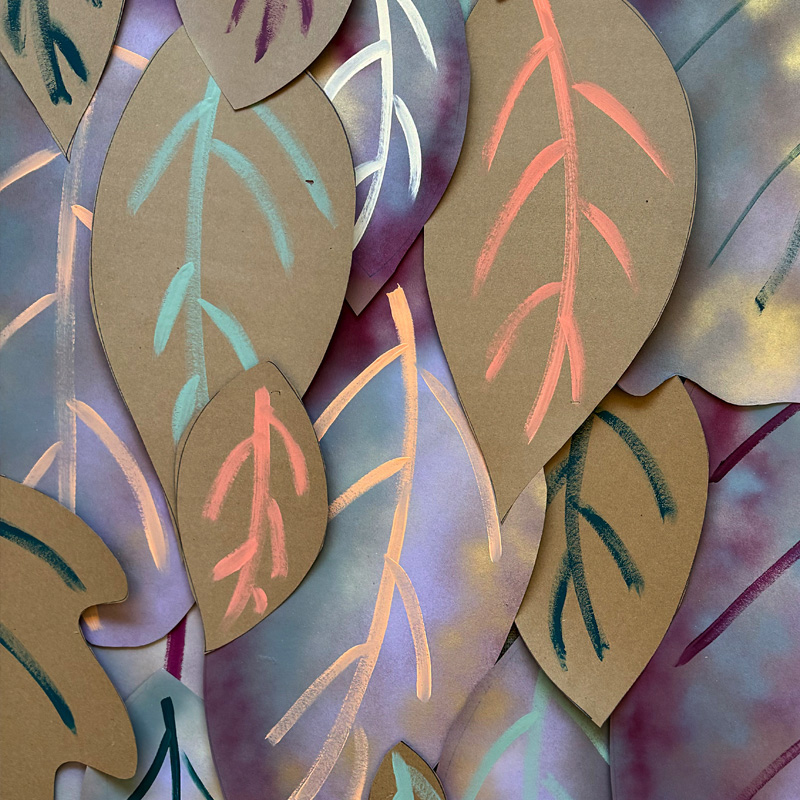
DIY Oversized Leaf Backdrop

Simple Tassel Pumpkin

DIY Gold Plant Lady Skeleton for Halloween

Cozy Slippers for Women: Winter House Shoe Guide

Curious to check out all my Oriental Trading projects (there are a ton), you can head over here!