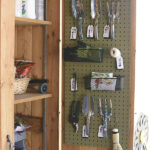
Garden Tool Pegboard Organization
INSIDE : Learn how to create the perfect Garden Tool Pegboard Organization using a Cricut machine, some spray paint and a few labels!
This post is sponsored by Cricut, but all opinions are 100% mine. Thank you for supporting brands that help Delineate Your Dwelling run.
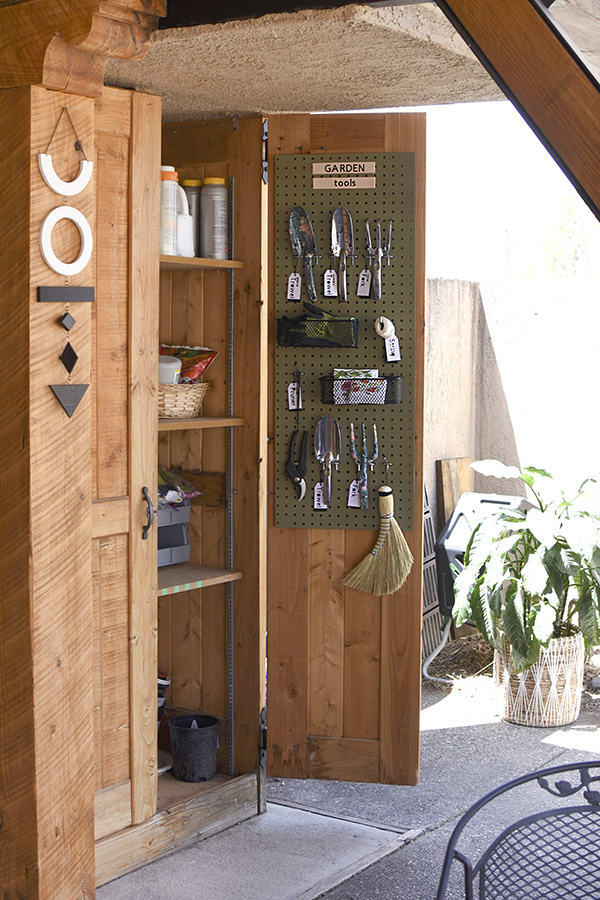
I love spending time working in my garden, but sometimes my tools are moved to the garage or the front yard and then when I’m in need of a quick hand pruner or garden trowel… I’m searching around forever trying to locate it. I needed some organization to my tools and this pegboard was just the thing!
And if you need tips on cleaning your tools for the spring or fall, check this out – Cleaning garden tools in the Fall.
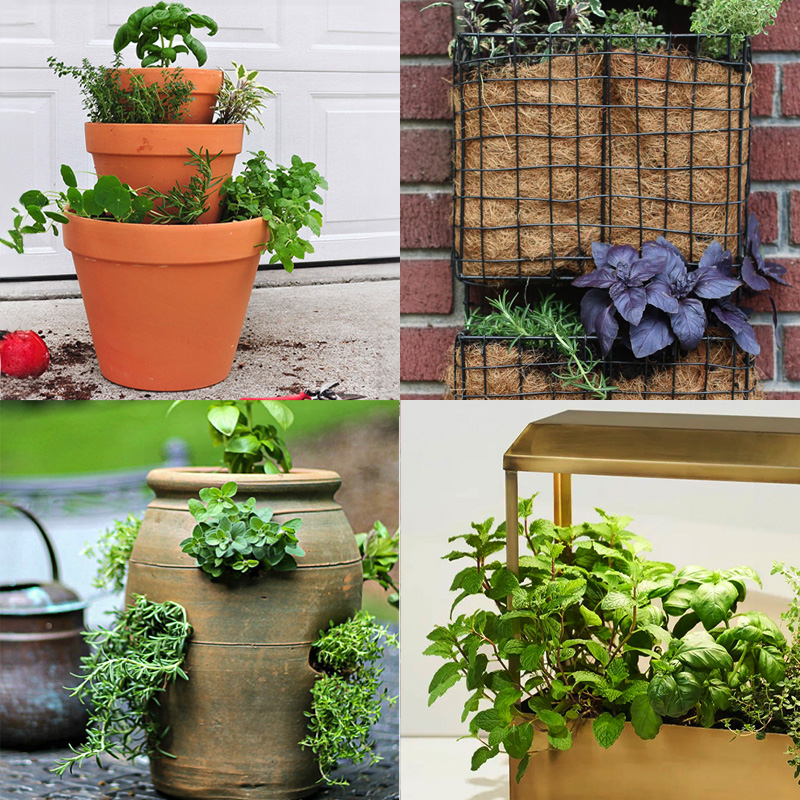
If you like gardens, you might like checking out some of these posts too.
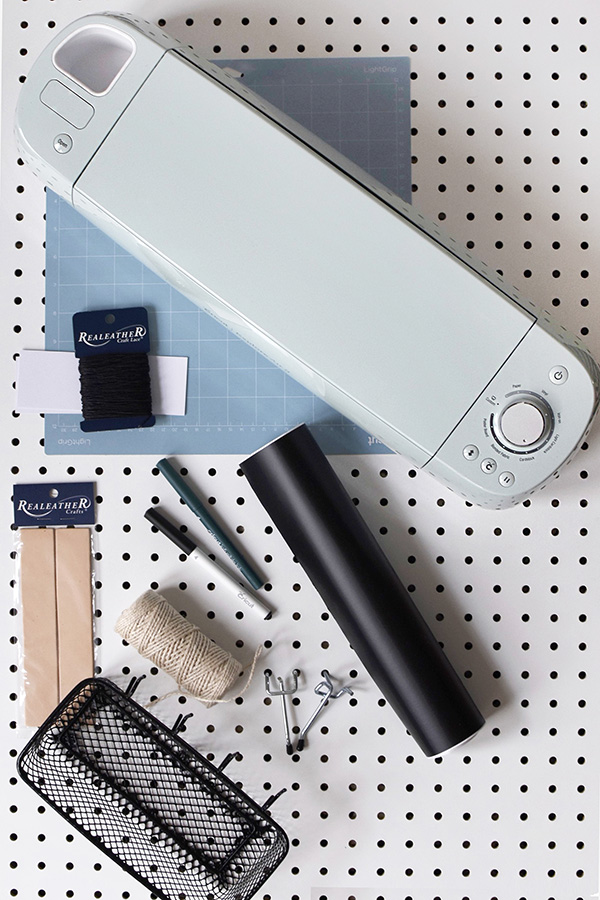
What supplies do I need to organize my garden tools on a pegboard?
Cricut Explore Air 2 Machine (I love the mint color)
Cricut cutting mat (LightGrip + StrongGrip)
Cricut Basic Tool Set (I used the Spatchula and Weeder the most)
Cricut Black Ink marker
Tooling Leather
Wax Black Leather Cording
White Cardstock
Twine
Pegboard Pegs
Garden Tools

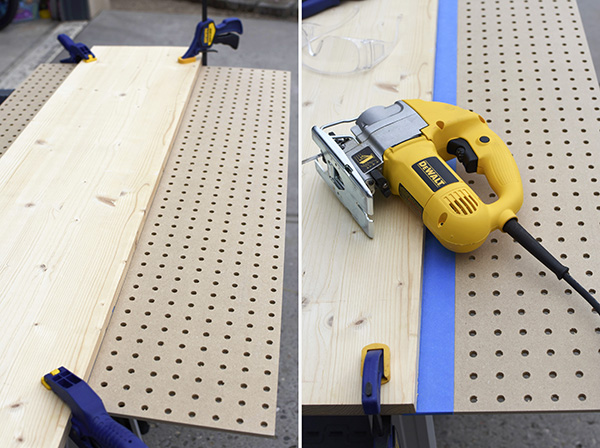
How to cut down a large pegboard
My pegboard was too large for the space I wanted to use it and we don’t have a table saw, so I used a jigsaw to cut it down. I measured the width I needed for my project and then marked with painter’s tape the line I needed to cut.
Next, I placed a spare piece of wood the distance of my jigsaw and then clamped the spare wood down at all corners. The wood became my straight edge, so I could run the jigsaw along the entire length of the pegboard. It worked perfectly!
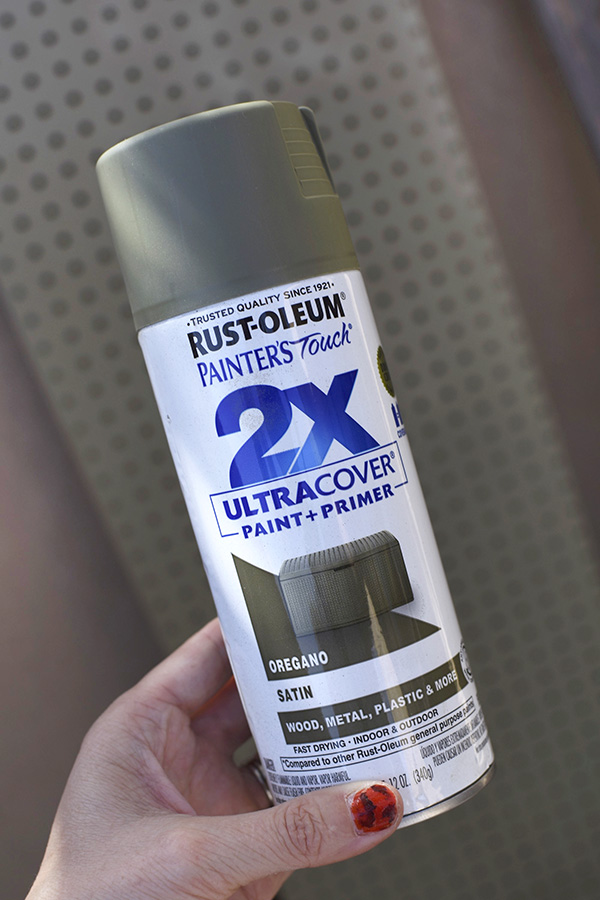
Next, I used spray paint in Oregano to give the pegboard a lovely green color. It took two coats to get nice even coverage.
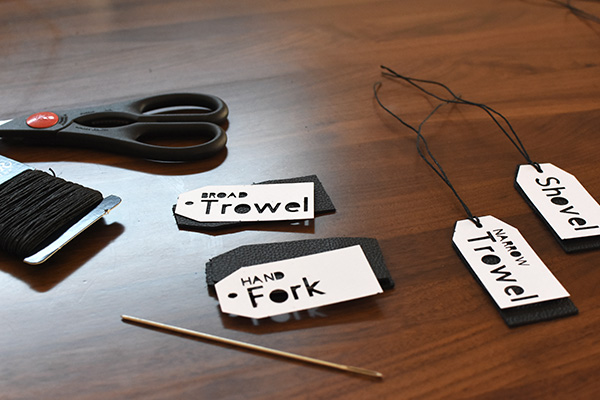
How to make garden tool tags and labels
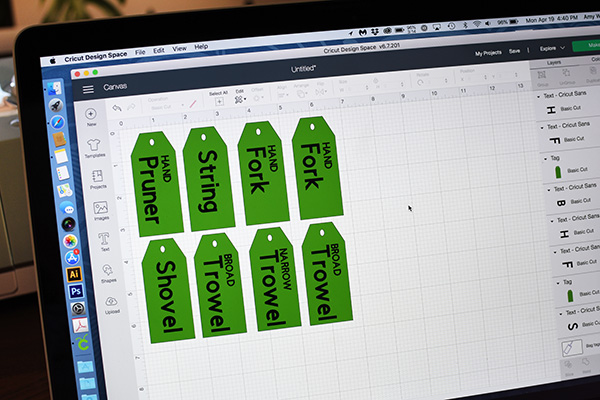
I knew I was going to be making quite a few custom pieces for this project, so my new Cricut Explore Air 2 was the perfect tool to use! I started by designing my tags and their associated tool names in Cricut’s Design Space software.
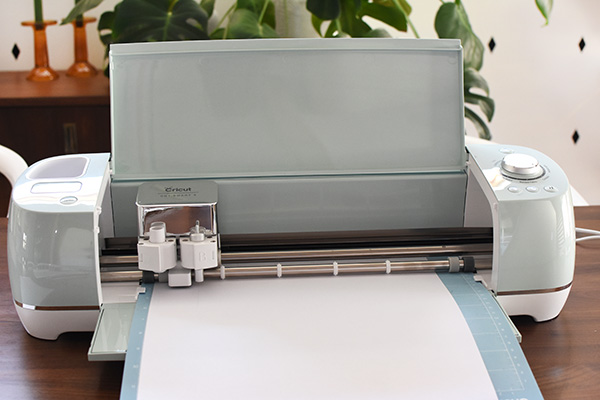
Once I had my designs created, I followed the directions on my screen and added white cardstock to my machine. Being newer to using a Cricut, I loved that the software guided me along for each step of the process!
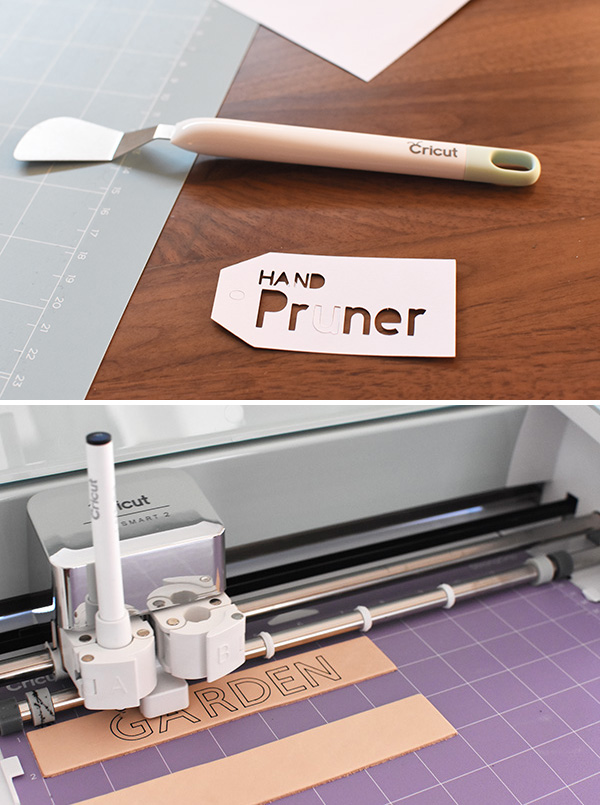
It’s just so satisfying to use all their tools to help get those perfect details! The spatula and weeder were so helpful with this part.
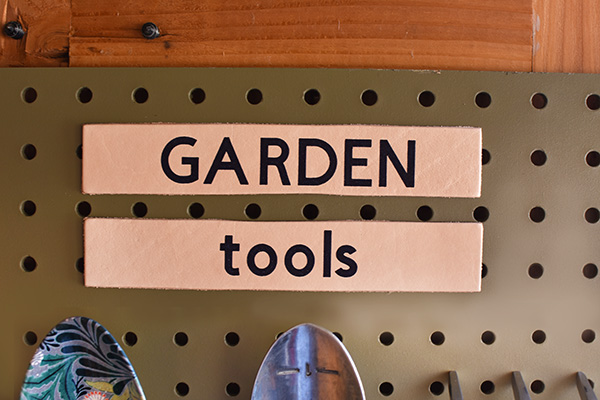
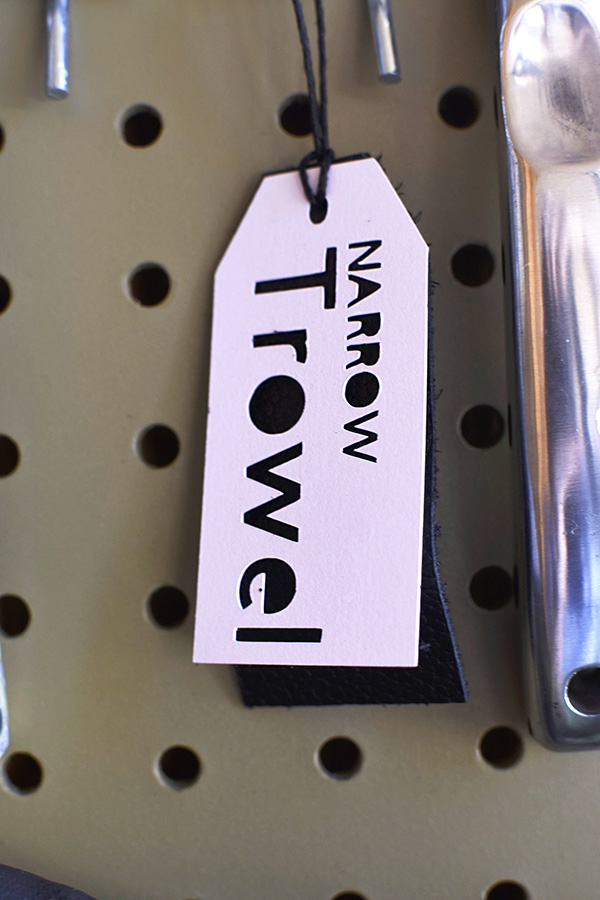
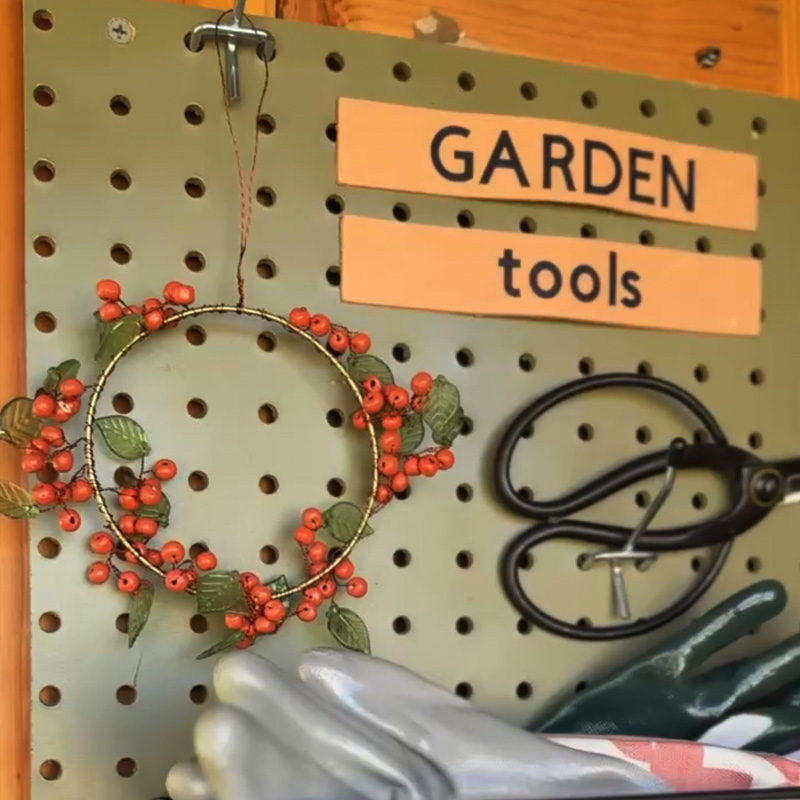
Next, I created the main GARDEN tools label. I used tooling leather cut into strips for this part. Using Cricut’s pen feature, I had the machine write and fill my words with their black marker. I was so impressed that it didn’t bleed and was done in just moments. I also cut out black leather tags that were just a smidge longer than my white cardstock tags.
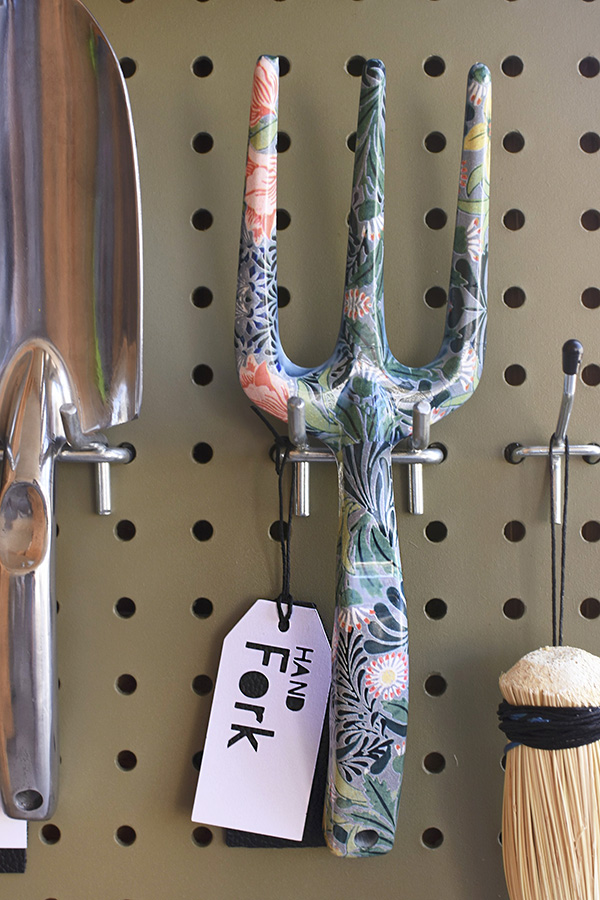
I placed the black leather tag behind my white cardstock tags so the negative space from the letters would shine through and then used waxed leather cording to secure them together.
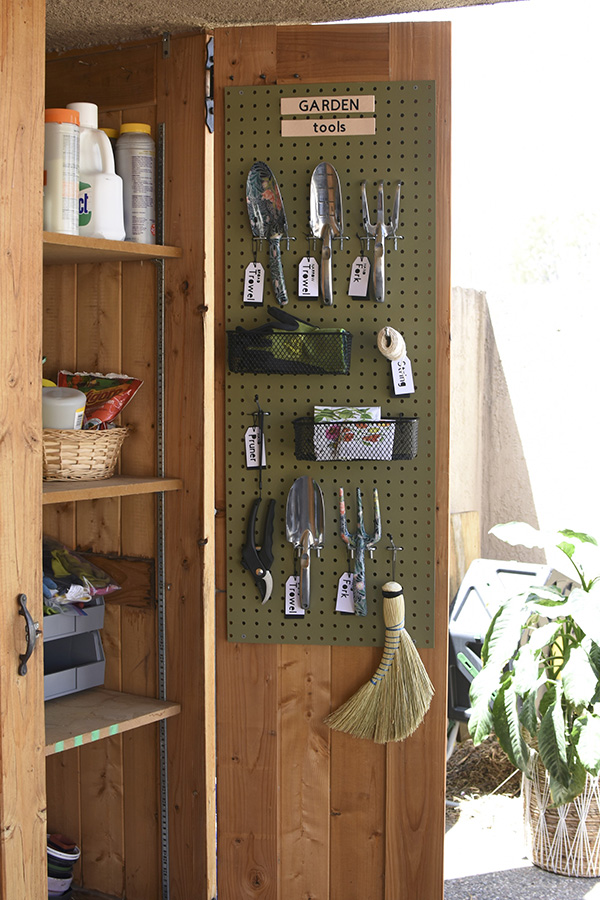
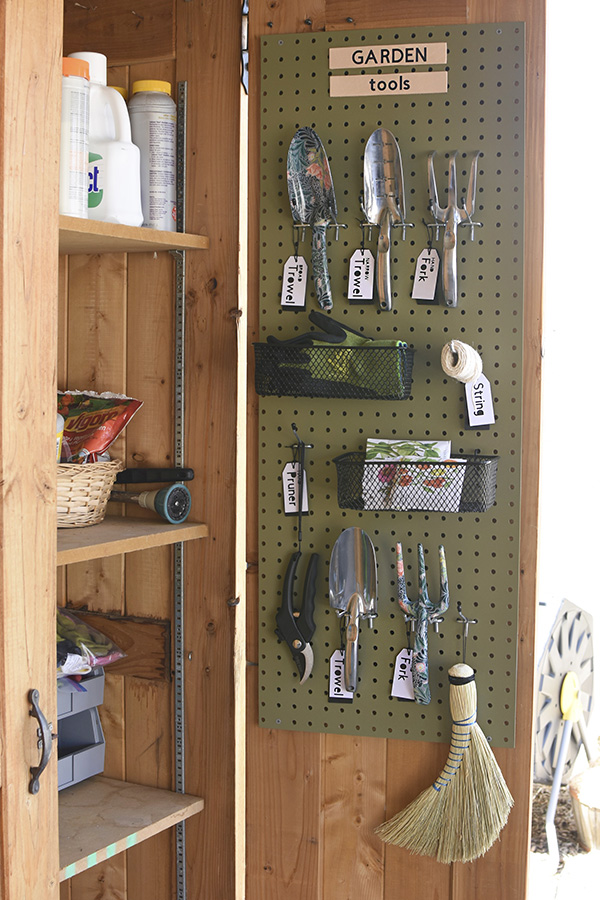
Organizing your Garden Tools
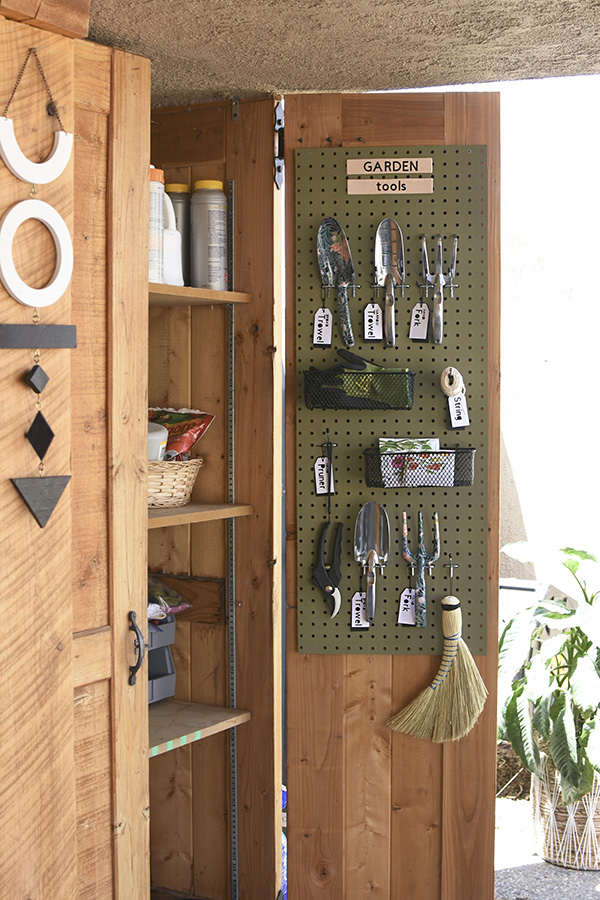
Now it was just as simple as adding my pegboard pegs to hold the tools! I placed my go to tools : trowels, hand forks and hand pruners at easy to reach locations.
And then I used pegboard containers to hold the more bulky items like garden gloves and seeds. I even have a spot now for my twine and string.
Look how wonderfully the printed text looks on that tooling leather, dreamy.
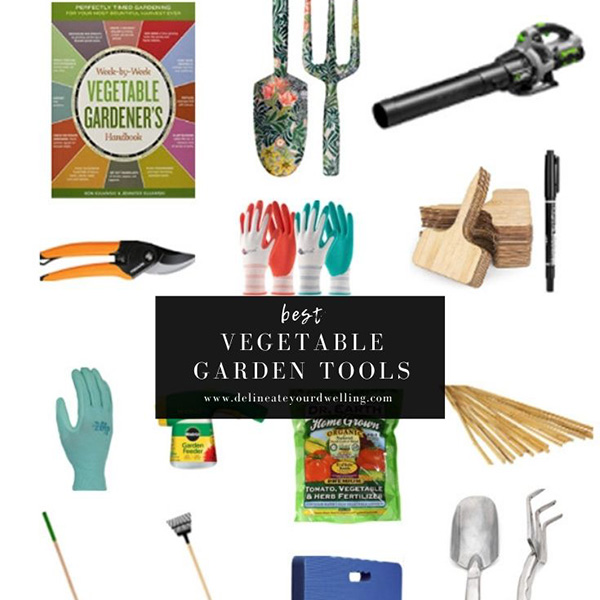
You might also enjoy my posts on how to create a Simple Raised Vegetable Garden and my Favorite Garden Tools.
Garden Tool Pegboard Organization
Now everything has a place and will be so much easier for me to find!
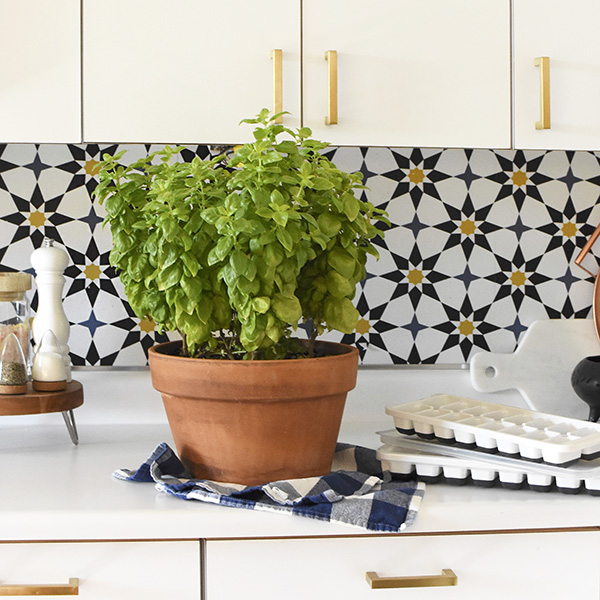
You might also like Freezing Basil in Ice Cube Trays, How to Clean Garden Tools + Best Looking Hose Holder Pots.
And the entire family can now put the tools back in their correct locations, win win!
Looking for more ideas about vegetable gardens?

Looks great!
Thank you! It’s been very helpful having a place for everything.