How to Frost and Decorate a Sprinkle Cake
INSIDE : How to Frost and Decorate a Sprinkle Cake with your child’s age! It is easier than you may think and such a fun way to celebrate their new year.
My big girl just celebrated her fourth birthday. I love celebrating my babies on their birthdays and making them feel special. However, birthday parties can quickly get out of control and you can easily spend hundreds of dollars on decor, favors, activities, etc. As with most things, I went the DIY route this year and I think it’s my favorite kid’s party to date!
I went with a Sprinkle Party theme and today I am sharing How to Frost and Decorate a Sprinkle Cake.
Today is the third Monday mini series of my Sprinkle Birthday Party DIYs. I’ve already shared How to make a customized DIY Twister Game and How to make simple Sprinkle Birthday Party Hats.
Let me start out by saying, I am NOT a fancy baker (I think that is obvious by the cake I am sharing today, HA). I love baking but when it comes to decorating or even frosting/icing cookies and cake, they taste amazing but look… moderately bad.
Today I’m really excited to share a few decorating tips that my friend, Michelle, who is the fondant decorating cake master, passed along to me.
Now for my ‘behind the scenes of a non fancy baker’ picture – YIKES GET READY.
Tip One: Do not stress about your cake layers both being the exact same shape.
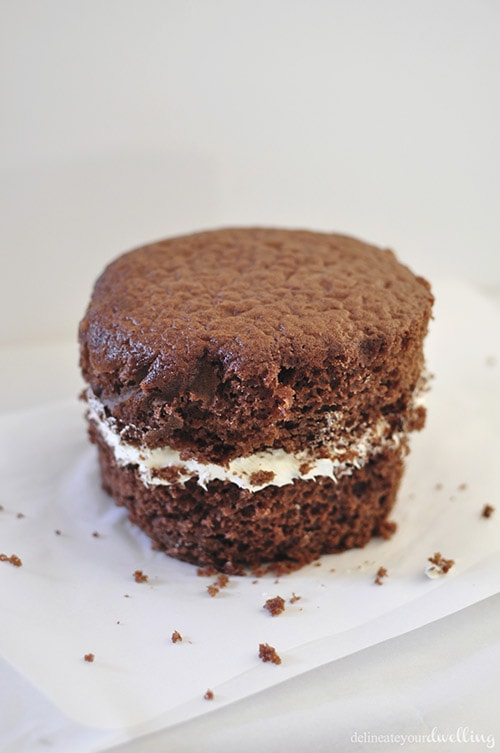
As you can see, I baked two circle cakes but upon removing one from the pan it become a little mis-shapened. This is easily resolved. Apply a generous layer of frosting on the larger of the two cakes. Set the smaller of the two cakes on top. Then, using a knife, go around the entire cake cutting them down to the same size.
Tip Two: The freezer is your friend.
After I staked my cakes and cut them down to size, I put the cake in the freezer for about 10 minutes. Ever so slightly cooling down your cake, helps the cake keep it’s shape as you begin to frost.
Tip Three: Apply a light Crumb Coat to your cake to assist with a cleaner finished product.
I have never heard of crumb coating a cake before Michelle told me about this tip! Once the cake is removed from the freezer, apply a very light coat of frosting on the top and sides (I use this Wilton’s Buttercream recipe). Expect to have lots of crumbs.
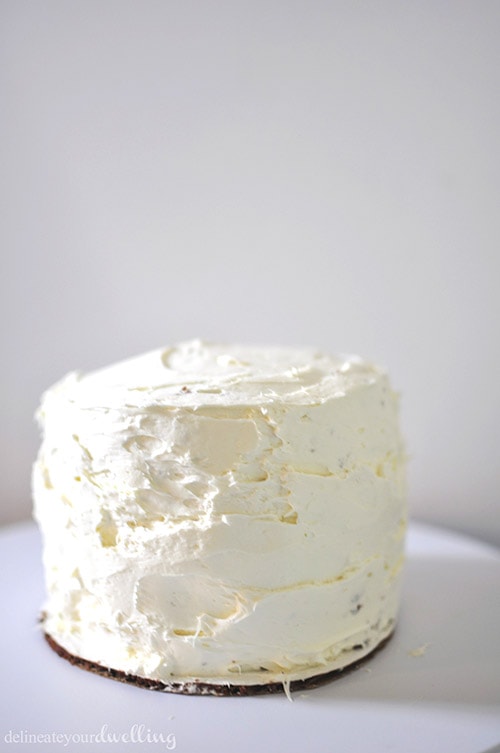
Put the cake back in the freezer. Once removed after about 10 minutes or so, frost the cake again but this time with a normal amount of frosting. The crumb coating, keeps all those pesky crumbs from showing up on the final coat! This was a game changer for me!
I also hide my imperfections with a loose frosting form. Who has time (or skills) to create those picture perfectly smooth frosted cakes?
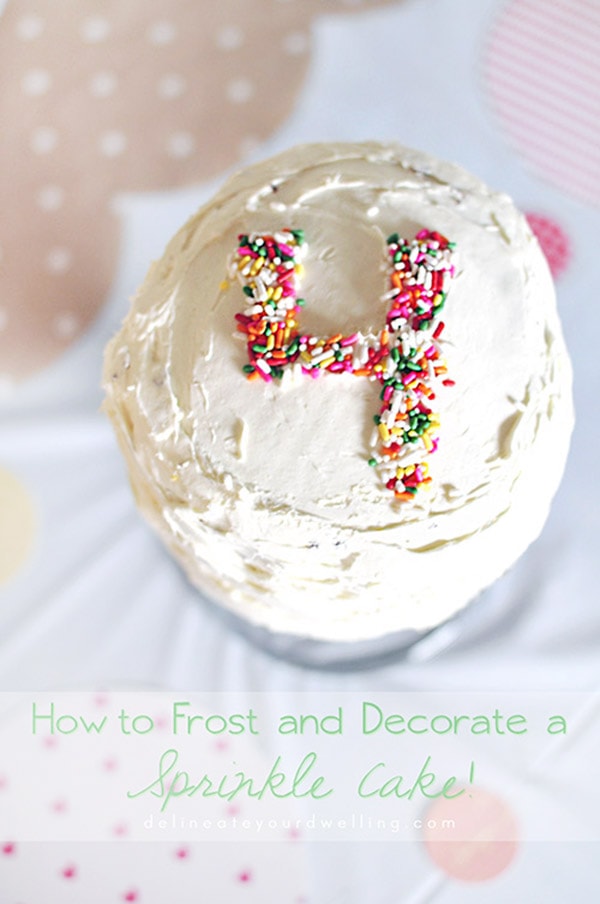
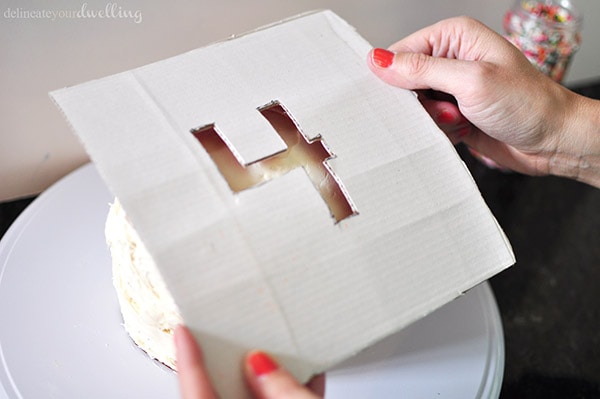
Now it was time to add the Sprinkle “4” to the top. I allowed the cake to sit out just a bit to warm up so my sprinkles would stick to the top. I drew on the number four to a scrap piece of cardboard and cut it out with an x-acto knife.
Note: I should have leveled off the top layer of my cake before stacking, but I didn’t… so it had a bit of a rounded top. I slightly bent the cardboard to mimic my top.
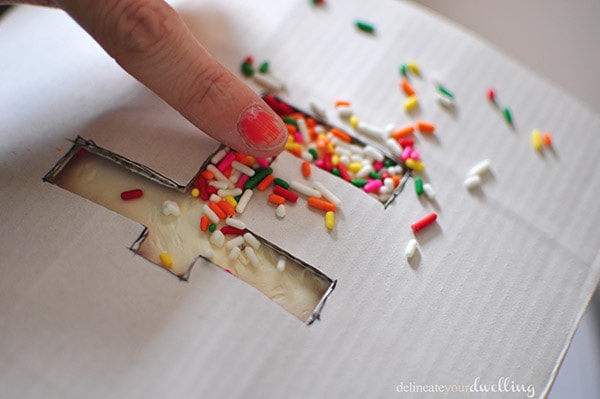
Next, I sprinkled and tapped until the four was filled in with sprinkles.
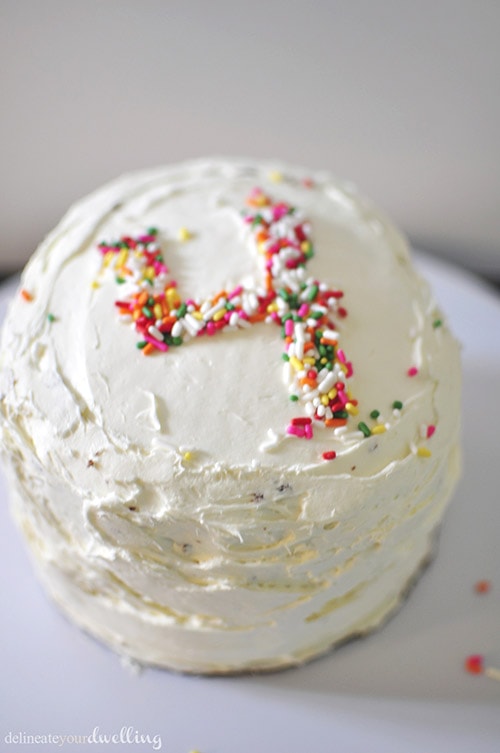
After I lifted off the cardboard, there were only a few stray sprinkles. I took a toothpick and easily brushed away the lonesome sprinkles and was left with a clean number FOUR!
I still clearly have a LONG way to go in the cake decorating department, but my daughter was thrilled to pieces with it and that was really my main goal!
Are you a master cake decorator? Please be kind with your judgement but feel free to leave more tips for us all, we’d love to hear them!
Head over to the Sprinkle, 4th Birthday Party DIY post for details on
the party hats, Sprinkle Cake tips and the final reveal!
Looking for more simple cake ideas? Be sure to check these out…

Genius! I love this!!
Stopping by from the Do Tell Tuesday link party. These are really great tips, I also want to improve my cake decorating skills and tend to avoid doing anything too fancy, pinning. Diane @ Mrs U Makes
Well, I am by no means a fancy baker, but trying to at least get better! Thanks for stopping by. =)
What a cute idea! Love the number in sprinkles, so adorable! Looks tasty, too! 😉
I have always wondered what the best way is to do this! Thanks for this great tutorial!
I found you over at Sunday at Home link party and I am super excited I found you and your blog! Can’t wait to start following along and learning more tips from you!
It’s fab! I once did a whole post showing all my less than perfect home made cakes going way back, and it’s still one of my most popular. The important thing is how much the birthday person loves it and remembers years later that you made it for them. Perfection is not required!
I think your cake is just darling. Love the simple tips! Thanks for sharing at Fridays Unfolded!
Alison
Like you I love to bake but my presentation is a bit… off, to put it mildly. I have never heard of freezing the cakes, or doing the crumb coating. I think you might have just changed my life! I love the simplicity of the sprinkle number and I am a sucker for rainbow sprinkles. I think they just cheer everything up. Thanks for your decorating tips. I’m pinning this for future reference!
Yay, it totally changed my (cake decorating) life, too! Good luck, Jen.
I am trying all these tips for my daughter’s party next week!! Thank you!
Ah, perfect! Let me know how it turns out!!
Sweet! I used to own a wedding cake business, so I’ve decorated a lot of cakes in my time. The best tip you gave is the crumb coat!! So many bakers skip this step and that’s how they end up with crumby frosting.
Oh, I bet your cakes are amazing! I clearly have a long way to go but the crumb coat is so helpful!
Ahhhhh, a crumb coating! Smart!!! This is such a cute cake – thanks for sharing and for giving a few tips!
Thanks so much, Rebecca! It was a fun one to make, especially with these easy tips.