DIY Marbled Canister
This is my last of my three part shaving cream marble project series. You may remember I shared a DIY Marbled Notebook and a week later these DIY Marbled Clothes Pins. Well, I got so excited when I made the notebook that I instantly marbled the clothes pins and todays’ DIY Marbled Canister!
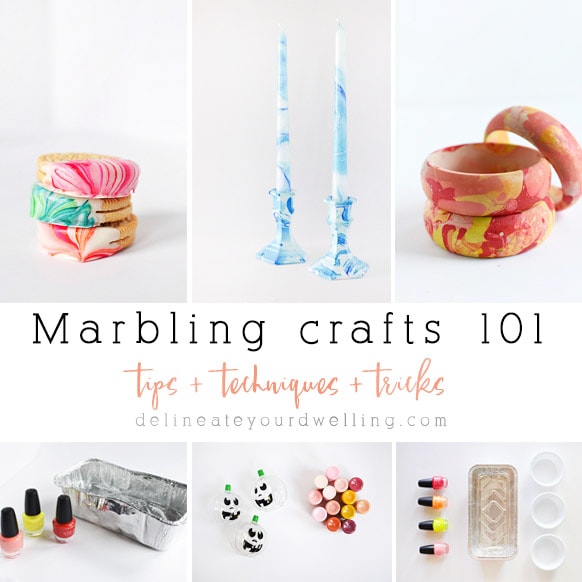
If you are looking for more information about everything involving marbling, my Marbling 101 post might be just what you are looking for!
This post contains affiliate links. See my full disclosure.
Metal Canister
Shaving Cream
Rectangular Labels
Food Color (mine are gel, but any kind will do)
Plastic Container
Scissors
The steps for creating this marbled pattern are in my previous Marbled Notebook post. It’s so simple and takes about 3 minutes to do one label. Hop over to see how fast this process is!
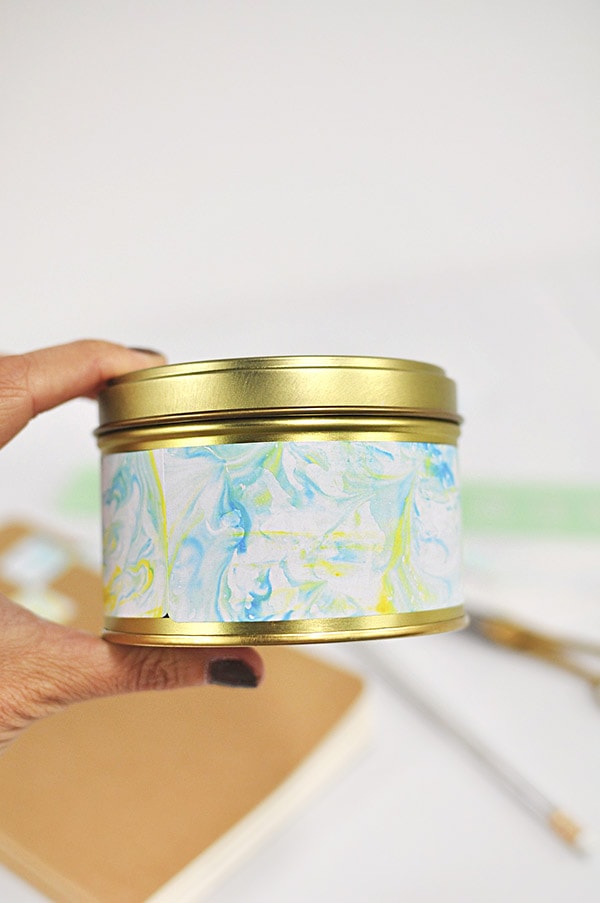
Once you have your paper labels marbled and dried, it’s time to add them to the metal canister.
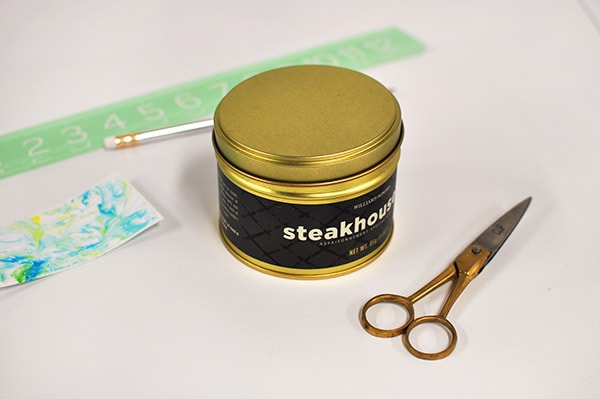
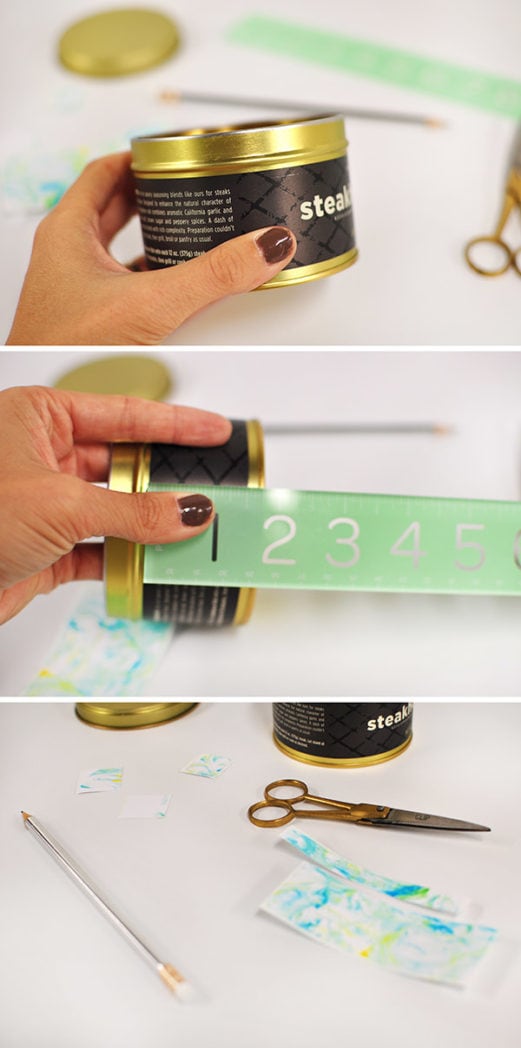
I couldn’t easily remove the steakhouse label from my canister so I measure the height of it and cut my marbled labels to match, if not just a little bigger.
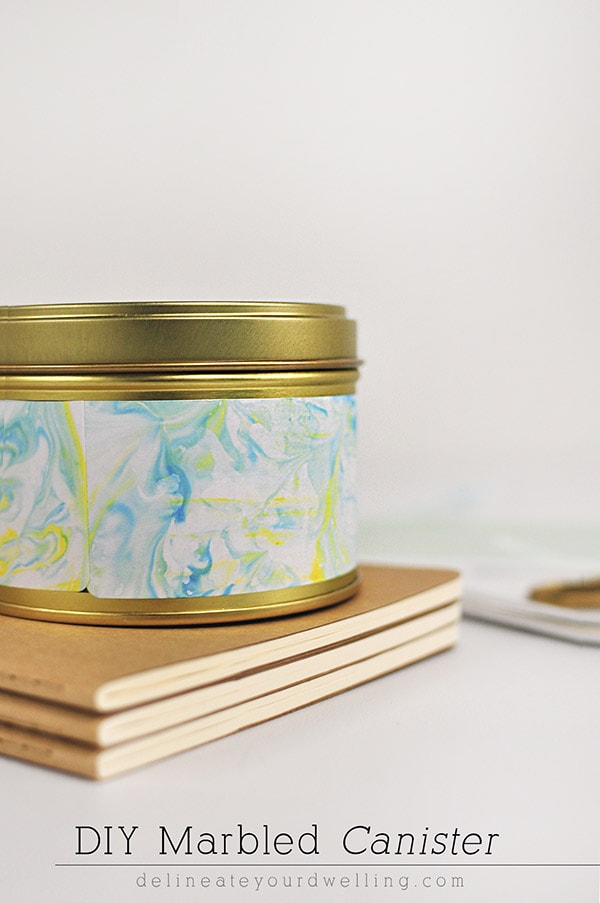
My marbled labels did not cover the entire canister so I was sure to place the seams of my labels in the back of the canister. I turned it so you could see the seam below, it’s still very faint.
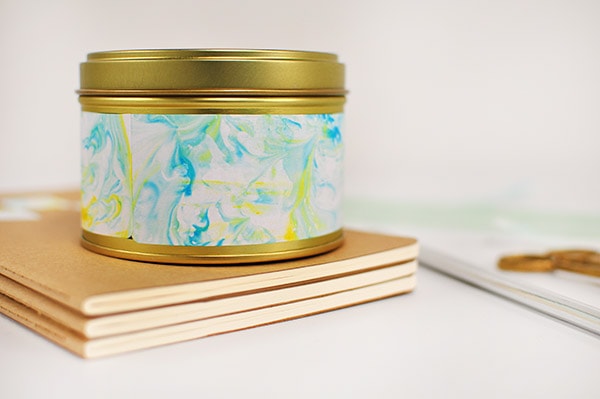
The items you can add this lovely marbling technique to using paper labels is just endless!
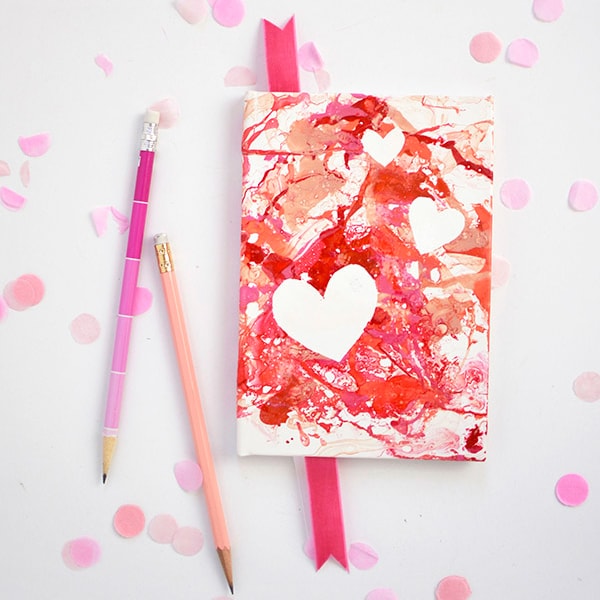
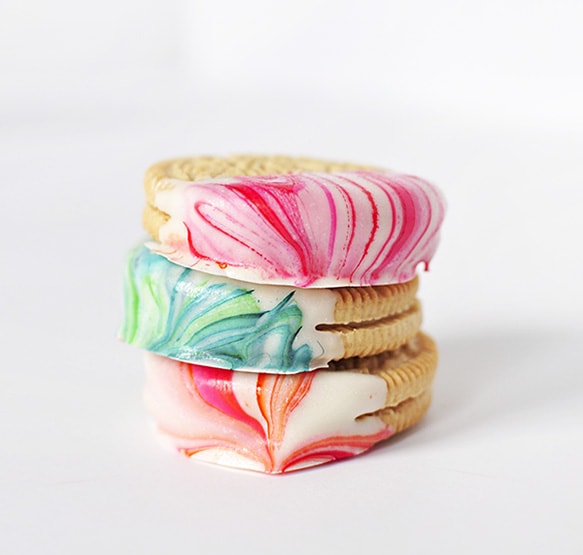
Interested in my many other marbled projects? You can check out some of these!


This is such an amazing idea! Thanks for sharing it. I’m Anita visiting from Pin Junkie Pin Party.
Thanks for stopping by today, Anita!
These are really cute. The marbled effect gives them such a personal look. And the gold is the crowning touch.
Thanks so much, Mary!
Your shaving cream marbling projects turned out wonderfully! I’ve used the technique on cards, but your post gave me some more great ideas. Smiles, Linda at Paper Seedlings
Yay, I love giving new ideas! Thanks for stopping by Linda. xo
These turned out great! They would be great to use for wrapping a small gift in.
Ah, yes that would be an excellent idea!
So pretty Amy!! You are so creative and talented:)