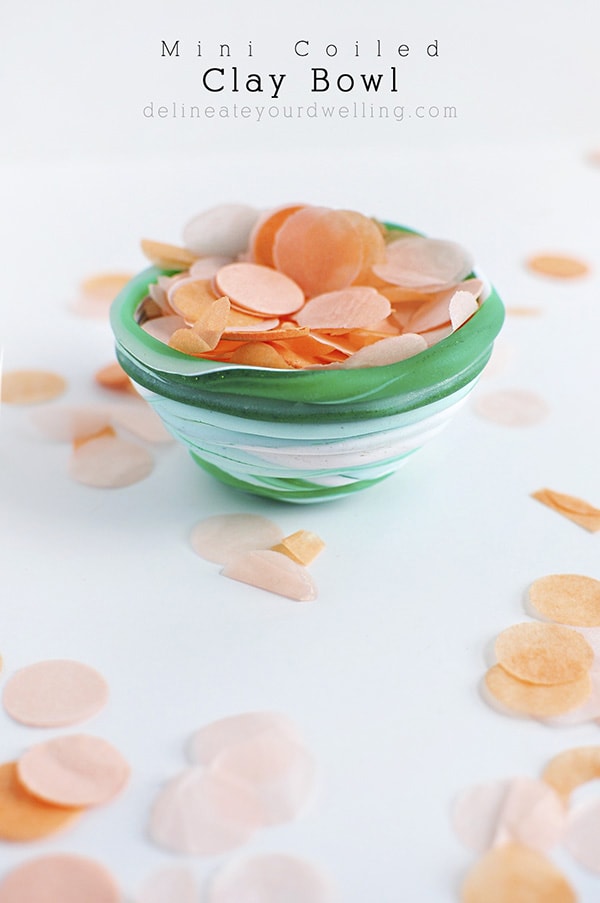
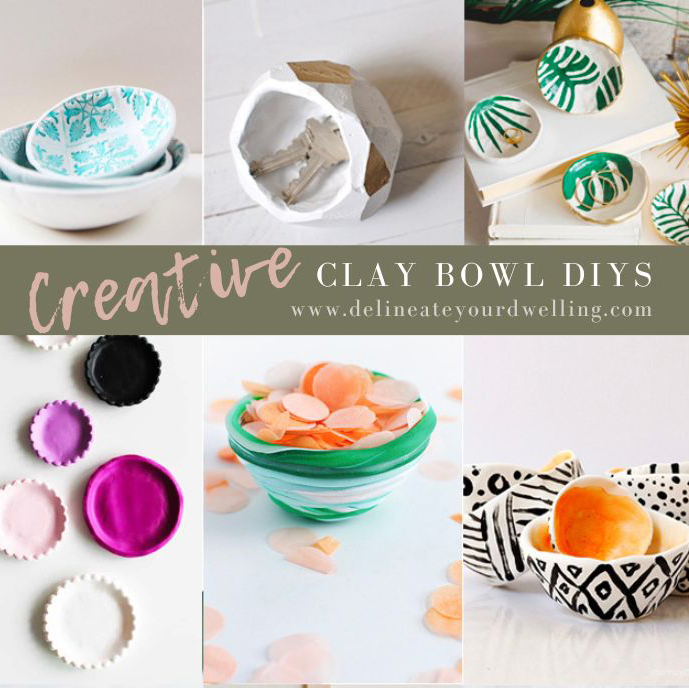
Mini Coiled Clay Bowl


INSIDE : Learn how to create a coiled clay bowl using polymer clay in a marbled pattern! This simple technique makes the most beautiful colored vessels.
This post may contain affiliate links. See full disclosure here.
This post has been updated since it’s original April 2016 publish date.
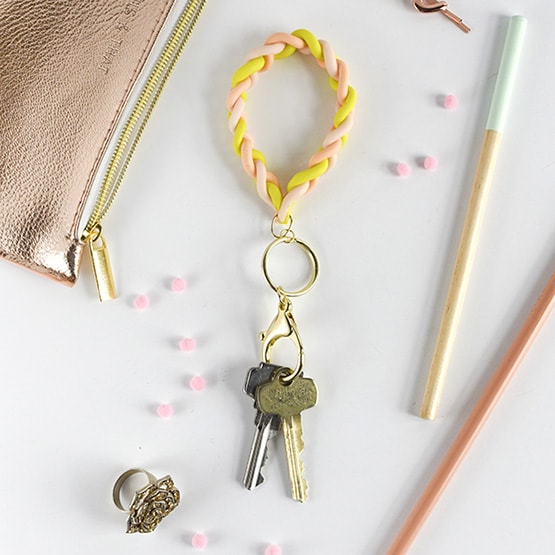
My three part series on polymer clay is coming to a close today. So far I have created a Clay Plant Holder, a Braided Clay Bracelet and today am sharing how to create a mini Coiled Clay Bowl.
I’ve really fallen in love with clay after these three projects and I’m hoping I’ve encouraged you to either dig out your stash of polymer clay or head out a buy a few in your favorite colors!
If you are looking for more information about Creative DIY Clay Bowl Ideas, check out my post here.
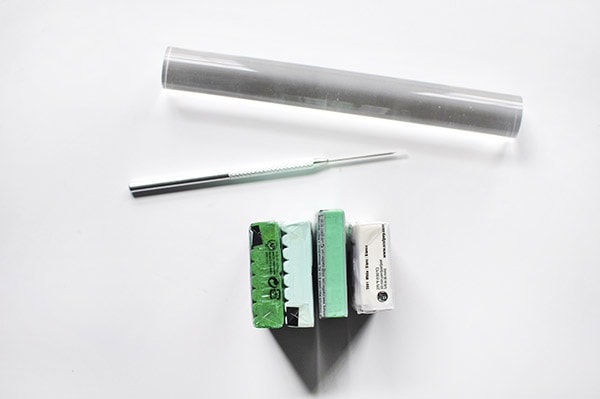
What supplies do I need to make a coiled clay bowl?
- Polymer Clay
- Sharp Clay working tool
- Clay Rolling Pin
- Bowl for creating shape
This is a very easy clay project, which are always my favorite.
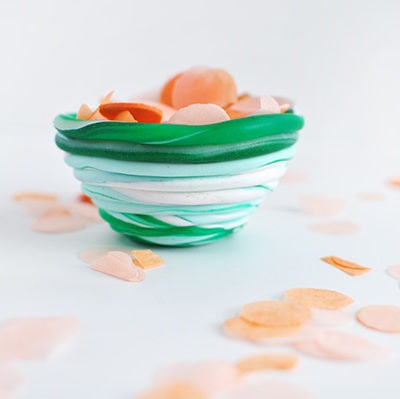
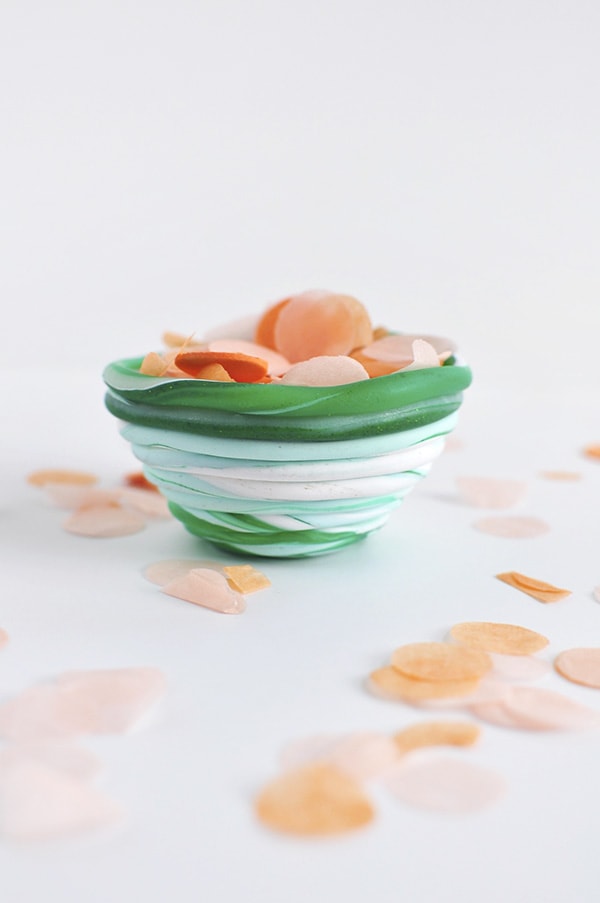
My mini coiled clay bowl is small, about 2-3″ across in diameter. However you could just as easily create one larger in size.
How to make a clay coiled bowl
To create a clay coiled bowl, you need to create the coils first.
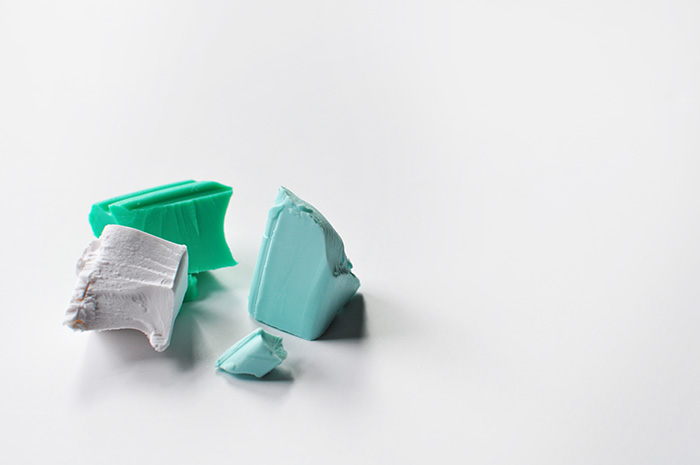
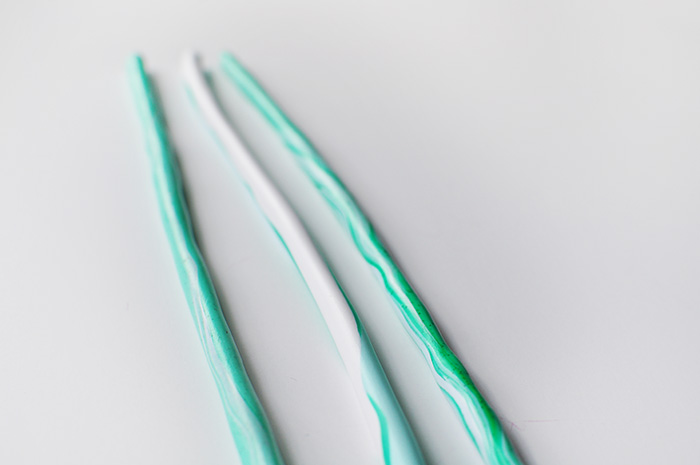
I wanted to give mine a marbleized look, so I used three or four different shades of green polymer clay. I used small pieces of each and made them into a ball.
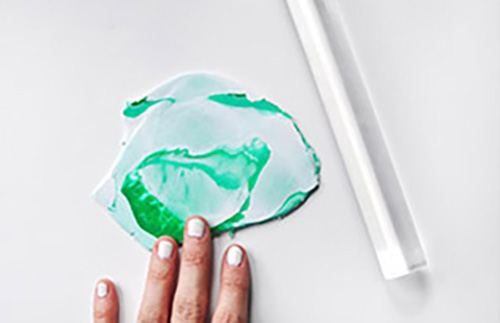
Then I slowly began roll them out just a little bit with my Clay Rolling Pin a few times and eventually was happy with the level of marbleization. NOTE : If you roll your clay out too much, it will begin to mix and blend too much and become one color.
Next, I started rolling out the coils with my hands. The smaller your clay bowl is going to be, the smaller your coils need to be.
Since my bowl is only a few inches tall, I made my clay coils fairly small in dimension.
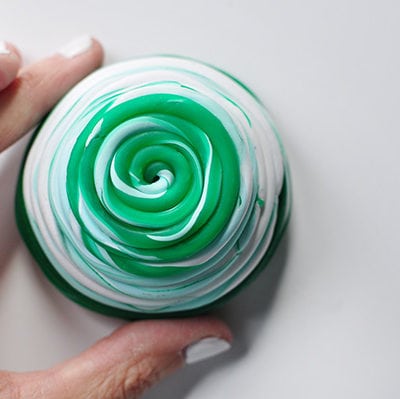
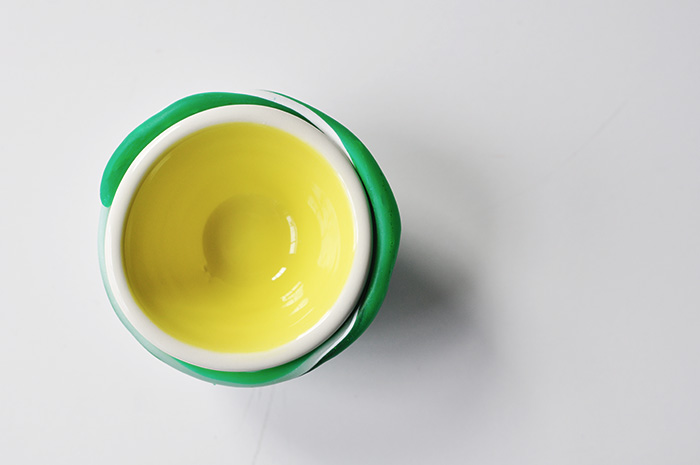
Then, turn your actual bowl face down and start wrapping your clay coils around it. Start at the bottom and work your way out toward the tabletop.
Do not press the clay tightly against the bowl, just gently wrap.
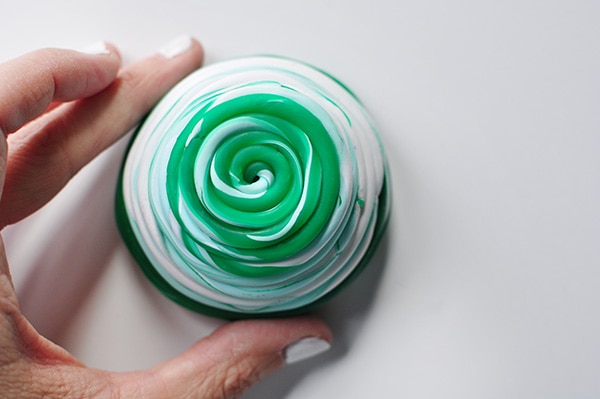
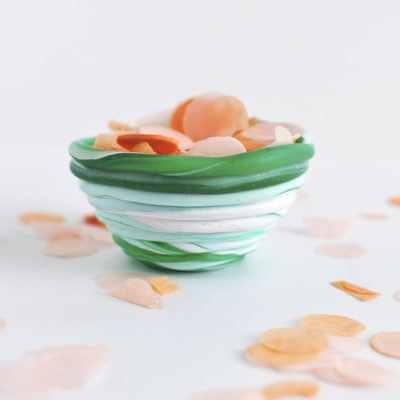
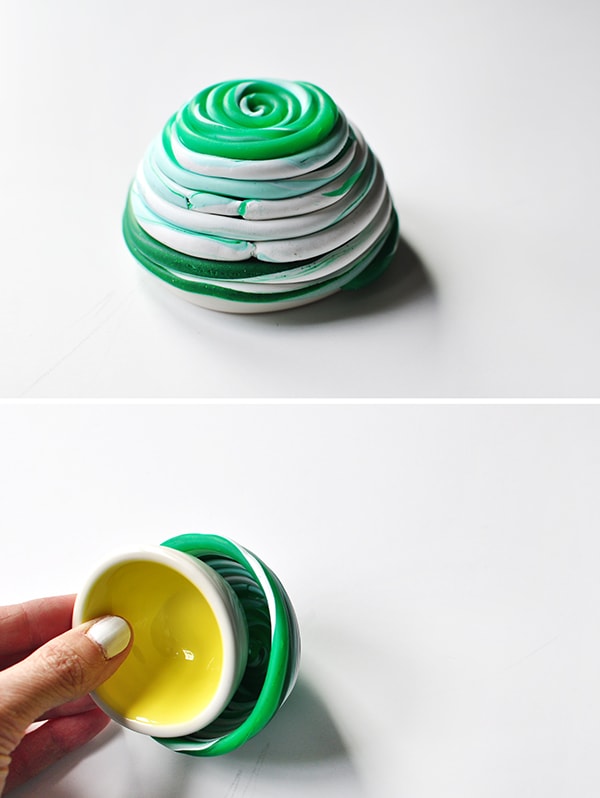
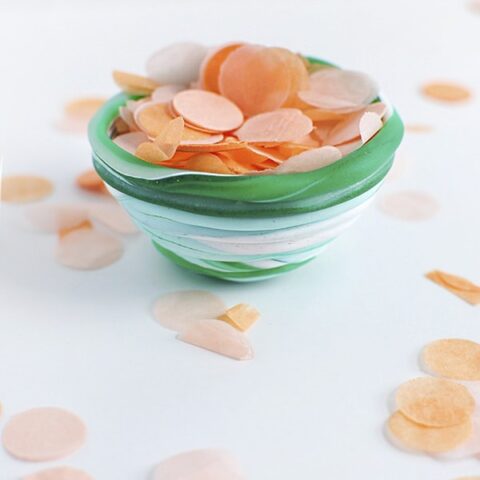
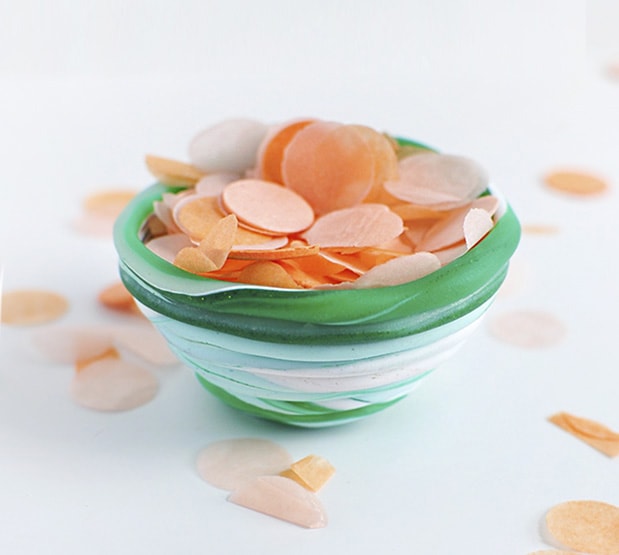
You are left at the end with this lovely looking coil wrapped bowl.
Baking your clay coiled bowl
Leaving the bowl face down again, gently transfer it to your preheated oven on a baking sheet. Follow the baking directions per your clay. I put mine in at 265F for about 35 minutes. It was such a low temperature, I wasn’t concerned with my actual ceramic bowl.
Once the bowl was done baking, remove it from oven and let completely cool.
Polymer clay doesn’t bake rock hard, it still has just a tiny bit of give to it. So, I was able to use a thin butter knife and gently wiggle the clay bowl away from the actual ceramic bowl.
DIY Clay Coiled Bowl
Learn how to create a coiled clay bowl using polymer clay in a marbled pattern! This simple technique makes the most beautiful colored vessels.
Materials
- Polymer Clay
- Sharp Clay working tool
- Clay Rolling Pin
- Bowl for creating shape
Instructions
- Gather three or four different shades of green polymer clay and using small pieces of each, make them into a ball.
- Slowly begin to roll them out with your Clay Rolling Pin until you are happy with the marbled effect. NOTE : If you roll your clay out too much, it will begin to mix and blend too much and become one color.
- Then roll the clay into small coils with your hands. The smaller your clay bowl is going to be, the smaller your coils need to be.
- Turn your actual bowl face down and begin to wrap the clay coils around it. Start at the bottom and work your way out toward the tabletop.
- Leaving the bowl face down, gently transfer it to your preheated oven on a baking sheet. Follow the baking directions per your clay.
- Once the bowl is done baking, remove it from oven and let completely cool.
- Use a thin butter knife and gently wiggle the clay bowl away from the actual ceramic bowl.
- Enjoy!
I want to create a bigger Coiled Clay Bowl to hold all of my peach and orange confetti because what a gorgeous color combination!!
Have you enjoyed this polymer clay series? Would you like more of them in the future?
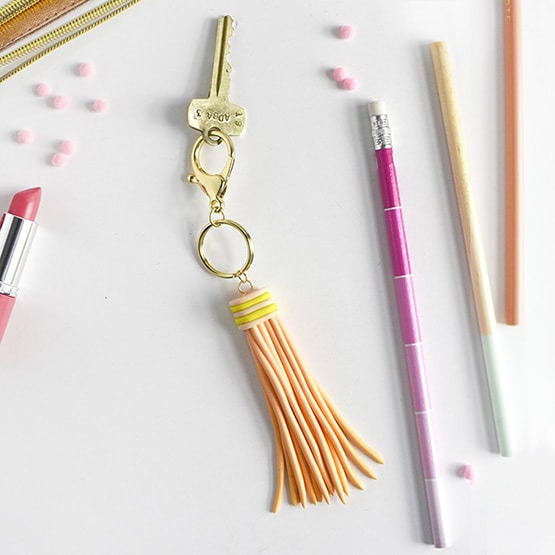
Interested in my other Polymer Clay projects?


These are too cute Amy! Must try!!