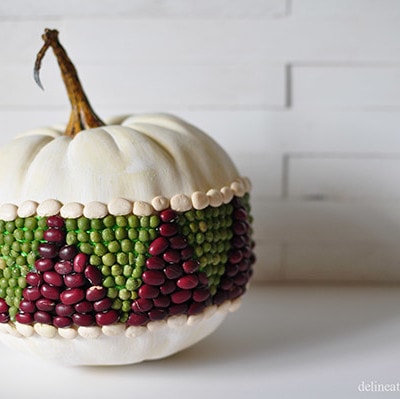
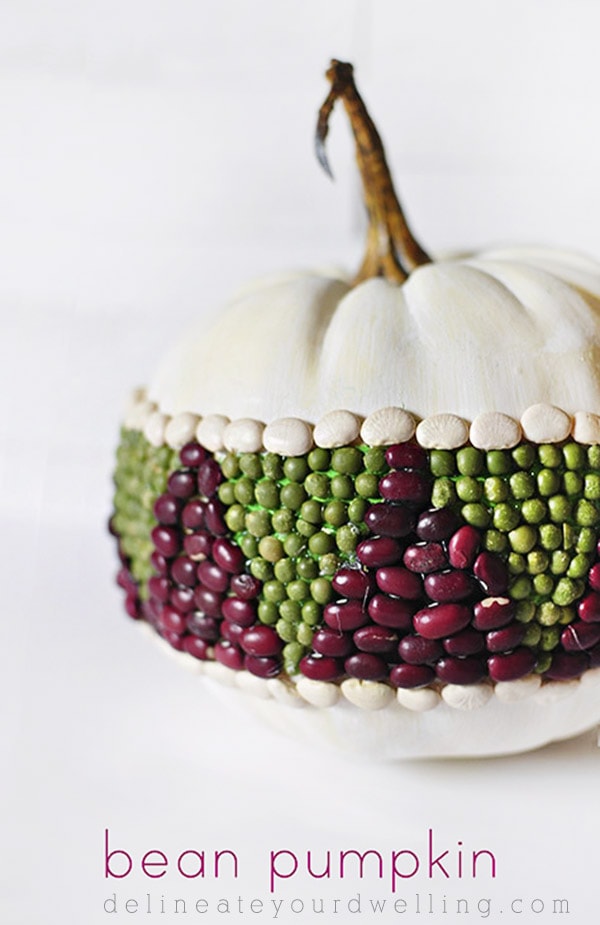
Bean Pumpkin

INSIDE : Learn how to make this easy and fun DIY No-Carve Geometric Bean Pumpkin for the Fall Season! You can set it out on display for your Autumn home decor.
This post may contain affiliate links. See full disclosure here.
This post has been updated since it’s original publish date of September 2014. What an oldie but goodie!
Last year I made a Felt Pumpkin and completely fell in love. This year, I decided to make more of a geometric patterned pumpkin. So, today I will be sharing how I crafted this super fun no-carve Bean Pumpkin.
Speaking of Halloween… looking for fun kid costume ideas?
See these adorable DIY Scuba Diver Halloween Costumes, Baker + Cupcake Costumes or Little Planet Halloween Costumes!
Now let’s get to this gorgeous pumpkin made using beans!
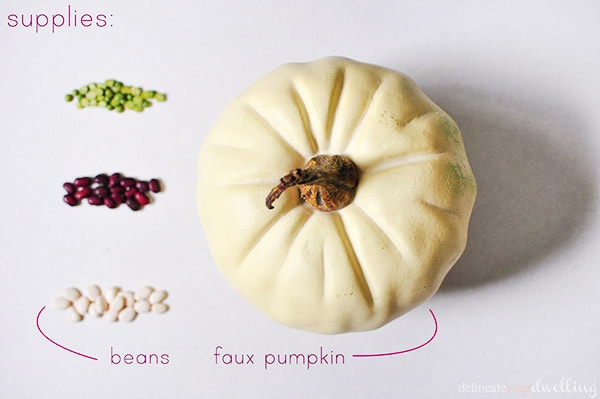
What do I need to make a geometric bean pumpkin?
- Green Lentil Beans
- Red Kidney Beans
- White Kidney Beans (or Cannellini Beans)
- White Pumpkin
- Paint in coordinating bean colors (green + brown)
- Hot Glue
- Pencil
- Ruler
How do I make a Geometric Pumpkin using beans?
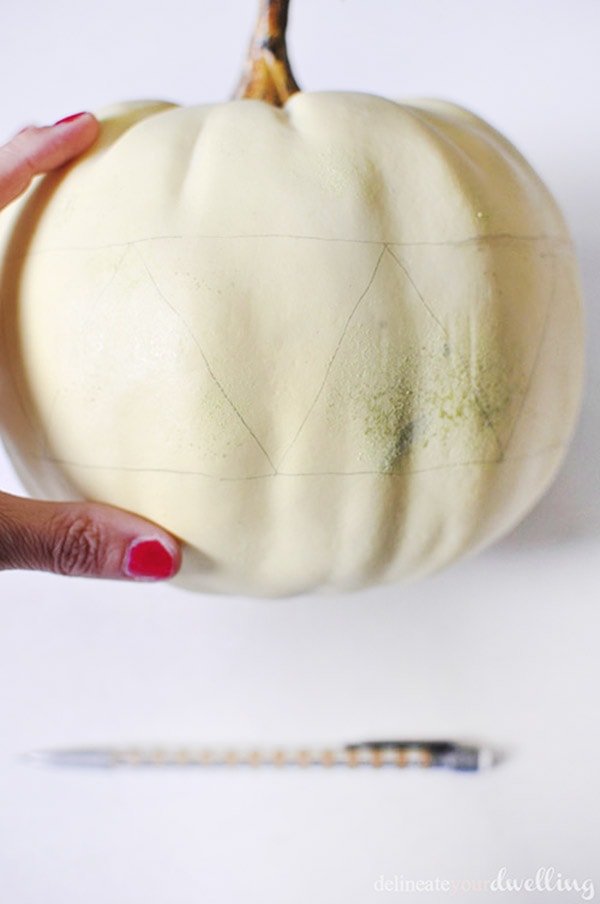
The first step is to lightly draw your geometric triangle pattern on the pumpkin with a pencil.
Decide how tall you want your pattern to be and using a ruler, lightly mark the two horizontal lines all around the pumpkin. I made mine roughly 4″ tall. I just freehanded this portion, it definitely does not have to be perfect but a ruler does help get these base lines correct.
Next, draw in your triangles. One should point up and the following triangle should point down until you have made your pattern circle round the entire pumpkin.
Paint pumpkin base colors
Once your pattern is drawn in with pencil, fill in those triangle shapes with acrylic paint. The color doesn’t have to match perfectly. I used a simple brown and green paint.
I noticed that even with hot glueing the red kidney beans as close as possible to each other, you could still see the white pumpkin underneath showing through. So this step is important.
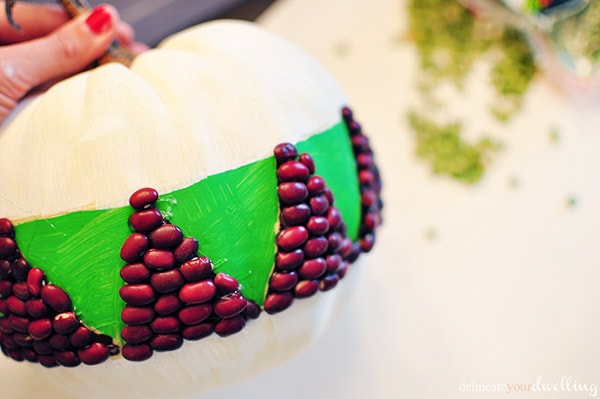
Next, using a hot glue gun to secure slowly place the coordinating beans to their color.
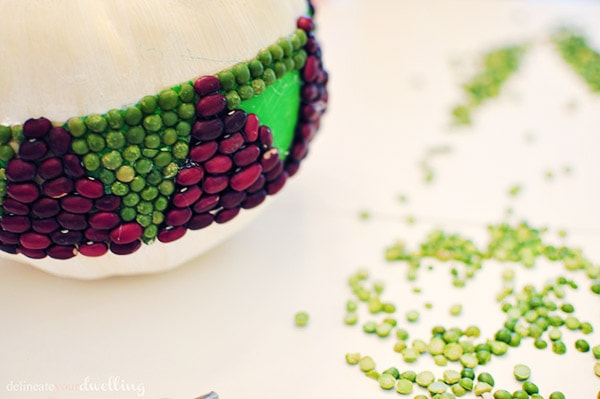
I wanted a very clean and uniform look to this pumpkin, so I did my best to keep straight rows with each bean type. You can see below how lovely the Lentils are turning out!
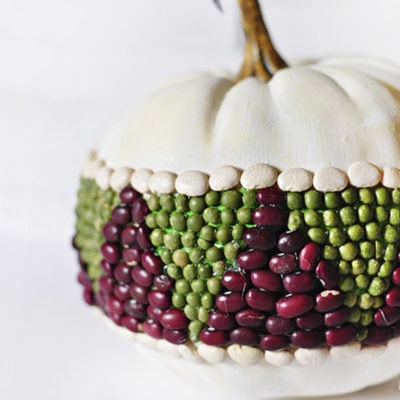
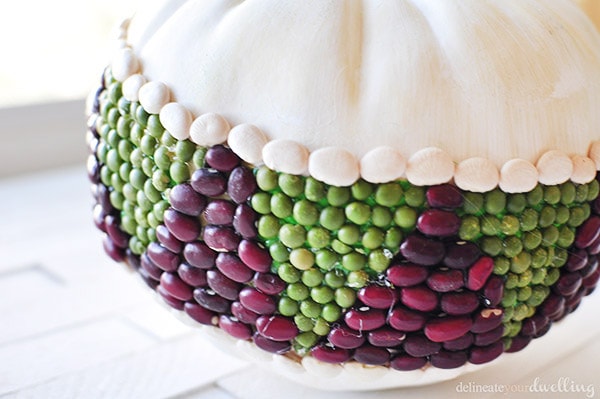
To give my no carve bean pumpkin a clean finished look, I added one row on top and bottom with the white kidney beans.
They don’t show up very well in the pictures but they were a perfect addition when enjoying this pumpkin in real life!
No Carve Geometric Pumpkin
It’s just so simple, clean and perfect. All the pumpkin heart eyes over here.
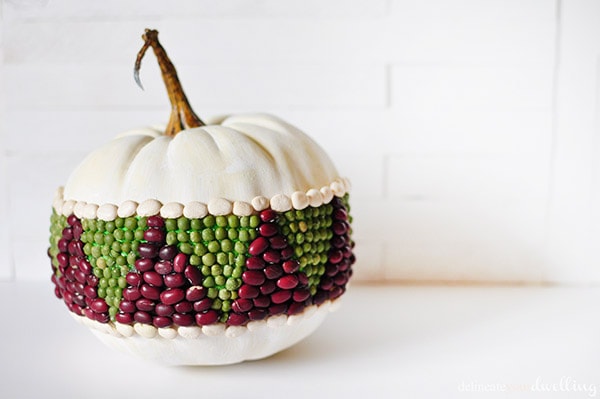

DIY Bean Pumpkin
Learn how to make this easy and fun DIY No-Carve Geometric Bean Pumpkin for the Fall Season! You can set it out on display for your Autumn home decor.
Materials
- Green Lentil Beans
- Red Kidney Beans
- White Kidney Beans (or Cannellini Beans)
- White Pumpkin
- Paint in coordinating bean colors (green + brown)
- Hot Glue
- Pencil
- Ruler
Tools
Instructions
- Lightly draw your geometric triangle pattern on the pumpkin with a pencil.
- Using a ruler, lightly mark the two horizontal lines all around the pumpkin. I made mine roughly 4″ tall. I just freehanded this portion, it definitely does not have to be perfect but a ruler does help get these base lines correct.
- Next, draw in your triangles. One should point up and the following triangle should point down until you have made your pattern circle round the entire pumpkin.
- Once your pattern is drawn in with pencil, fill in those triangle shapes with acrylic paint. The color doesn’t have to match perfectly. I used a simple brown and green paint.
- I noticed that even with hot glueing the red kidney beans as close as possible to each other, you could still see the white pumpkin underneath showing through. So this step is important.
- Next, using a hot glue gun to secure slowly place the coordinating beans to their color.
- I wanted a very clean and uniform look to this pumpkin, so I did my best to keep straight rows with each bean type. You can see below how lovely the Lentils are turning out!
- To give my no carve bean pumpkin a clean finished look, I added one row on top and bottom with the white kidney beans.

Have you ever used beans in any of your craft projects before? This was a first for me and now I maybe have hundreds of extra beans sitting around the house now, ha!
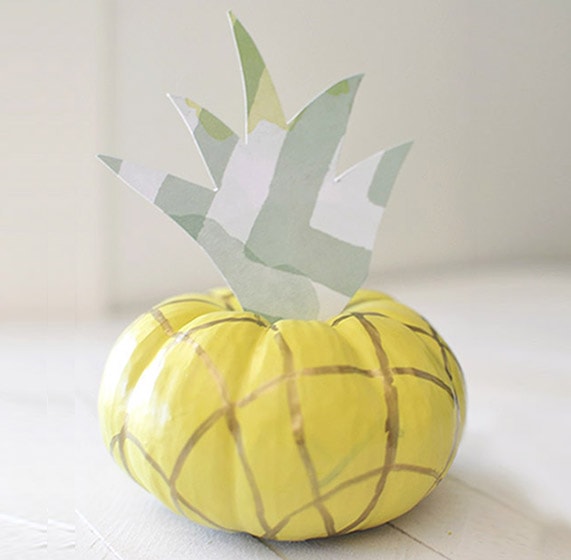
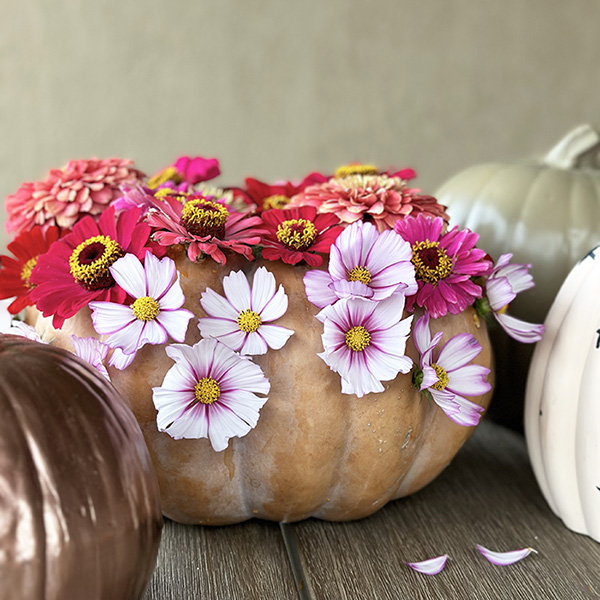
Ready to check out some of my other fun pumpkins from over the years?


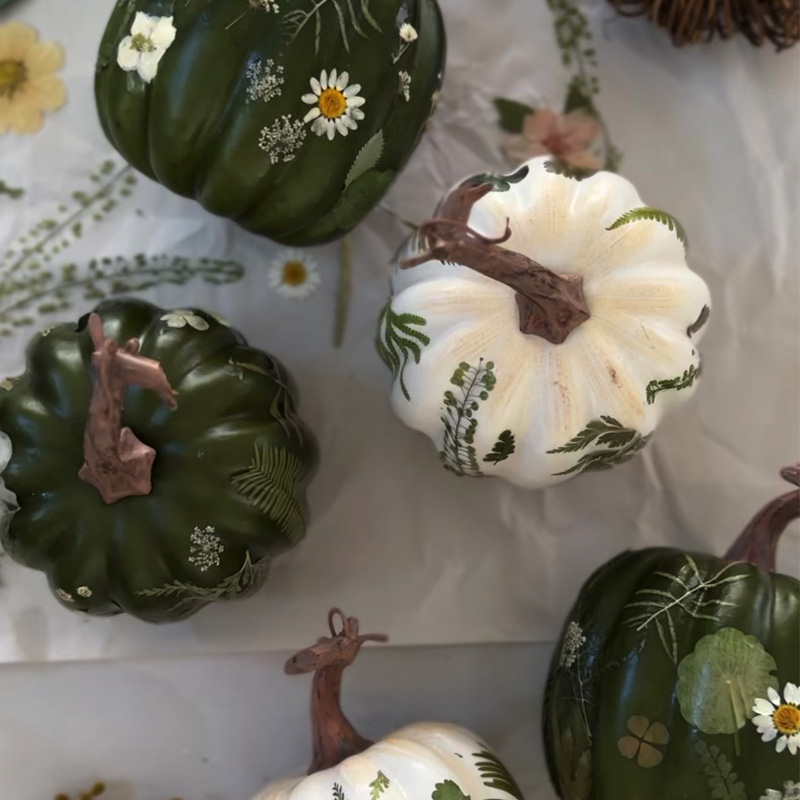
I’m in love with how rustic yet trendy this looks! This would be such a fun idea to do with my kids.
I’m hosting a link up over at my site and I’d love for you to link up with us! http://winsteadwandering.com/the-alder-collective-link-party-no-1/