Removing your Sliding Glass Shower doors
INSIDE : Learn how to remove those outdated Bathroom Sliding Glass Shower Doors. It is so much easier than you think. I was able to remove mine in a few hours time!
This post may contain affiliate links. See full disclosure here.
Earlier this year, I had planned on giving our hallway bathroom a little makeover session. I was going to do a few easy cosmetic updates to it, until we had more time and funds to really get in there and renovate the space.
However, my kitchen project kind of escalated and I’m a firm believer in taking your time and tackling one big thing at a time. So, I paused the bathroom and completed the kitchen (all under $300!).
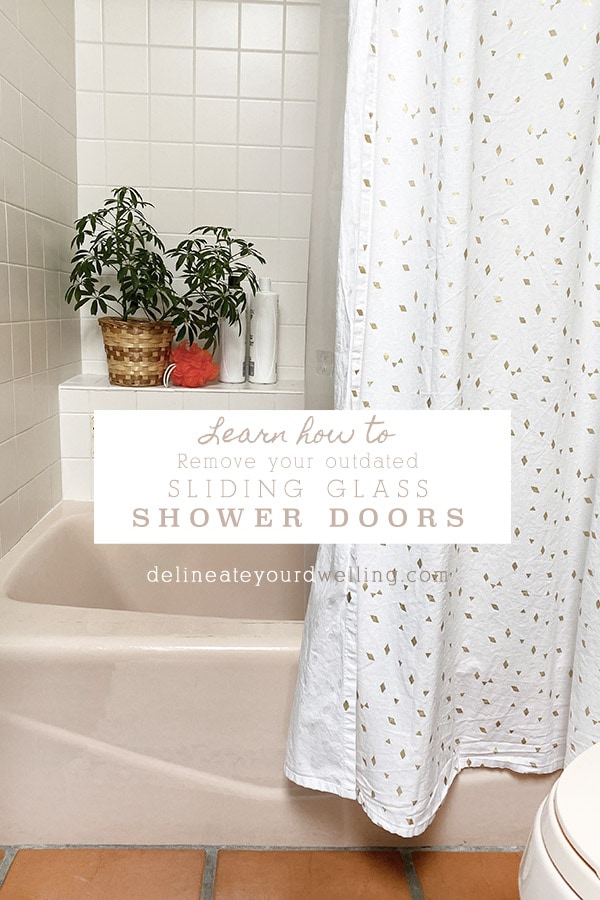
Last week, I shared our Hallway Bathroom Plans. Phase one of my mini bathroom update was removing our glass shower doors from our standup shower/tub and thought I would share today how simple of a DIY on Removing your Sliding Glass Shower doors.
Cons of Sliding Glass Shower Doors
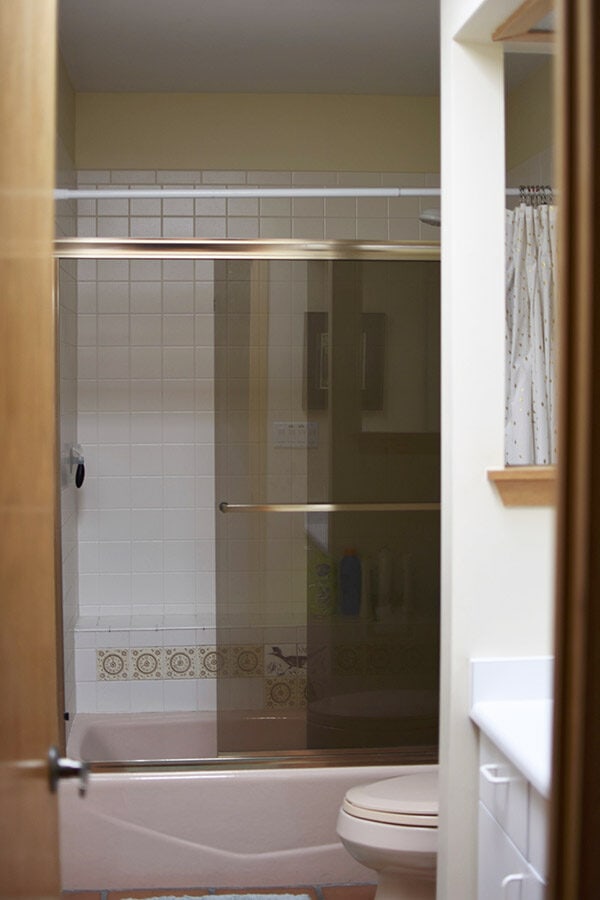
Before we get started, let’s talk about the cons I had with our brown frosted Sliding Glass Bathroom Shower doors.
Old Track System –
At some point in time, the old track system on our sliding glass doors gave out, so simple tasks like opening and closing the shower doors became quite a test of arm strength. Since this bathroom is the bathroom my small children use most, having an old track system was not ideal.
Problems Keeping Glass Clean –
Then there was the issue of keeping the glass clean. Let me remind you that this is our children’s main bathroom and there was constant reminding about using a squeegee on the glass – but I’m not sure it happened much. The glass was always dirty and a mess.
Outdated Appearance and Look –
My final issue with the glass doors was their outdated look.
I’ve seen some lovely newer styles with black trim and a modern look, but most sliding glass shower doors are from quite a while ago. I felt like the look of ours really gave the entire room a very dated feel.
Did I mention you could see the roadrunner tile inside the shower? If you are confused, check out my Hallway Bathroom Plans post, yikes!
What tools are needed for removal of bathroom sliding shower glass doors?
The tools needed to remove your bathroom’s shower sliding glass doors are fairly simple.
You will need :
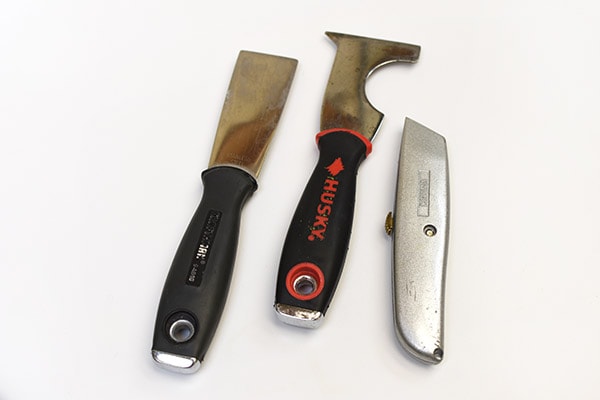
– screwdriver, I used a cordless drill.
– putty knife OR an all in one multi purpose tool
– utility knife
– rag
– needle nose pliers
– shower caulk
Interested in learning more about the Best Beginner DIY Tools? Check out this post!
Removing Bathroom shower glass doors
To remove your bathroom shower glass doors, start by locating the screws that are holding the main frame up.
Our shower door frame had three screws on each side and a base frame screw in the center.
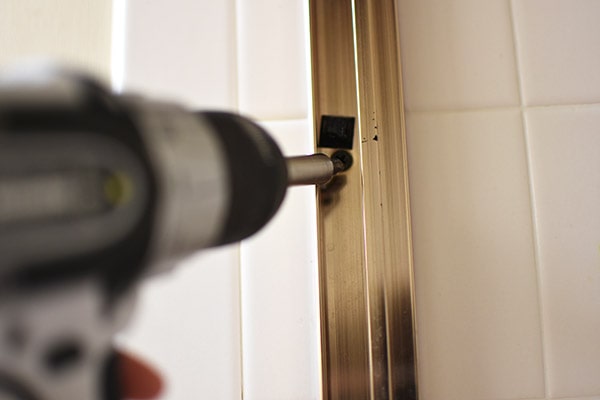
Using a screwdriver or a cordless drill, remove all the screws. (Disregard how dirty this photo is… it’s a huge part of why I wanted to get rid of those doors, ew.)
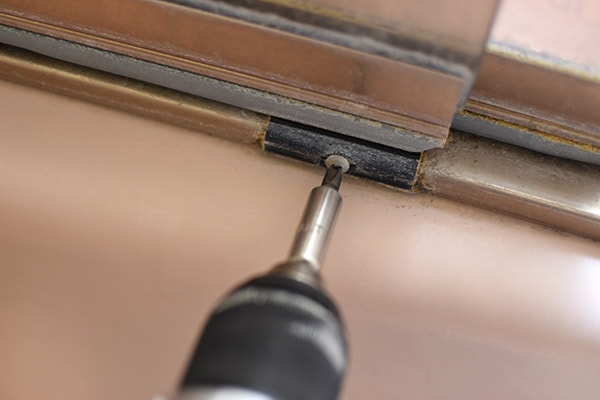
Once all the door screws were removed, there was a bit of give in the frame and you should be able to lift up and out the glass doors one at a time. Note : they were heavier than I anticipated and I had my husband come in and give me a hand lifting them up and out.
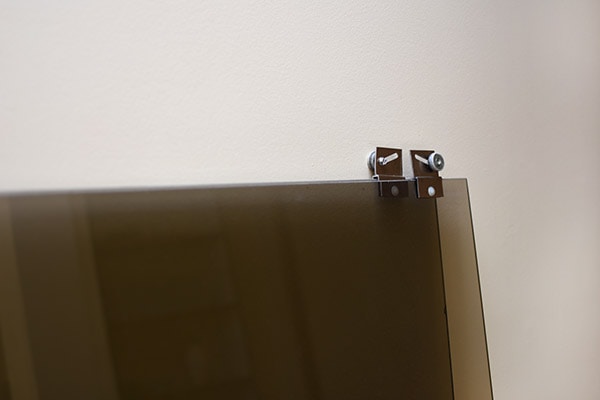
All that remains now is the actual metal frame.
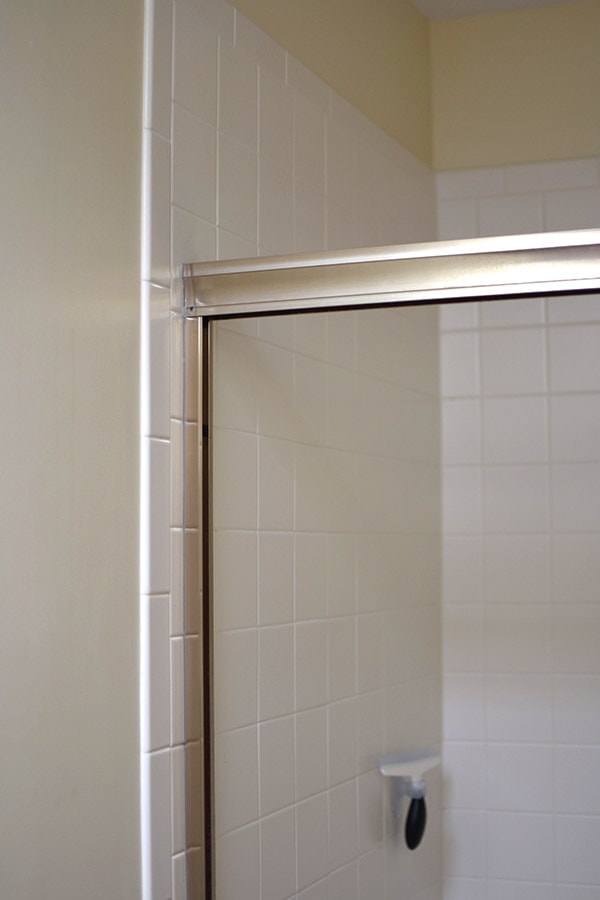
The top piece of the sliding door frame was simply sitting on top, so with one decent push from below and it came right out.
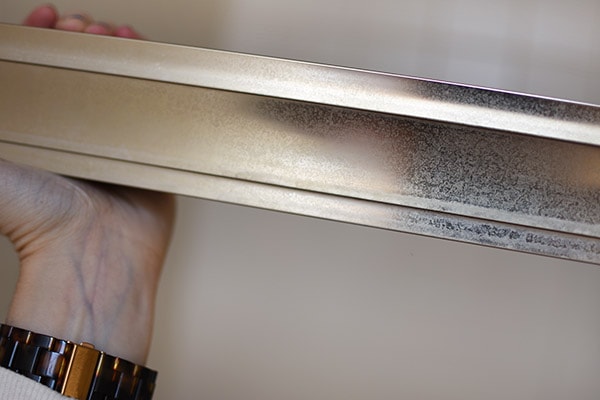
Removing Caulk from shower frame
Next, use your utility knife and score along all the old caulk joints on your frame pieces. This helps so you can really get your putty knife under the frame. The putty knife will help pop the frame off the shower wall.
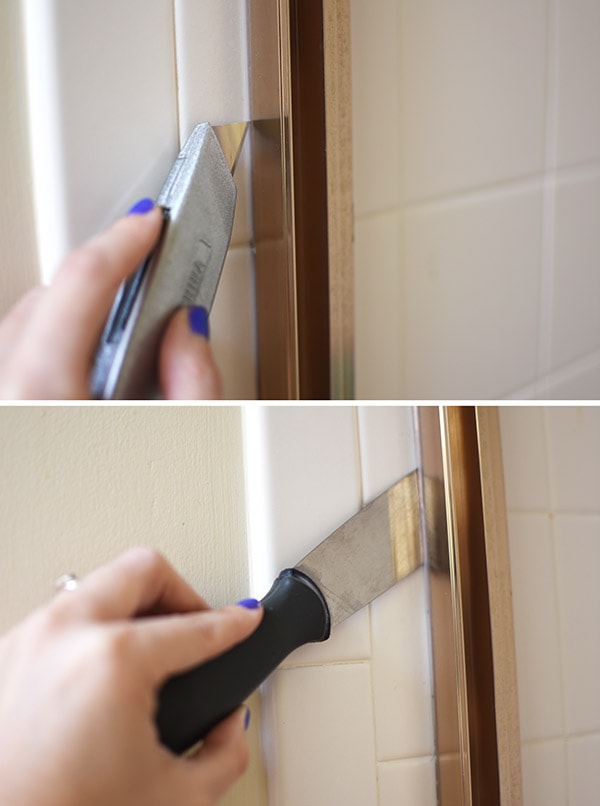
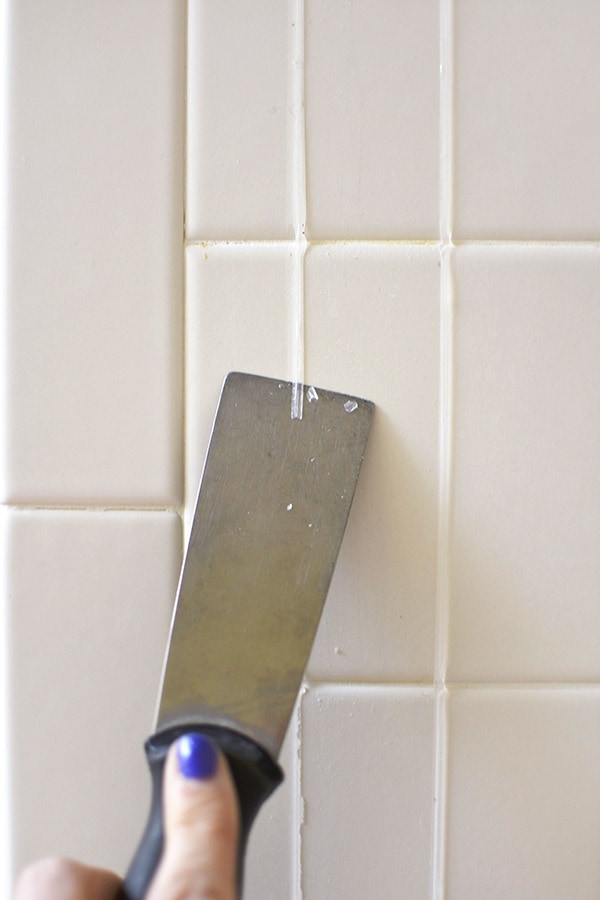
After your frame is removed, you can use the putty knife again to scrape up all the old excess shower caulk. After the caulk was removed, I used an old rag to get up any last remaining grime.
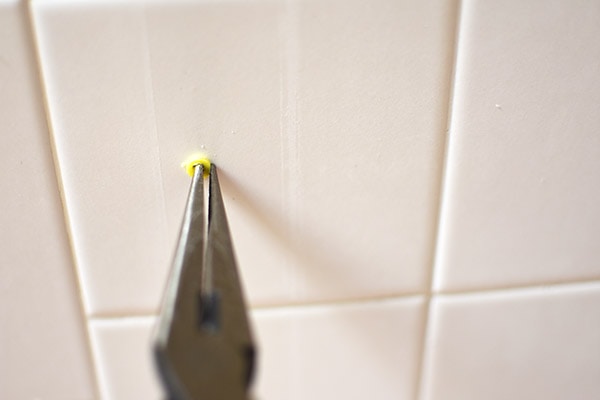
Lastly, using a pair of needle nose pliers, remove any old anchors from the door frame. And fill the holes with a water repellent shower caulk.
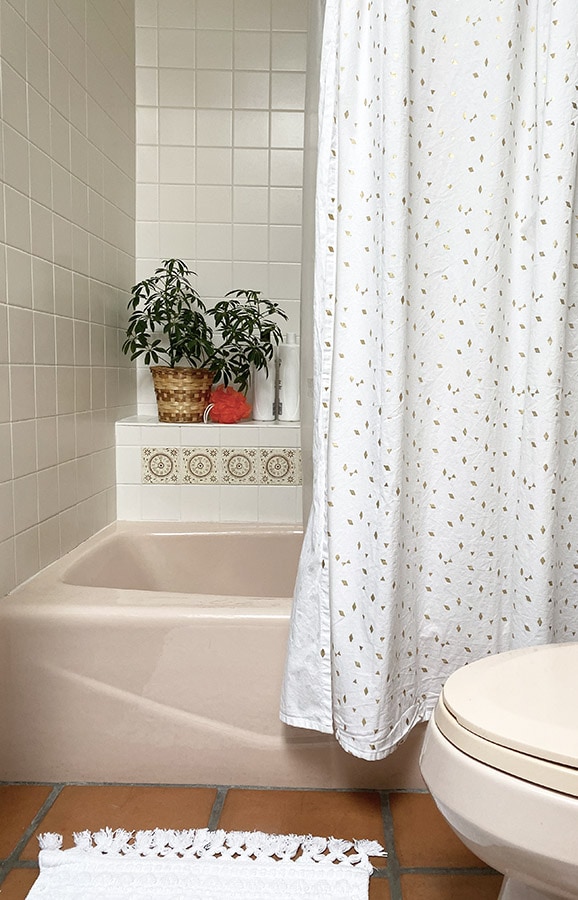
Find yourself a new shower curtain and enjoy your door-less shower!
Be sure to follow the entire guest bathroom process!
Hallway Bathroom Plans
Removing your Sliding Glass Shower Doors
How to Build a Modern Board and Batten Accent Wall
WASH Bathroom Artwork framed
Hallway Bathroom Reveal
MY Home –> Want to check out my each room in my home?
I have inspiration, tips and inexpensive ways to make your home YOU.


I think the roadrunner tile is adorable! I get why you might not lol, but because it’s actually native to your area and because this is mainly the childen’s bath I think it falls on the charming side. Plus it has that super useful built in shelf. (ps I think your kids will always have memories of their roadrunner bathtub). The Saltillo tile is whoa dominant, but heated? That’s sweet! It’s the pink toilet tub sink thing that I cannot wait to see how you make disappear with your colour scheme plans. Bravo to you for doing it all by yourself! Wow!
You showed pics of getting the residue off the wall but what about on the tub? It looks like there were no surface scratches after the rail was removed. I’m interested because in my house there are two bedroom baths that have these kind of shower doors and I’d like to get rid of them too.
Yes, the roadrunner is ALMOST charming… almost – hee hee. I actually removed the residue off the exact same on the side of the shower and on the tub. I was very careful to not scrape the tub too hard, but the caulk just mostly peeled right off. It was much easier than I thought it would be. I suppose if you were concerned, you could try like Goo Gone first?