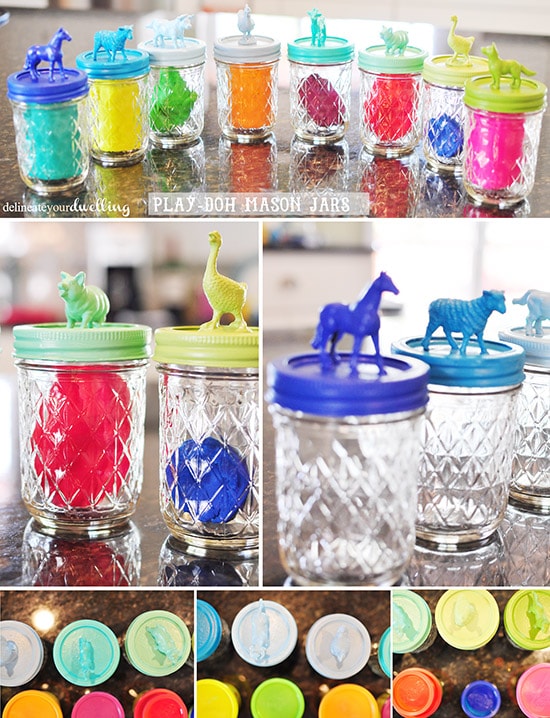
Mason Jar Play-Dough

INSIDE : Learn how to create adorable and colorful Mason Jar play-dough containers for your kiddos to use and store for another day of play!
This post may contain affiliate links. You can see my full disclosure here.
This post has been updated since it’s original September 2013 publish date.
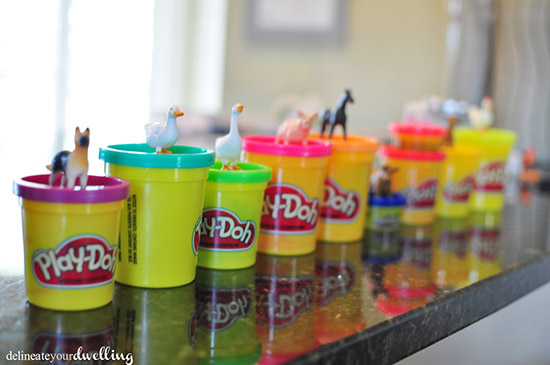
Play-doh is such fun, but by the time I’ve got the kiddos in their high chairs and get those dang lids off the containers, both my kids are in shrill hysterics. Today I am sharing how to make easy to use and CUTE Mason Jar Play-Dough containers!
I first saw this idea from the amazing and talented Lolly Jane blog. Not only are these containers completely adorable, but also with the simplest twist and that crazy play-doh is accessible. And all the mothers give a huge sigh of relief.
What supplies are needed to make cute Play-doh Mason Jar containers?
- Plastic Animal Figurines
- Mason Jars (or plastic jars will work, too) and lids (these are also fun ones)
- Acrylic Paint
- Paint Brush
- Crazy Glue
- Play-dough
How to create play doh containers
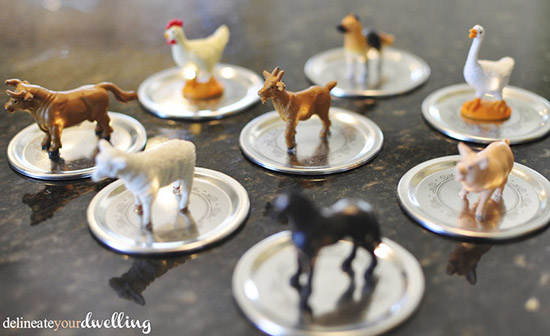
To make your play dough containers, start by setting out all the farm animal figurines. I grabbed a bag of plastic animals from my local craft supply store. Just make sure they are small enough to fit on the lids of your containers.
Set them out on the lids to make sure they fit. It looked like my animals were ready for an animal parade! Off to Play-doh land we go…
You will have the best success if you glue your animals to the lids prior to painting. So grab yourself some crazy glue and glue them down.
Once dry, next up is painting the animals and lids!
I selected eight different acrylic craft paints and gave everything their first coat of paint. Don’t be alarmed if the first coat doesn’t fully cover everything.
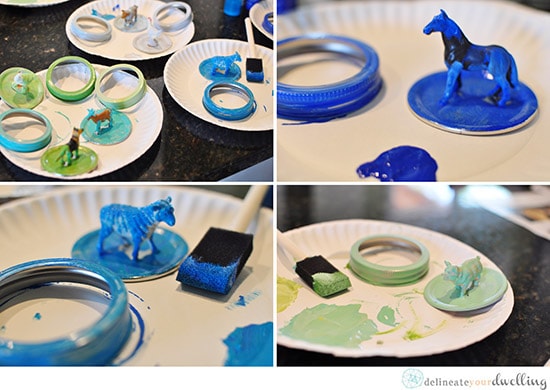
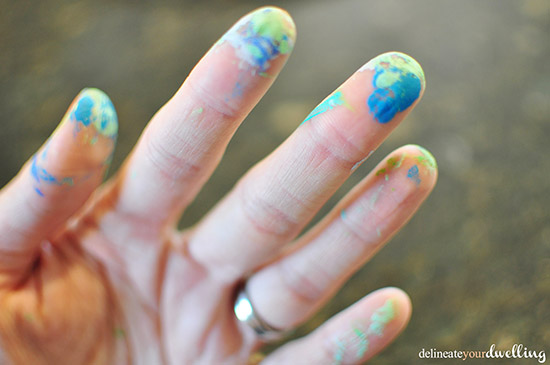
I ended up giving the lids and animals (and my fingers, yikes) three coats of paint before I felt like it was a good even coverage.
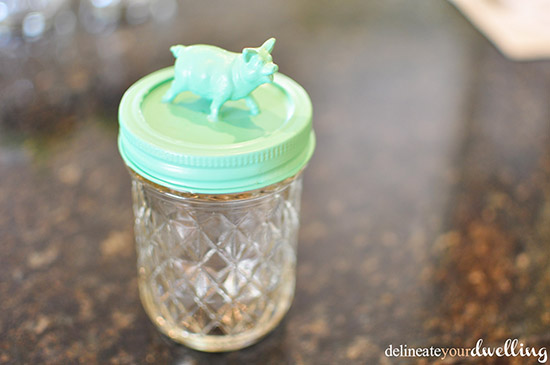
This mint green pig is my favorite. He just looks so dang happy, ha.
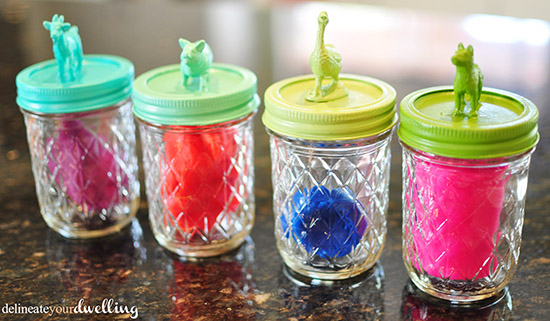
If you are concerned with your kid’s play doh being in glass containers, there are numerous lid jars that you could use made of plastic! Safety for the win.
If you are looking for other fun kid related crafts, you might like some of these!!