How to update an old Tree Stump Table
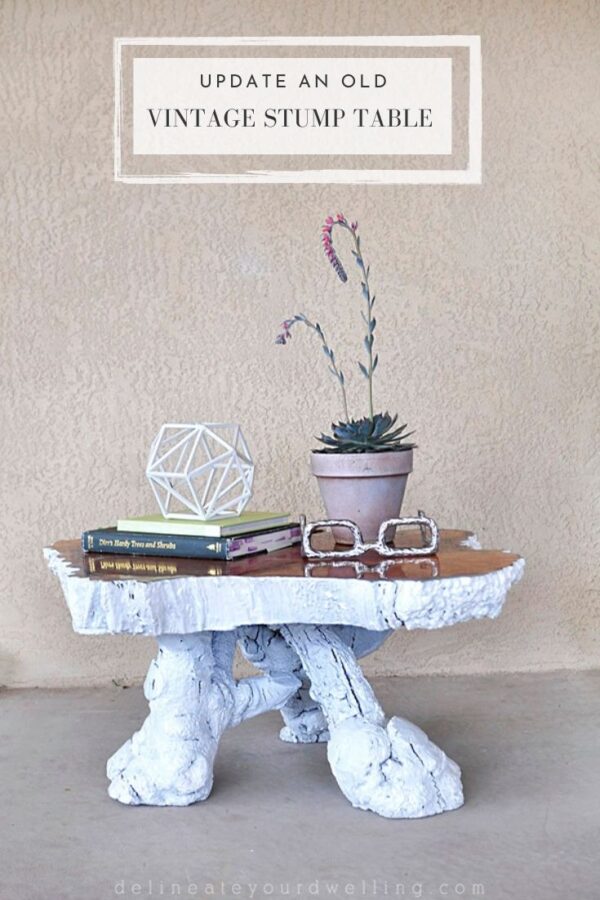
INSIDE : Learn how to update an old Tree Stump Table in two simple steps. Then turn it into a gorgeous vintage piece with a whole new look!
This post may contain affiliate links. See full disclosure here.
This post has been updated since it’s original publish date of August 2015.
THE HISTORY OF OUR TREE STUMP TABLE
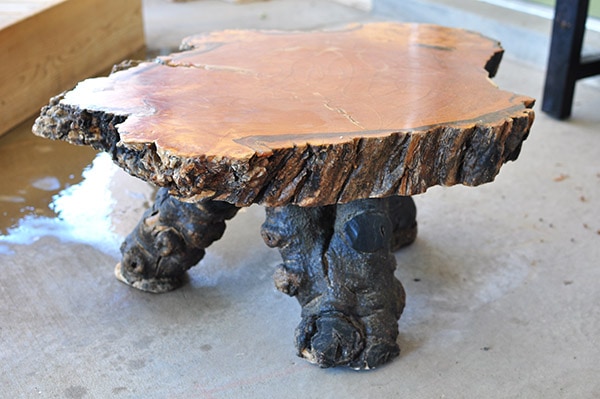
At some point during the early years of my marriage, we acquired an old 20+ year old Tree Stump table that was owned by my mother-in-law’s mother, we will call her Nanny. I can’t really recall when this table entered our lives. I just know that for years we’ve stuck it in the back corner of our garage, then I moved it to the back corner of our sunroom, when we moved it then lived in the basement of our home and I almost tossed every few years.
Then one day, my eyes opened up and I suddenly realized it was a VINTAGE GEM and with a little updating I could really make it into something amazing!
Cleaning a Vintage Tree Stump Side Table
Start off by using a cloth or dust wand and go over the entire table. My vintage table had cobwebs and so much dust even on the underside.
Next, wipe down your table with hot water and a micro fiber cloth to remove grime and dust from the top surface. You can repeat this process with a watered down vinegar cleaning solution for even a little more cleaning power.
I also used the vinegar solution on the legs and underside of my table to really get it as clean as possible.
Removing Old Epoxy from a tabletop
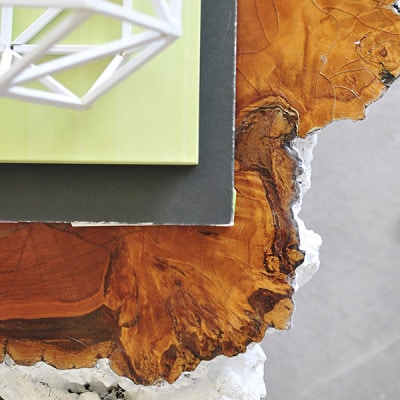
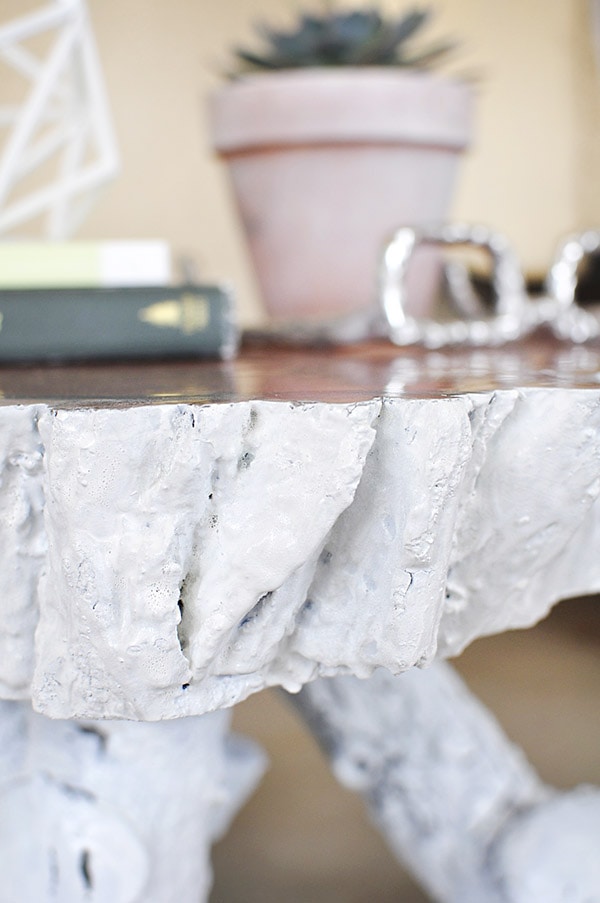
My table has a very thick, about 1/4″ of epoxy like substance on the front face. Because of it’s age, the epoxy had turned a yellow – amber color. At first, I thought it might be worth trying to remove the shellac coating.
On a small corner, I used a hammer and chisel to attempt to gently lift up a layer of shellac, but it started to crumble. It was quickly apparent that I would need to leave the shellac in place.
However, if you want to remove your epoxy, I’ve heard great things about using a heat gun, acetone and chisel and/or scraper. Score your epoxy first, pour on your acetone, warm with the heat gun and then slowly scrape away the epoxy. Be sure to wear the proper protective gear for this step.
How to update an old tree stump table with paint
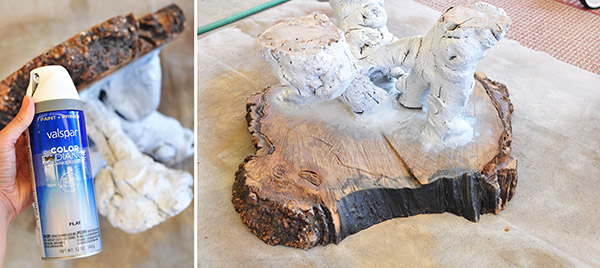
The biggest update to my vintage table was a simple paint job. I flipped over the table and laid it onto a canvas painter’s tarp, so I wouldn’t have to tape off the top. This was important in not having any paint seep onto the top. If you use plastic, the paint would likely be pulled and onto your table top.
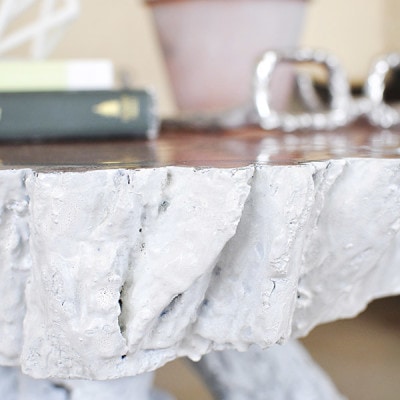
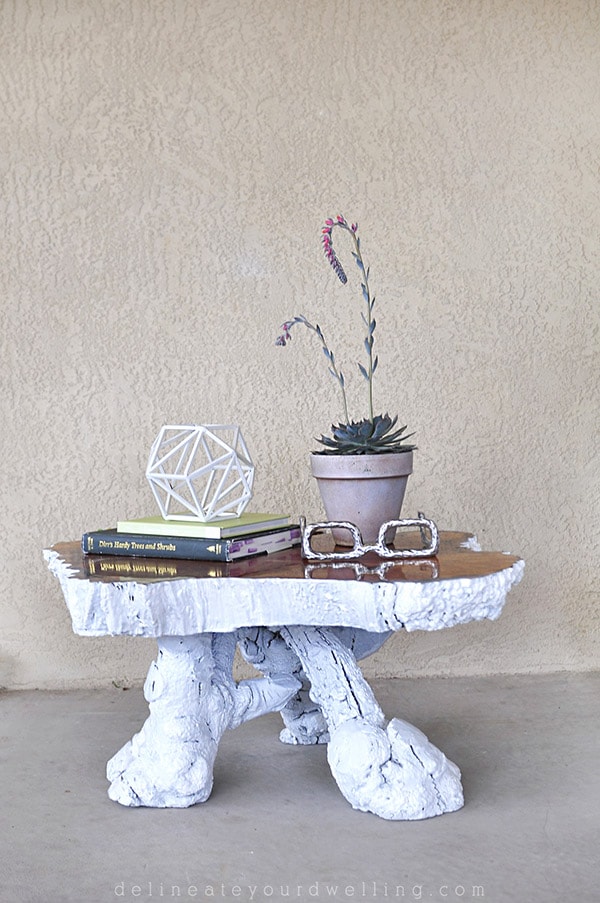
Then, using a White Spray Paint and Primer combo, I spray painted the legs and the sides white. I did two nice even coats to make sure I got in all the grooves of the bark. I used a flat paint because that’s all I had available, so after my paint was fully dried – I sprayed on a clear protectant coat.
If you have semi gloss or gloss available, that would be the best option for easy of wiping clean.
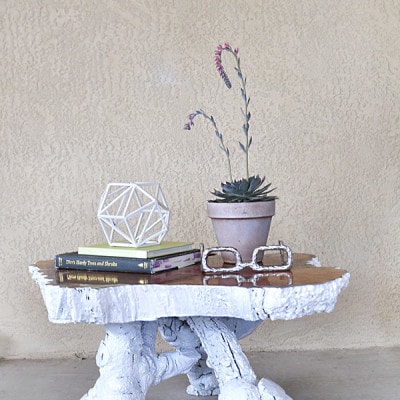
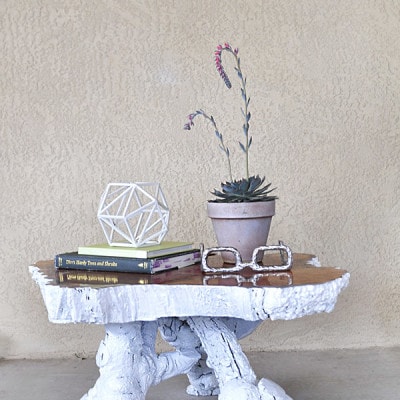
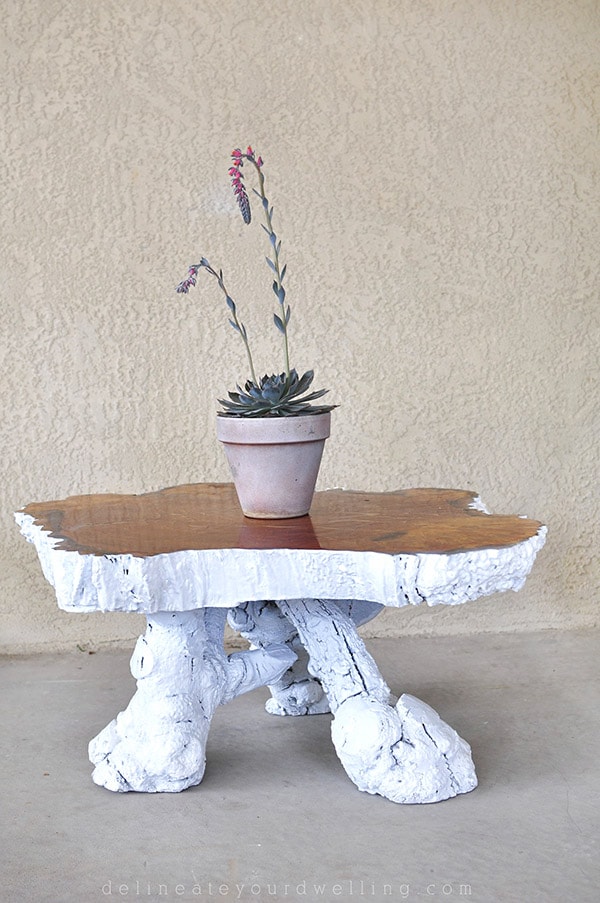
The final outcome was so worth the effort!
Fresh Updated Tree Stump table
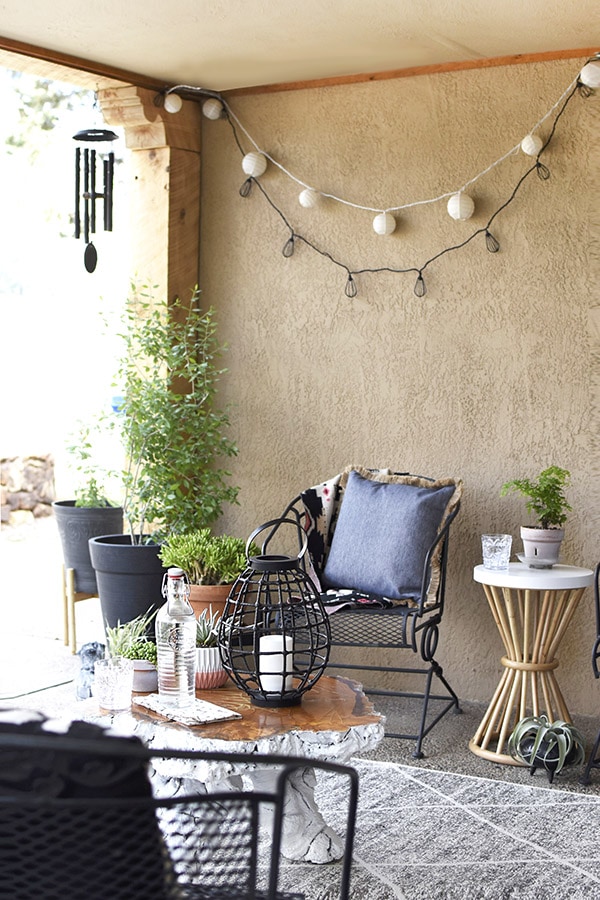
This project was originally updated six years ago and it’s held up remarkably well. This table has been outdoors under a covered porch and only once did I decide to give the legs and underside a quick paint refresh.
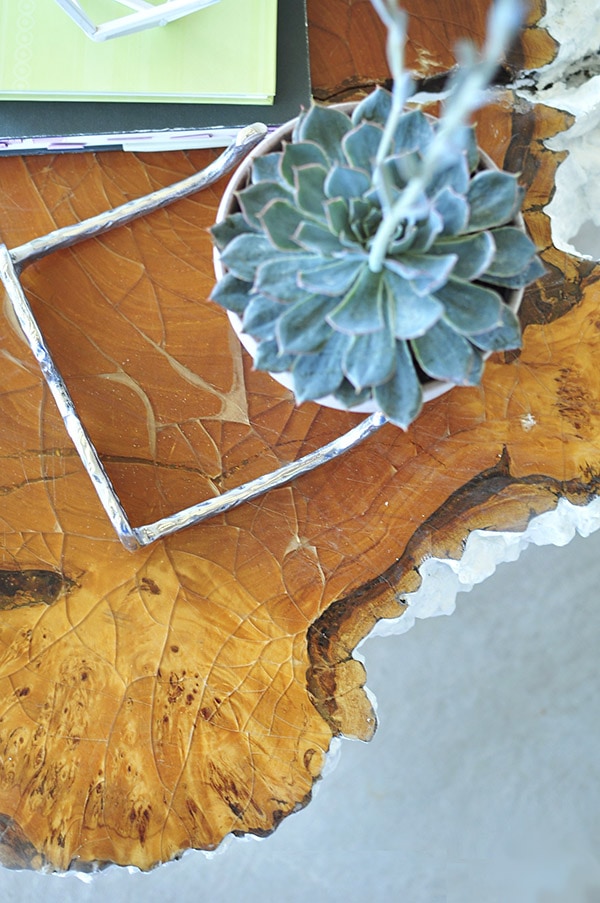
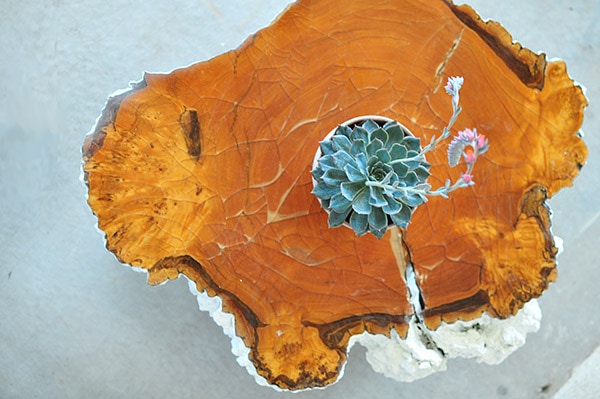
And even though I wasn’t able to do anything to the table top, it gives the piece such age and character.
Shop this post : Canvas Painter’s Tarp + White Spray Paint + Clear Finish Spray
It’s fun how trends and styles change and a piece I almost got rid of multiple times, is one that now I love so dearly for the cool character it brings to our outdoor space.
Do you have an old piece of furniture collecting dust? Why not clean it off and give it a few coats of paint, you might be surprised at the outcome!
Want to see this gorgeous table in it’s full glory? Check out my 5 Must Do tips for updating your Back Patio post.
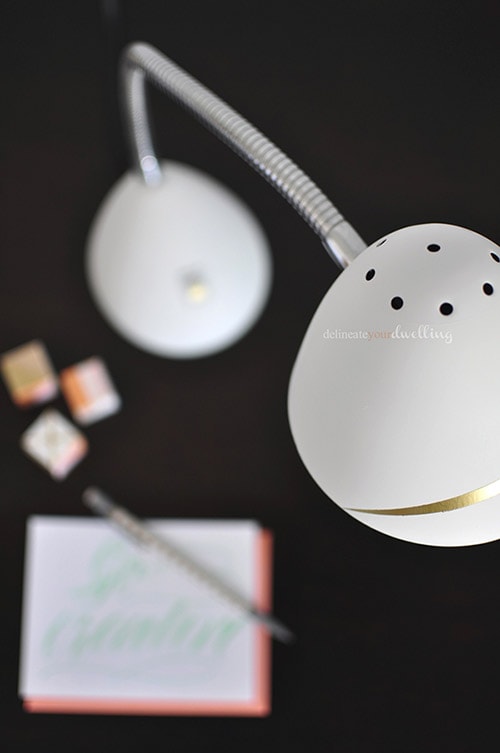
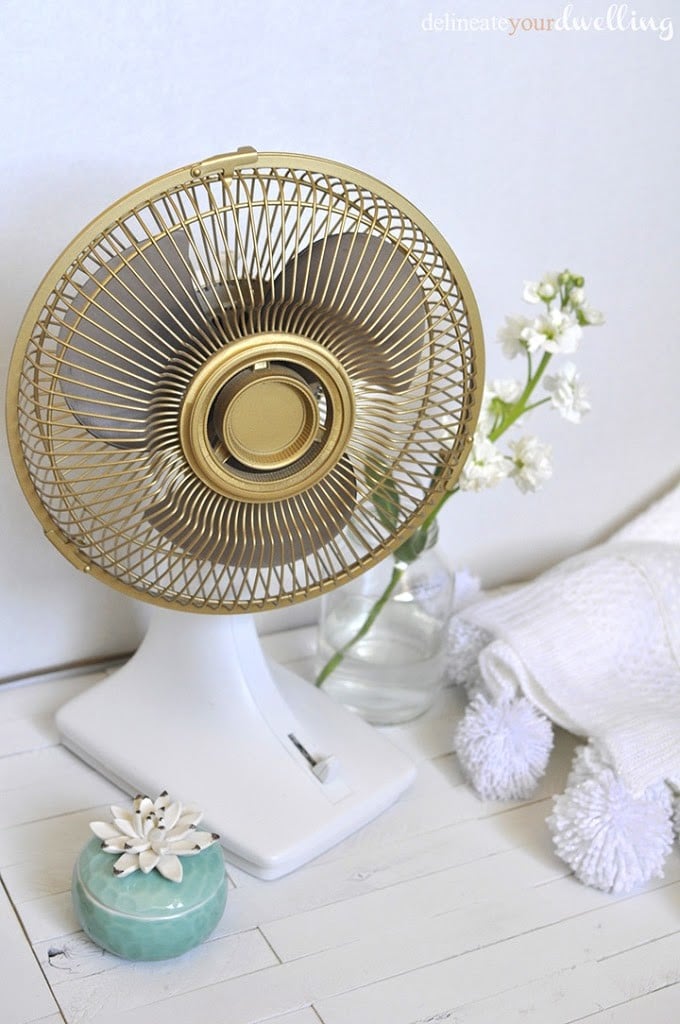
Check out a few of my other fun Updated Projects that got a whole new life, here below:

That’s a great idea. Instead of grinding the stump, removing it is an excellent idea for this purpose. Check out more info here
I love this idea! And I can also envision, if you ever get tired of the white, changing it to gold???
Yes, gold would be magical! The table is currently sitting in my office/studio but it would look equally stunning in our living room. 😉
Amy, I love this update! Also, I’m super jealous that you had this tree stump table to even update at all–what a cool looking piece!
Thanks so much, Amy! Funny how if it wasn’t such a beast to move around would have taken it to Goodwill over the past 7+ years and then like 2 months ago thought, oh my word… I can’t believe I own this, I’m in love! Styles change for sure! =)
I love what you did to the tree stump table! Haha, I have a similar table at home (still on display in my living room), but it used to belong to my parents, and unfortunately there’s no way I’d dare to upcycle it in this lifetime! (for fear of my mother’s wrath) At least the wood grain is beautiful :p When the time comes, I just need to find a way to fit it into my style. *sigh* When there is a will, there is a way, I guess.
Oh man, how neat to have that from your parents! I got full blessing from my Mother in Law before I dare touched, it too. Although, I’m not sure she liked the color I painted it… whoops. =)
Hahaha… that’s the thing. My mom loves decorating too, but our taste is vastly different. It’s been interesting to see her reaction to some of my projects. At the beginning I could see that she wanted to say something but refrained from doing so. Over the time she has been exposed to my style, she has learnt to appreciate it (or so I’d like to think). But your mother-in-law gave her full blessing and trust your artistic direction. That’s the main thing, isn’t it? She trust you would treat the item with the love it deserves. And I think it shows. She will learn to like it *wink*