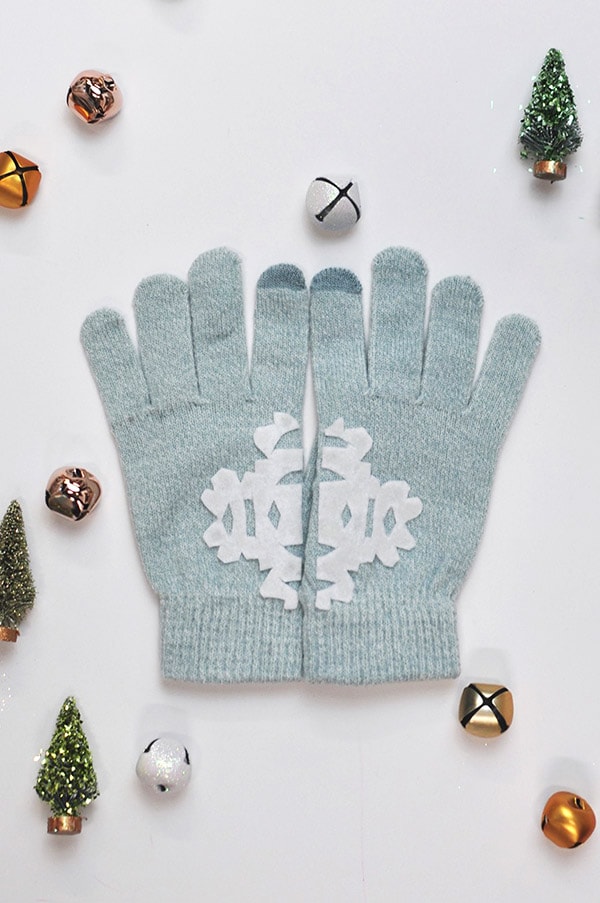
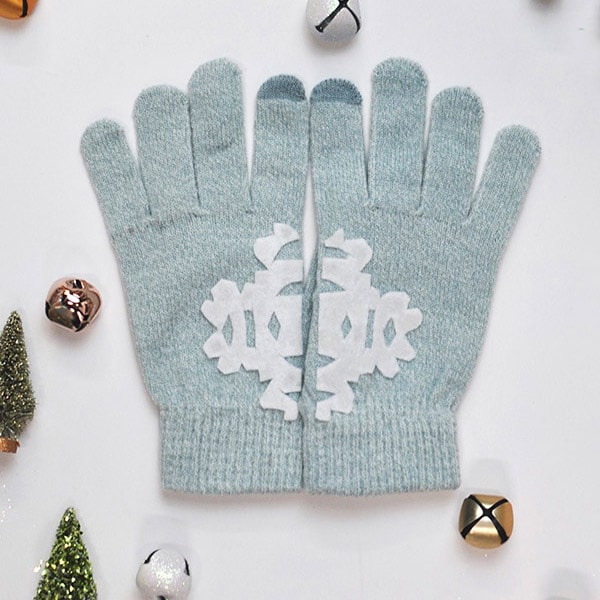
How to make No-Sew DIY Felt Snowflake Mittens
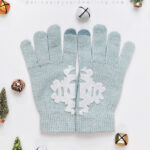
INSIDE : Learn how to make Festive No Sew DIY Felt Snowflake gloves for the cold winter Holiday months!
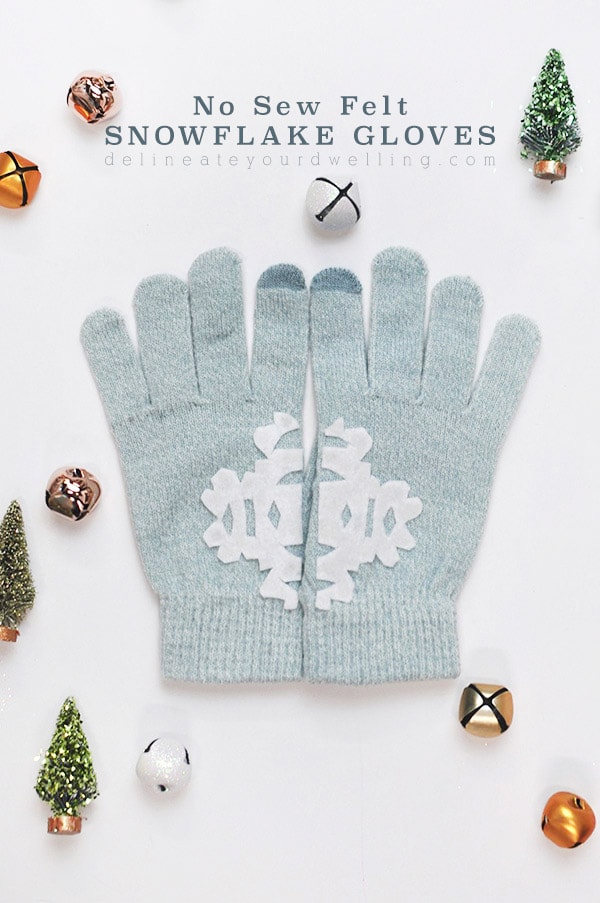
To end my week of Holiday Felt projects, I wanted to share the second pair of Felt Mittens I made. If you missed them, I created these fun graphic MERRY Felt Mitten last week and today I am sharing a slightly more sophisticated version, my How to make No Sew DIY Felt Snowflake Mittens.
This post may contain affiliate links. See my full disclosure here.
What supplies do I need to make Felt Snowflake Gloves?
Felt
Sewing Shears![]()
Fabric Fusion Adhesive
Knit Mittens

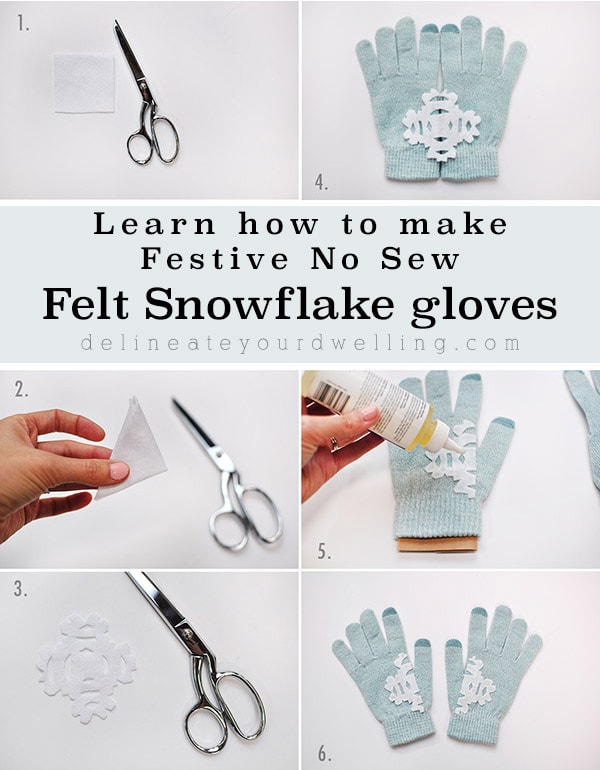
How do I make No-Sew Snowflake Gloves?
Measure the space you have available on the top portion of your mitten. Then, transfer those dimensions onto your felt.
Recall your elementary days of cutting out paper snowflakes and replicate that with the felt. Fold the felt as many times as you would like and then cut out fun shapes and lines with your scissors. Once your snowflake is completed, cut in right down the middle.
Since you will be using a Fabric Adhesive![]() , cut out two pieces of narrow cardboard and insert into the palm of the mittens. This will prohibit the glue from adhering both sides together.
, cut out two pieces of narrow cardboard and insert into the palm of the mittens. This will prohibit the glue from adhering both sides together.
Flip your snowflakes over and generously apply a layer of the fabric fusion. Follow directions for dry time. After my snowflakes were dry, I slightly picked at the edges and applied another few drips here and there under the corners to really make sure they were on there nice and snug.
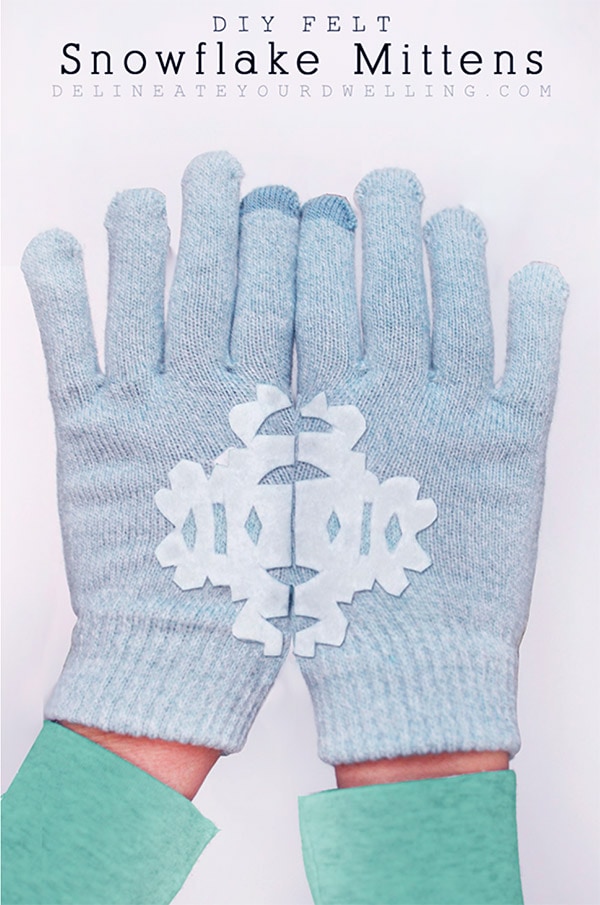
I waited a full day to try them on and they were snug as a bug on the rug!
Note : Fabric fusion is truly a miracle fabric glue and I think these mittens would hold up to light/normal use just fine. However, if you plan to build a snow fort or tunneling across your backyard while wearing them, you might want to give the letters a quick whip stitch for extra hold in place power.

How to make No Sew DIY Felt Snowflake Mittens
Learn how to make Festive No Sew DIY Felt Snowflake gloves for the cold winter Holiday months!
Materials
- Felt
- Sewing Shears
- Fabric Fusion Adhesive
- Knit Mittens
Instructions
- Measure the space available on the top portion of the glove. Then, transfer those dimensions onto your piece of felt.
- Fold the felt as many times as you would like and then cut out fun shapes and lines with your scissors to create a snowflake pattern. Once the snowflake is completed, cut it right down the middle.
- Cut out two pieces of narrow cardboard and insert them into the palm of each glove. This will prohibit the fabric glue from adhering both sides of the gloves together.
- Flip the snowflakes over and generously apply a layer of the fabric fusion. Follow the directions for dry time. After the snowflakes are dry, gently pick at the edges and apply any additional glue needed.
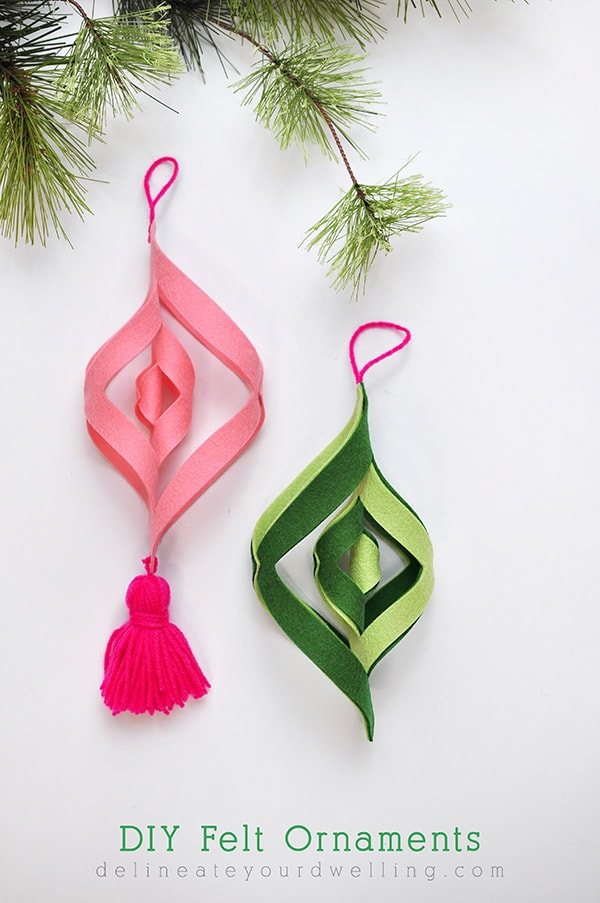
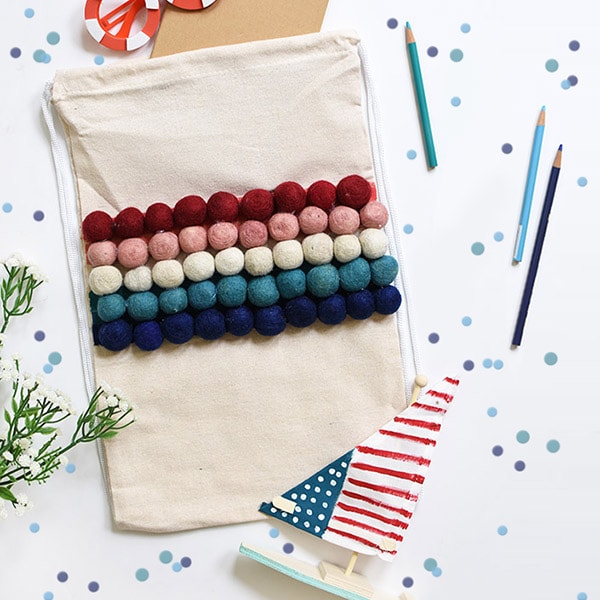
Did you see the rest of my DIY Felt Holiday week?

These mittens are so, so adorable! Thanks for sharing your crafty inspiration on this week’s Monday Funday Party!
Saw this on the Becoming Martha link party.. Adorable!!!! 🙂
Oh, thank you so much for your sweet words Marni!
Aaaaaaahhhhhh, these are adorable Amy! Love cute little refashions like this! xoxo
Thank you sweet friend. xo