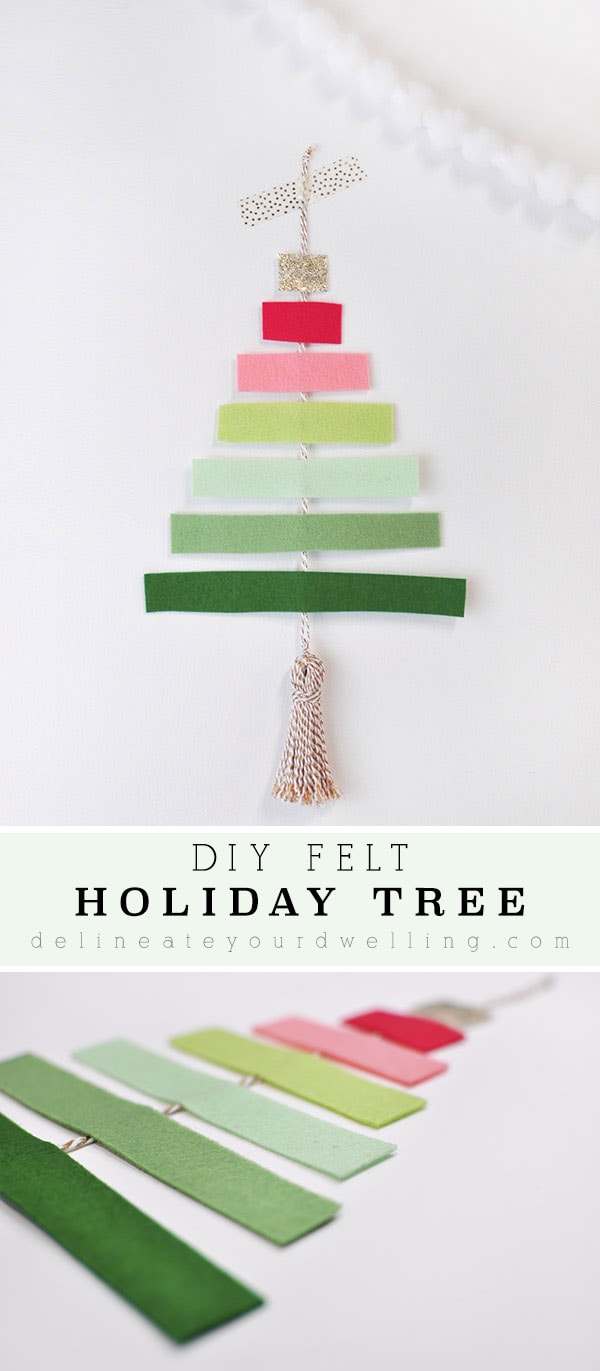
DIY Felt Tree Wall Hanging

INSIDE : Learn how to create a simple DIY Felt Tree Wall Hanging to put in your home during the holiday season. Use the colors that match your home decor and enjoy it year after year.
This post may contain affiliate links. See my full disclosure here.
Felt. Who knew all I needed to was to find the right colors and I’d find my new favorite craft material? Welcome to the second of three in my mini series, Felt Week!
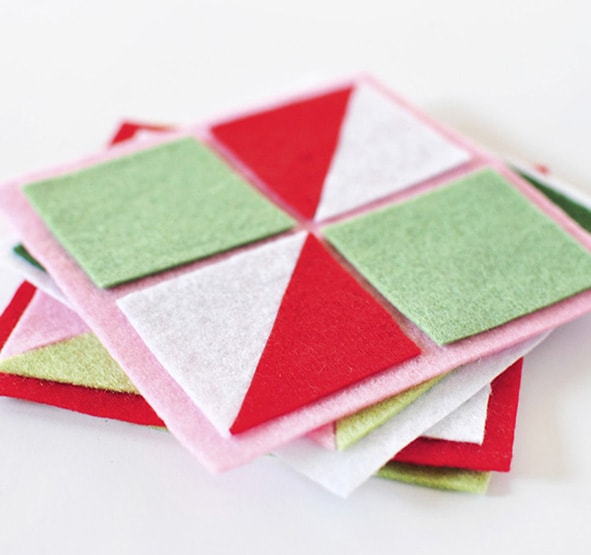
On Monday, I shared this super fun DIY Felt Ornament and the moment I have some spare time I plan to make a few more into a garland! Today, I am sharing this simple and colorful DIY Felt Tree Wall Hanging.
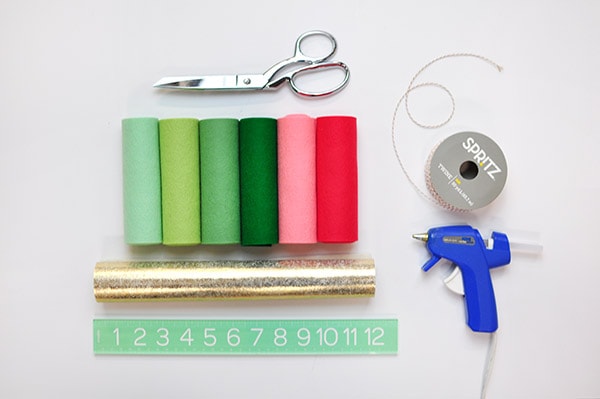
What supplies do I need to make a Colorful DIY Felt Tree for the holidays?
Crafty Wool Felt (Seafoam, Mint, Peppermint, Emerald Green, Light Coral, Coral)
The Felt Pod Gold Tinsel Felt
Mint Green Ruler (similar)
Sewing Scissors
Hot Glue Gun
Gold + White Baker’s Twine
How do I make a Colorful DIY Felt Tree for Christmas?
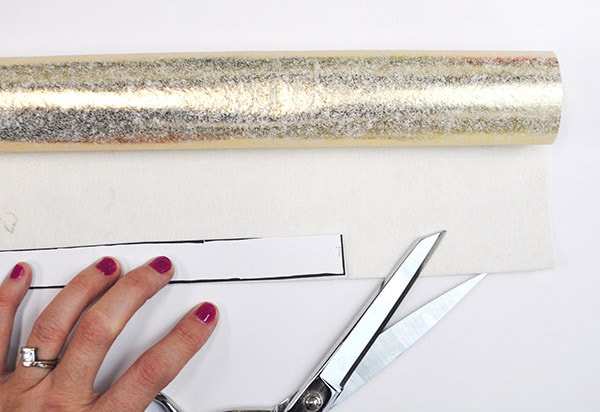
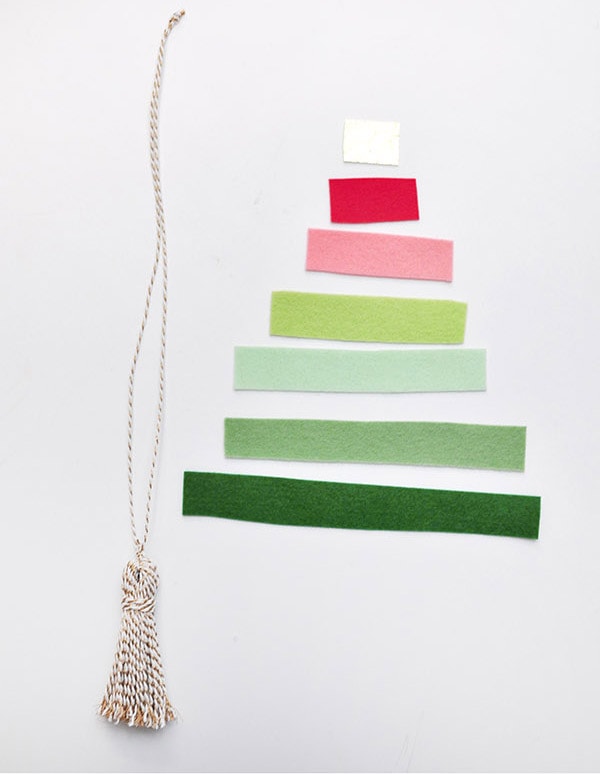
I started off by drawing out the sizes of each tier of the felt tree on paper. I used my ruler to keep it all even. Then, I cut out each rectangle to act as my pattern.

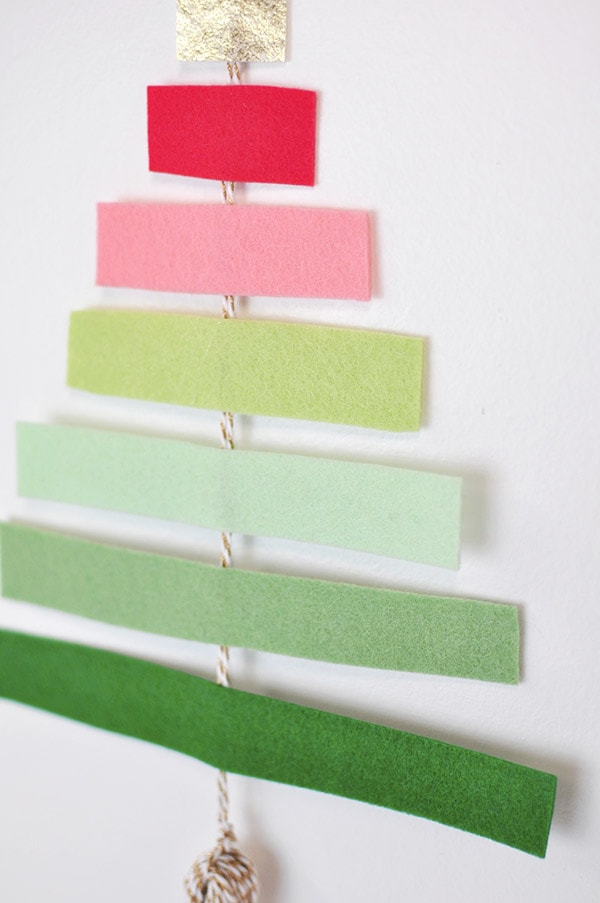
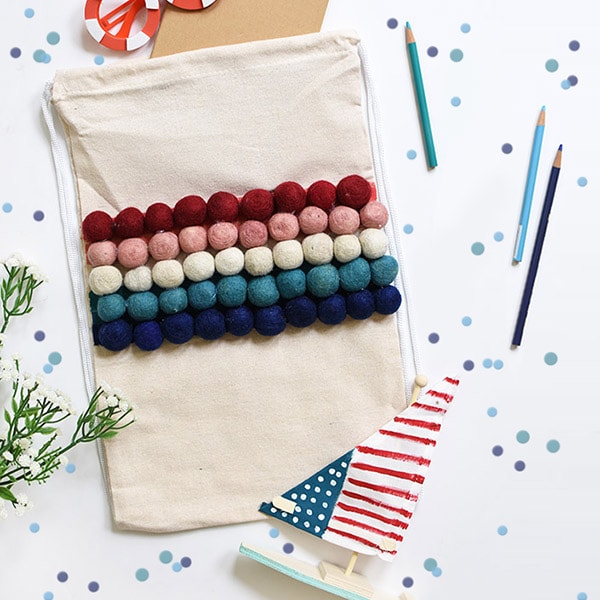
Then, using my patterns, I cut out all seven strips of felt and line them up accordingly.
To keep everything secured together, I used the gold + white twine to create a 8-9″ loop. At the bottom of my tree, I tied a tassel to act as the tree base.
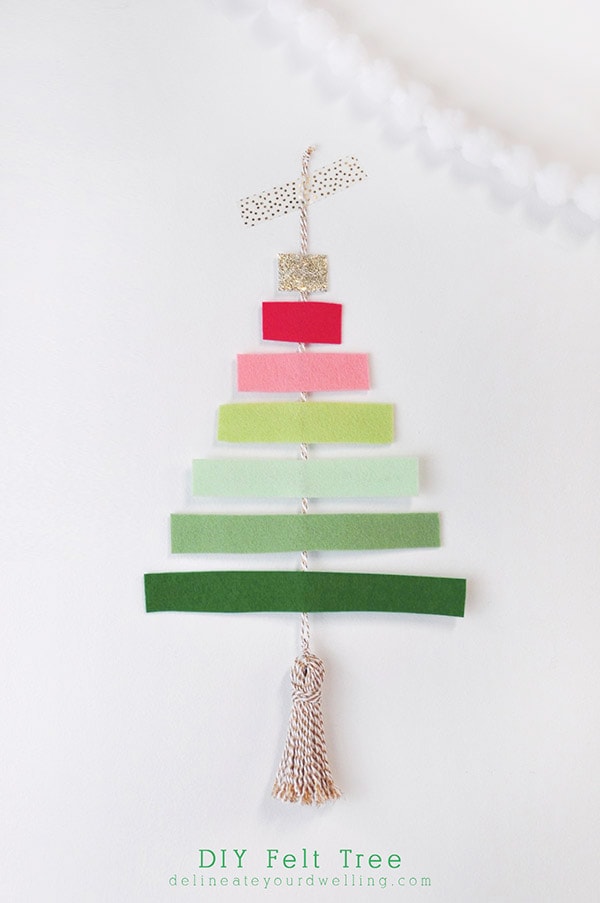
Then, starting at the top, I slowly hot glued each of the felt strips to my twine. I made a thin line of glue and then placed the twine on top, all the while making sure it was equally spaced and centered.

I have the perfect spot for this cheerful little Felt tree on the wall by my front door.

Upon seeing this tree, my four year old daughter exclaimed, “A rainbow xylophone! I love it, mom!” Well, it may look like a rainbow xylophone to some but with this year’s bright Christmas colors, I think it will fit in just wonderfully.
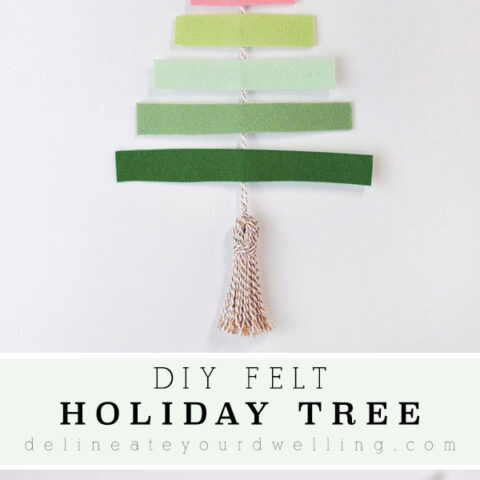
DIY Felt Tree Wall Hanging
Learn how to create a simple DIY Felt Tree Wall Hanging to put in your home during the holiday season. Use the colors that match your home decor and enjoy it year after year.
Materials
Tools
- Sewing Scissors
- Hot Glue Gun
Instructions
- Using a ruler, draw out the sizes of each tier of the felt tree onto paper. Then, cut out each rectangle to act as your pattern.
- Then, using your patterns, cut out all seven strips of felt and line them up accordingly.
- To keep everything secured together, use the gold + white twine to create a 8-9″ loop. At the bottom of your tree, you can make and tie a tassel to act as the tree base.
- Starting at the top, begin to slowly hot glue each of the felt strips to your twine.
Have you done much crafting with felt?
Check out a few of my other fun felt Christmas projects :
DIY Felt Ornaments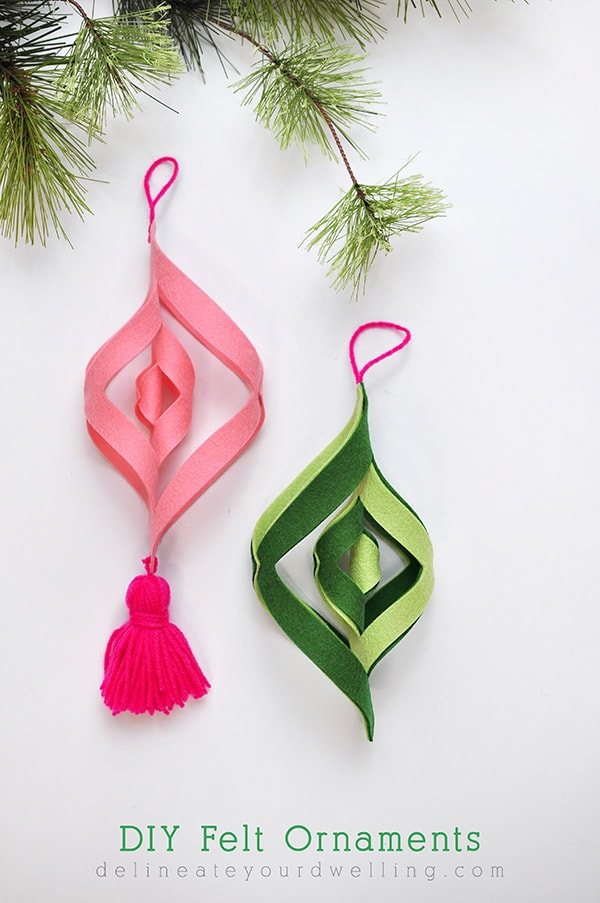
To see my other felt projects in this series head here…


I love this wall hanging, it’s so simple but beautiful! And anything with a tassel is even better to me.
Such a cute decoration. I just found a whole stash of felt that this would be perfect with.
So pretty and doable too! I love how the comments above have people saying “mini ones” and “giant ones” – you have really given some inspiration here!
SUCH a cute idea Amy!
You’ve made some awesome Christmas projects this season, and this one is my favorite! So simple and so cool! I love the colors you used.
I love this! A mini version would make a cute gift topper or ornament too!
I love the gift topper idea!!
CUTE!!!! I’m thinking this could be done on a larger scale somehow 🙂
Oh, now that’s a FUN idea!!
Adorable, Amy!
Aw, thanks Tara!
So cute! I always underestimate felt, it’s so great!
This looks so simple and cute ♥
summerdaisy.net
This is so super cute Amy!