How to Install & Use fonts on a Mac

INSIDE : Learn how to easily install & use fonts you download on a Macintosh Apple Computer! It’s easier than you think when using a Mac.

This post has been updated since it’s original April 2018 publish date.
I am a big font lover. If you have been around here for a while, you’ve probably seen some of the fun free fonts I’ve rounded up over the years.
I had a recent comment left saying… “These are so fun, but how do I add and use fonts on my computer?!!” GREAT QUESTION! I’m here today to share How to Install & Use fonts on a Mac!
There are tons of great sites online for downloading paid fonts, but I am always a fan of the free fonts. I think I have bought maybe 3 or 4 fonts ever, so in my opinion, free is the way to go.
Best Free Fonts available on the Internet
A few of my favorite sites are
And if you are wanting to check out the great font collections I have shared over the years, see below.
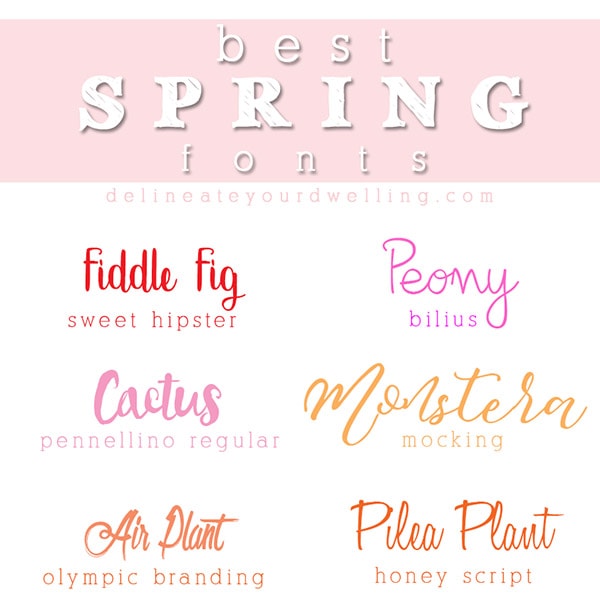
Best 10 Spring Fonts
How to Install & Use fonts on a Mac
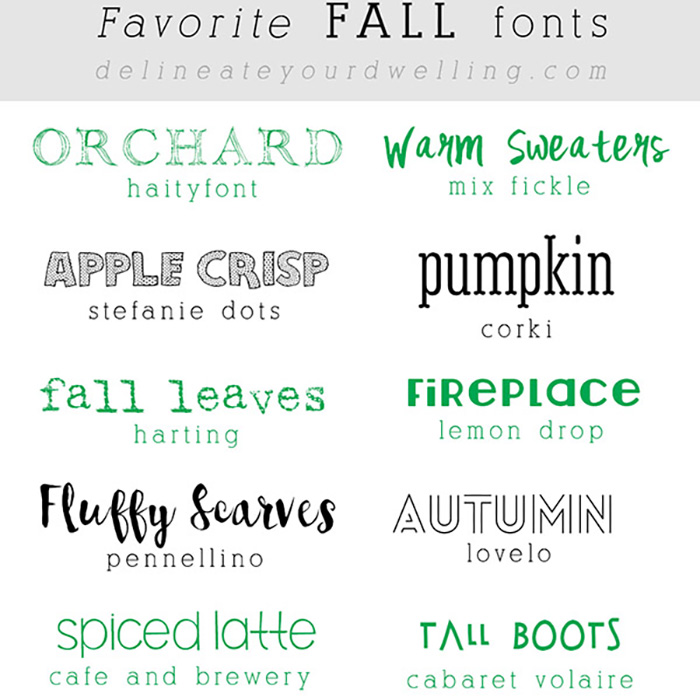
Favorite Fall Fonts
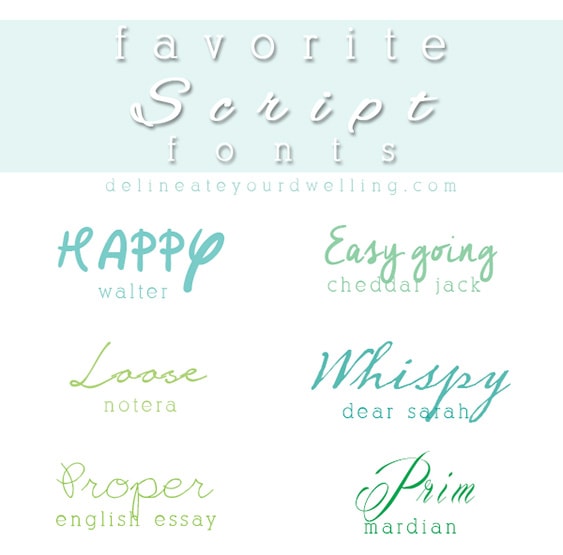
Top 10 Favorite Script Fonts
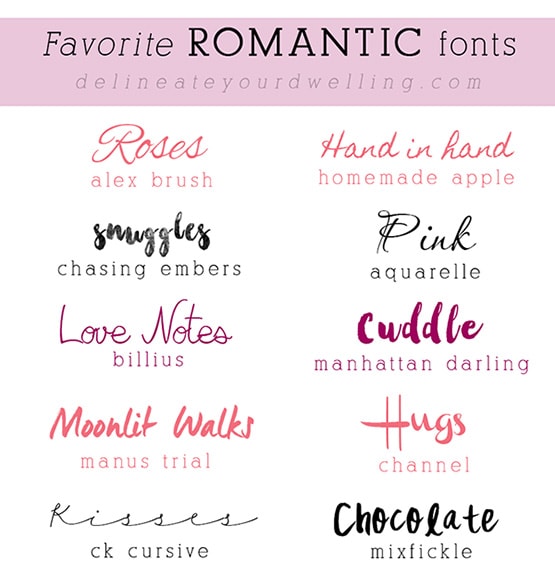
Top 16 Romantic Free Fonts
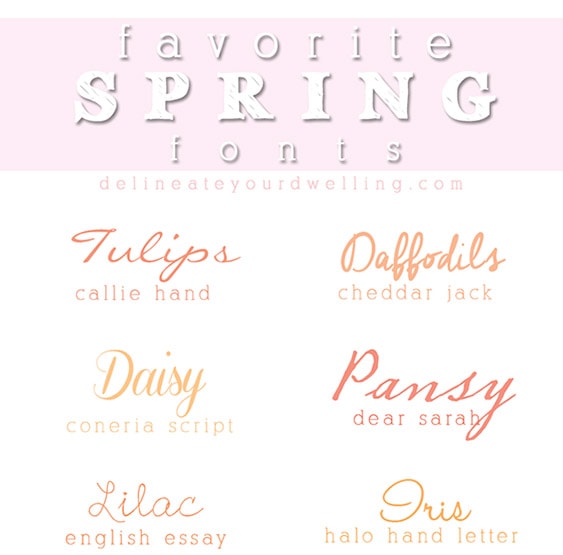
My top 10 Favorite Spring fonts
Okay, so now that we have covered finding and getting fonts. It is time to discuss downloading them and installing!
How to Download fonts on a Mac computer
On most font sites, you will find a download button. I typically don’t encourage downloading things from random sites (ALWAYS be aware of what you are downloading), as I just don’t trust many of them, but the font sites I mentioned above are all safe and secure places.
Once the font has been downloaded to your computer, it should go directly to your “download” folder. You might have your computer set up to put files in another place – so if that is the case, then do a search and locate the file.
How to Install fonts on a Mac computer
Once the font file is downloaded, typically it will come in zipped folders.
Simply find the file folder and open it. There should be a few files in that folder.
.txt files
The .txt file typically shares information about the licensing of the font.
Some fonts you can use for personal use only and others you are allowed to use for profit.
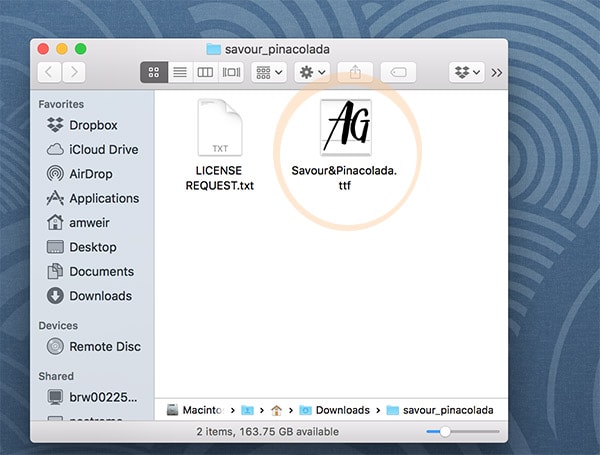
.ttf file
The other file – the .ttf file is the actual font file. This is the important one.
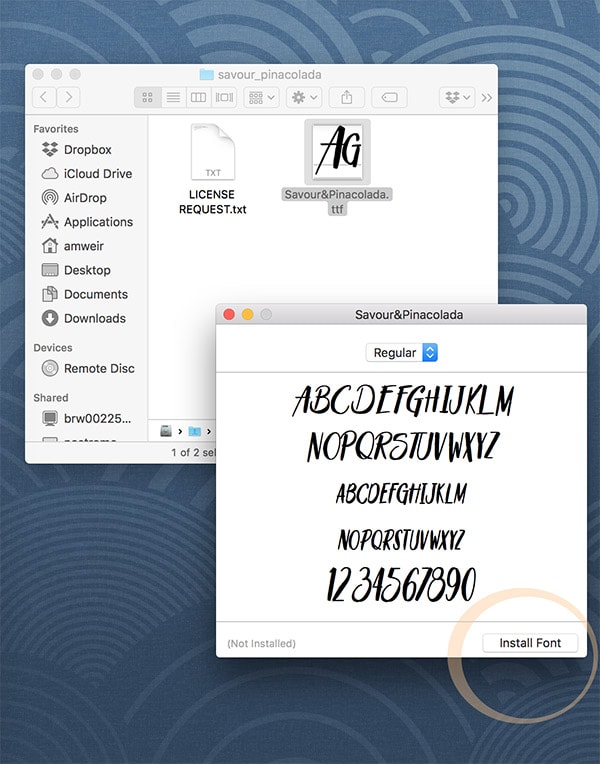
Double click on that file to open and start installing it.
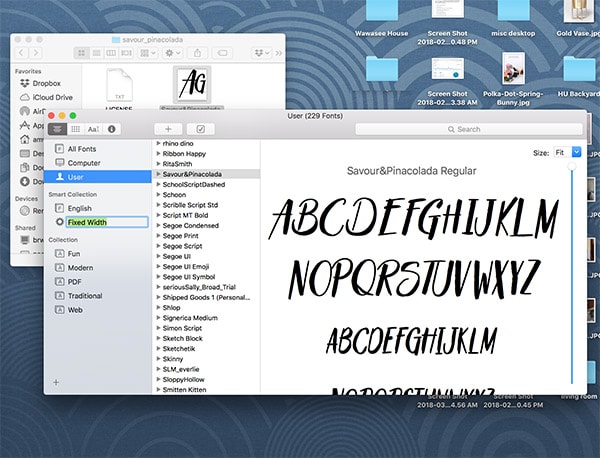
Once you click on the font, a preview window will show up with an example of the alphabet in that font. On the lower right hand corner, click “Install font”.
At this point, the font will start working it’s magic and should install on it’s own for you.
Your ‘font book’ will open up and this is where all the fonts on your computer live.
The font you just downloaded will be put right there along with all the other fonts you have on your computer.
Once the font is installed in your ‘font book’ you can close the font book folder and open up any program requiring fonts and begin to use!
Where should I use downloaded fonts?
I typically use fonts when using Photoshop, Illustrator or Pages. However, downloaded fonts can be used in a variety of applications wherever you can style text. Here are some common examples:
- Word processing programs: This includes Microsoft Word, Google Docs, Pages (on Mac), and many others. Downloaded fonts can add flair to your documents, presentations, and reports.
- Image editing software: Programs like Adobe Photoshop, GIMP, and Canva allow you to incorporate text into your designs. Using a unique font can elevate the overall look and feel of your project.
- Web design: If you’re creating a website, you can use downloaded fonts to customize the typography and make your site stand out. Just be sure to check the license of the font to ensure it allows for web use.
- Social media graphics: When creating content for social media platforms like Instagram or Facebook, you can use downloaded fonts to make your posts more visually appealing.
- Email marketing: Eye-catching fonts can help your email campaigns grab attention and get noticed.
These are just a few ideas to get you started. Downloaded fonts can be a versatile tool for adding personality and style to your digital creations.
This guide was super helpful! I’ve always struggled with font installation on my Mac, but your step-by-step instructions made it so easy. I particularly appreciated the tips on organizing fonts. Thanks for sharing!
Great post! I really appreciated the step-by-step instructions on installing fonts on a Mac. The tips on managing different font styles were super helpful too. I can’t wait to try out some new fonts for my design projects! Thanks for sharing!
Great post! I found your step-by-step instructions on installing fonts on a Mac super helpful. The screenshots made it really easy to follow along. I can’t wait to customize my documents with some new fonts! Thank you!
Thank you for this detailed guide! I found it really helpful, especially the section on using Font Book. Can’t wait to try out some new fonts on my projects!
Great tips! I love how you broke down the installation process step-by-step. I can’t wait to try out the new fonts for my projects. Thanks for sharing!
Awesome post! I’ve always had trouble installing fonts on my Mac, but your step-by-step guide made it so simple. I also really appreciated the tips on keeping fonts organized. Thanks for sharing!
Great post! I’ve always struggled with installing fonts on my Mac, but your step-by-step guide made it super easy to follow. I loved the tips on organizing fonts as well. Thanks for sharing!
Great tutorial! I found the step-by-step instructions easy to follow. Installing fonts on my Mac was a breeze. Thanks for sharing tips on managing them too!
This post is super helpful! I always struggled with installing fonts on my Mac, but your step-by-step instructions made it easy to follow. I especially loved the tips on finding unique fonts. Thanks a lot for sharing!
Great post! I always struggled with font installation on my Mac, but your step-by-step guide made it so easy to follow. I can’t wait to try out some new fonts for my projects. Thanks for sharing!
This is such a helpful post, because it was something that had stumped me for a long time before a friend showed me how to do it! I absolutely love your font posts, and have downloaded many of yours because I am not good at searching for pretty fonts!
Oh this makes me so happy to hear, Haeley! I love finding new fonts and love sharing with them others. I didn’t even realize some people didn’t know how or what to do with them. Glad I finally shared a post about it, though! 😉
Amy this is soooo helpful! Thank you for sharing this instruction!