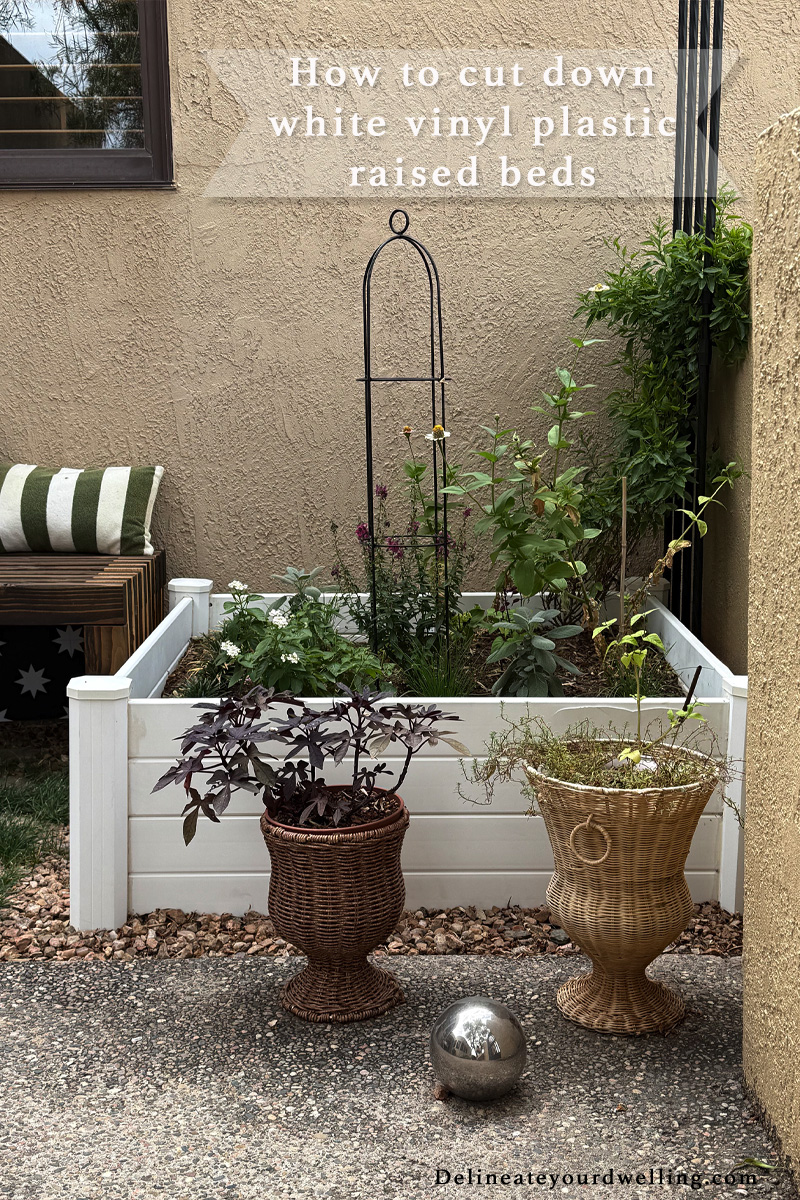
How to cut down white vinyl plastic raised beds
INSIDE : Learn how to easily cut down white vinyl raised garden beds step-by-step. Get key tools, precise measurements, and expert tips for custom DIY sizing.
This post may contain affiliate links. See full disclosure here.
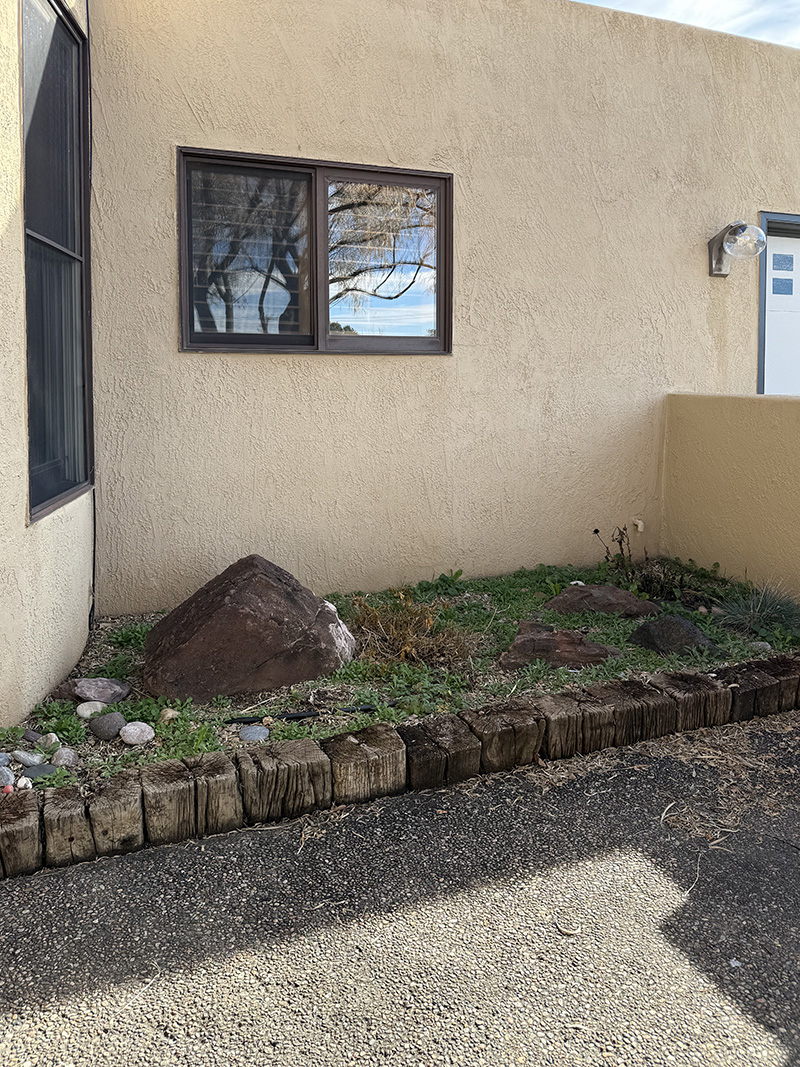
This past spring, I decided it was finally time to tackle the unused space in our front courtyard and make it into something lovely and actually usable! I created a plan and got to work.
Today I will be sharing how to cut down basic white vinyl raised beds. I had 4′ of space to work with in this small front courtyard area and I didn’t want my new garden bed to be edge to edge of that space, so I needed to either buy something new (expensive option) or figure out a way to make my exisiting raised bed work (budget friendly option).
Did you see the painstaking steps of removing the multi trunk tree that I had just finished to make room for the garden bed? That ended up taking what felt like forevvvvvver, but once that was done I was onto my next task – adding in a small raised garden bed! Check out my VICTORY video of that wild process!!
Want to check out the entire project from start to finish? See below!
- Small Patio plan
- Remove a Multi-trunk Tree
- How to cut down white vinyl plastic raised beds
- Building a Modern Slat Bench
- Installing small paver patio
- Final Front Courtyard Reveal
Using existing Raised Beds
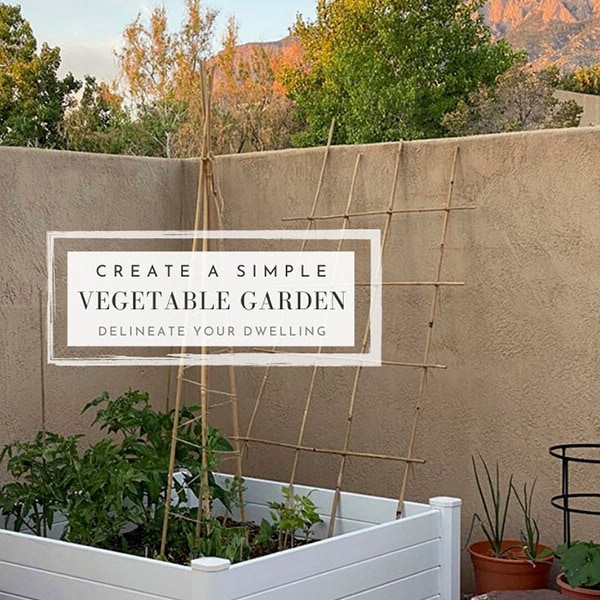
When we bought this home 10+ years ago, the previous owners had four raised garden beds on the ROOF! (FYI we live in NM and our roofs are flat here, but still!) I emptied each of them of soil and brought two of them down to our backyard for garden use. You can see how I set them up here in Creating a Simple Raised Vegetable Garden.
They are 4’x4′ white vinyl beds and have held up wonderfully for me. I had two more on the roof and decided I would try to use one of these existing ones to save on cost.
Measure space
I drew out the plan for my front courtyard with a small seating area bench, some pavers and my leftover space was about 3′ x 3′ in size so that I would have a little room to move around the bed.
So, I knew I’d have to remove about 12″ in total from the overall dimensions of my vinyl pieces.
Remove corner joints
Inspect your specific garden bed to see how it is held together. Mine is all held together at the corners. The top corner caps are easy to remove and you can see inside those vertical legs on how your bed is connected.
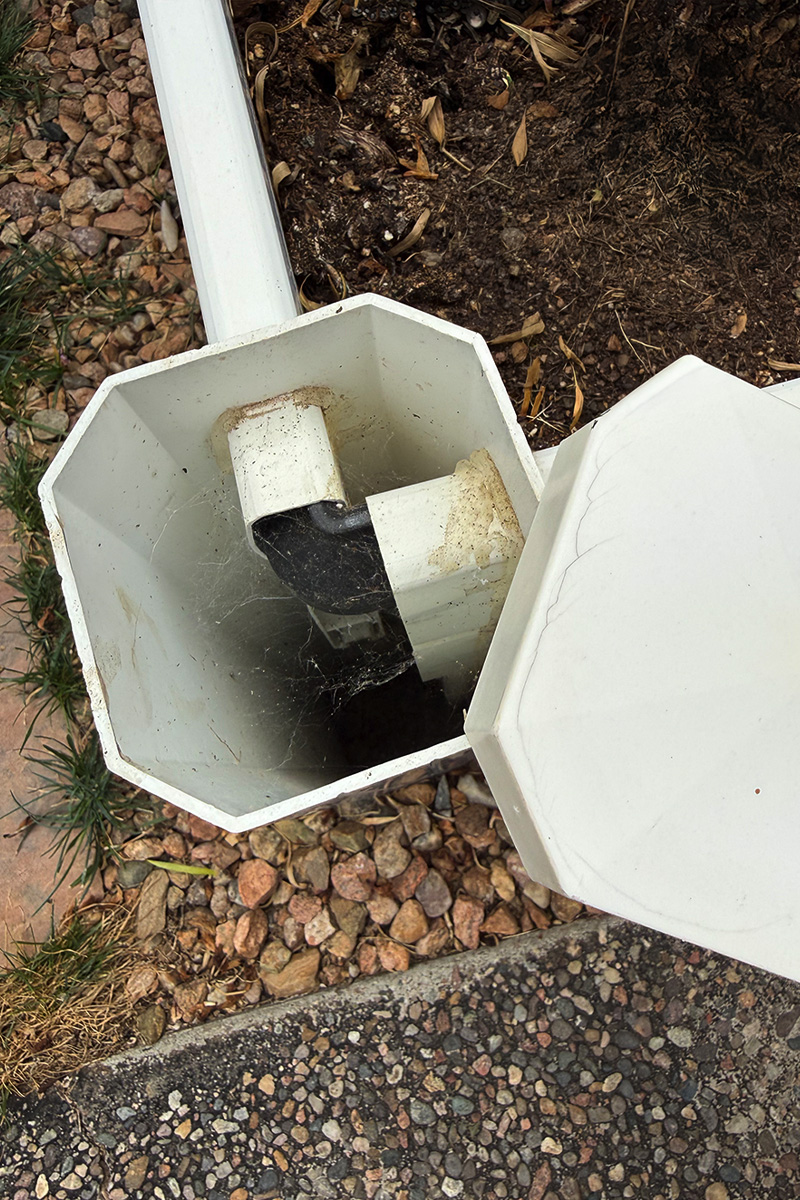
Mine had simple elbow type clips inside and using a softer mallet hammer, I was able to shimmy/hammer them apart.
Mark and cut with a miter saw
Next, mark where you want to make your cuts with a sharpie marker.
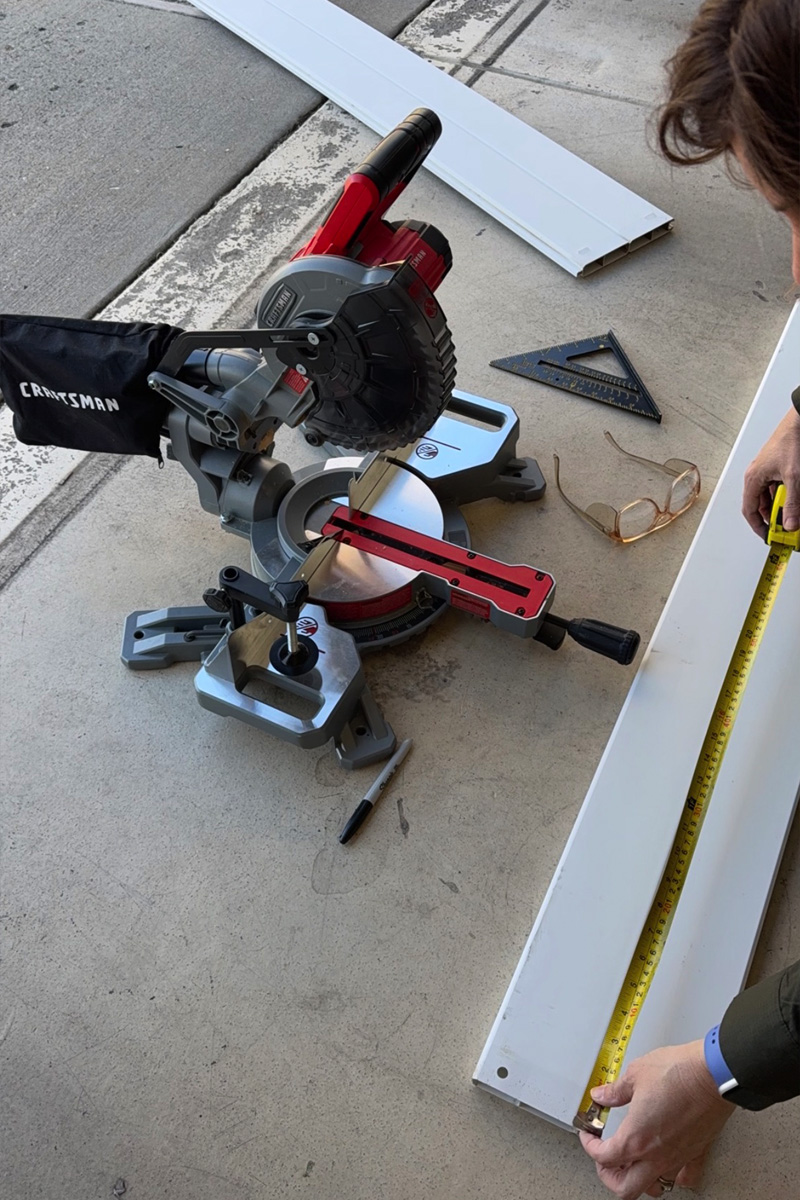
You can cut the vinyl with a miter saw, a sharp circular saw, table saw, or even a jigsaw. The key is going slowly, but making fast cuts. You don’t want to go so slow that the vinyl warms up and melts or too fast and it cracks.
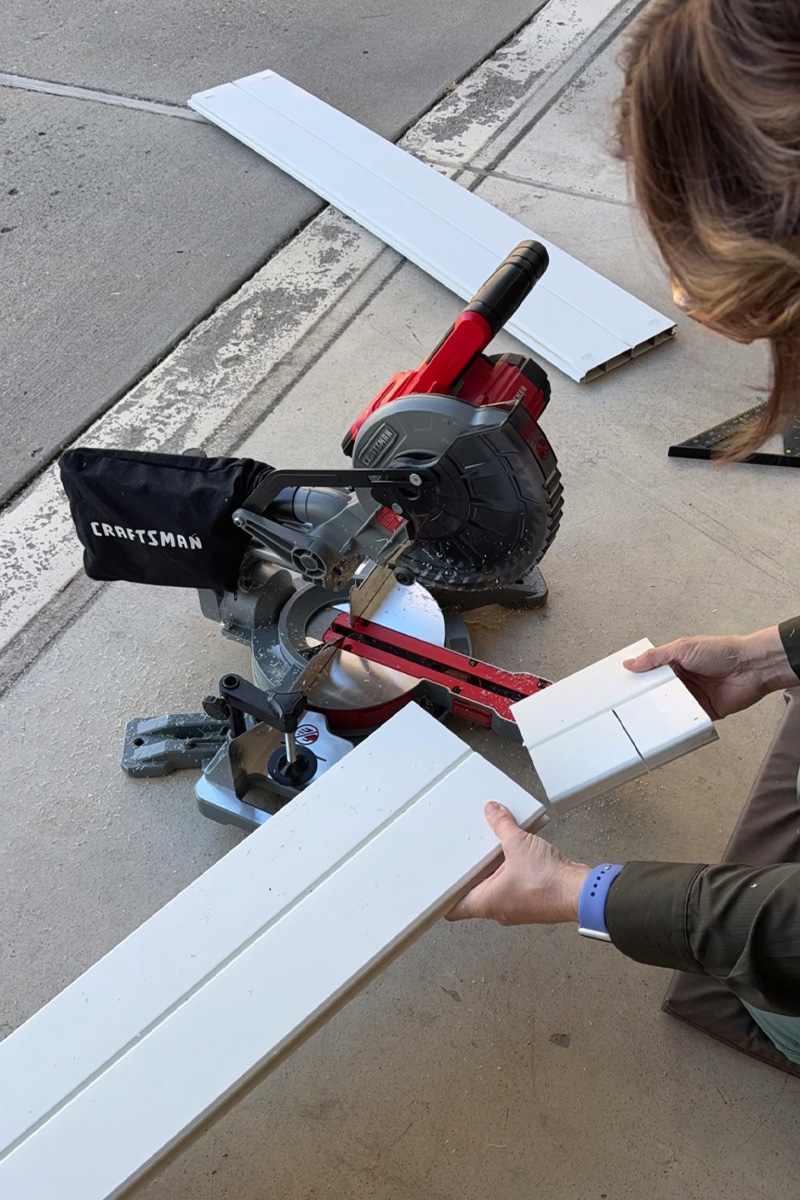
I found it helpful to do a few practice cuts with my miter saw on an area I knew I would be tossing.
Reassemble garden beds
Once everything is cut to the correct size, you can slide the newly trimmed pieces back into the corner posts. I had to use my mallet again to help get everything back together.
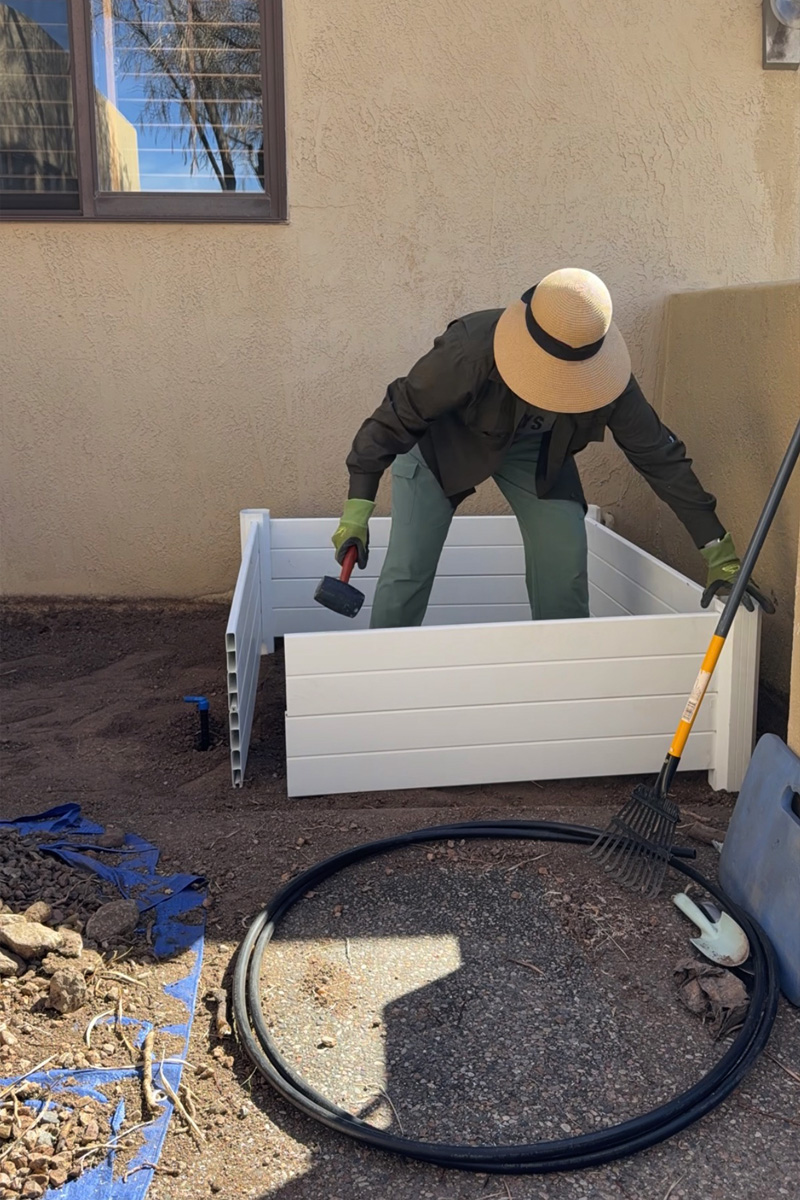
I found even putting the corner elbow pieces back in place, my garden bed needed just a bit more to keep it as it once was. So I added some PVC glue we had in the garage.
This helped to lock all the pieces back into place and secured them not to move with time.
Updated Vinyl Raised Garden bed
I was so thrilled with my new “less than an hour worth of time” project!
I added old cardboard boxes to the bottom and then began to fill it with brown and green material from our yard. And finally I added in a few bags of new soil on top.
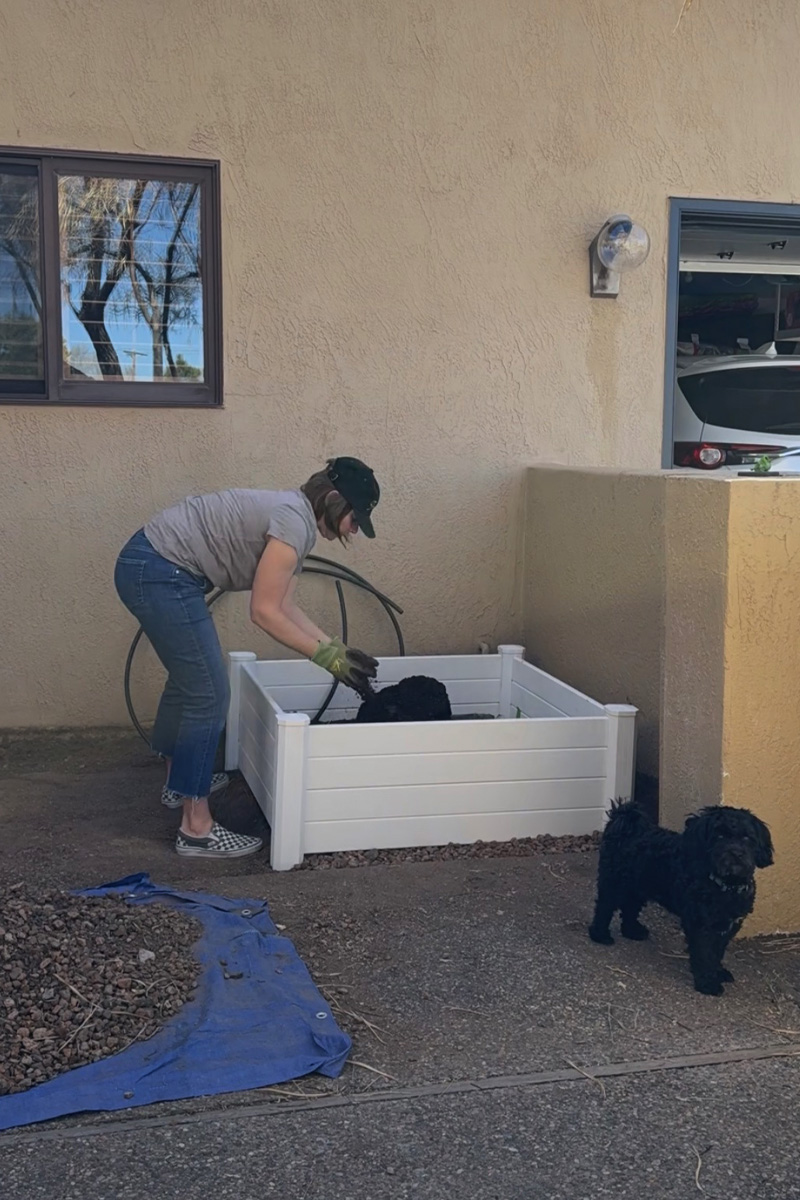
Less than six months later and look how this amazing garden bed has began to fill in. It’s so dreamy I could cry from joy!
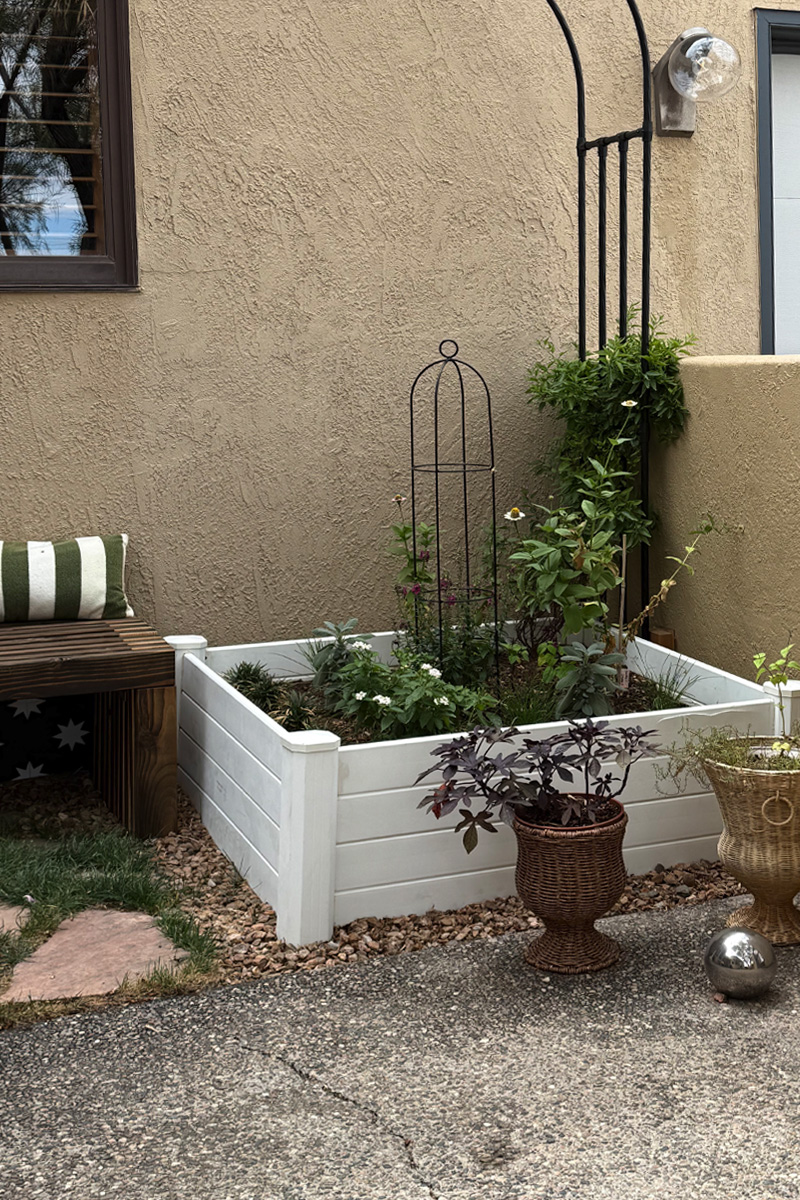
Be sure to check out how I built a two toned wooden slat bench next! I am SMITTEN with how it came out.
Looking for more cool outdoor projects like this? Check some of these out…

Pilea Care and Best Tips
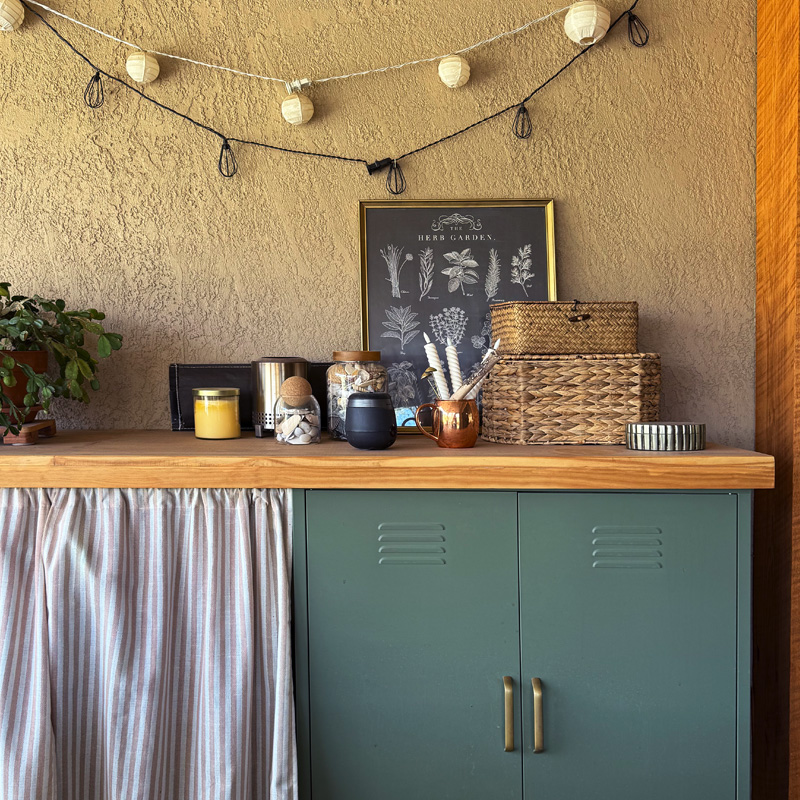
How to Build a DIY Outdoor Bar Top (Easy Weatherproof Tabletop)
How to Make a Macrame Water Bottle Sling: Free DIY Pattern
How to Grow a “Zucchini Tree”: Easy Vertical Staking Guide
How to Hang String Lights on Stucco Walls (The Permanent Way!)