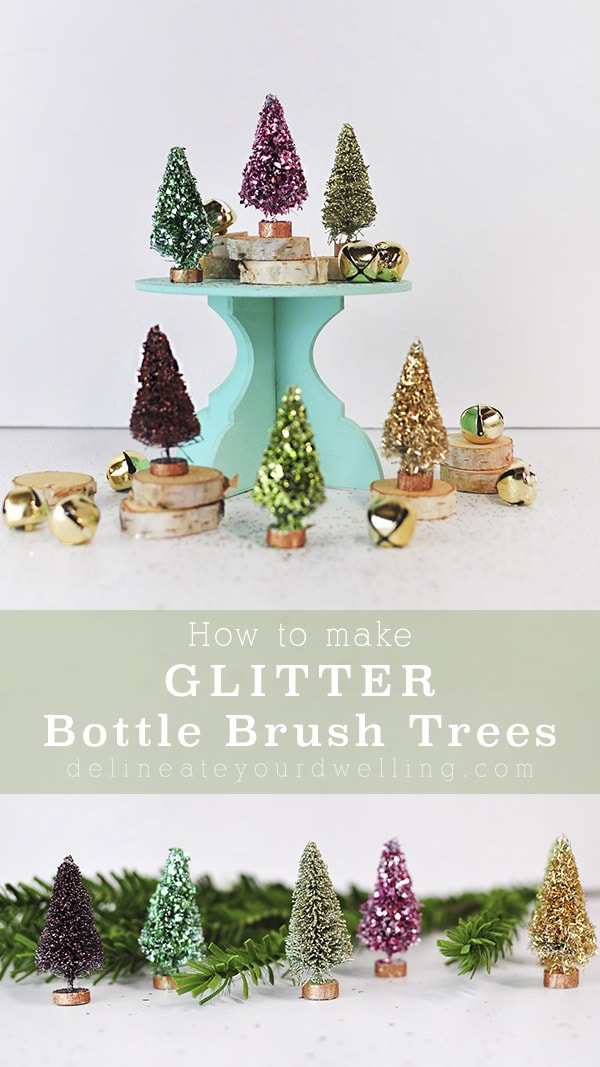
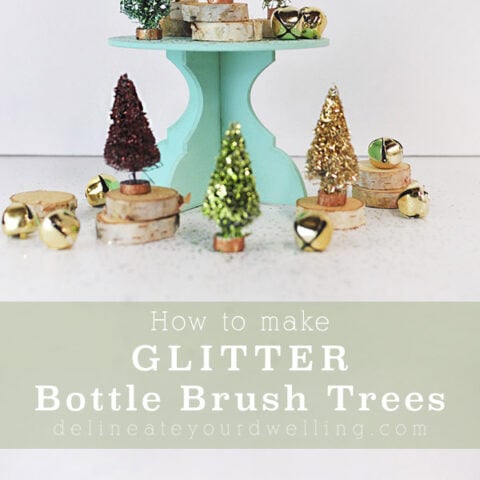
How to Glitter Bottle Brush Trees

INSIDE : Learn how to take plain bottle brush trees and add colorful glitter to make them into gorgeous Glitter Bottle Brush Trees in just a few easy steps! The perfect craft project for the Christmas Holidays.
This post may contain affiliate links. See my full disclosure.
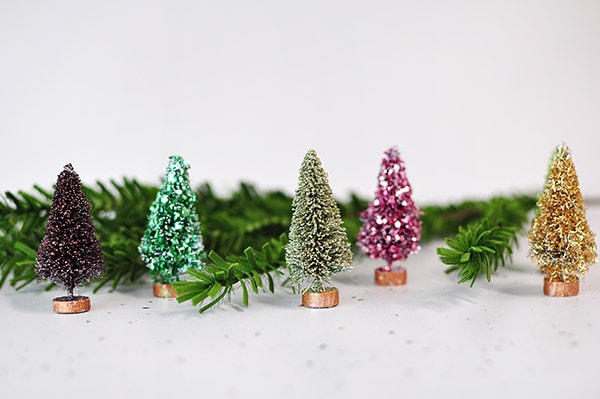
Today I’m sharing how to make these gorgeous color filled Glitter Bottle Brush Trees. It is also project number ten in my #12MonthsofMartha series!
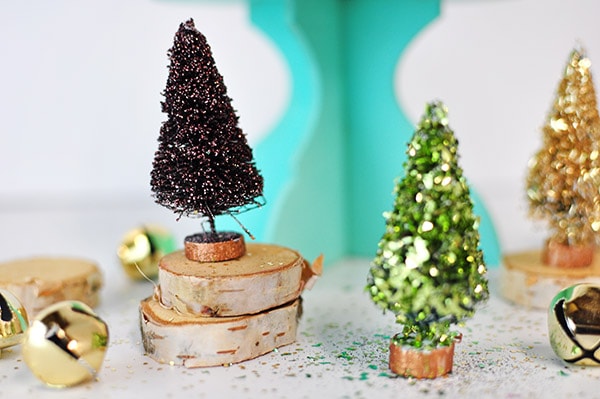
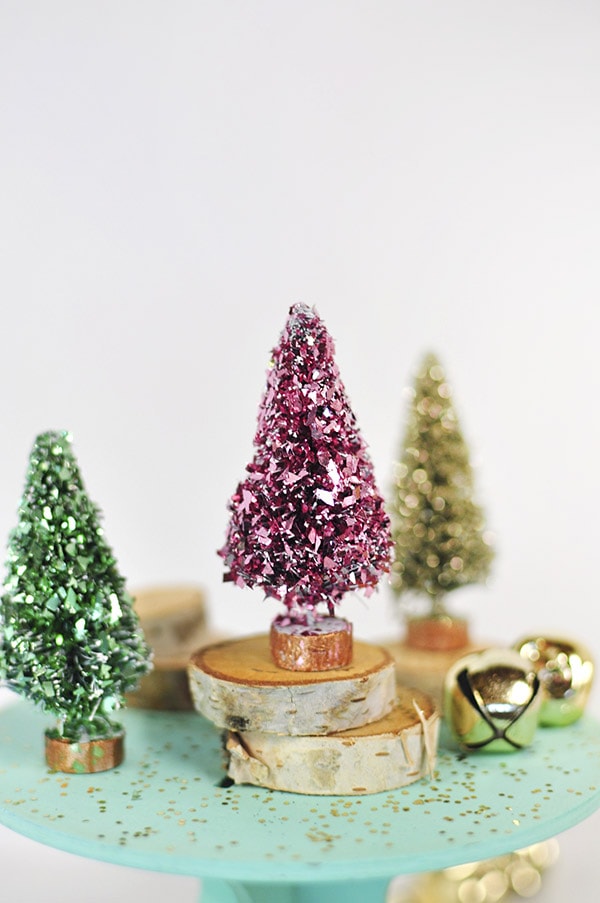
I love this deep maroon/wine color that the glitter gave this bottle brush tree. It feel so elegant with just a hint of sparkle!
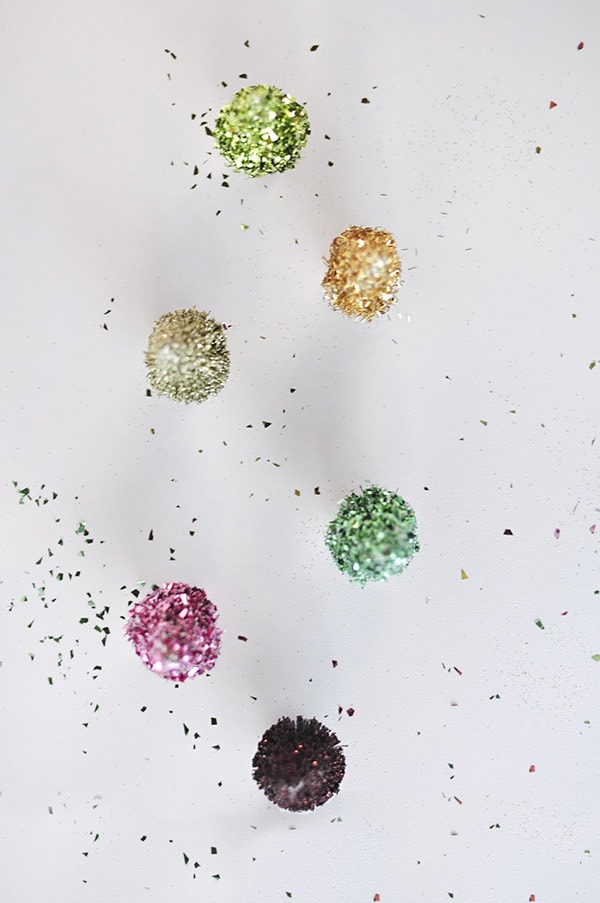
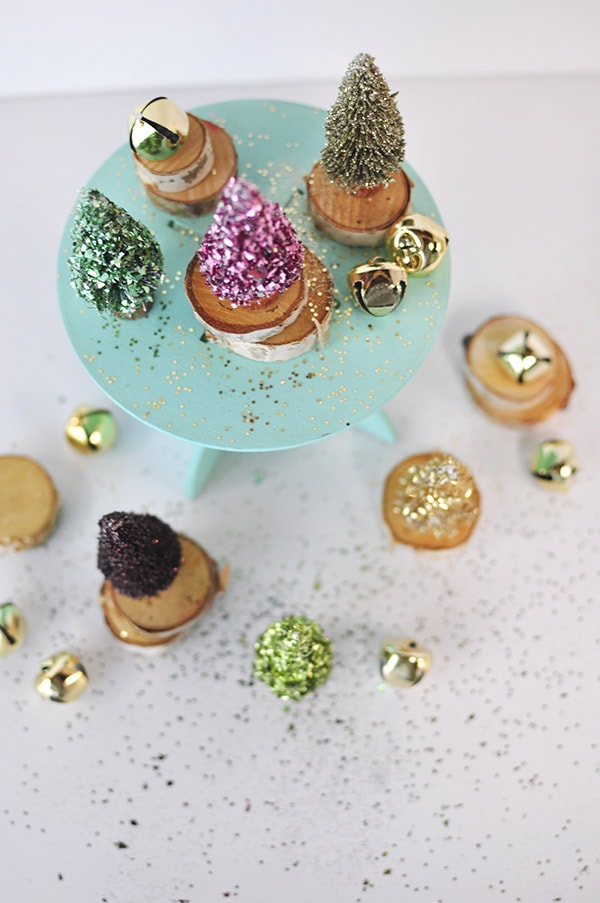
And from overhead all you can see are piles of glistening glitter, but there are little bottle brush trees in there!
And check out my DIY Glitter Gift Bags if you are wanting to use up all the fun glitter on another project.
Looking for more creative Martha Stewart projects? Check out the 20+ crafts I’ve made using her amazing supplies!
Not feeling like a craft right now? Check out these beautiful store bought Glitter Bottle Brush trees…

`
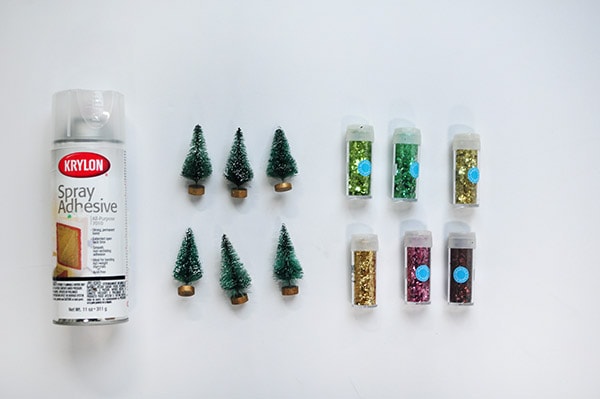
What supplies are needed to make Glitter Bottle Brush trees?
- All-Purpose Spray Adhesive
- Mini Christmas Trees Bottle Brush Trees
- Fine Glitter
- White Spray Paint
- Paper Plate + Cardboard box
- Sticky Tack
How to add color and make Glitter Bottle Brush trees
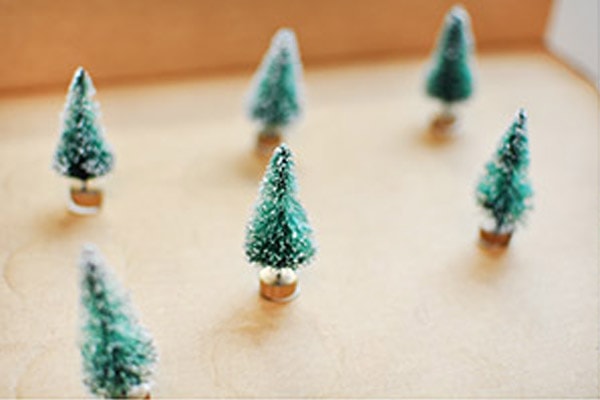
Spray paint Bottle Brush Trees
First, I used a small piece of sticky tack to secure my bottle brush trees to a cardboard lid and gave them a quick coat of white spray paint.
I didn’t want the dark green tree color to sneak through my colorful glitter.
NOTE – You could also bleach your trees to give them a clean white look.
After the paint has dried, do a light coat of Krylon Spray Adhesive. Please, be sure to do all this spraying outside in a well ventilated area.
Add glitter to Bottle Brush Tree
Next came the best part of any project, the part where you just dump gorgeous glitter all over something!
While holding my bottle brush trees over a paper plate, using each color one at a time, I dumped almost the entire container of glitter![]() onto the trees.
onto the trees.
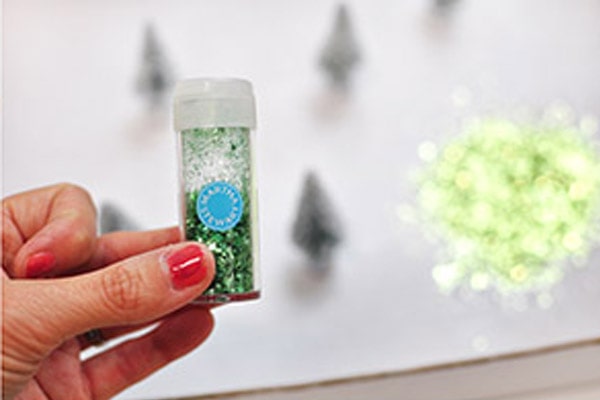
Once the tree was sufficiently covered, I could fold my plate in half and pour the excess glitter to it’s rightful container.

I had to bribe my 4 year old daughter to not grab these trees and run! She’s ready to proudly display the pink one in her room, no surprise there.
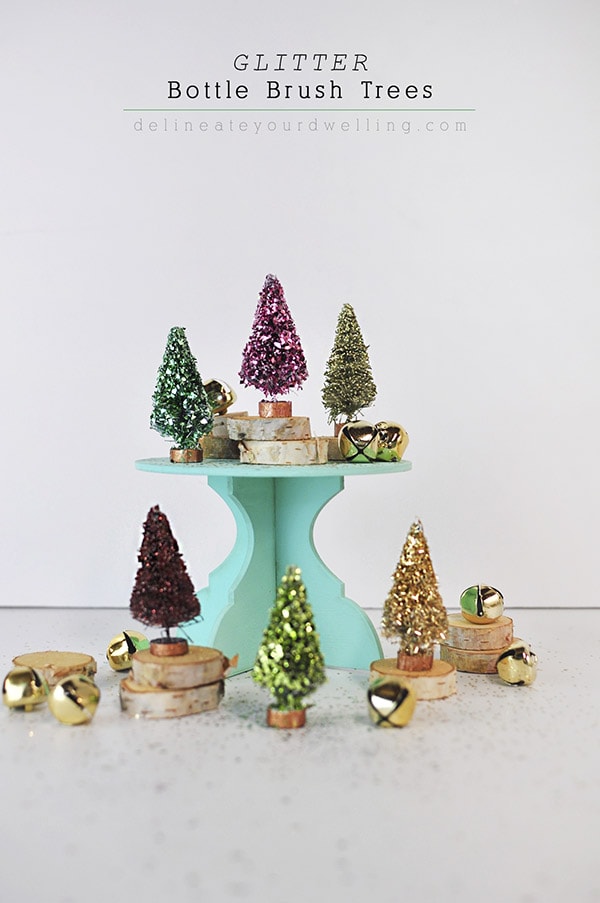
Glitter Trees

I am excited to pair these trees with my new Merry Christmas Watercolor Garland on our mantel.
How do I store glitter bottle brush trees?
Although I used the spray adhesive to keep that glitter all in place, there is still glitter that shakes off these trees. So, when it comes to storing them once the holiday season is over, I simply used a few quart sized ziploc bags.
I put three trees to a baggie and tried to keep them in similar color palettes, so if any glitter came off, it would not ruin the overall look. It has seemed to work perfectly!
How to Glitter Bottle Brush Trees
Learn how to take plain bottle brush trees and add colorful glitter to make them into gorgeous Glitter Bottle Brush Trees in just a few easy steps! The perfect craft project for the Christmas Holidays.
Materials
Instructions
- Use a small piece of sticky tac to secure your bottle brush trees to a cardboard lid. Then give them a quick coat of white spray paint if your trees are green.
- After the paint has dried, give your trees another coat but this time using Krylon Spray Adhesive. It is important to do all your spraying outside in a well ventilated area.
- Next is the glitter portion of the project! While holding your bottle brush trees over a paper plate, use each color one at a time and pour generously (almost the entire container) of glitter onto the trees.
- Once the tree is sufficiently covered, you can fold your plate in half and pour the excess glitter to it’s rightful container.
Notes
You can see green trees through the glitter, so it's helpful to use white, bleached or colored trees for this project.
Have you started any Christmas decorating or projects yet? I typically try to wait until right after Thanksgiving, but this year I just could not help myself!
You can see my other 12 Months of Martha projects here!
Thank you to Martha Stewart for providing the amazing glitter in today’s project.
Love these bottle trees! Thanks for the tutorial to make them sparkly!
So glad you enjoyed it! 😉
❤️ love❤️ just not having any luck finding the bottle brush trees anywhere? Any ideas?
I double checked and the links I shared in the supply list both currently have Bottle Brush Trees available. Thanks for asking! 😉
Way too many ads pop up to make this enjoyable
Love your trees. Colours are great and of course I adore anything shiny.
Thank you for a lovely craft.
Thanks for your kind words, Deirdre! I love all shiny things, too. 😉
More proof that glitter makes everything better! Love these.
Haha, yes! Glitter for life. =)
Good gosh, this is so smart!
Glitter is always smart. =)
Oh my gosh! Stop it!! I know what’s on my crafting list for this long Thanksgiving weekend. I’m obsessed with these!!
Yay, Jenn! Glitter makes everything better. =)
Amazing! So beautiful! Pinned:)
Thank you so much!
Hi Amy, I was seeking some inspiration for my glass cloche and think you’ve provided me what I needed. Thanks and have a great day!
Lynn
Yay, Lynn! Hope it turns out lovely!
So pretty and dainty! Love all the colors together!
Thanks Haeley!
Who are you?! These are great and you’re killing it with the holiday DIYs right now!
Oh I love the leaf glitter – these are so, so good!
Thanks so much, Chelsea! Glitter makes everything a little better.
Love these Amy, they are so cute and would look great under a cloche!
Great idea, Gilly! I’ve haven’t decided where to put them yet.
So cute! All Christmas decor deserves glitter
Totally agree! 😉
Love bottle brush trees and really love them covered in glitter!
Glitter makes everything better, right?! 😉
I love bottle brush trees, but these are just about too amazing too handle. Glittery magic, girl!!!
Glitter all the time! 😉
Oh my goodness, these are perfectionnnnn!
Thanks lady!! 😉
Oh Amy these are so. stinkin. cute. !
Glitter makes everything better! 😉
Oh my. CUTENESS!! So adorable Amy – I love them!
Glitter makes everything better! 😉
SO cute Amy!!! I could think of a million ways to display these pretty little trees! LOVE!
Thank you, sweet friend!!