French Bistro Courtyard Plan

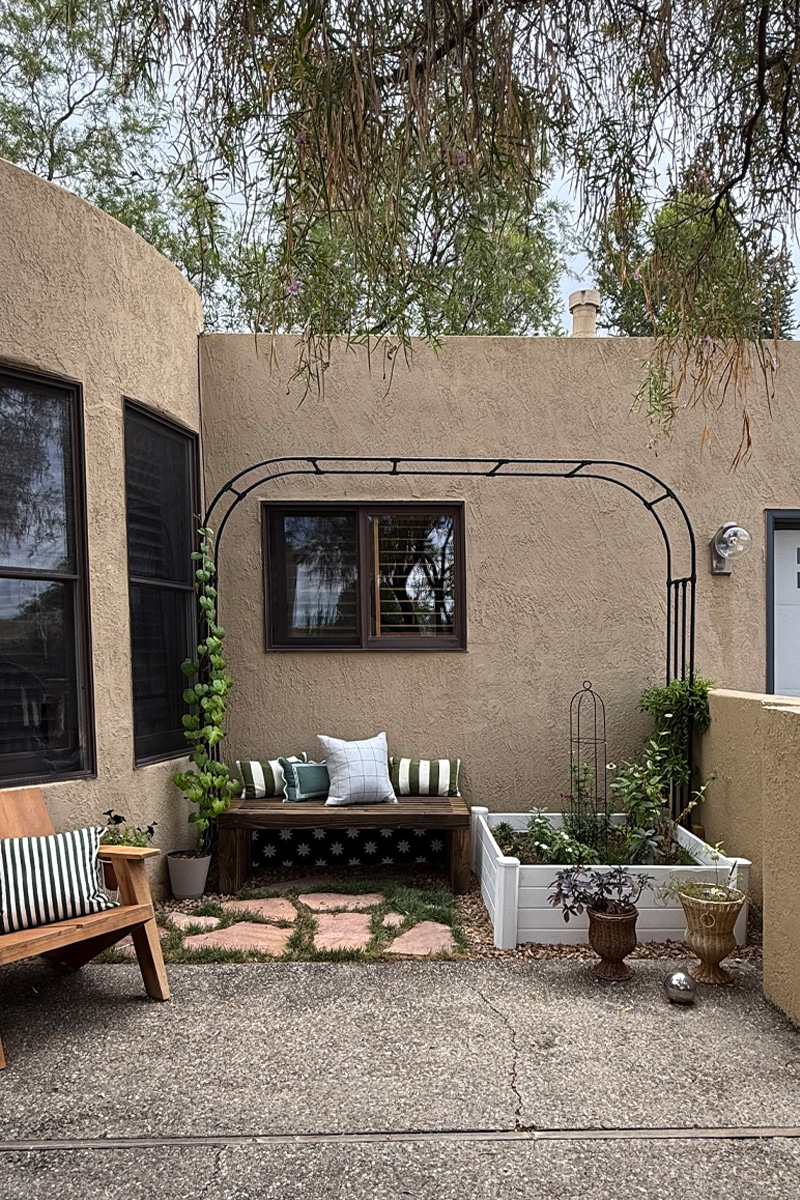
INSIDE : Look at how I transformed an overgrown weed area into the cutest space! I started first with a French Bistro Courtyard plan and slowly made my dream a reality.
This post contains affiliate links. See my full disclosure here.
I recently looked at our front courtyard and realized we had a decently sized completely unused space that could be made into something lovely. That was all it took for this ex-landscape architect girl, living in the desert to move into planning and action mode!
The Before
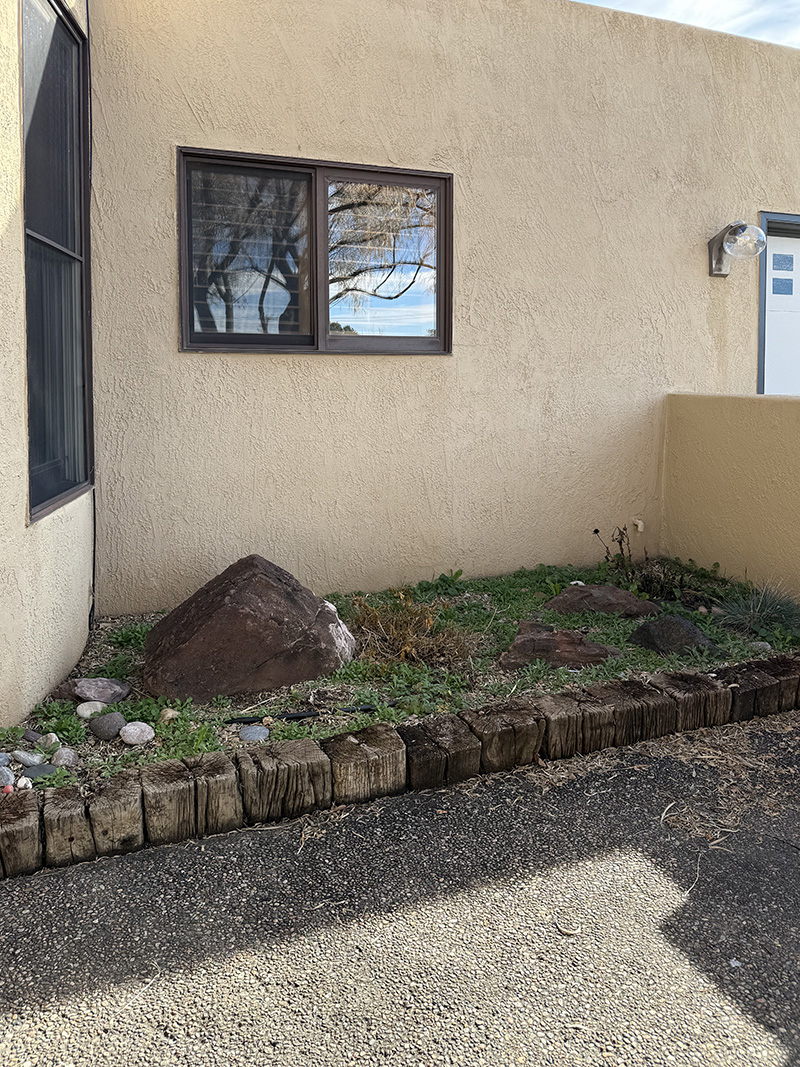
This area used to have a lovely little tree that slight overhung the space framing the entry into our house. However, with time the tree continued to decline and we eventually took it out. We removed the roots as close to the ground as we could, but since most of the roots were still in the ground, we would get CONSTANT sucker trees popping up.
Also soooo many weeds mixed into the gravel, boulders and old railroad ties keeping the higher garden bed grade. I had a bistro table and two chairs in front of the space and it was sort of masked, but really I knew it could be so much more!
The Inspiration
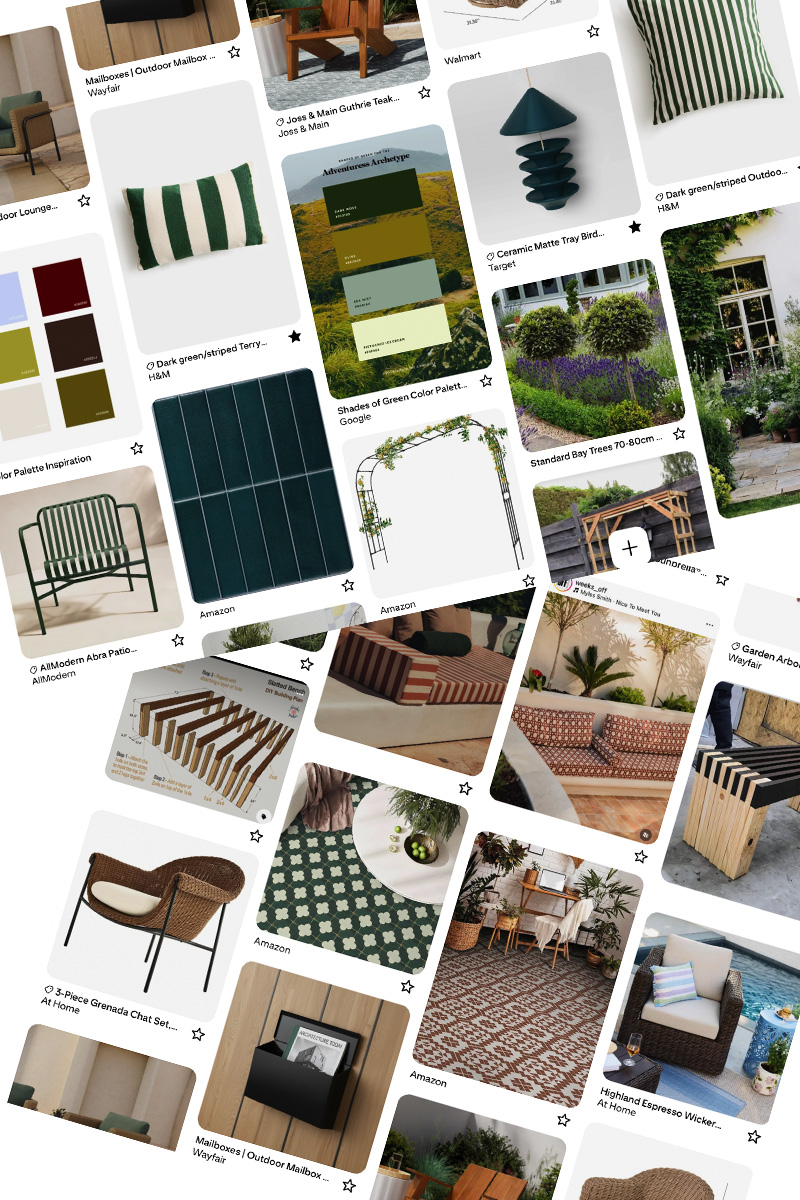
I start where I often start planning a project and that’s by gathering inspiration. I love looking at beautiful images and collecting them together on Pinterest. I started adding images of spaces, lighting, colors, patterns and plants that I loved to my Front Courtyard folder.
I slowly realized I was drawn to green and white stripes, lots of plants growing over trellises and creating an herb garden of sorts. This made me realize I was leaning towards a French Bistro vibe in my New Mexico front courtyard, haha!
The Plan
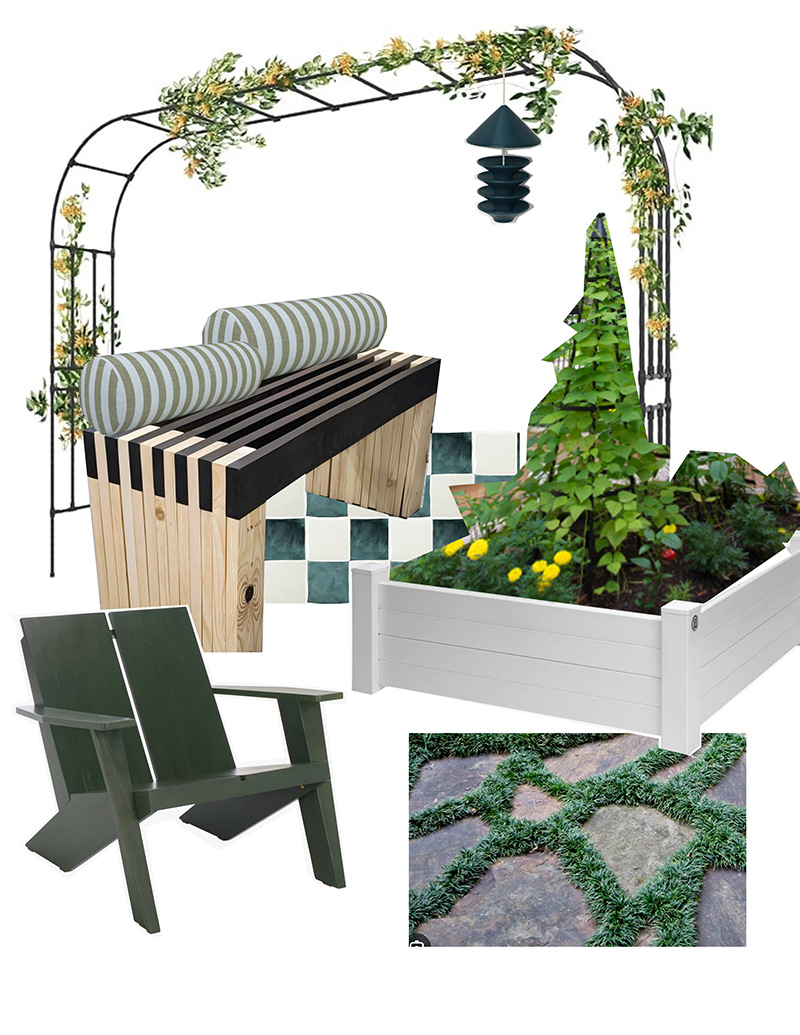
The plan was extensive on this small space. I made myself a checklist and planned to just little by little whittle away at it even if it took a full year (thank goodness, it didn’t!). I broke it all into four phases of effort to help create easy stopping points and also to help offset the cost.
I decided to transform the space into a sitting area and bring in a small raised garden bed. First, though I had to tackle cleaning and prepping the area. And that has proven to be no small task.
PHASE 1 (yard work)
- Remove rock
- Remove filter fabric
- Remove multi trunk tree stump (see the video of it here)
- Grade dirt away from the house
- Lower irrigation and cap un-needed side
- Bring down existing raised bed from the roof (ha)
- Cut down raised bed to be smaller size
- Reassemble raised bed, add filter fabric and fill with soil
- Buy lumber and build cool bench project (part 1, part 2)
- Buy pavers to match other side
- Add top soil to gaps + add grass seed
PHASE 2 (buying)
- Buy striped pillows for bench and chair
- Buy modern outdoor chair
- Raised bed trellis + decorative pots
PHASE 3 (planting)
PHASE 4 (final touches)
- Add acrylic front with stick on “tiles” underneath bench
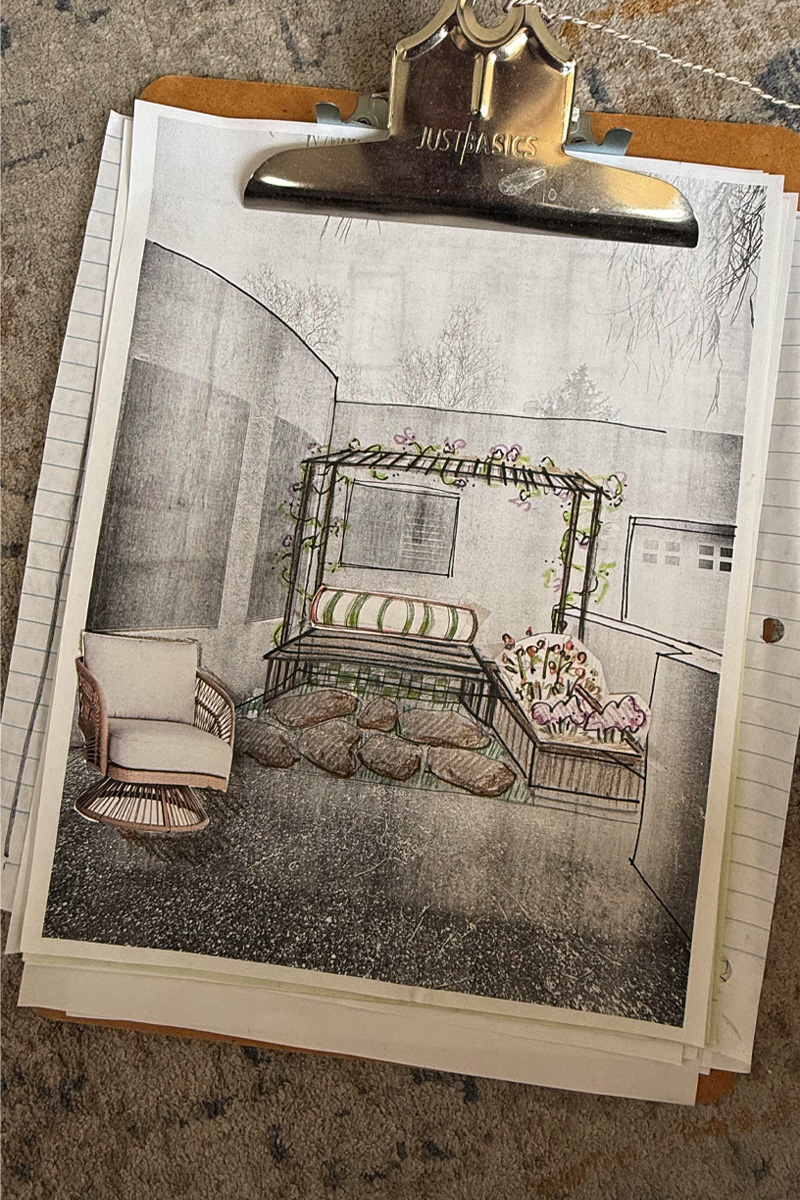
Here is a sketch I drew up of my realistic plan fitting in the space we have in our front courtyard. Check back hopefully in a month or so to see how it all turned out!
This was a hard project, partially because it was just me slowly working on it between other things going on. And partially because manual labor is just hard! But, little by little I have been blown away what a huge improvement it has been to the front of our home – completely worth it in my opinion!
Check out the final reveal of the space in this video!
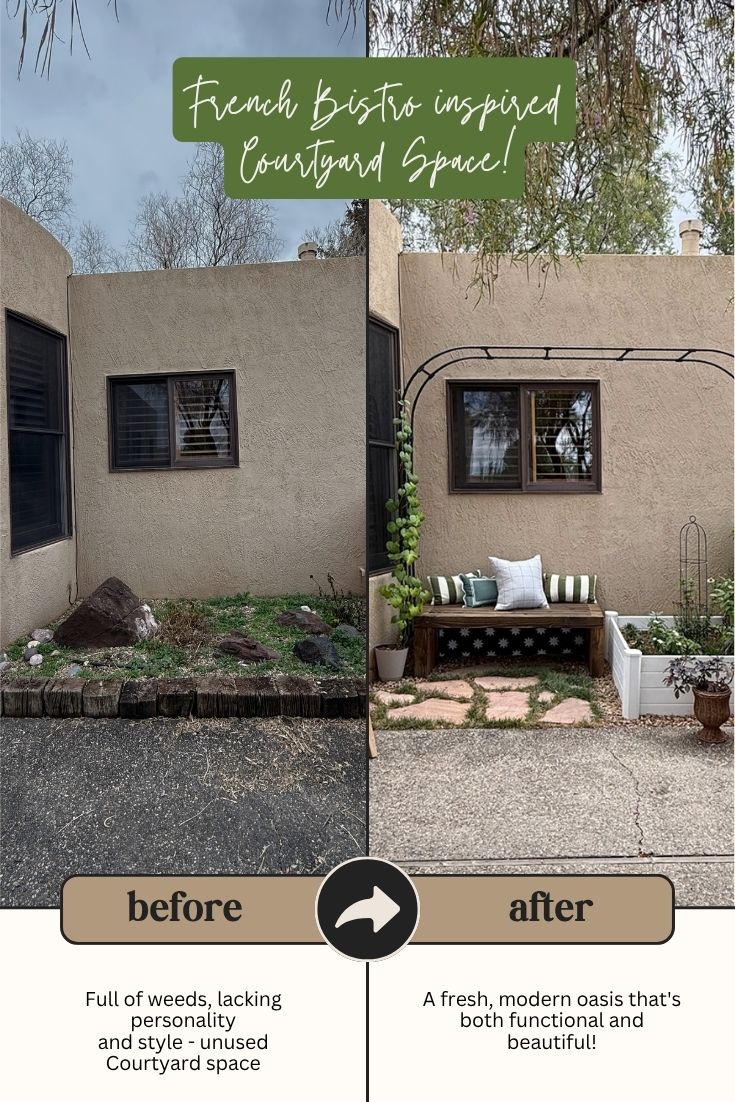
And check back as I slowly write all the blog posts about how each area was updated.
Looking for more outdoor content? Check out these…
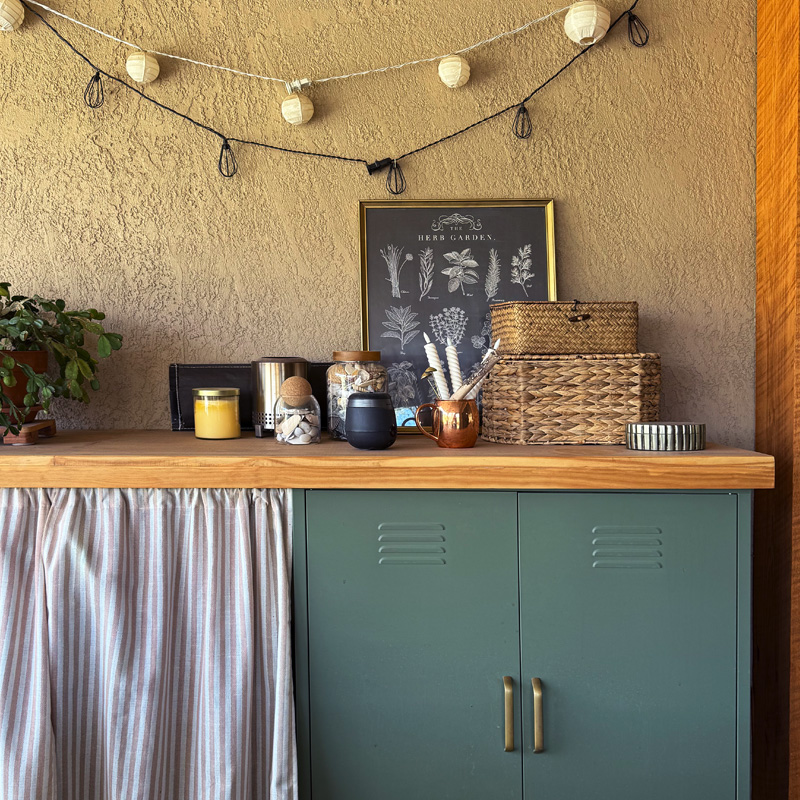
How to Build a DIY Outdoor Bar Top (Easy Weatherproof Tabletop)

How to Make a Macrame Water Bottle Sling: Free DIY Pattern
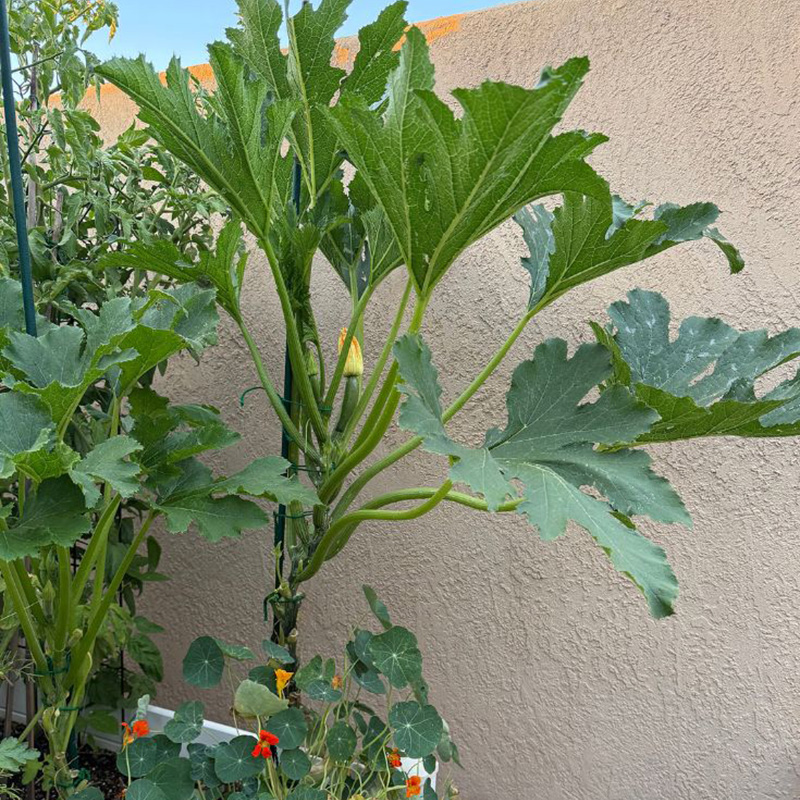
How to Grow a “Zucchini Tree”: Easy Vertical Staking Guide
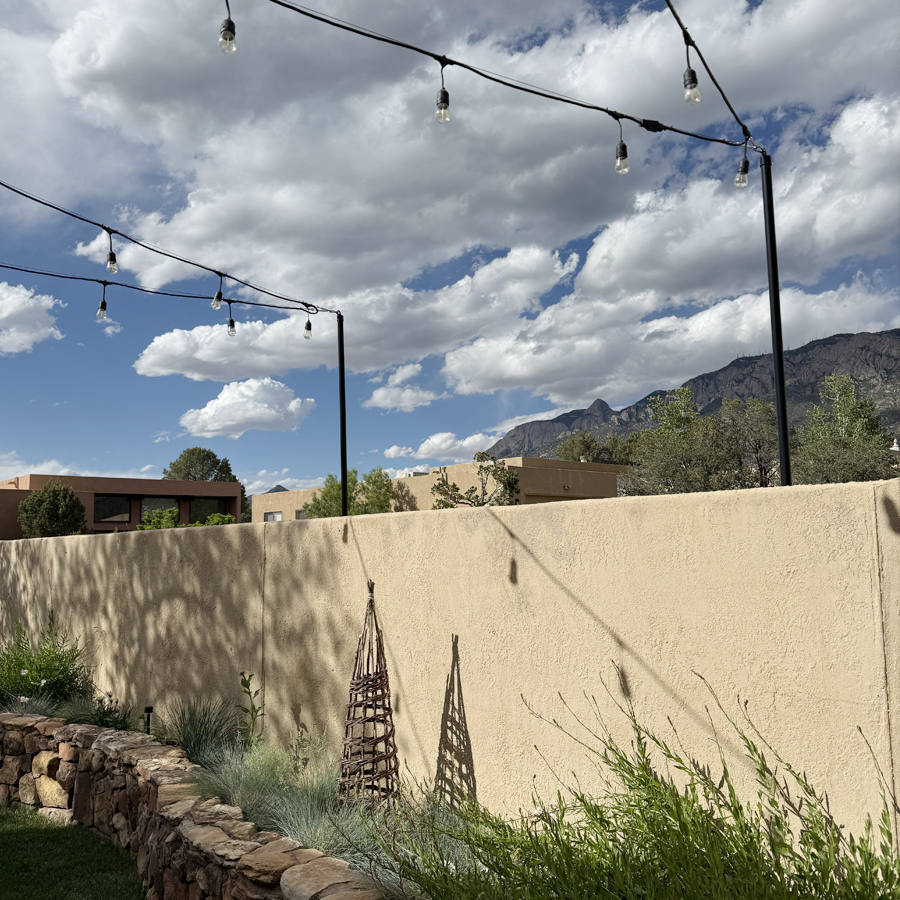
How to Hang String Lights on Stucco Walls (The Permanent Way!)
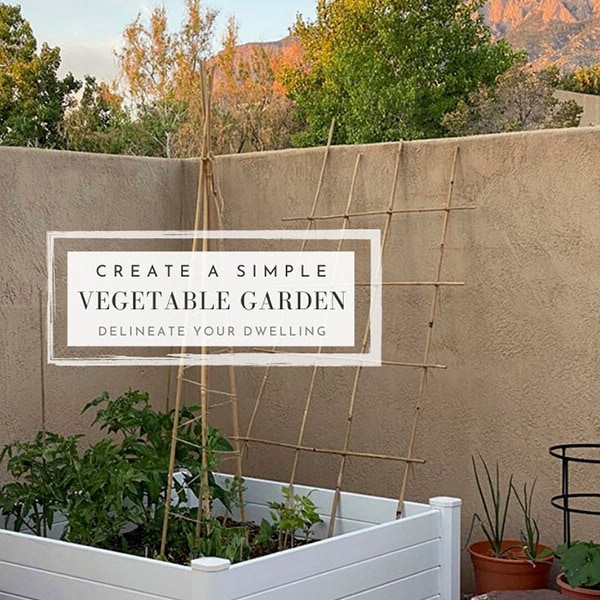
Create a Simple Raised Vegetable Garden