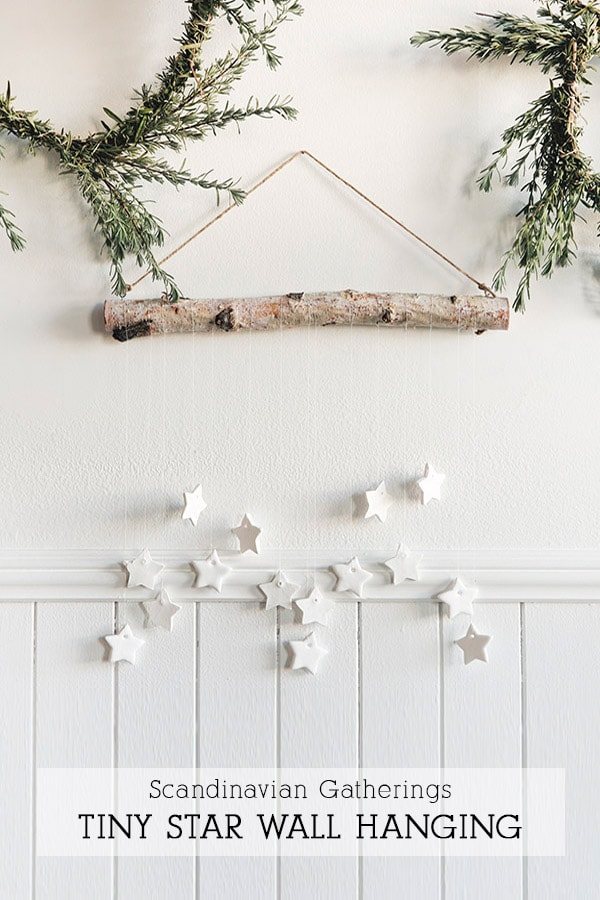
DIY Tiny Star Wall Hanging

INSIDE : There is something simple and wonderful about all things Scandinavian. The simple design aesthetic, delicious recipes and the gorgeous Scandinavian DIY projects like this Star Wall Hanging make books like Scandinavian Gatherings a true gem.
This post contains affiliate links. See my full disclosure.
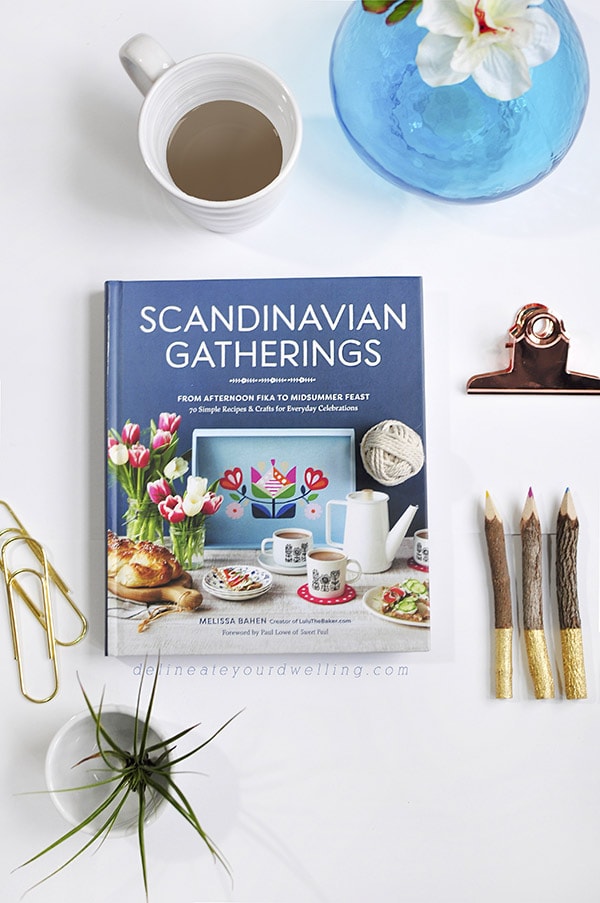
I was thrilled when my blogging friend, Melissa from Lulu the Baker told me about a book she was writing, Scandinavian Gatherings (you can also get the paperback version now!). It covers everything from history, to recipes and crafts and each page is more lovely than the last.
I even helped do some delicious recipe taste-testing while she wrote it and my name is in the back of the book, EEEK!
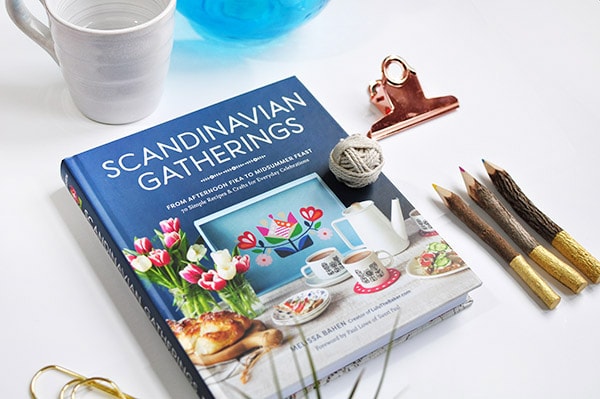
Her Scandinavian Gatherings (paperback version) book is currently available on Amazon or wherever books are sold. I think it may be one of the most lovely books I’ve seen in a while and would make a wonderful gift idea!
One of my favorite DIYs was the DIY Tiny Star Wall Hanging tutorial she included in the book. And I’m so excited that Melissa is sharing it with us today! Check out her full tutorial below.
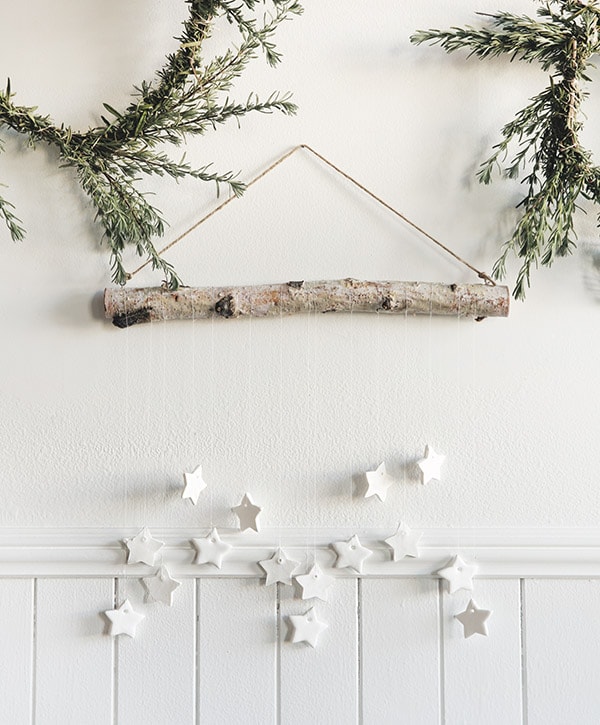
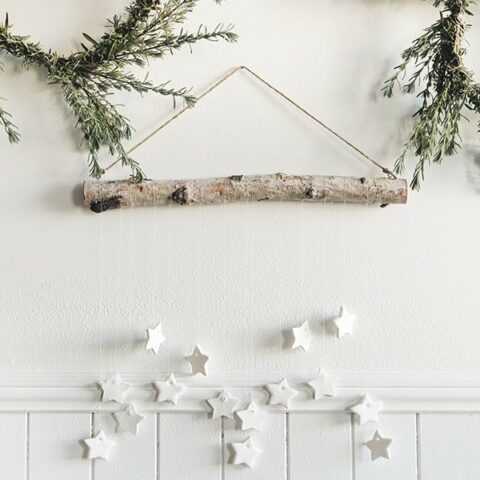
These delicate white hanging stars are easy to make in bulk, and they look beautiful clustered together in a window or hanging on the wall over a kitchen table.
What supplies do I need to make a Star Wall Hanging?
2 packages of white oven-bake clay | Rolling pin
Star-shaped cookie cutter, about 1 inch wide
Chopstick
Baking sheet
White all-purpose thread
Medium Branch, about 15″ long and 1″ in diameter (pre-made branch with hooks)
2 small eye screws
24 inches jute twine
How to make a Star Wall Hanging :
1. Unwrap a package of oven-bake clay, place it on a smooth, hard surface, and use the rolling pin to roll it out to a thickness of about ⅛ inch.
2. Use the cookie cutter to cut fifteen clay stars.
3. Use the spatula to gently lift the stars off the work surface.
4. Use the bamboo skewer or chopstick to poke a hole through each star (in the center, about ¼ inch from the top).
5. Place the stars on a clean baking sheet, and bake according to package directions.
6. Remove the baking sheet from the oven and allow the stars to cool completely.
7. Cut the white thread into various lengths between 18 and 24 inches. Pass each piece of thread through the hole in a star, and secure it with a double knot.
8. Attach the stars to the twig or branch, being sure to vary the lengths of thread. Loop each piece of thread around the branch and double knot it to secure it in place. Space the stars evenly along the length of the branch.
9. Attach an eye screw to the top-left and top-right ends of the twig. Attach each end of the 24-inch length of twine to an eye screw.
And if you are interested, you can check out all my past gift guides here!
DIY Tiny Star Wall Hanging
There is something simple and wonderful about all things Scandinavian. The simple design aesthetic, delicious recipes and the gorgeous Scandinavian DIY projects like this Star Wall Hanging make books like Scandinavian Gatherings a true gem.
Materials
- 2 packages of white oven-bake clay
- Star-shaped cookie cutter, about 1 inch wide
- Chopstick
- Baking sheet
- White all-purpose thread
- Medium Branch, about 15″ long and 1″ in diameter (pre-made branch with hooks)
- 2 small eye screws
- 24 inches jute twine
- Rolling pin
Instructions
- Start by using the rolling pin to roll it out your oven baked clay to a thickness of about ⅛ inch.
- Use a star cookie cutter to press and cut out fifteen clay stars. Next, use a spatula to gently lift the stars off your table surface.
- Poke a hole through each star with a plastic straw (in the center, about ¼ inch from the top).
- Be sure to place the stars on a clean baking sheet, and bake according to package directions. Remove the baking sheet from the oven and allow the stars to cool completely.
- Next, cut the white thread into various lengths between 18 and 24 inches. Pass each piece of thread through the hole in a star, and secure it with a double knot.
- Attach the stars to the twig or branch, being sure to vary the lengths of thread. Loop each piece of thread around the branch and double knot it to secure it in place. Space the stars evenly along the length of the branch.
- Finally, attach an eye screw to the top-left and top-right ends of the twig. Attach each end of the 24-inch length of twine to an eye screw.
Thank you so much for sharing how to make that gorgeous DIY with us, Melissa!
Scandinavian Gatherings (paperback version) is available now so be sure to grab a copy.
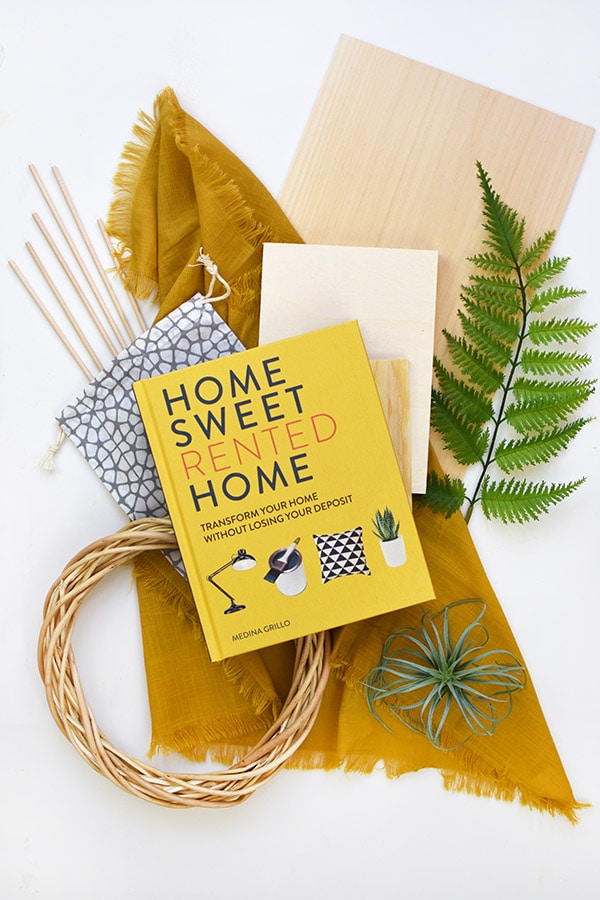
Interested in some other great books, you might want to check out these below or shop my favorite books here.
Painted Nature : A Book that takes it’s time


Are 2 pounds required to make 15 stars?
It would probably depend on how big your stars are, but in general I would say you don’t need 2 lbs to do a garland of stars.
Time to prune the silver birch,
So adorable! Love that you left them white 🙂
These little stars are just too cute! I love that they look just like salt-dough ornaments!
I can see these at Christmas all over the place, too!