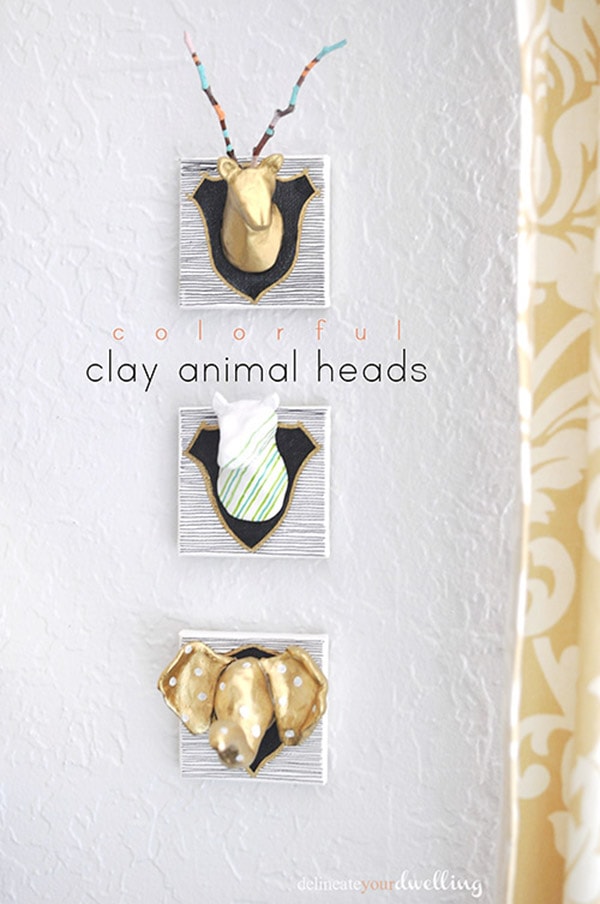
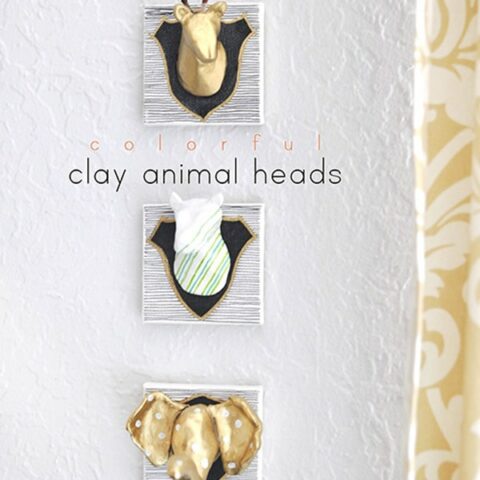
Colorful Clay Animal Heads

INSIDE : See how simple it is to make these DIY Air Dry Clay decor pieces for your home! Create these whimsical Colorful Clay Animal Heads in no time at all to hang on your walls.
This post may contain affiliate links. See full disclosure here.
This post has been updated from it’s original September 2014 date.
I am so excited to be sharing all three of my Colorful Clay Animal Heads today. You may have noticed them during my Guest Room + Office Makeover reveal. I have them secured on the wall right by my desk. They are the perfect fun little touch to my space!
What are the supplies for making Clay Animal Heads?
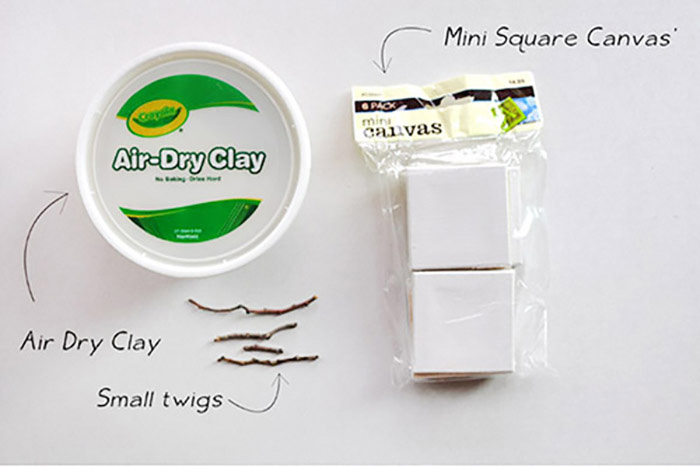
- Air Dry Clay
- Mini Square Canvas
- Small twigs
- Acrylic Paint
- Paint Pens (gold, dark green, light green)
- Hot Glue
- Velcro Command Strips
And if you are looking for other whimsical Animal Head Wall Decor ideas, check these out!
HOW DO I MAKE COLORFUL CLAY ANIMAL HEADS?
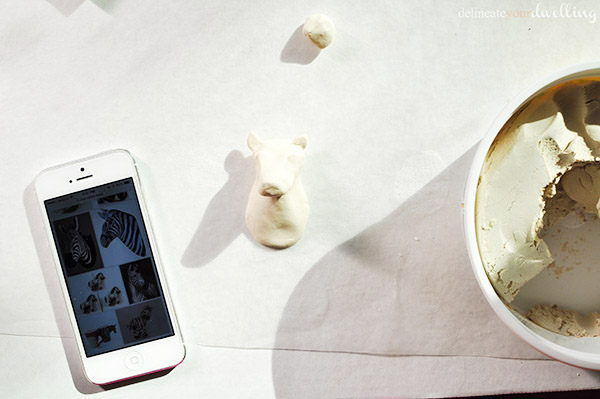
First, I started by pulling up an image or two of animal heads on my phone to help create the basic shape of each animal, the deer, zebra and elephant. I found the key was to really study the image and break it down into simple forms and shapes.
The deer was a log shape for the neck and an oblong circle for the head.
I originally thought the elephant would be the hardest to create, but it actually wasn’t too bad.
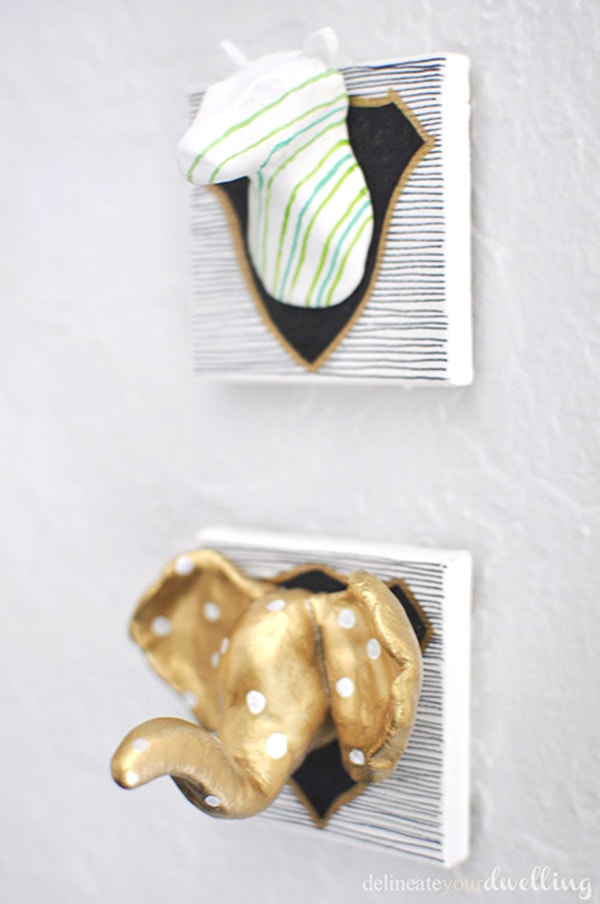
For the elephant, I started first with the basic shape of his head. Then I created both ears and had them curl a bit. And then last was the elephant nose and connecting it to the head.
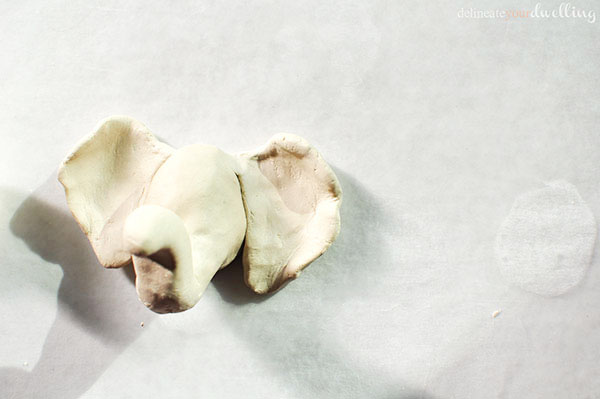
Next up was the zebra head. He really didn’t have any major defining shapes so I had to redo this guy like 4 times before I got it even “semi” zebra-esque… by far the hardest one for me to create.

Air dry clay typically takes around 24 hours to dry, but since these were more dense shapes they took closer to two to three days to dry.
Making Whimsical Mounting Canvas’
While the animal heads were drying out, I started working on the mounting canvas’.
I hand drew a simple mount shape on my mini canvas’ and then painted it in with Martha Stewart’s black chalkboard paint. Then, I seasoned the mount once I had applied three coats of paint for a nice thick look.
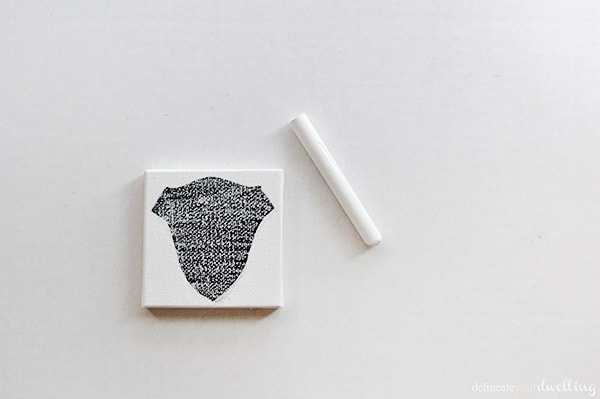
Using a thin sharpie, I added some texture to the remainder of the canvas and outlined the mount with a gold paint pen.
Adding Clay Animal Head Whimsey
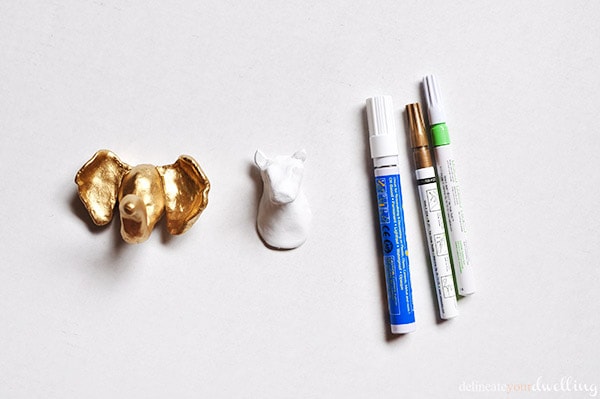
Next each animal got a base coat of spray paint. The elephant and deer received some gold spray paint love. The zebra got a dose of white (the clay dries white, but I just wanted to make sure it was white white).
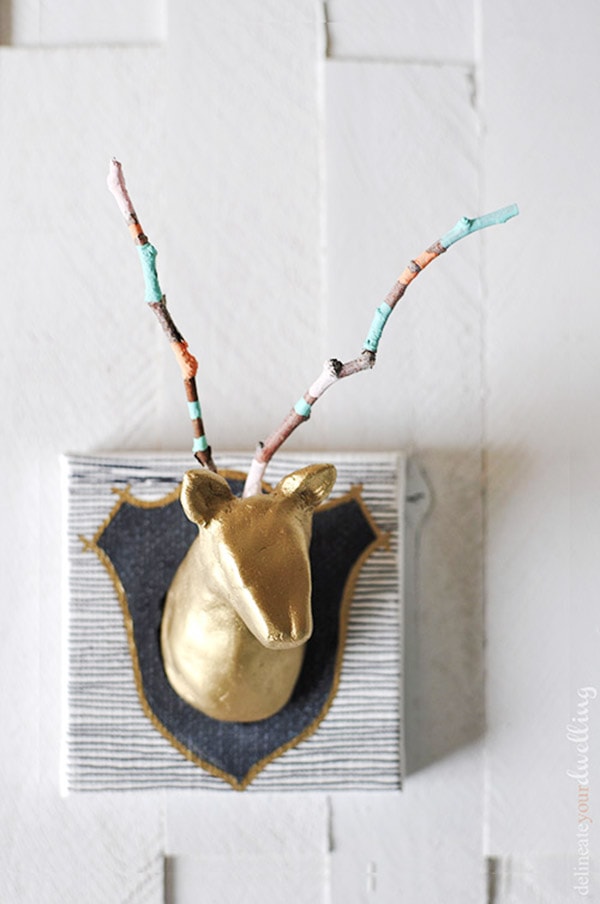
I painted colorful stripes to the twigs (antler) with acrylic paint. Once those were dry, I hot glued them to the back of the deer head. He is by far my favorite of the three!
Then using a dark green and light green paint pen, I gave the zebra some stripes. And with a white paint pen, the elephant got some polka dots.
Then, using simple Velcro Command strips, I easily mounted these awesome Colorful Clay Animal heads to my wall!
Colorful Clay Animal Heads
See how simple it is to make these DIY Air Dry Clay decor pieces for your home! Create these whimsical Colorful Clay Animal Heads in no time at all to hang on your walls.
Materials
- Air Dry Clay
- Mini Square Canvas
- Small twigs
- Acrylic Paint
- Paint Pens (gold, dark green, light green)
- Hot Glue
- Velcro Command Strips
Instructions
- Start by pulling up an image or two of animal heads on the internet to help create the basic shape of each animal, the deer, zebra and elephant.
- Study the image and break it down into simple forms and shapes.
- DEER - A log shape for the neck and an oblong circle for the head.
- ELEPHANT - The basic shape of his head, then draw both ears. Last is the elephant nose and connecting it to the head.
- ZEBRA - A log like shape for the head with two small ears.
- Air dry clay typically takes around 24 hours to dry, but since these are more dense shapes they make take closer to two to three days to dry.
- While the animal heads are drying out, begin working on the mounting canvas’.
- Draw a simple mount shape on your mini canvas’ and then paint it in with black chalkboard paint. Season the mount once you have applied about three coats of paint for a nice thick look.
- Each animal gets a base coat of spray paint. The elephant and deer received some gold spray paint love. The zebra got a dose of white (the clay dries white, but I just wanted to make sure it was white white).
- I painted colorful stripes to the twigs (antler) with acrylic paint. Once those were dry, I hot glued them to the back of the deer head.
- Then using a dark green and light green paint pen, I gave the zebra some stripes. And with a white paint pen, the elephant got some polka dots.
- Then, using simple Velcro Command strips, I easily mounted these awesome Colorful Clay Animal heads to your wall!
Looking for MORE Air Dry Clay projects? Hope you are inspired by them!
You could try to reduce the weight by sculpting around tin foil or a bit of paper towel. Or you could Gorilla glue it like crazy!
Oh, now that is very smart! Great idea, thanks for sharing.
Hi Amy! I adore your work & taste. I have a question about your instructions pertaining to these adorable Clay Animal Heads: When you say you “SEASONED” them, what does that mean, exactly? Sorry, I’ve been “crafty” all my life, but ‘pinning’ & the explosion of DIY-ing is new to me! Help a sister out! ?. Thank you for sharing your beautiful gift with all of us, and apologies if this question was already asked/answered!
Best-Leigh Anne D.
Aw, you are too kind Leigh Anne! Okay, so I was referring to the little chalkboard “mount” I painted onto my mini canvas’. Seasoning refers to coloring the entire surface with chalk, to give it that used look. After you season a chalkboard, it is also much easier to erase chalk marks than if you leave it as is. You could easily just paint the mount with black paint, too. Hope that helps!