How to make Fourth of July Layered Popsicles
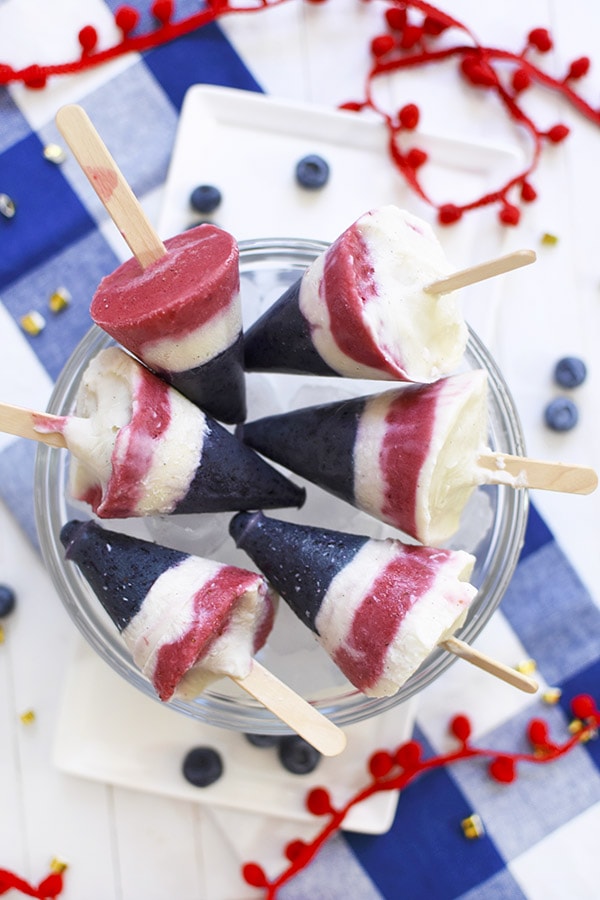
INSIDE : Learn how to make delicious Fourth of July Layered Popsicles using yogurt and fruit! You will be the hit of the party this summer and they are so fun to make, too.
This post contains affiliate links. See my full disclosure.
This post has been updated since June 2018 publish date.
If you are looking for a tasty summer treat, then you might also like my Whipped Pineapple Ring Pop popsicles, my Kid Friendly Watermelon Popsicle Bar or my Layered 4th of July Popsicles! Let me know which ones you are going to try.
Nothing says Fourth of July like Red, White and Blue! And while summer is normally sunny and hot, New Mexico this summer has been HOT. My kids and I have been eating popsicles sometimes twice a day. So when I decided to make some Fourth of July Layered Popsicles with yogurt and fruit, we all were thrilled.
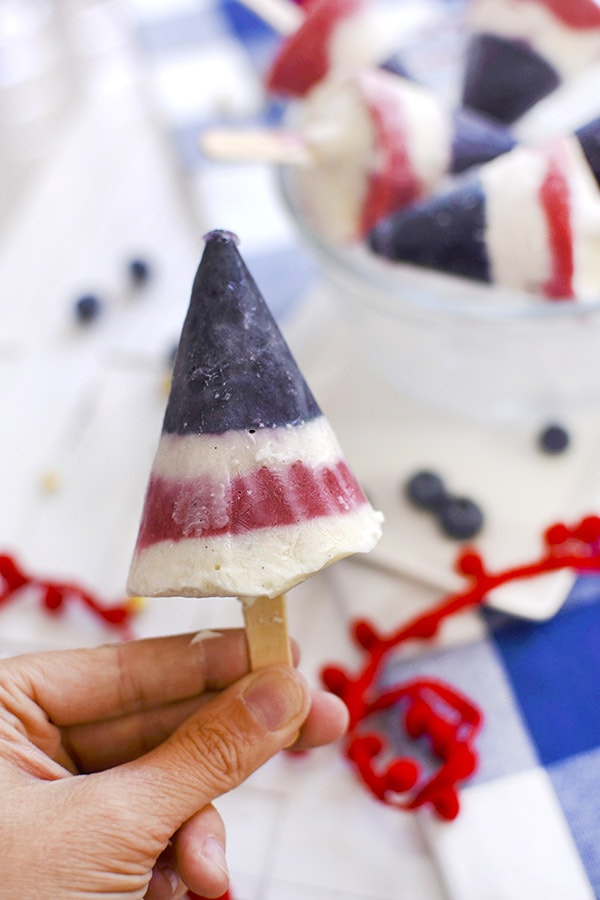
Now, if you have been following along on Instagram stories, you saw I had a bit of a go-around with these. I had wanted to do multiple layers of the red and white… but these popsicles had other plans for me.
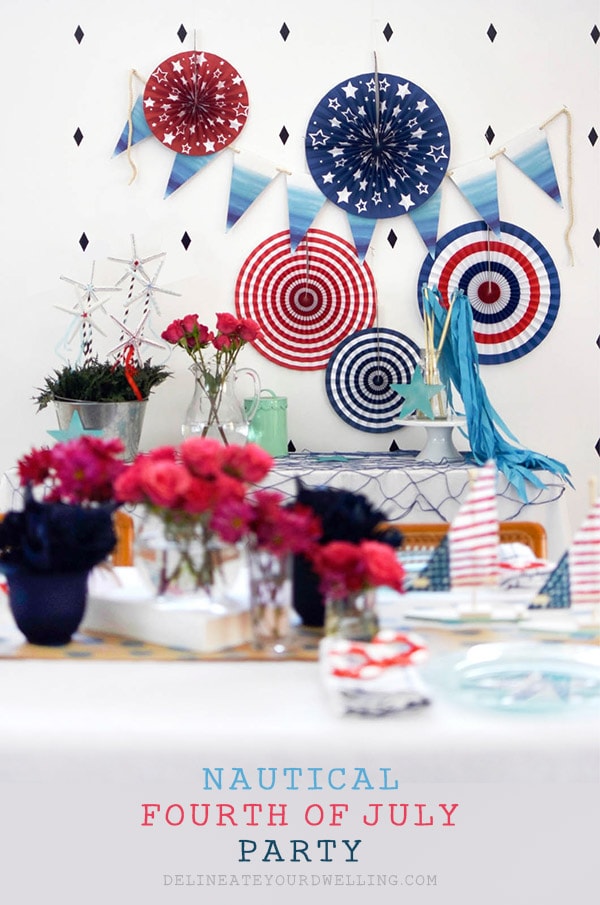
Looking for a fun nautical 4th of July party setup? Check this one out.
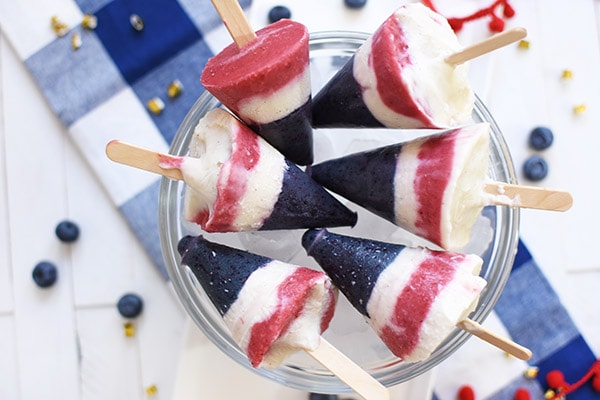
They may not be completely perfect and all exactly symmetrical, but they are so fun and festive for the Fourth of July! Plus, the fruit makes them taste good – so that is just extra bonus.
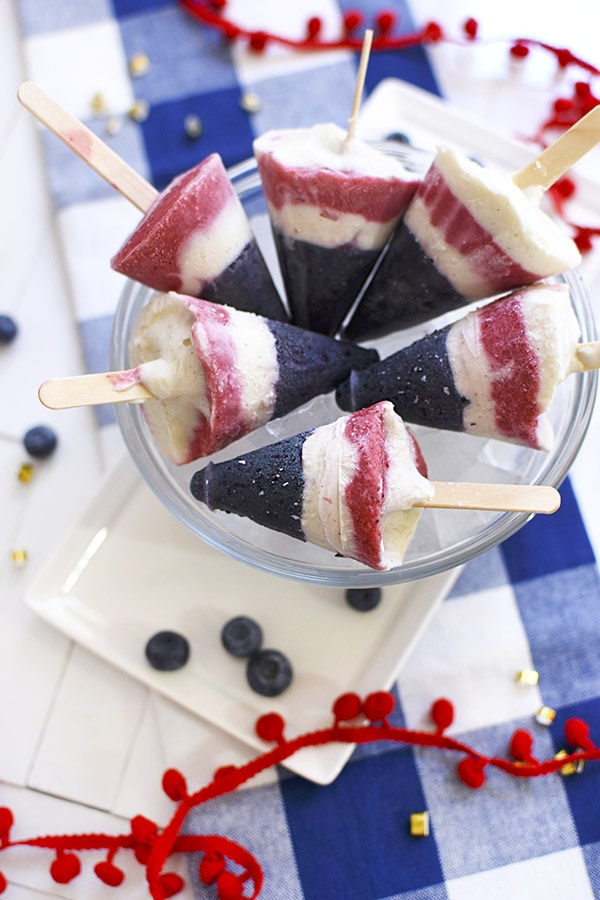
My kids are ready to become a popsicle making factory after I made these fun treats.
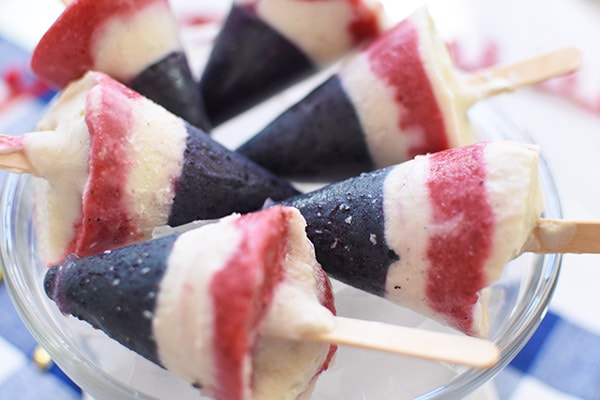
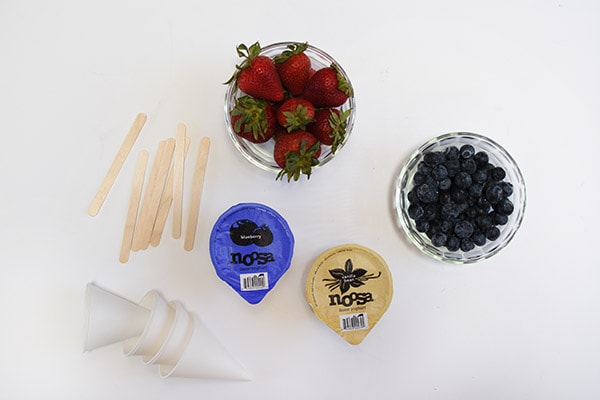
Supplies to make yogurt and fruit 4th of July Popsicles
- Strawberries
- Blueberries
- Blueberry Noosa Yogurt
- Vanilla Noosa Yogurt
- Strawberry Noosa Yogurt
- Wavy Popsicle sticks
- Cone Paper Cups
- Small misc. cups to hold Cones
- Blender
Layered Popsicle making tips
This is my HUGE tip when sharing how to make layered popsicles… practice patience, HA. Doing layered popsicles is definitely not hard, but it does take some time.
Complete disclaimer, I had some mishaps with my popsicles falling over during the freezing process and I was so frustrated I almost gave up and called this a fail. BUT, I just kept going and these ended up being the most adorable and festive popsicles ever!!
How to make a Layered Popsicle for the 4th of July
1. In your blender, add 1/4 cup of blueberries, one 4 oz. container of Noosa Blueberry Yogurt. You can use any type of yogurt, but I really love Noosa’s flavor and texture. Blend until you have a smooth consistency. NOTE: You may want to add a few drops of blue food coloring into your mixture if it becomes too purple.
If you finish blending and feel like it needs a little lift, you can always drizzle in a touch of honey or a tiny pinch of sugar at the very end—but since the yogurt is already flavored I personally don’t think it’s needed.
2. Place your Cone Paper Cups into another miscellaneous cup to help them stand up for the filling process and the freezing. Fill the cone cups about an inch deep with the blueberry yogurt mixture.
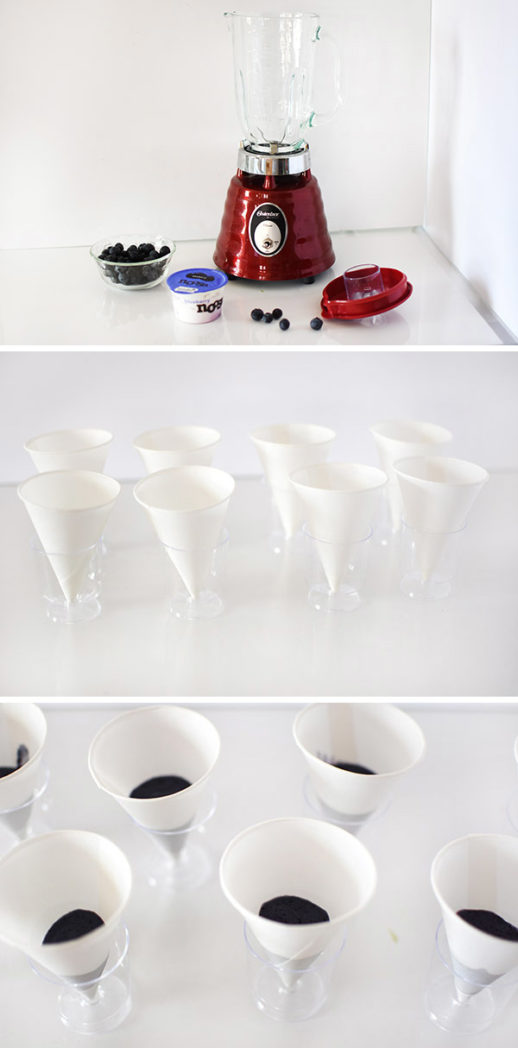
3. Place the blueberry cones into the freezer for 30 minutes. After 30 minutes, you can insert your popsicle sticks. The mixture won’t be completely frozen yet, so you should still be able to add in your stick without them falling over.
Then, put them back in the freezer for another 15 to 20 minutes.
4. If you are wanting to keep with the red, white and blue theme… then next up is the plain vanilla yogurt. I simply added the vanilla yogurt to the cone cups about an inch deep again.
Back to the freezer they go. This time, let them stay in the freezer for about 40 to 50 minutes.
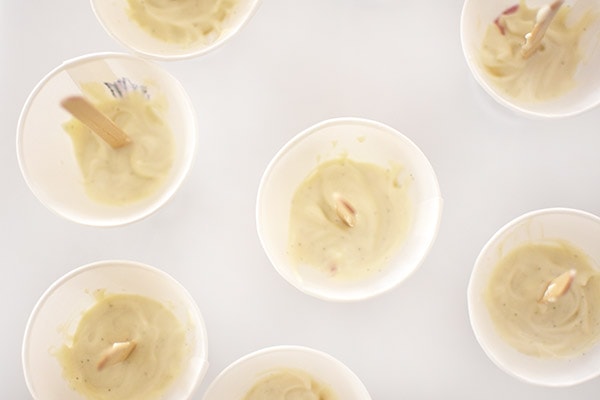
5. While your blueberry and vanilla layered popsicles are in the freezer getting chilly, you can start making the last layer, the strawberry layer!
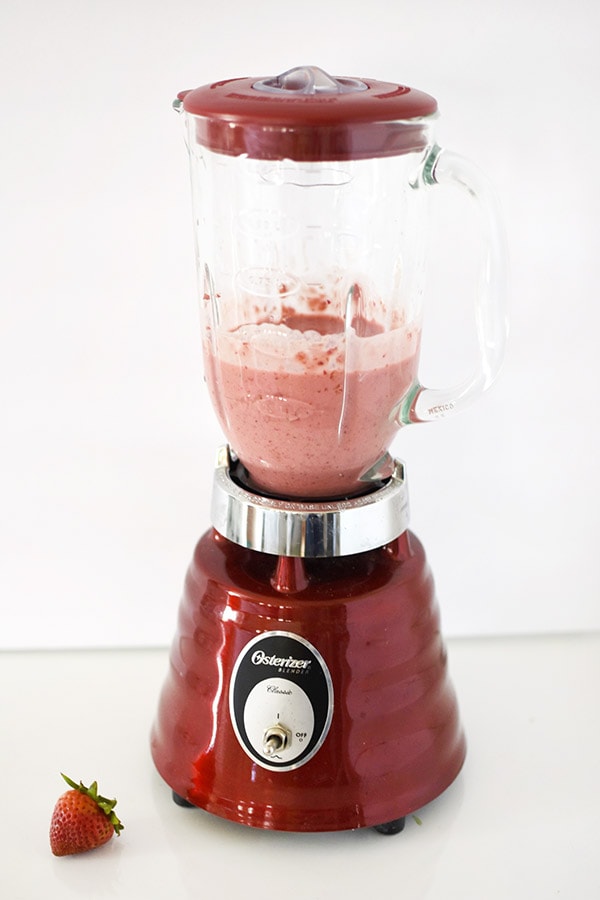
Chop about one container of strawberries up and add them to your blender. Next add in strawberry yogurt and blend away. And put back into the freezer until the popsicles are completely solid… should be about another 40 to 50 minutes.
And these blue and white buffalo check napkins are literally my very favorite! I have been using them nonstop.
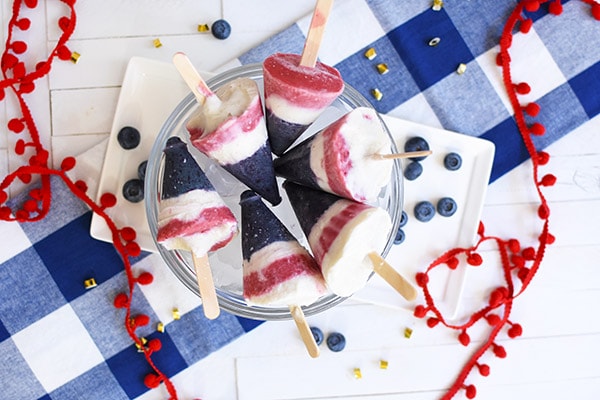

Layered Popsicles for Fourth of July
Learn how to make delicious Fourth of July Layered Popsicles using yogurt and fruit! You will be the hit of the party this summer and they are so fun to make, too.
Ingredients
- 1 cup Strawberries
- 1/4 cup Blueberries
- Blueberry Noosa Yogurt
- Vanilla Noosa Yogurt
- Strawberry Noosa Yogurt
- Wavy Popsicle sticks
- Cone Paper Cups
- Small misc. cups to hold Cones
- Blender
Instructions
1. In your blender, add 1/4 cup of blueberries, one 4 oz. container of Noosa Blueberry Yogurt. You can use any type of yogurt, but I really love Noosa’s flavor and texture. Blend until you have a smooth consistency.
If you finish blending and feel like it needs a little lift, you can always drizzle in a touch of honey or a tiny pinch of sugar at the very end—but since the yogurt is already flavored I personally don’t think it’s needed.
2. Place your Cone Paper Cups into another miscellaneous cup to help them stand up for the filling process and the freezing. Fill the cone cups about an inch deep with the blueberry yogurt mixture.
3. Place the blueberry cones into the freezer for 30 minutes. After 30 minutes, you can insert your popsicle sticks. The mixture won’t be completely frozen yet, so you should still be able to add in your stick without them falling over.
Then, put them back in the freezer for another 15 to 20 minutes.
4. If you are wanting to keep with the red, white and blue theme… then next up is the plain vanilla yogurt. I simply added the vanilla yogurt to the cone cups about an inch deep again.
Back to the freezer they go. This time, let them stay in the freezer for about 40 to 50 minutes.
5. While your blueberry and vanilla layered popsicles are in the freezer getting chilly, you can start making the last layer, the strawberry layer!
Chop about one container of strawberries up and add them to your blender. Next add in strawberry yogurt and blend away. And put back into the freezer until the popsicles are completely solid… should be about another 40 to 50 minutes.
6. When you are ready to enjoy your dessert, simply tear away the paper cup and enjoy!
Notes
You may want to add a few drops of blue food coloring into your blueberry mixture if it becomes too purple.
When you are ready to enjoy your dessert, simply tear away the paper cup and enjoy!
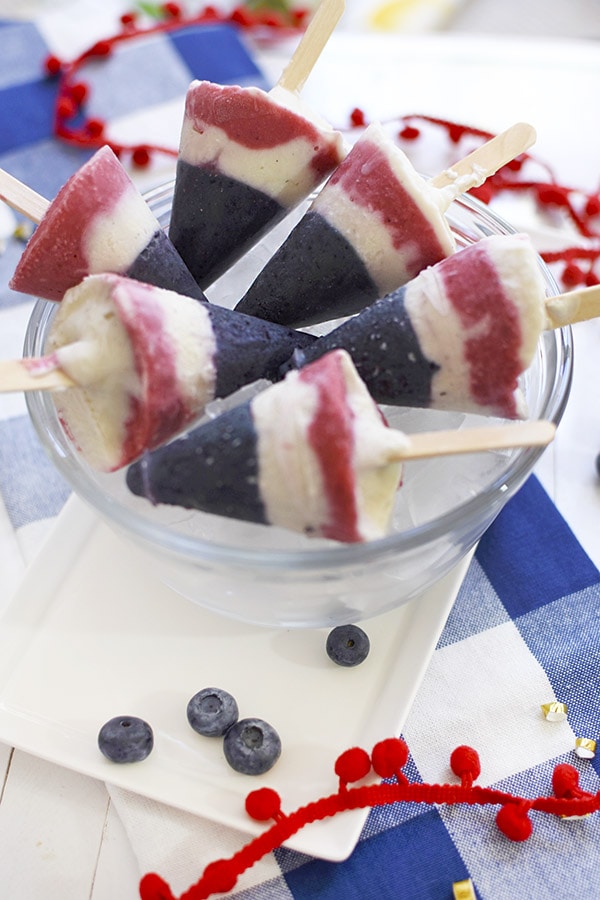
Do you do any themed food or desserts for the 4th of July? Share in the comments below, I’d love to hear!

Looking for other July Fourth celebrations or treats? You might like some of these:
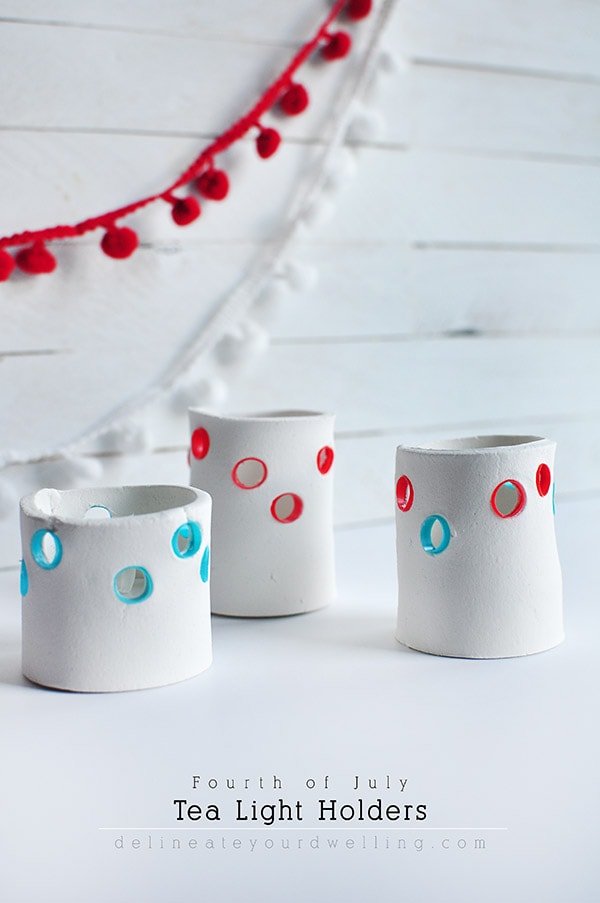
Fourth of July Tea Light Holders