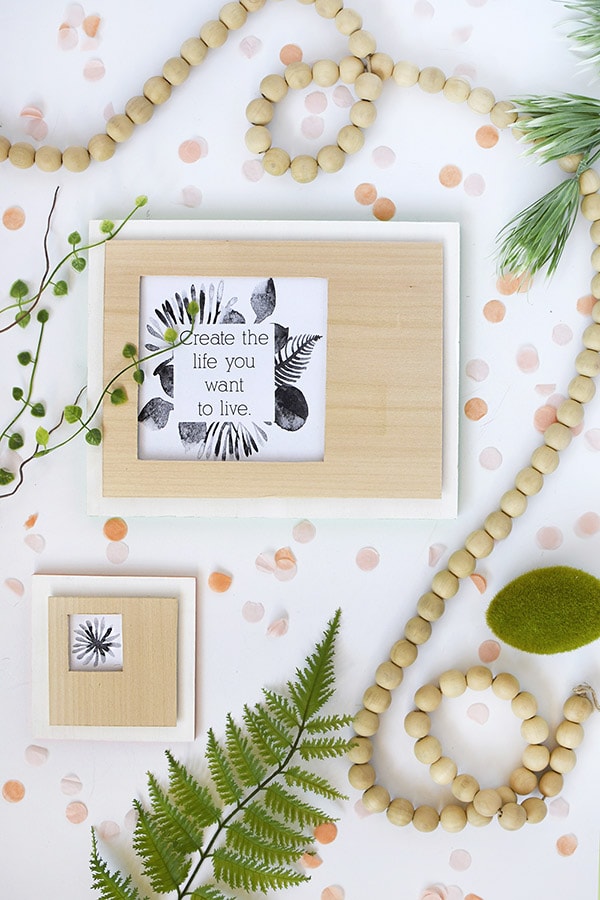
Wood Cutout Frame
INSIDE : Inspired by NBC’s hit ‘Making It’ show, check out how to make these simple and modern Wood Cutout Frames using raw wood and a few other supplies. Make a beautiful statement in your home with these unique DIY frames.
This post may contain affiliate links. See full disclosure here.
If you follow me on Instagram, you might remember just a few months ago that each Tuesday night I’d be cheering, hollering and WAY more excited than I should have been as my friend, Amber from Damask Love crafted her way through NBC’s new show, Making It.
When I was asked to join in with some fellow bloggers on a We Make Challenge, inspired by the NBC show… I gave a huge yes! Check out how I made these fun Wood Cutout Frames.
We all have used raw wood this time around to create a project and after you get through reading my post, you can hop around and check out everyone else’s projects.
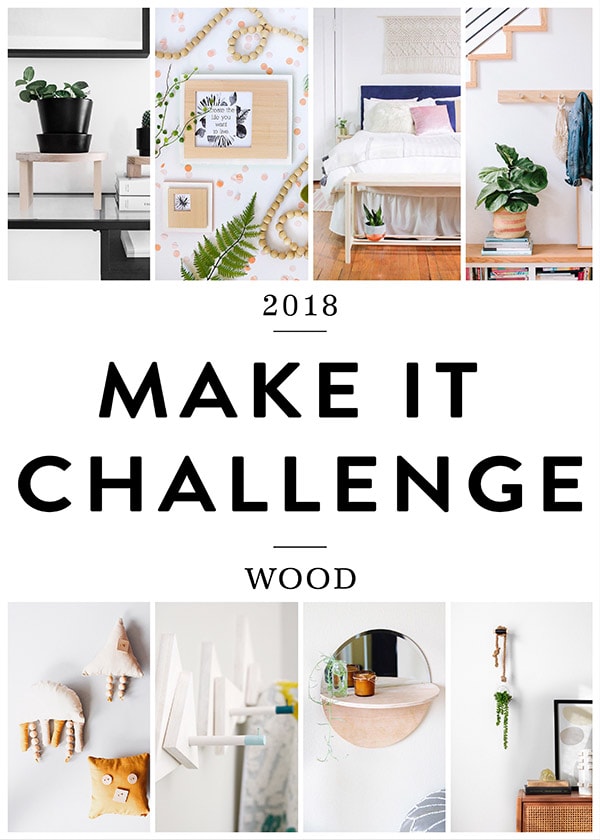
Ctrl Curate | Wood Plant Hooks
Blissmakes | Mirror Shelf
Design Fixation | Triangular Wood Wall Hooks
Spatial Dwelling | Wood Toys DIY
Paper and Stitch | DIY Peg Rail Organizer
Why Don’t You Make Me | Dowel Bench
Delineate Your Dwelling | Wood Cutout Frame
The Beauty Dojo | Plant Stands
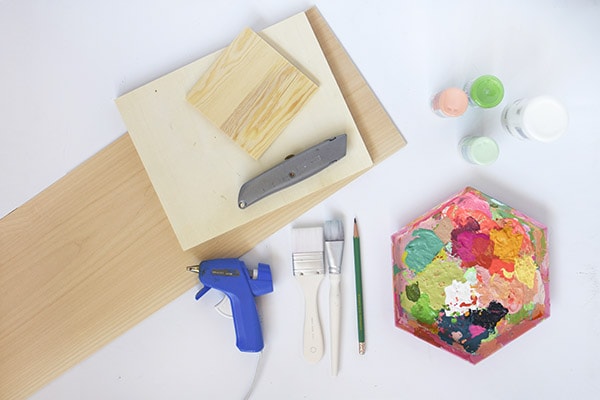
What supplies do I need for Wood Cutout Frames?
BassWood | Flat Wood (2 sizes – rectangular + square) | Utility Knife
Cutting Mat | Hot Glue Gun | Acrylic Paint (White, Green + Peach)
Paint Brushes | Pencil | Ruler | Paint Palette
How do I make Wooden Cutout Picture Frames?
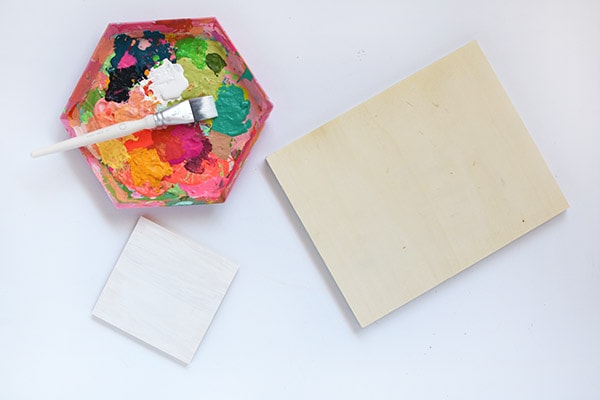
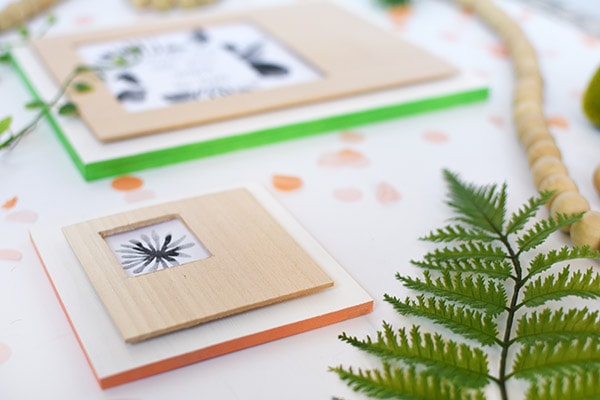
Start this project off by painting your two main flat pieces of wood. I painted the top portion of them white and then each piece got a fun pop of color on the edges.
I did the bigger piece of wood with a green trimmed edge and the small piece of wood with a soft peach colored trim edge.
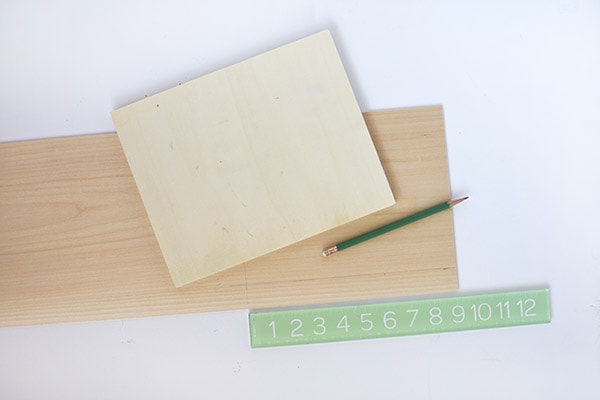
While your main wood is drying, gentry measure the wood. My larger piece was an even 10″ across and 8″ in height. I wanted a half inch of my base piece of wood to be showing behind the thinner basswood frame. So I measured out 7″ x 9″ onto the basswood.
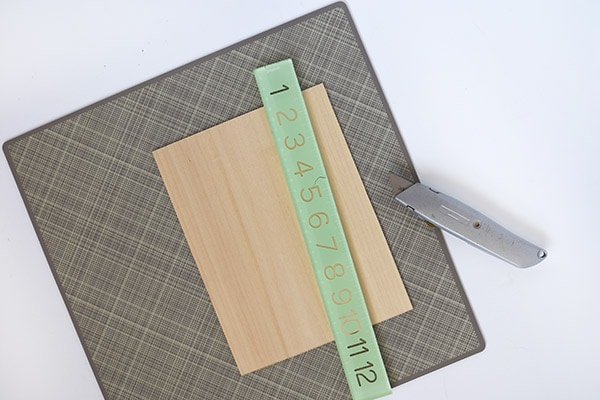
Using a cutting mat and being VERY careful, use your utility knife to cut down your basswood.
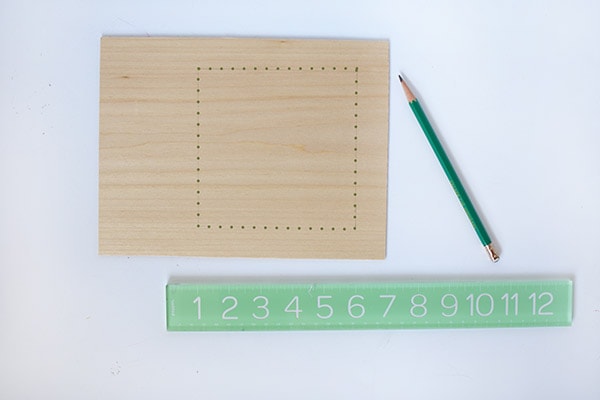
Next, determine how big your want the opening of your frame to be. I decided to offset mine and for easy of visibility photoshopped dots where my pencil lines to cut were located. It was a 6″ x 6″ square shape.
The last wood cutting step is to cut three thin pieces that will raise up the top basswood and give your cutout frame a 3D look. After they are cut out, adhere the thin pieces to your basswood with hot glue.
This also helps keep the graphic or picture you use in the frame, from slipping around.
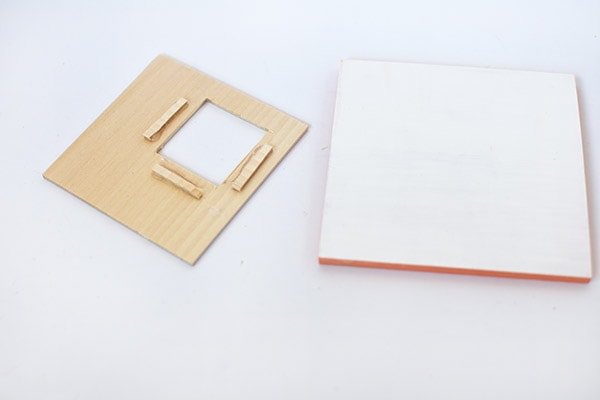
Lastly, add just a little additional hot glue to each of the thin pieces and adhere it to your base piece of wood!
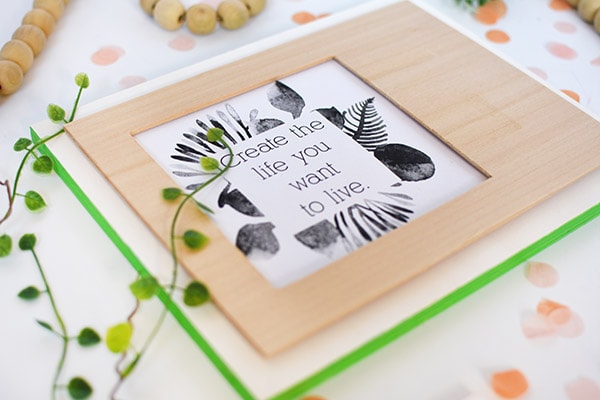
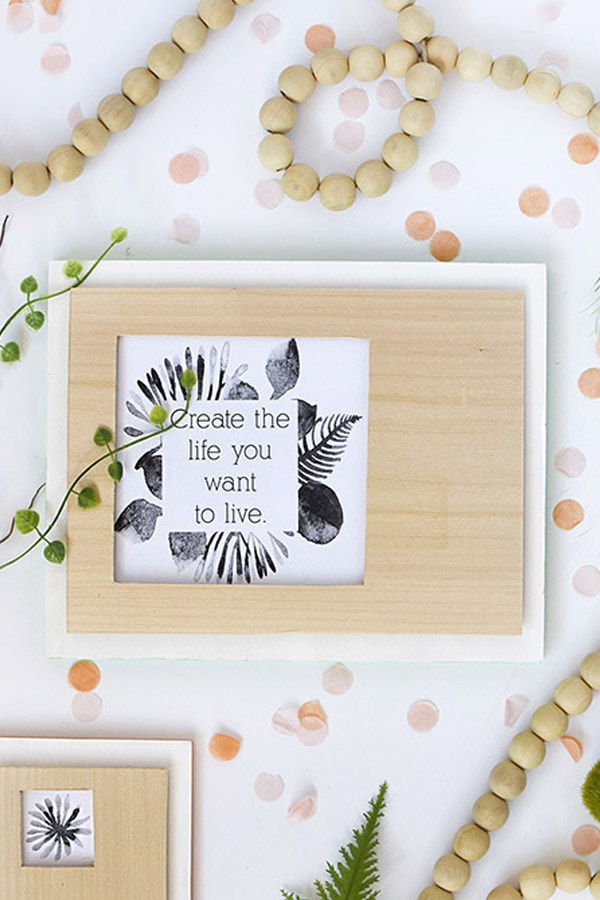
Take your favorite photos, encouraging words or anything other fun print and insert into your wood cutout frames!
Looking for other simple wood projects like this? You might like my Balsa Wood House project.
IT’S DOWNLOAD TIME:
Sign up for the DYD Insider newsletter to receive access to my ENTIRE DYD Printable Library along with these two black and white graphics!!!
Already a DYD Newsletter Insider? Click on over here to access the printables library using the password found at the bottom of any email I’ve sent you.
![]()