How to Paint Watercolor Agate Slices
Today, my sweet friend Alexis from Persia Lou is sharing How to Paint Watercolor Agate Slices. Alexis is one of my very favorites and I love her creative eye. She always is whipping up unique and colorful projects. She also is a MASTER at watercolor!
Hey there! I’m Alexis, the girl behind the blog Persia Lou, and I am so happy to be here today! I share crochet patterns, all kinds of crafts, and home decor ideas over on my blog, and today I’m sharing a project using one of my favorite mediums: watercolor!
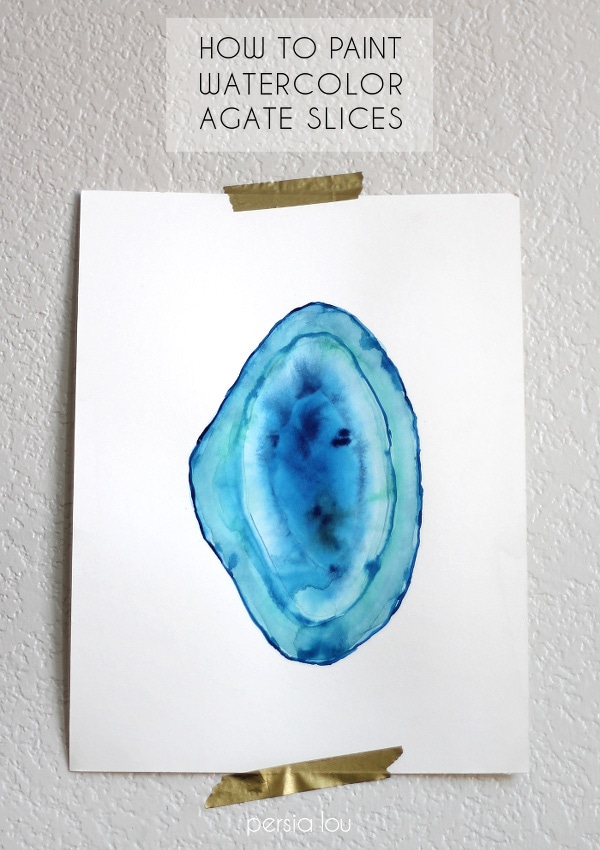
Agate slices are so pretty, and watercolor is the perfect for capturing the color, translucency, and texture of these stones. These slices are easy to create and a lot of fun!
This post may contain affiliate links. See full disclosure here.
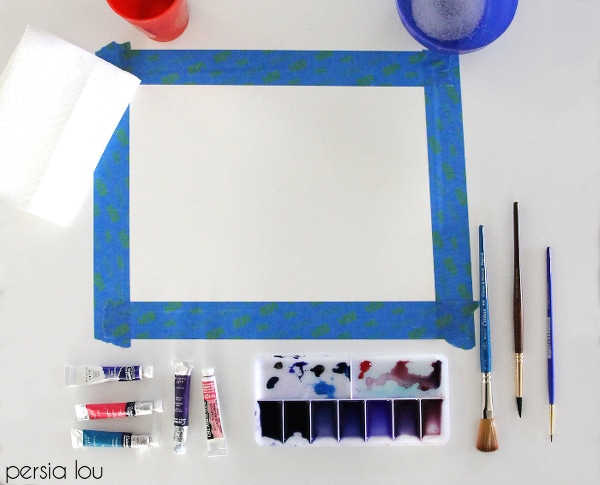
Project Supplies:
- Watercolor paper (I prefer 140 lb)
- Painters or Masking tape
- Watercolors (tube or pan colors work)
- Paper towels
- Coarse salt
- Water
- Brushes – at least a large and small round (I used a size 8 and a size 0), a large mop brush is optional
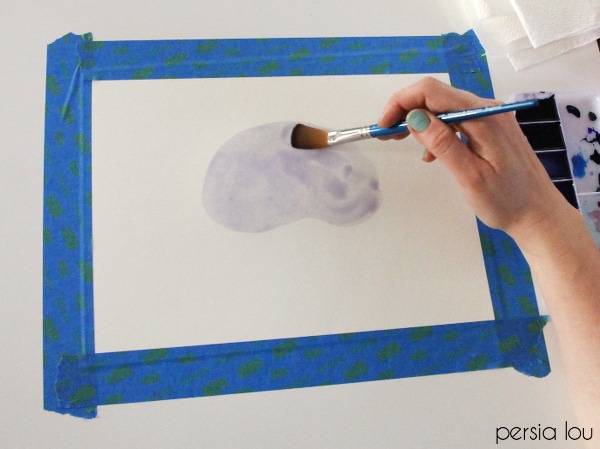
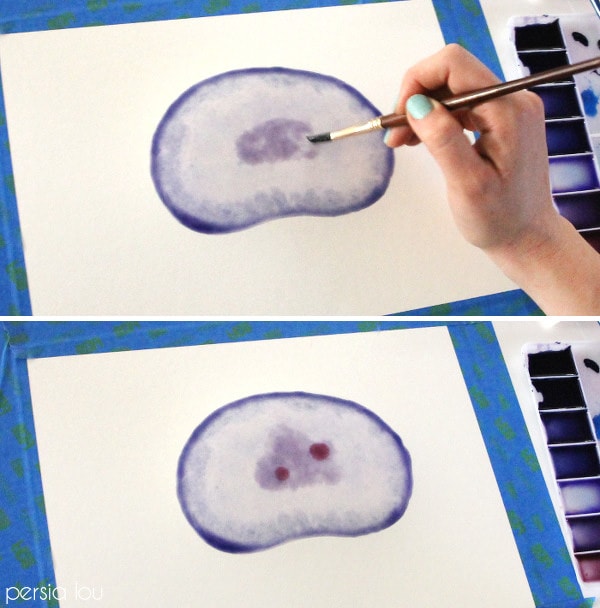
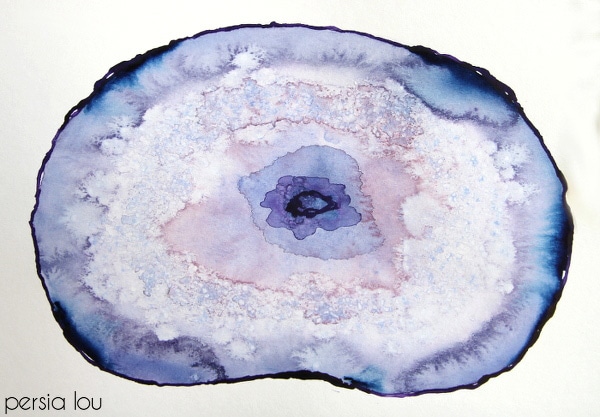
Start off by getting some inspiration via google image search or some real agate slices if you are lucky. Then use the large mop brush (or large round brush) to paint the shape of the the slice on your paper with a light wash (add more water to create a lighter color).
The trick to creating the pretty blended effect is to paint on a wet surface. Laying down this first wash and then painting on top of it quickly while it is still wet allows the colors to blend naturally.
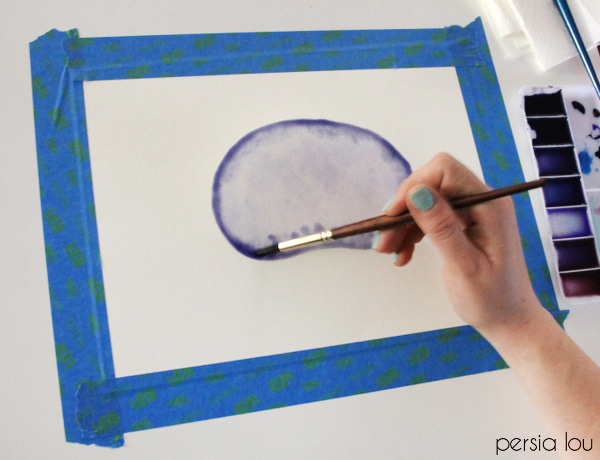
Next, load your large round brush with a dark wash and paint around the outside of the shape you have created.
It’s so fun to watch the color spread and blend. Load your brush with more of the darker wash and mark out an oval shape in the center.
Try adding a few dots of a complimentary shade. Look at your agate slice images for inspiration on where to place color.
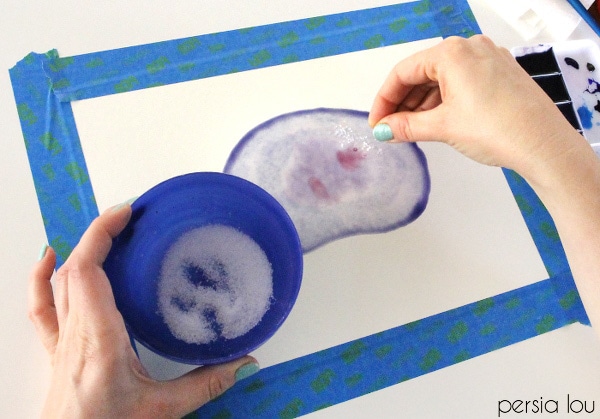
Next, sprinkle coarse salt on to the painting around the center oval shape.
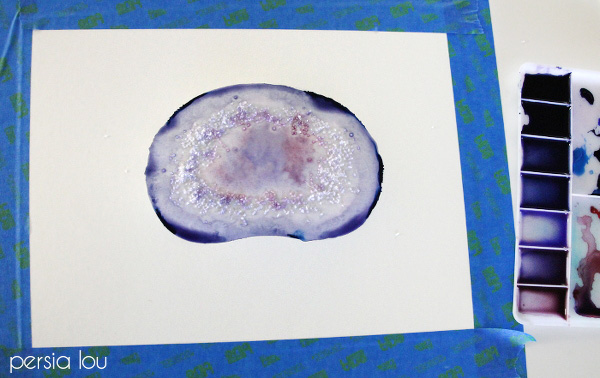
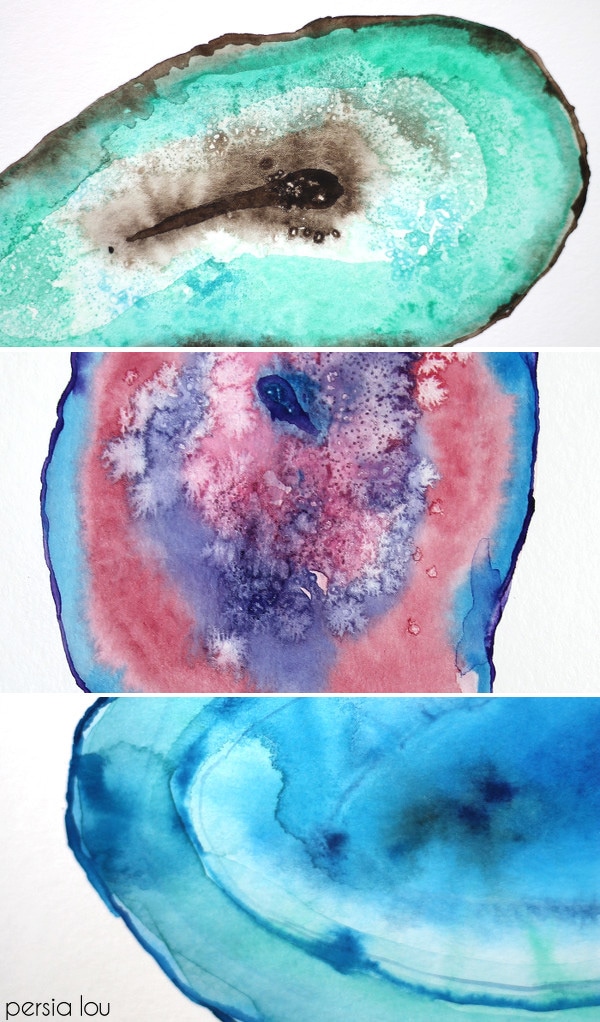
Be sure to sprinkle the salt while the painting is still wet. The salt will absorb the color and leave little circles of litter color creating a great texture.
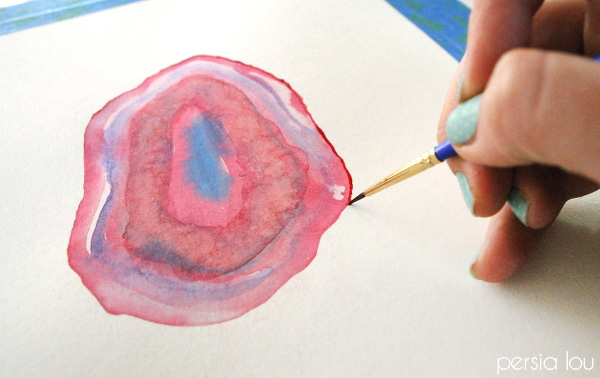
Allow the painting to dry completely, and then wipe off the salt. Once the painting is completely dry, you can go back and add details using the small round brush and a very dark wash (only add a small amount of water to make a really dark wash).
Painting on the dry paper will give you a different effect than you got before when painting on the wet wash. Your strokes will not blend as they did before, so you can get more defined lines now. Trace the edge of the slice and consider adding details to the center.
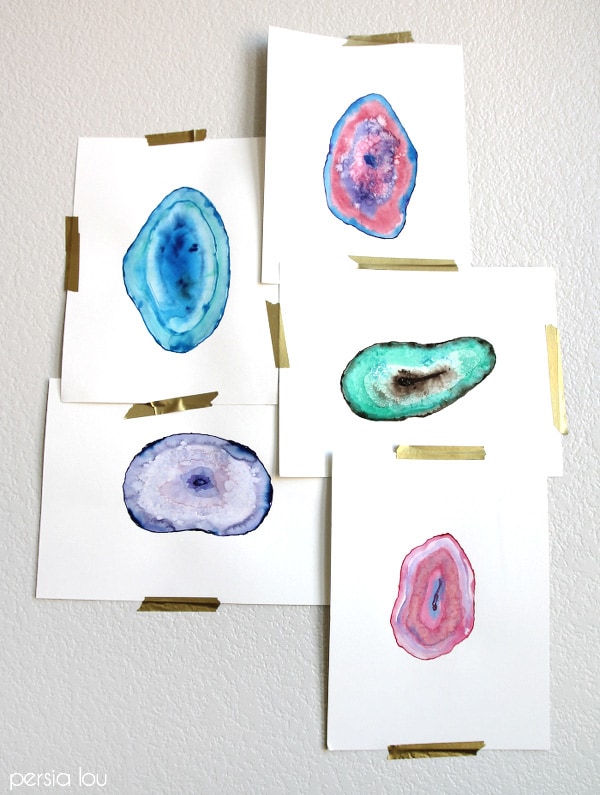
These were so much fun to make, I made a whole bunch! Try playing around with different color combinations, placing the salt in different places, or adding layers of washes after the first wash has dried.
I think the hardest part of watercolor is learning to let go of your need to control everything. The water will kind of flow and blend how it wants to. Try to go with it.
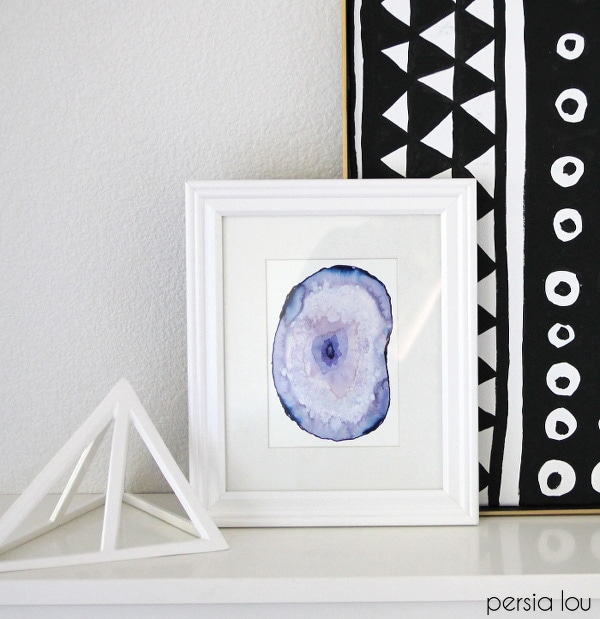
The textures are just dreamy! I framed up a favorite and added it to my entry way, and I think it looks great there. I think these would also make a really pretty addition to a gallery wall.
I would love if you came by and checked out some of my other projects at Persia Lou. Here are a few favorite projects to get you started:
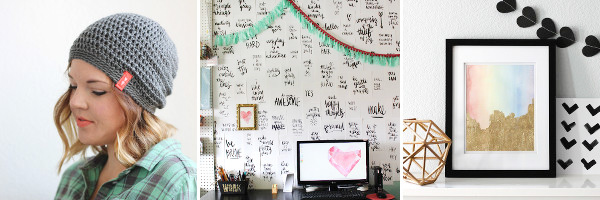
Simple Slouch Hat Pattern || Craft Room Tour || Gilded Watercolor Painting
Thanks so much for having me, Amy!
Well, is that not the coolest watercolor technique ever? I think I’m definitely going to have to pull out my paint set and give this a try! Thanks so much for stopping by, Alexis. And don’t forget to follow Persia Lou for more wonderful ideas like this.

Hello. I am from India. We are into textiles and we deal in long scarf. I would like to ask you if same can be done on Scarfs ?
That’s a good question. I am not sure if the technique would work the same, but it’s worth a try!
Great tutorial! Here are my attempts:
https://instagram.com/p/BJgD6JwjRIX/
It was interesting to see how different colors of paint handled the on-wet application. My mulberry did not do well, but the blues were amazing!
Thanks!
So lovely! I think they turned out great.
I love this tutorial! That salt trick is really creative. Makes me want to make a bunch of these and just plaster them on my walls. haha
What a great tutorial! These watercolors are gorgeous! Thanks for sharing at my Creative Ways Link Party.
Blessings,
Nici
I am so trying this!! I love Persia Lou. She is so talented. 🙂 Thanks for sharing this on The Creative Circle Amy!!
Isn’t it the coolest idea, love Persia Lou!
I absolutely adore this! Looks doable even with my very basic watercoloring skills. Thanks for sharing at Friday Finds, btw!
Thanks for stopping by, Vanessa! I just love how these turned out, Alexis is so talented!
These are simply fantastic! Thank you!
Love Love Love! Thanks so much for sharing!
These are gorgeous! My parents are huge agate hunters and I think trying my hand at painting these will be the perfect gift for them!
Ah, that would be SUCH a fun gift idea!! I’d love to see how they turn out.
This is absolutely beautiful!! I need to try this!
So cool! I love it!
Love the way you used the ol’ salt trick to make a creative agate slice (: I’m so glad I stopped by! Visiting from http://www.andieconn.com/5-ways-creative-despite-depression/ and would love a visit back!
I LOVE this! I haven’t done much with watercolor paints, but this is just so pretty. I love how simplistic the finished product is! 🙂
These turned out so beautifully! I especially love them grouped together.
Gorgeous! These look like the real deal.
These are so, so pretty Amy! I just bought my first watercolor palette for another project, so I’m definitely going to have to try this. The salt is such a cool trick!
I love that seafoam green one, it’s gorgeous!
Isn’t it stunning! Alexis is so good.
These are absolutely gorgeous! I need to learn how to watercolor!
I know, Emily! I’m so in love with Alexis’ work!!
Oh how I adore this! Absolutely genius!
I know, I’ve got to get my watercolor set out pronto and give this a try! Alexis is so good!
SUCH a neat process! LOVE how it turned out!
I know, so cool right? Alexis is the watercolor master, hands down!
Oh my… LOVE! I think I could even follow this art tutorial! Seriously, I’m going to try it. Do you think it would have a similar effect on a canvas or just watercolor paper?
I know, Ashley! Super easy, I’ve got to give it a try!! I don’t know if the water and paint would work the same on canvas as it does on paper. Worth a try though!
Hey Ashley! You can get watercolor canvases, but it might be a little difficult the get the same effect on a regular canvas. Good luck!