Modern Book Sling Side table
INSIDE : Learn how to build a gorgeous Modern Book Sling Side table for your home. When you can’t find the perfect side table, just DIY one yourself.
This post may contain affiliate links. See my full disclosure.
There is something so amazing with being able to construct and build a piece of furniture for your home. We have needed a narrow side table for a long time, but I just couldn’t find the perfect one for our home.
I was so thrilled to partner with Ace Hardware to build this perfect Modern Book Sling Side table for our living room. I loved being able to order my supplies online at Ace Hardware.com and then being able to pick them up curbside. This is a sponsored post, but all opinions are 100% mine.
Check out my Best Beginner DIY Tools post to see what you need to get started on your next project!
What supplies do I need to build a Modern Side Table?
TOOLS :
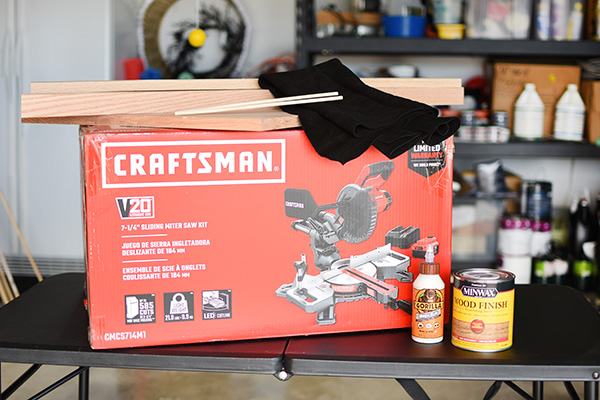
- Craftsman cordless Sliding Miter Saw
- Orbital Sander and/or sanding block
- Electric Drill Press + 1/4″ drill bit
- Electric Hand-held Drill
- Pockethole Jig + Square Pocket screw kit
- Speed Square
- Gorilla Wood Glue
- Measuring Tape + pencil
- Clamps (smaller and larger ones)
- Sewing machine, sewing scissors + new sewing needle
- White colored pencil
SUPPLIES :
- 3 – 1.5″ x 0.75″ x 48″ Oak board
- 1 – 10″ x 0.75″ x 24″ Oak board
- 2 – 1/4″ wooden dowels
- Black Suede
CUT PIECES :
- 4 – 24″ Oak Boards for main legs
- 4 – 22.5″ Oak Boards for secondary arms
- 4 – 7″ Oak Boards for secondary arms
- 2 – 7.25″ x 1/4″ dowels
- 1 – 8″ x 27.5″ cut suede
How do I build a Modern Book Sling Side Table?
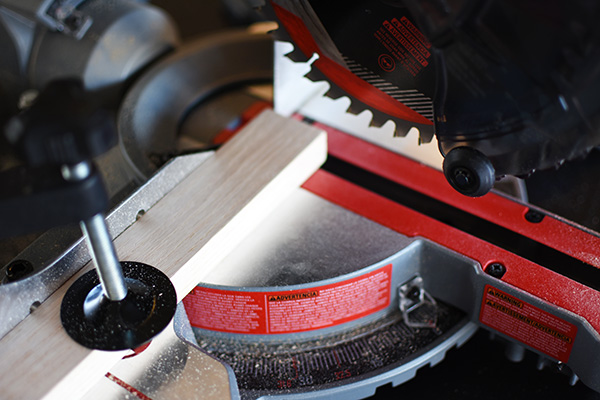
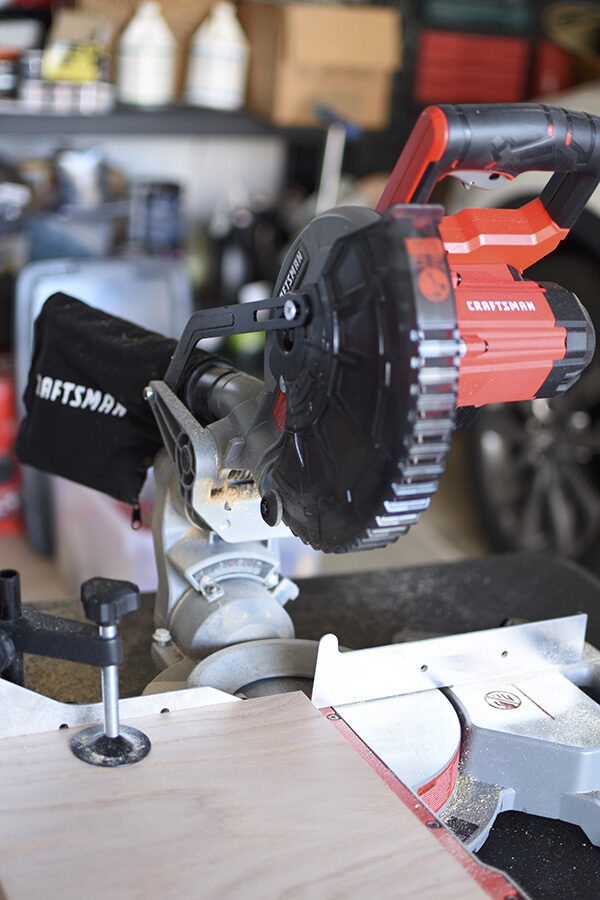
If there is one thing I have learned, it is having the right tools to build a project can really be a make or break. And one tool that was so essential for this project was a cordless sliding miter saw. I found it so helpful because it allows you to move the blade forward and backward, which really increases the length of cut you can make.
I started by measuring and marking the main legs of my side table, the 4 – 24″ pieces using a measuring tape and speed square.
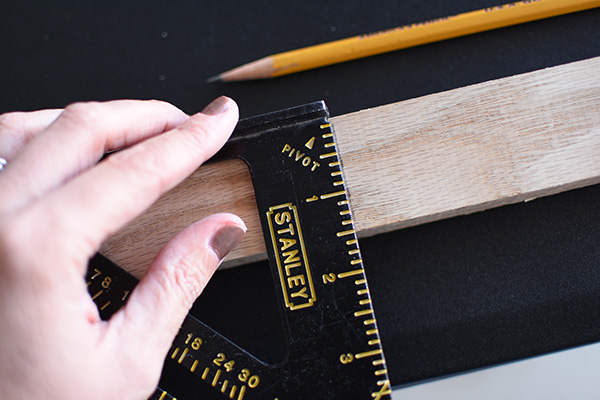
Next, I measured, marked and cut 4 – 22.5″ pieces and 4 – 7″ pieces. These are the side structure pieces.
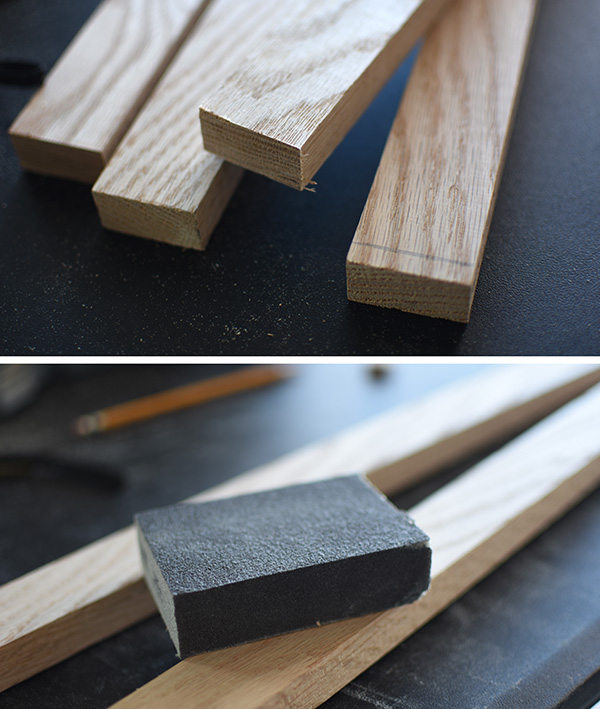
Once the twelve pieces are cut, it’s time to do some sanding. I used both a sanding block and an orbital sander to smooth off any rough spots.
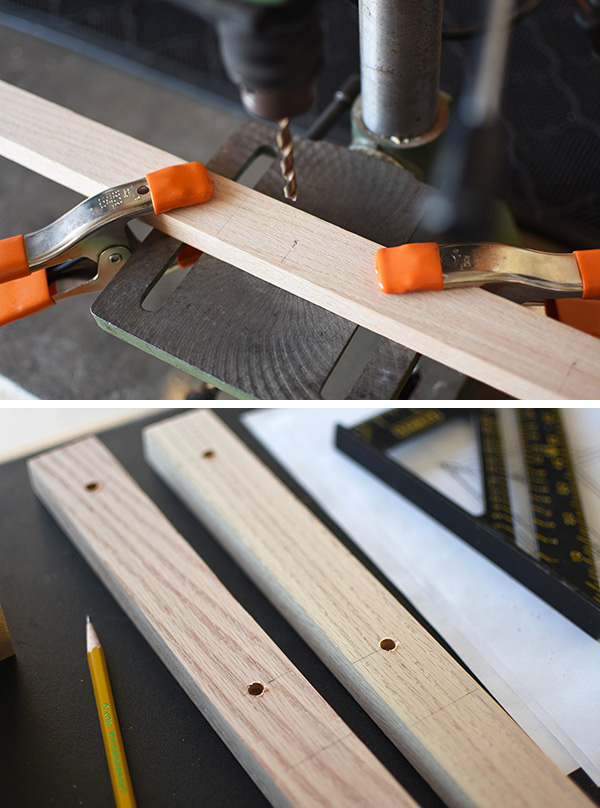
Next, I needed to add the holes for where my two dowels would sit for the suede book sling. I used an electric drill press to create those perfect holes. I used a 1/4″ drill bit. You could also use a hand-held drill to make these holes.
Reference my building layout diagram to see the placing of my holes.
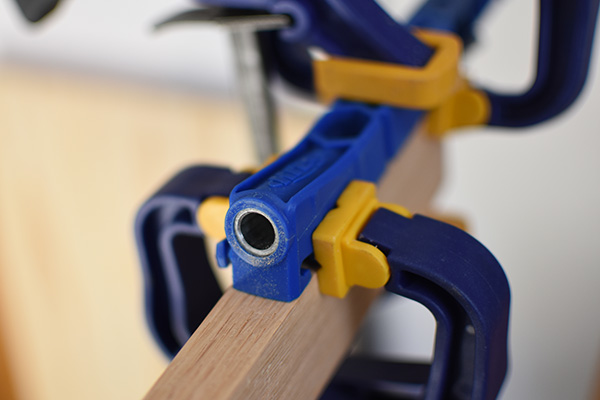
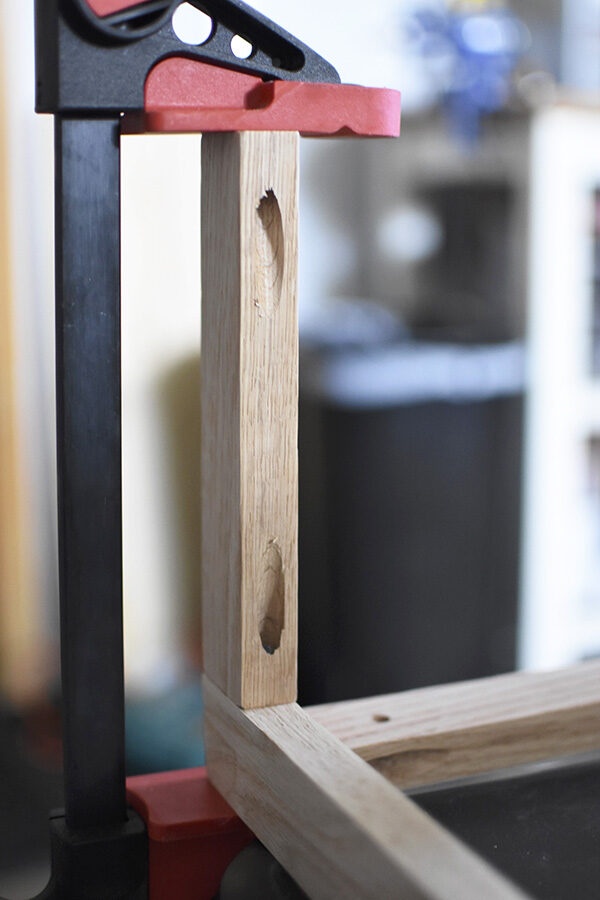
Next, at each joint I used a pockethole jig and kit. I have to be honest, this part was intimidating to me but I ended up really loving making pocket holes with the jig and my hand-held drill! I maybe went overboard and used three clamps to hold it in place, while drilling the holes but it seemed worth it not moving.
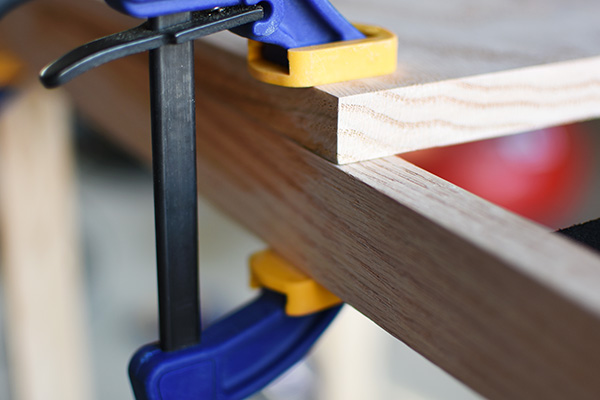
After the holes were all drilled, I added Gorilla Wood Glue, clamps and then added in the screws. Be sure to add your screws before the glue fully dries.
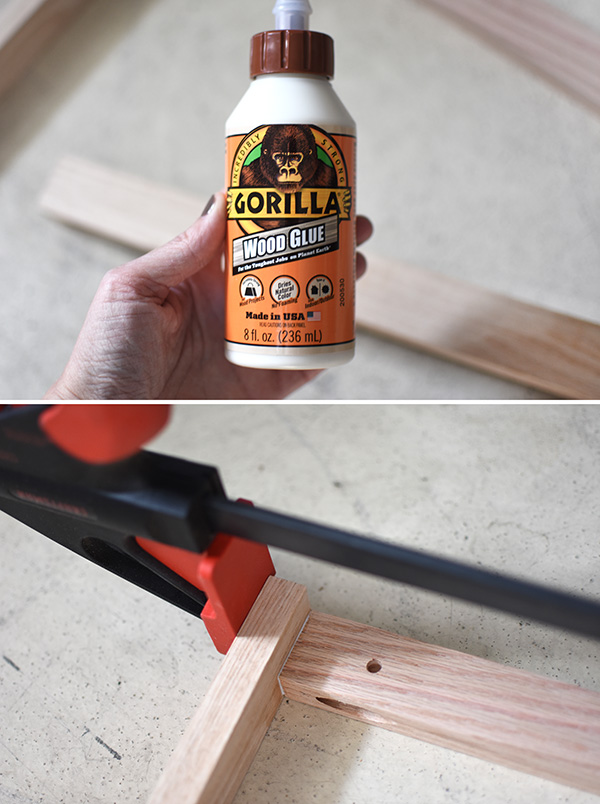
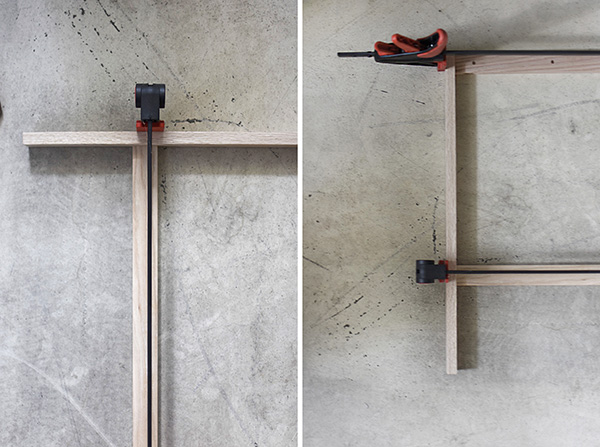
Depending on how many clamps you have, this is a slow process. The glue takes about 20-30 minutes to dry and I could glue/clamp about two pieces at a time. Slow and steady is the motto for this section.
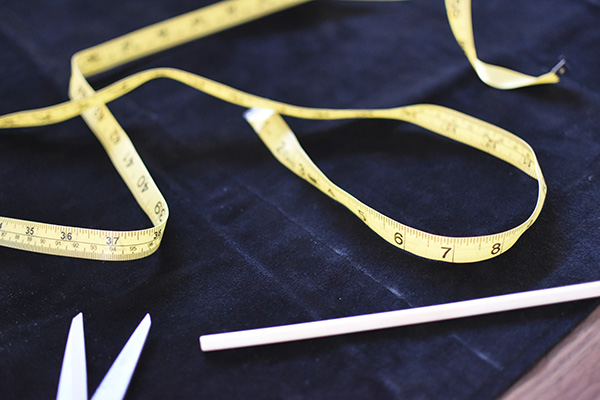
While my legs were all drying, I got started cutting and sewing the suede sling. I measured out 8″ by 27.5″ and then cut it with sewing scissors.
I made sure I had plenty of moving room on the dowel, I measured 2.25″ for the pocket and marked that on my suede with a white colored pencil.
Before sewing the thick suede on your sewing machine, be sure to change your stitch length to 3.5 mm and if you have a new fresh sewing machine needle, it is wise to put that on. I went niiiiiiice and slow while sewing my two suede stitches and I wasn’t sure my machine would make it, but thankfully it did.
It was as simple then, as gluing down one side of the dowels to my base, slipping on the suede and then adding glue to the other holes.
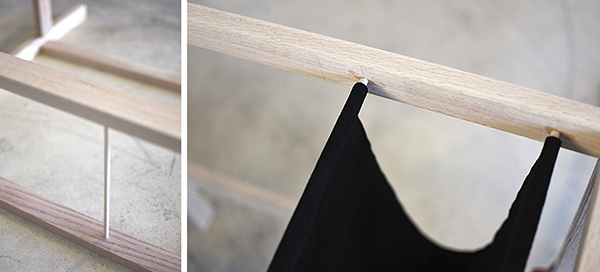
Clamp, clamp, clamp as everything is drying.
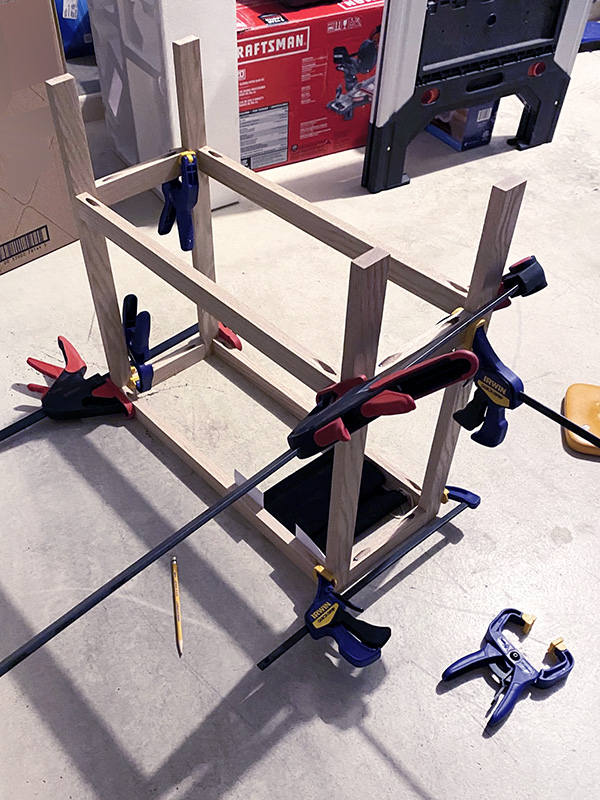
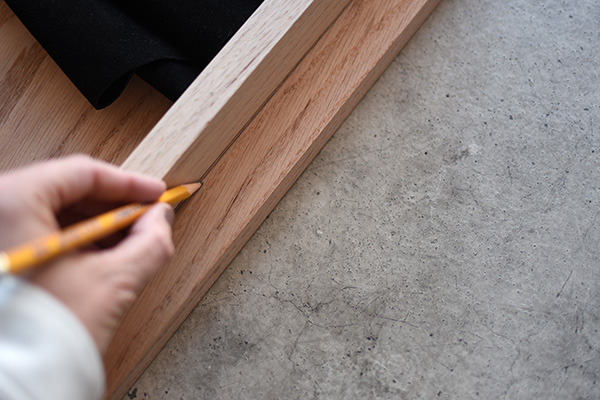
The final step is adding the top to your modern sling side table. I placed the oak wood top on the ground and put the side table frame on top. Using a pencil, trace the exact size you will need to cut.
Sliding Miter Saw to the rescue again as I cut one side, flipped the wood board over and then cut the other side.
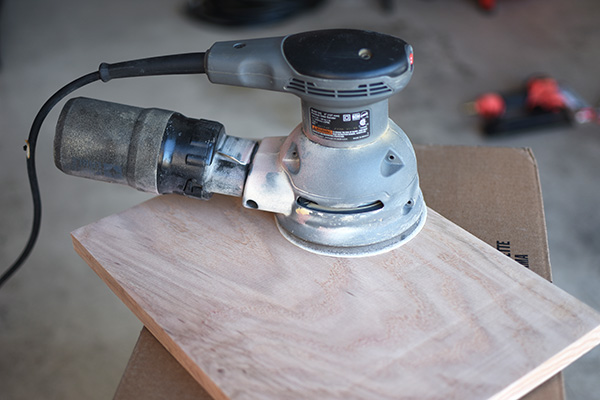
A final sanding to make sure the top was smooth with my orbital sander.
I added Gorilla Wood Glue and a few small nails, clamps and voila!
DIY Modern Side Table
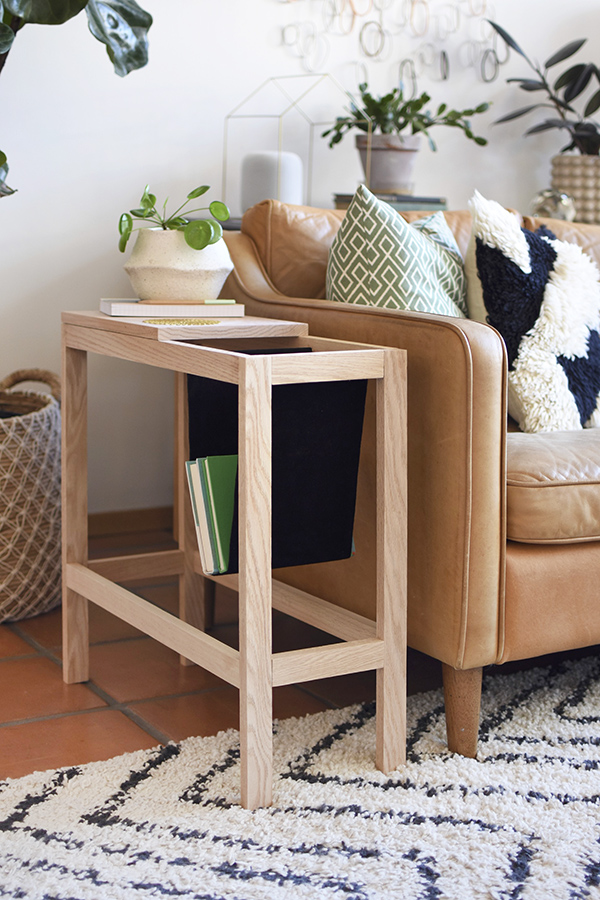
My modern book sling side table is complete and honestly, I could not be more proud of how it turned out!!
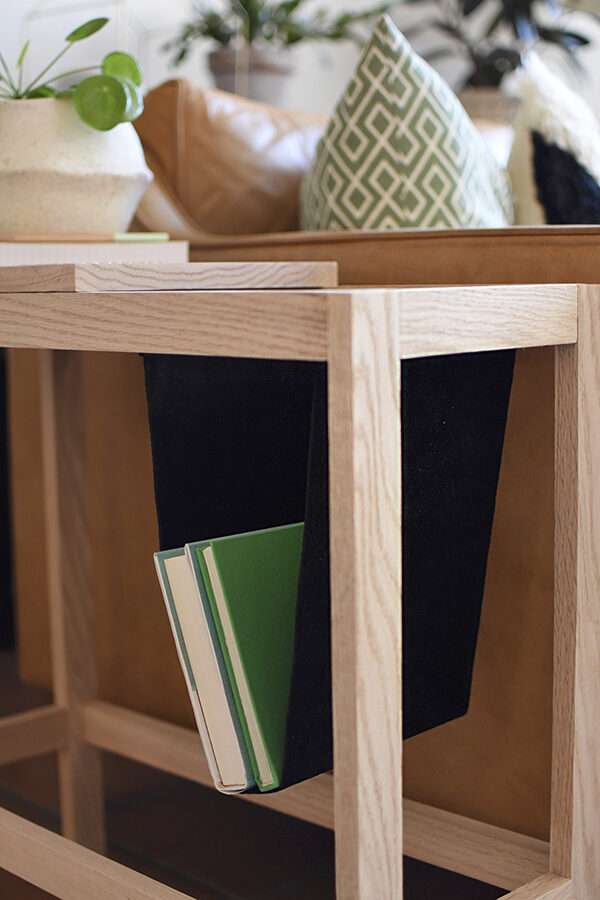
I adore how the simple wood structure so perfectly frames my black suede sling.
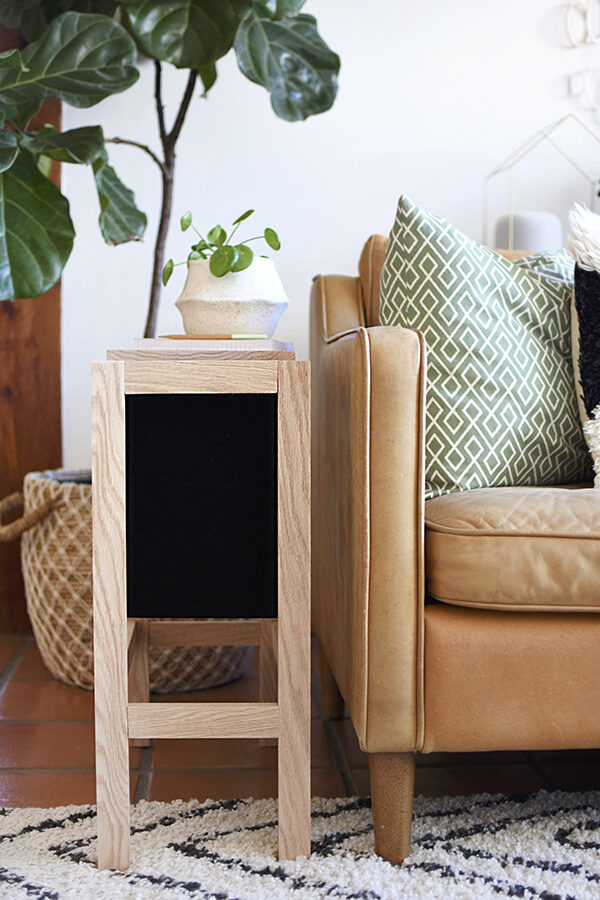
And it is so convenient to be able to reach right through the top and grab a book or magazine.
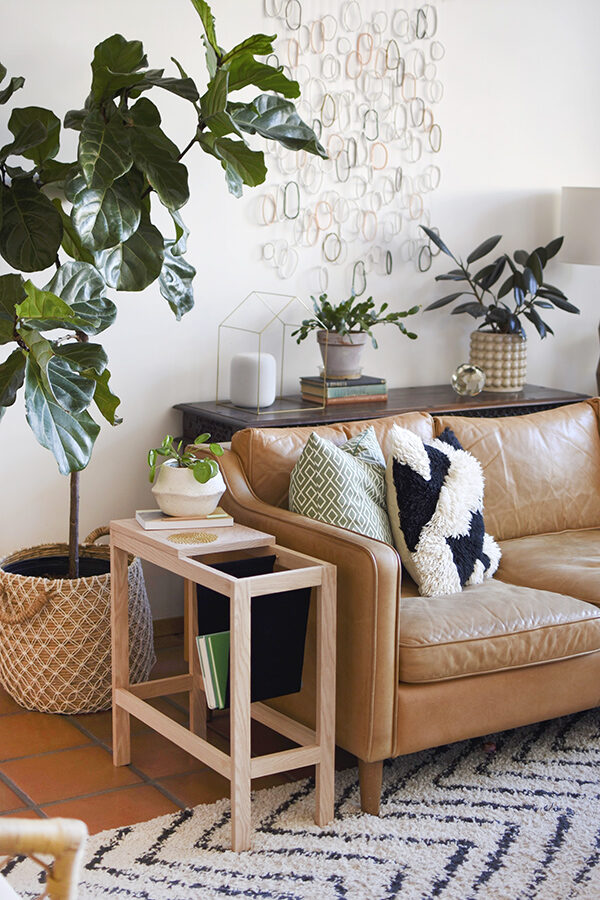
Although this was an involved project, it really was simple to make. And I hope by using my plans, you can make a beautiful modern side table, too.
Thank you for supporting brands like Ace Hardware that help keep Delineate Your Dwelling running.


So lovely, the design is fun!! Will you be sealing the wood?
Thanks so much, Jill. I hadn’t planned on sealing the wood, I like the natural look. But N already spilled an adult beverage on it… so maybe I should, ha.
This is gorgeous! I just might need to try it – Well done!
Oh thaaaank you, friend!! Now that I’ve done it once… I feel so much more confident in doing it again.
You did such a great job! What a beautiful side table
Oh thank you, SO MUCH!!