Marbled Spring Cookies
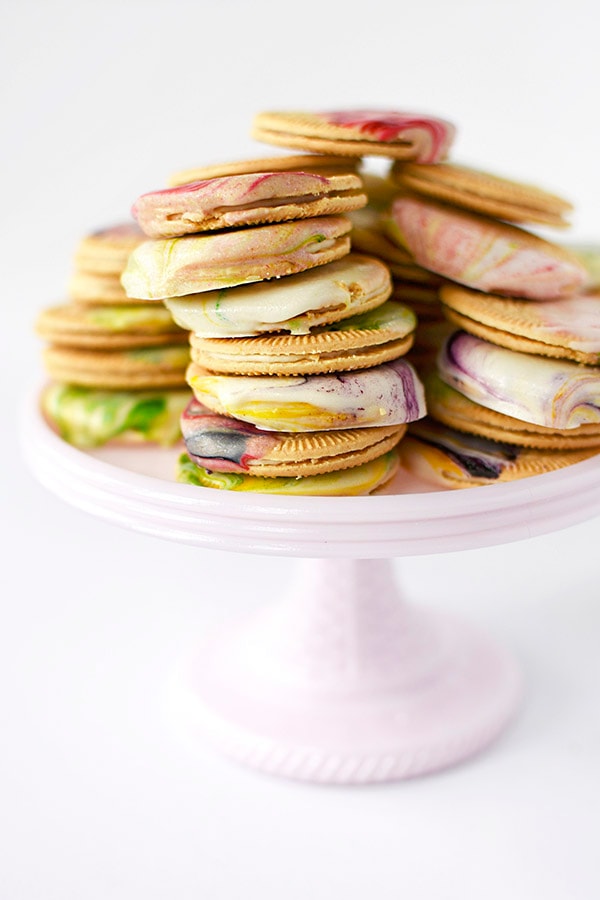
INSIDE : Learn how to take an ordinary cookie to the next level with this easy white chocolate technique. Make delicious Marbled Oreo Cookies for a perfect dessert!
This post may contain affiliate links. See my full disclosure.
This post has been updated since it’s original March 2018 publish date.
I am quickly realizing I love to marble all different kinds of cookies. These gorgeous Marbled Cookies are my third, yes third marbled edible treat and I see no signs of slowing down!!
Being able to create miniature pieces of delicious artwork is about as great as it gets… except that they take about 3 seconds per cookies to make… so it’s actually EVEN better.
Check out below how simple it is to make your own delicious Marbled Cookies, perfect for a Spring dessert.
If you are looking for more information about everything involving marbling, my Marbling 101 post might be just what you are looking for!
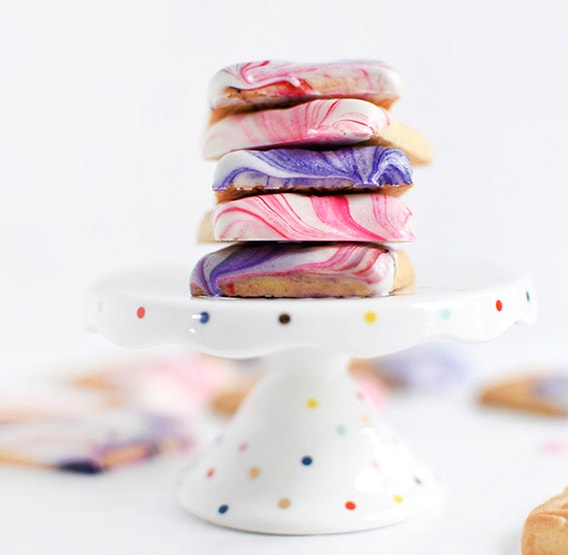
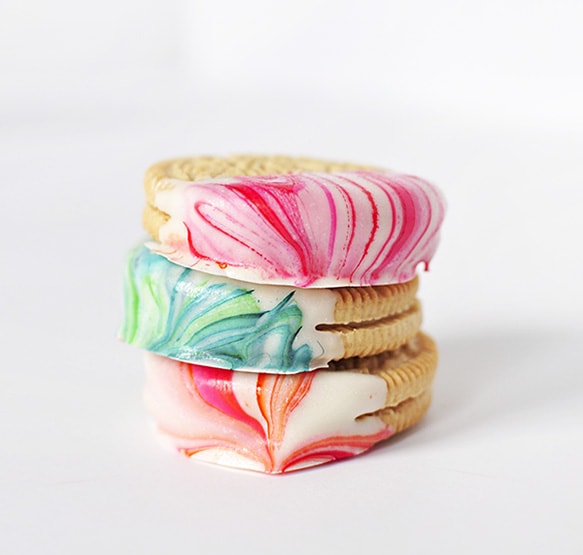
I’ve also made these beautiful Marble Dipped Oreos and these festive Marbled Valentine Shortbread Cookies.
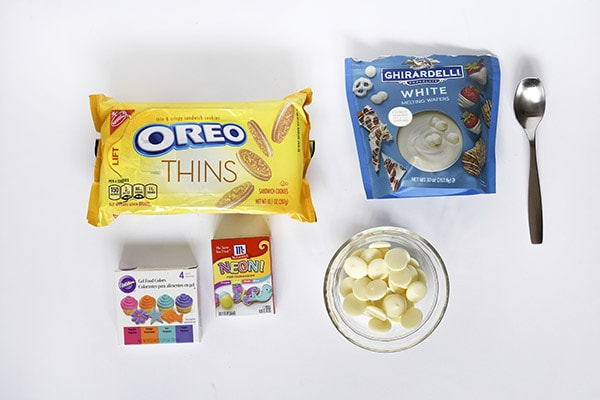
What Supplies do I need to marble cookies?
- Food Coloring
- Small Glass Dishes to melt chocolate in
- OREO Thins
- Ghiradelli White Melting Chocolate
- Spoon to stir
- Wax Paper
How to marble OREO cookies
The first task when making chocolate dipped Oreos is deciding on your color palette for your OREO thin cookies.
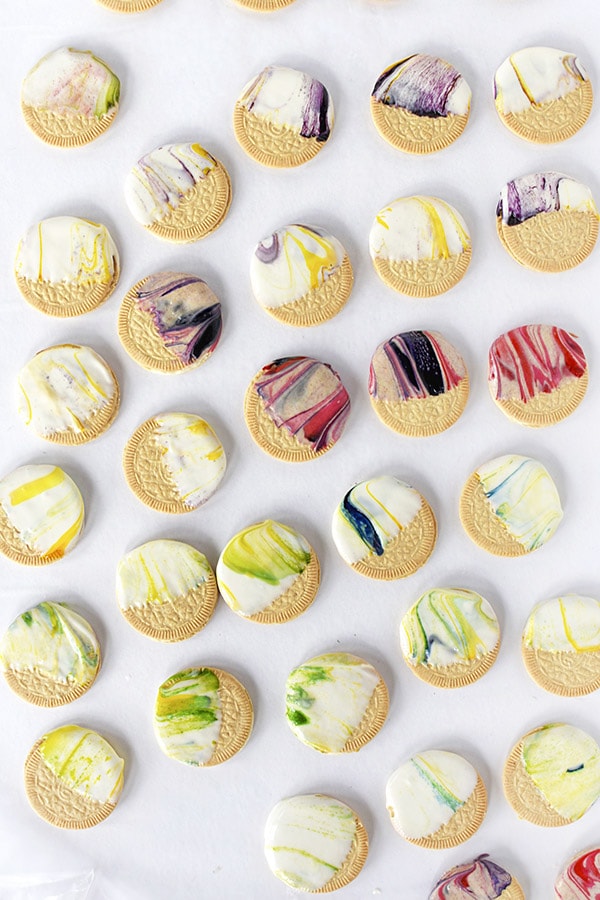
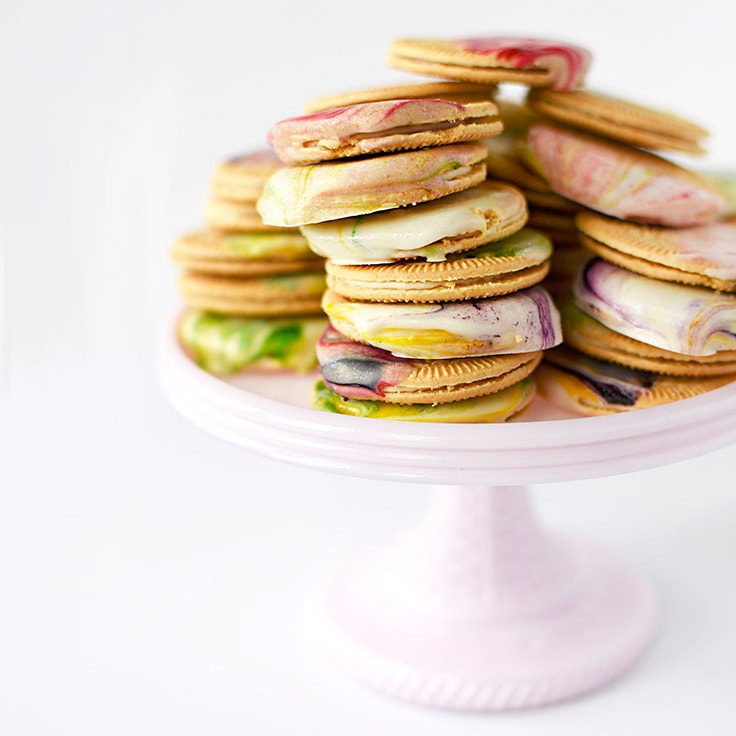
I decided for these I wanted a colorful Spring mix of colors. I used green and yellow, pink and purple, blue and yellow and purple and yellow.
Melt White chocolate
Separate the white chocolate melts into small glass dishes for each of the color combinations you plan to use. Melt down your white chocolate in the microwave. I stirred mine every 30 seconds until the entire bowl was melted.
Add food coloring to chocolate
Then, add your food coloring to the chocolate. I found it most helpful to do one bowl at a time. So, melt your chocolate in just one small bowl and add the food coloring before moving onto the next bowl of colors.
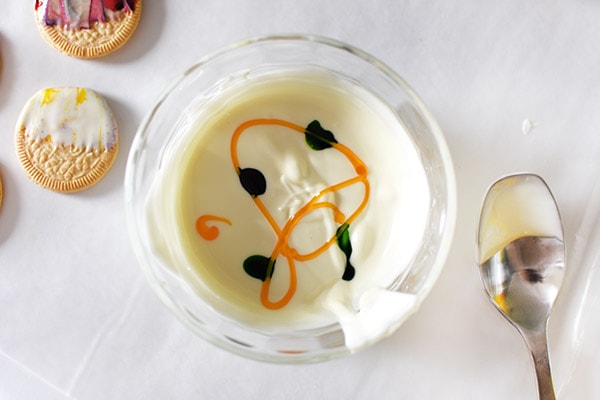
Once your colors are added, give the chocolate and color a LIGHT swirl.
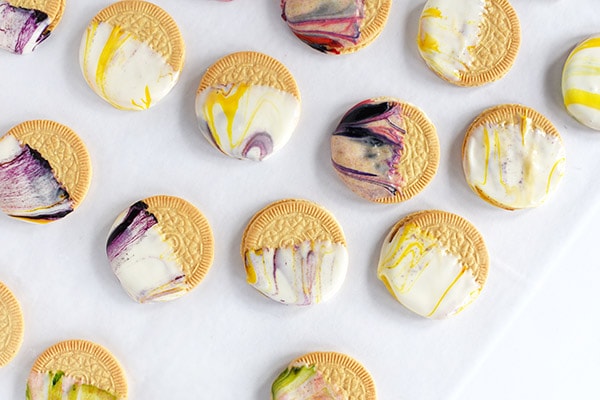
If you mix the color too much, then you will not get that lovely marbled look.
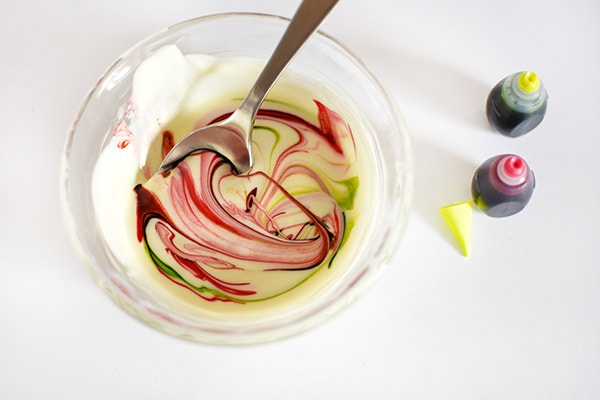
Dip the Oreos into the marbled chocolate
Lastly, dip each cookie into the white chocolate and set to dry on a piece of parchment paper or wax paper.
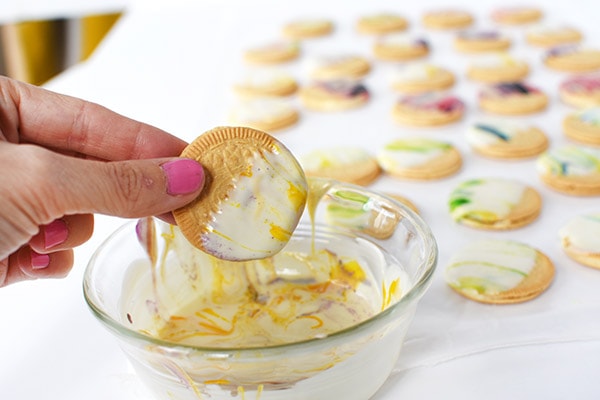
I loved seeing all the colors on display as they cooled and began to harden.
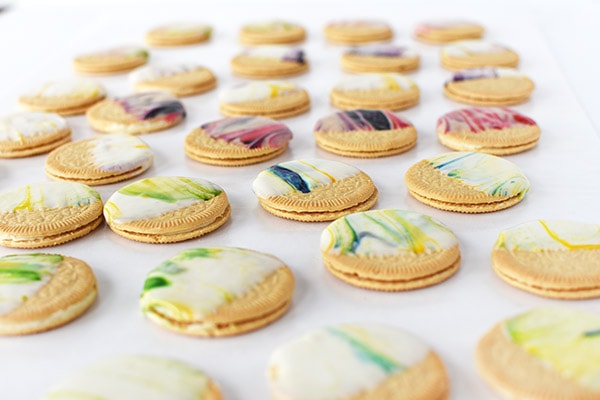
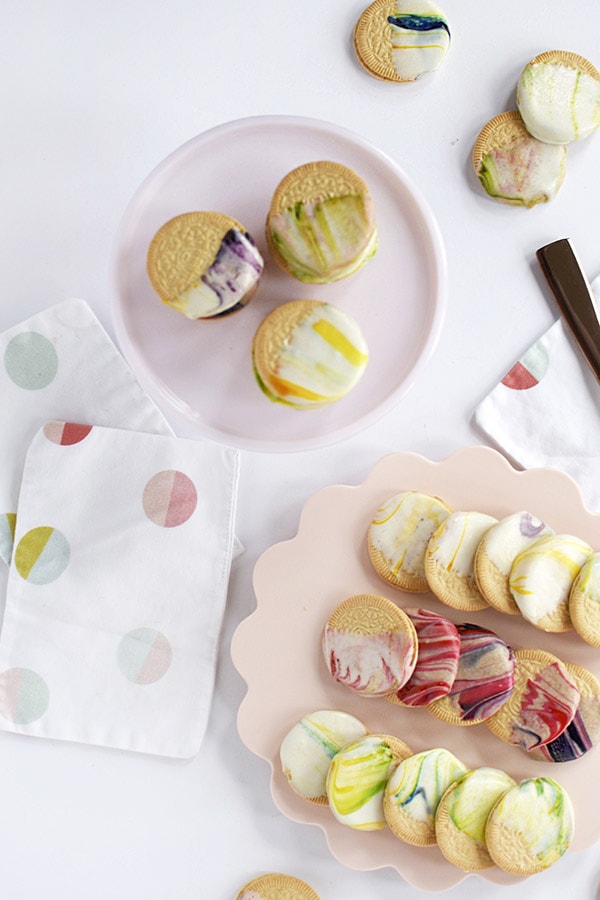
I marbled the entire OREO Thin box of cookies and had to “taste test” quite a few… because it’s very essential to make sure they taste okay as you go along – ha.
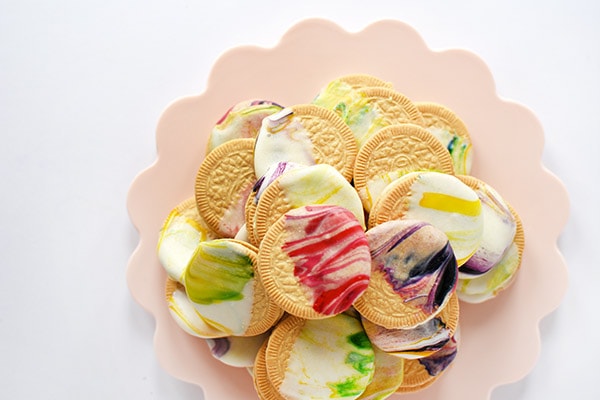
And you can never ever go wrong with using OREOs for this simple marbling dessert.
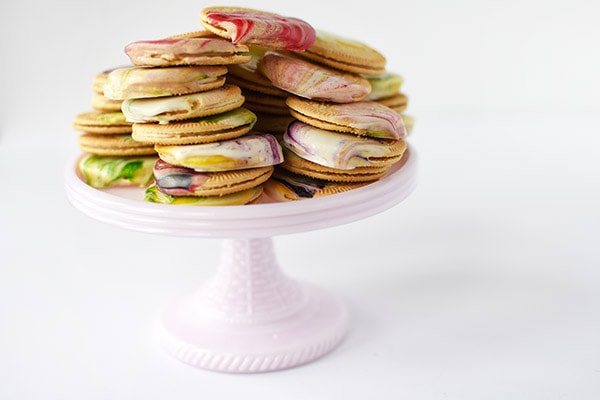
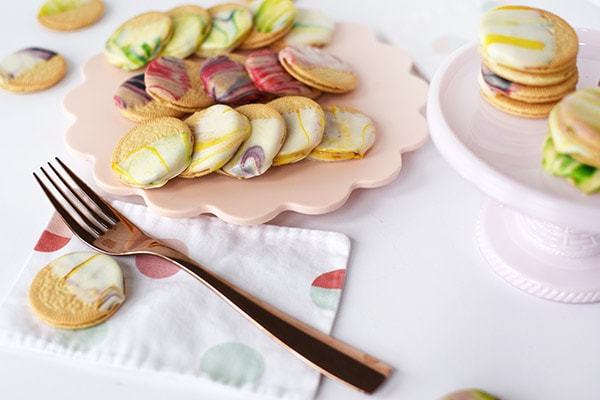
To display these beauties, I used a few of my favorite spring time dishes. My Martha Stewart Roseite Cake Stand is the most lovely shade of soft pink. It’s smaller in size but as you can see… it still holds quite a few cookies.
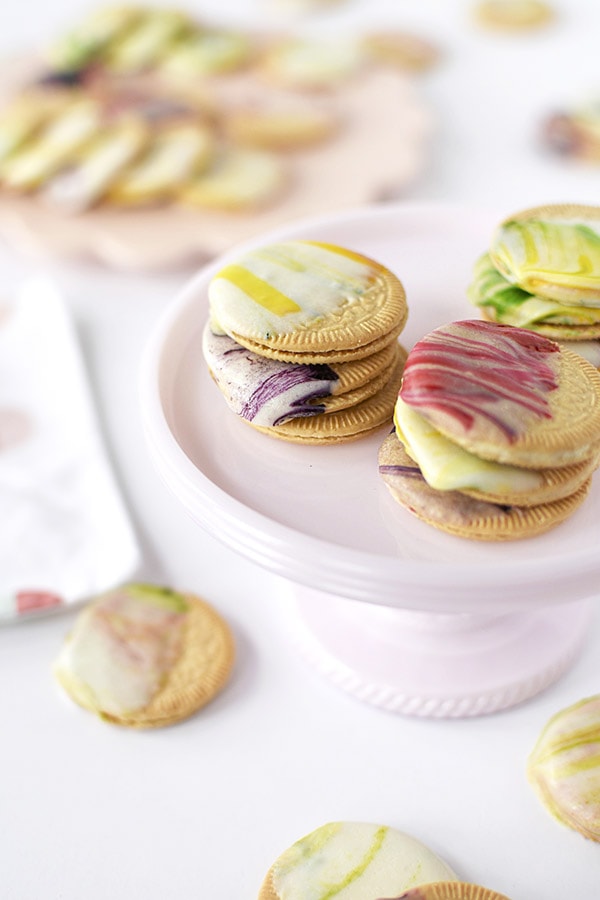
I also used my new favorite Sugar + Cloth peach scallop melamine tray to set the additional cookies. I love having two different heights of cookies, it adds such interest to your table!

Looking for my other marbled cookies? Look no further!


These look as adorable as I bet they taste! Such a cute little treat!
They are DELICIOUS! Thanks for stopping by. 😉
OMW, I wouldn’t want to eat them, they look so beautiful. Although I think we have some blindfolds somewhere…….
Don’t you worry, you should ALWAYS eat Oreos no matter what they look like! HA. 😉