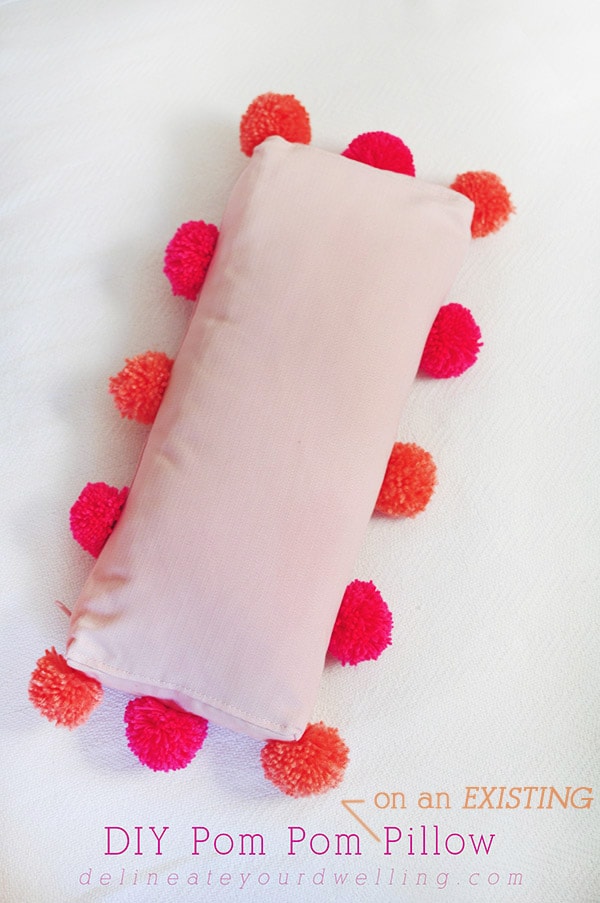
DIY Pom Poms on an Existing Pillow
INSIDE : Instructions on how to make and add DIY Pom Poms to an Existing Pillow in your home. Attaching pom poms is much easier than you would think! Add a little fun texture to your pillows today.
Imagine my surprise when I googled how to add Pom Poms to a pillow and there was literally no instruction or post about it. That happens about NEVER. Now, if you are sewing a pillow from scratch and would like to add pom poms, you’ll be rolling in the DIY tutorials out there!
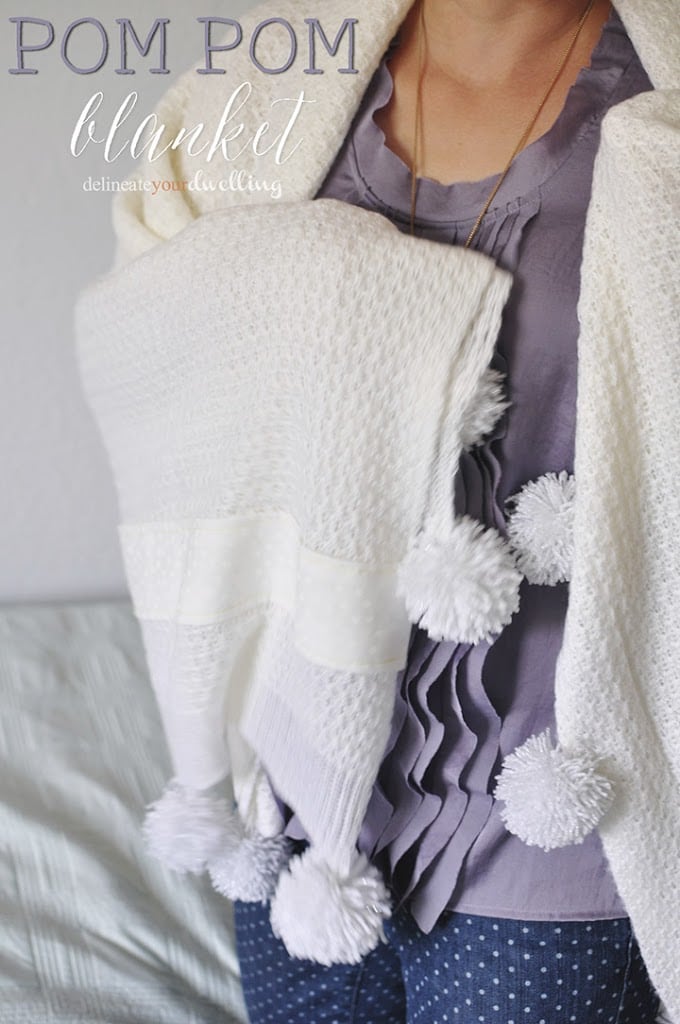
However, if you already have a pillow and after the fact would like to attach Pom Poms to it, then welcome because I’m here today to share how simple it is! I also took a cozy throw blanket and added pom poms to it.
This post may contain affiliate links. See my full disclosure.
What supplies do you need to make a Pom Pom DIY Cushion?
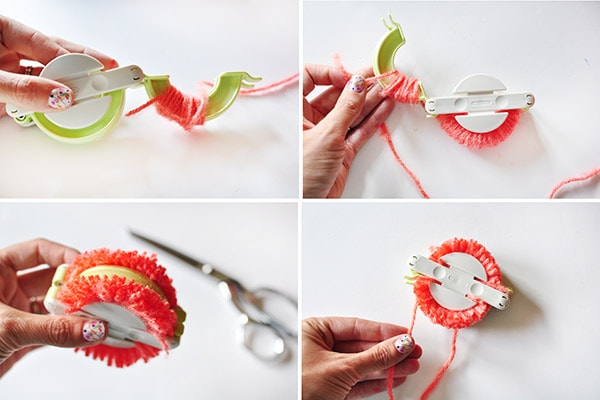
Clover Large Pom Pom Maker
![]() Two colors of yarn (I choose bright pink and a coral)
Two colors of yarn (I choose bright pink and a coral)
Existing Pillow, mine is from Ikea but these are similar Pink Cushion Cover![]()
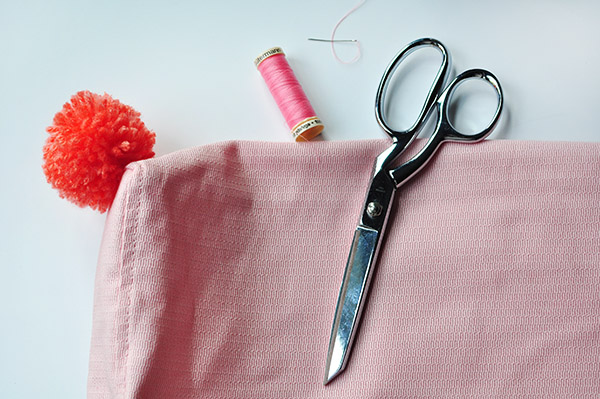
Sewing Scissors
Sewing Needle and pink Thread

How to make a pom pom pillow:
First of all, this Clover Large Pom Pom Maker is a complete game changer in the pom pom making world. If you want are making just one or two pom poms, then the old fork method is fine, but this pom pom maker makes it so simple and mindless. I use it exclusively for allllllllll my pom pom making! I love how tight you can make each pom pom when using the maker.
To making yarn Pom Poms, begin by opening your Clover Pom Pom maker. Start wrapping the yarn around the first side of the maker, once the yarn is full – start wrapping the other side of the clover maker. Once both sides are full of wrapped yarn, using your sewing scissors, cut along the center groove.
Next, cut about a 8″ piece of yarn and tie a knot along that center groove. I usually tie a knot, twist the yarn, tie a knot the other direction and do this 2 or 3 times for an extra secure knot. This is what holds your entire pom pom together, so be sure to tie tightly.
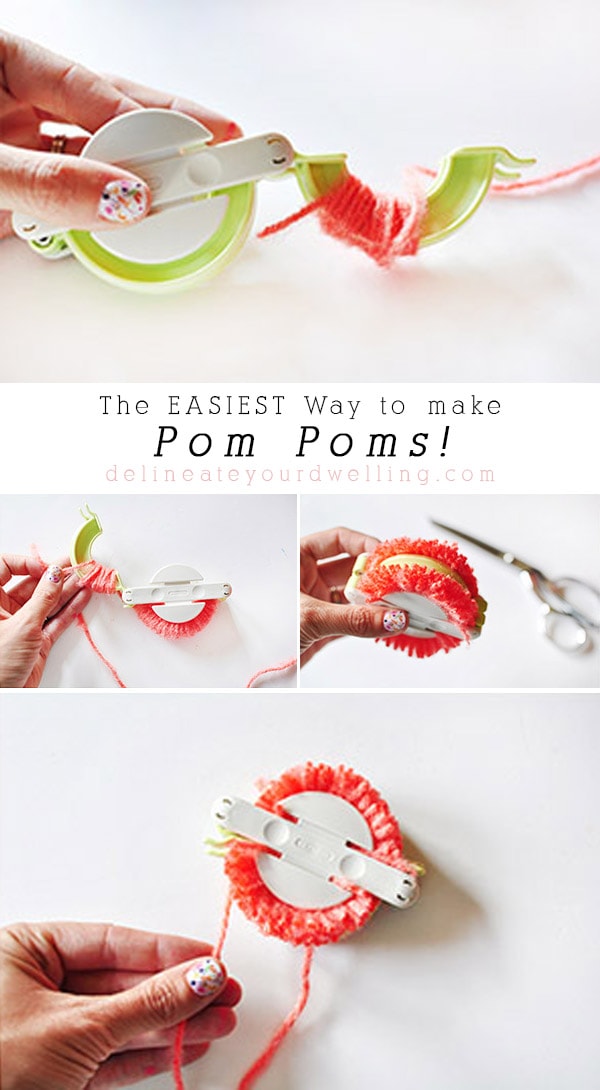
Lastly, open the pom pom maker and presto a pom pom. Normally there is just one or two longer strands so it’s easy to trim it up to that perfect circular shape.
How to add Pom Poms to a Cushion:
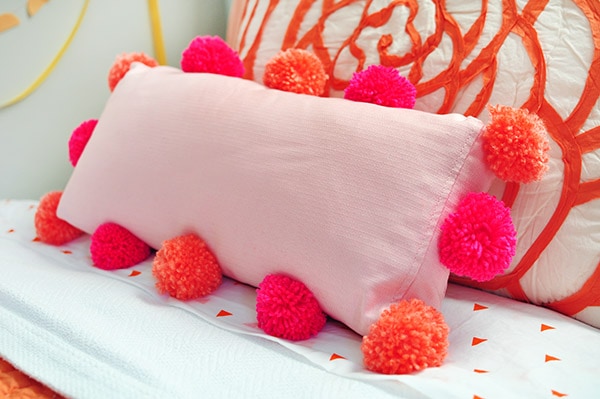
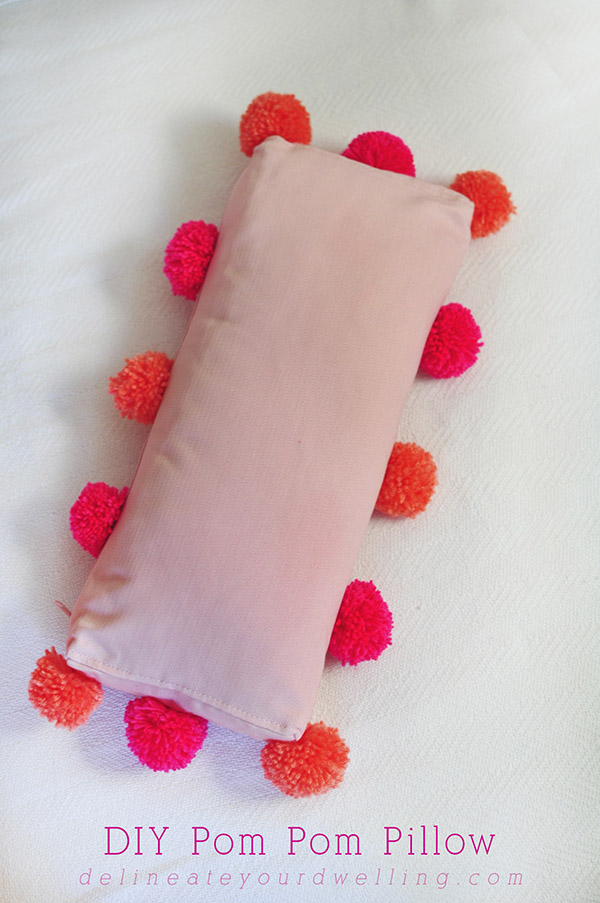
I continued making pom poms and once I had 6 pink pom poms and 6 coral pom poms, I removed my pillow insert and laid all the pom poms around the pillow to make sure the spacing was just right.

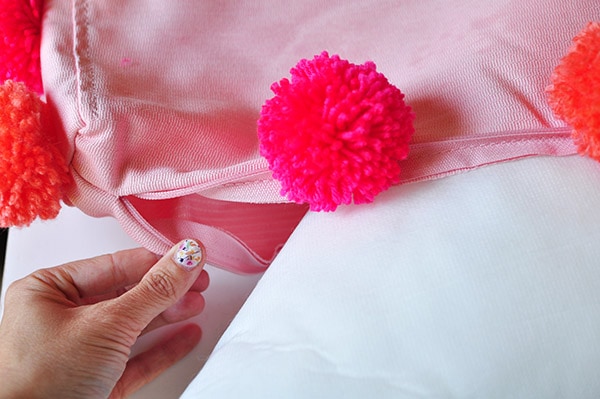
Next, simply push your threaded needle from the inside corner out the pillow and into the center of your first pom pom. Pull the string up and snug and then back through the pom pom and into the pillow corner. I found just doing two rounds of this made the pom pom plenty secure. Lastly, tie off the thread inside the pillow case.
How to add pom poms to a pillow when you DON’T have a removable cover:
The steps for making the pom poms are the same as above. Instead of removing the pillow cover, instead simply use your sewing thread and sew the pom poms from the outside. Make small stitches along the seam of your pillow and the thread should be fairly hidden from view.
Once you have all the pom poms secured, you can put the pillow form back in. I also gave my pillow a quick ironing before zipping it all up again.
This was the very last little DIY detail I had to finish up my daughter’s big girl bedroom! I think it was such a perfect combination of her desire for PINK PINK PINK and my desire for anything but PINK PINK PINK. Here is the full Little Girl’s Bedroom reveal!
If you loved these Pom Pom pillows, you might like these other pom pom projects!
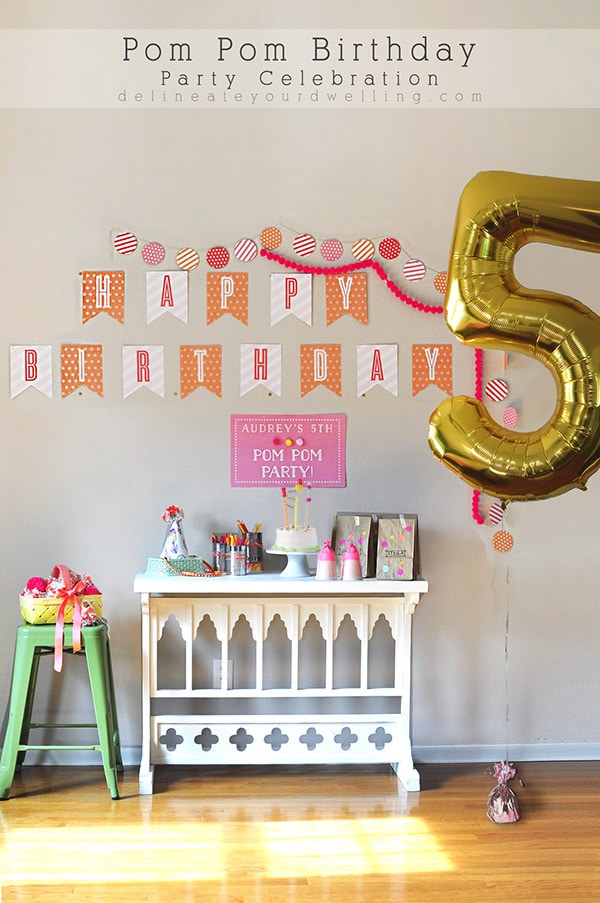
An entire Pom Pom themed birthday party….
POM POM Throw Blanket
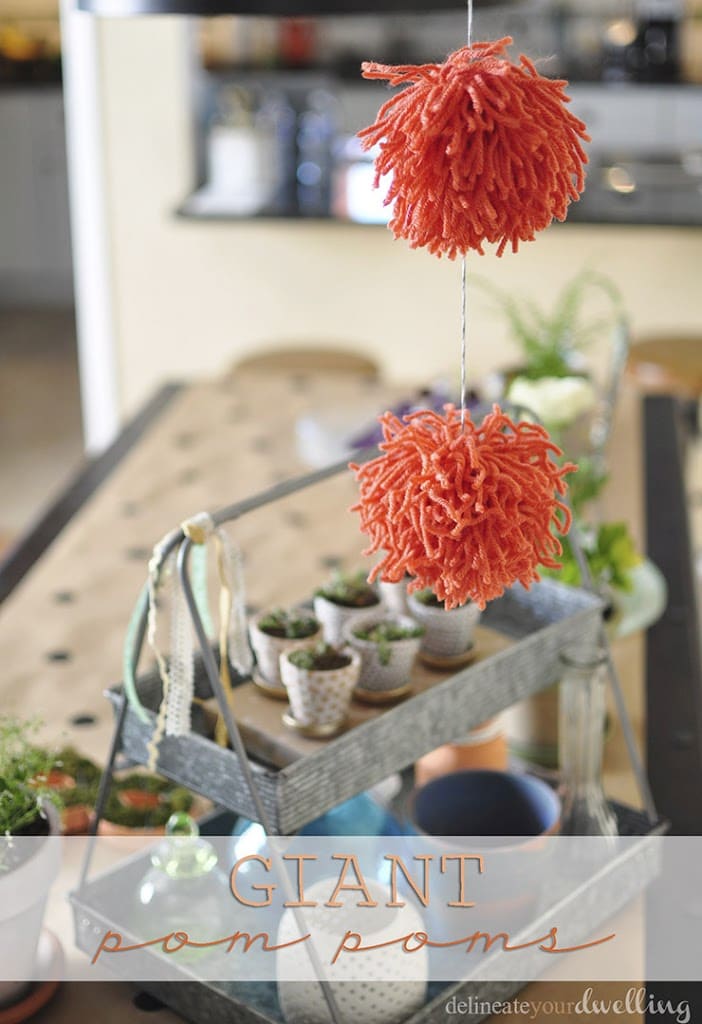
Hanging Giant Pom Poms
Thanks for this tutorial! Any tips for pillows where the cover doesn’t come out separately?
I would say, simply use your sewing thread and sew the pom poms from the outside, make small stitches along the seam of your pillow and the thread should be fairly hidden from view. Good luck!
Hm, have you looked on Amazon?
This is adorable- need to try the blanket as well!!
Thanks so much, Krista! The blanket is one of my favorites to snuggle up with. 😉
cutest. pillow. ever.
Love it! I’ve wondered how I’d add pom poms to an existing pillow, but never actually took the time to search for a tutorial. Now I don’t need to 😉 Pinning!
I couldn’t believe there were like NO tutorials for existing pillows, I still just can’t believe it! Thanks for the pin. 😉
Pom poms make everything better – love it!
Such truth coming from the pom pom queen herself! 😉
Love this, Amy! Such a great way to take a pillow to the next level. It looks beautiful!
Thanks so much, Chelsea!
Love this Amy! Such a simple project to do but it makes a great statement.