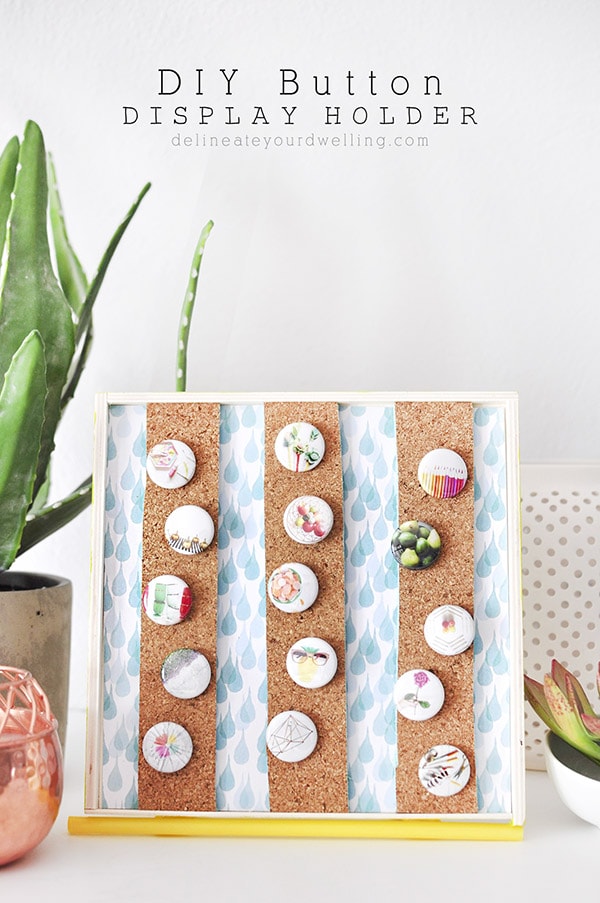
DIY Button Display Holder
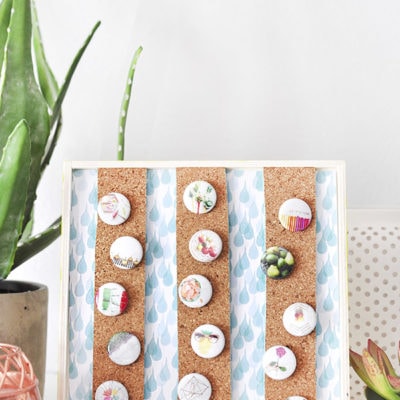
INSIDE : Buttons and flair pins are back! Don’t let them hide in a bowl – create a custom DIY button display holder to show them off. Follow this easy step-by-step guide to learn how to contain and show off all your fun flair pins!
This post may contain affiliate links. See full disclosure here.
This post has been updated since it’s original June 2016 date.
The 90’s called and – Buttons, Flair Pins, Patches… they are making their way back on trend like you couldn’t imagine! Pins are fun to collect and wear on your purse, a tote bag, backpack or even clothing.
But what happens when you aren’t wearing them? Pins are typically anywhere from 1″ to 3″ in size, so they are small enough that they can easily get lost. I typically have mine in a bowl or dish on my dresser… but somehow they slowly disappear and I never see them again. Not anymore!
I’ve partnered today with the raddest company, Social Print Studio to share my easy DIY Button Display Holder.
This cork display could also be used as an earring and jewelry display or even a small memo board.
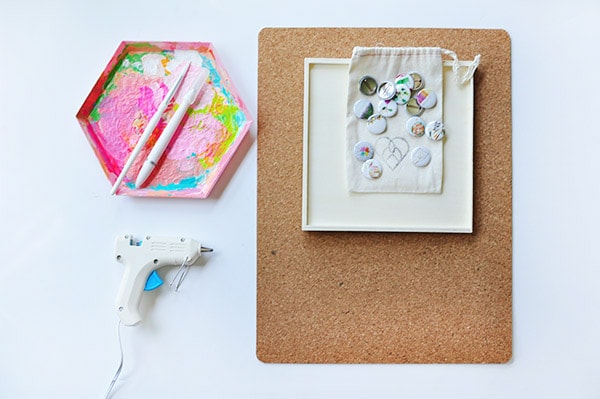
What supplies do you need to make a Flair Pin holder?
- Custom Buttons (Zazzle has tons of options to make your own pins!)
- Narrow Wooden Tray
- Sheet of Cork
- Xacto Knife + cutting mat
- Paint + Brushes
- Scrapbook Paper + Scissors
- Glue Gun
Also now available – Paint Palette No. 1 Photography Print of my paint palette pictured below!!
How do I make a Enamel Pin Display?
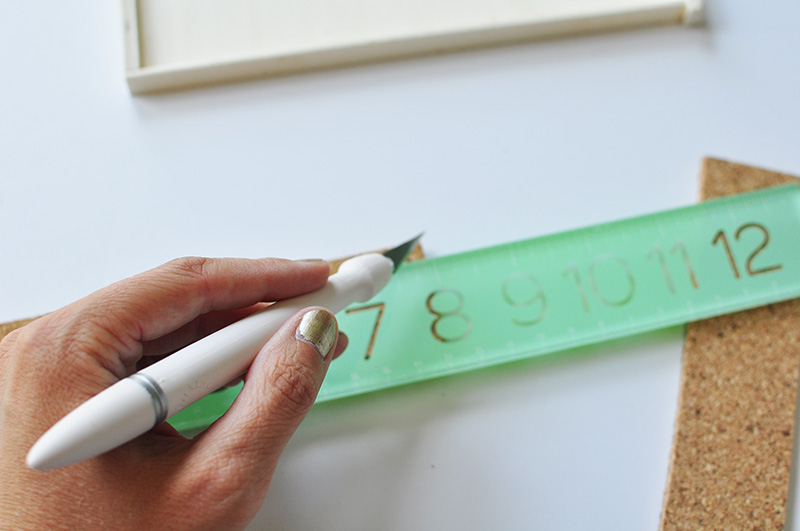
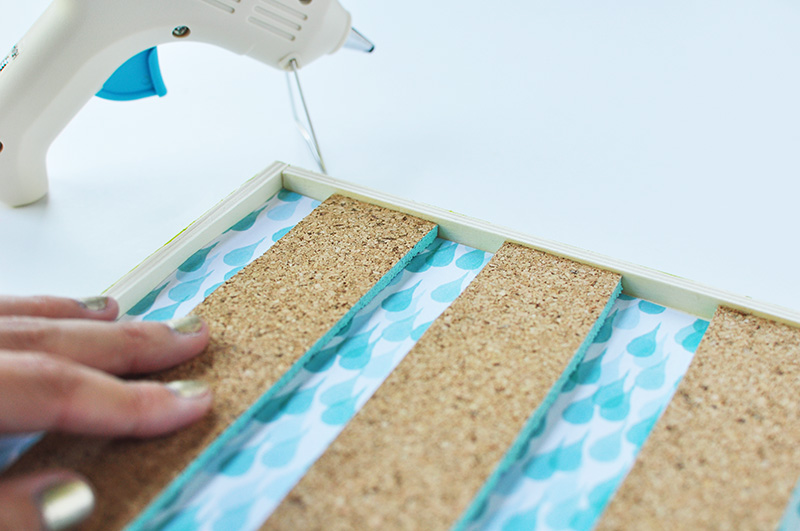
First, measure the inside dimensions of your wooden tray box. Then cut three strips of cork board accordingly with a utility knife.
You can make them strips as wide or narrow as you like. My cork strips were about 2.5″ wide.
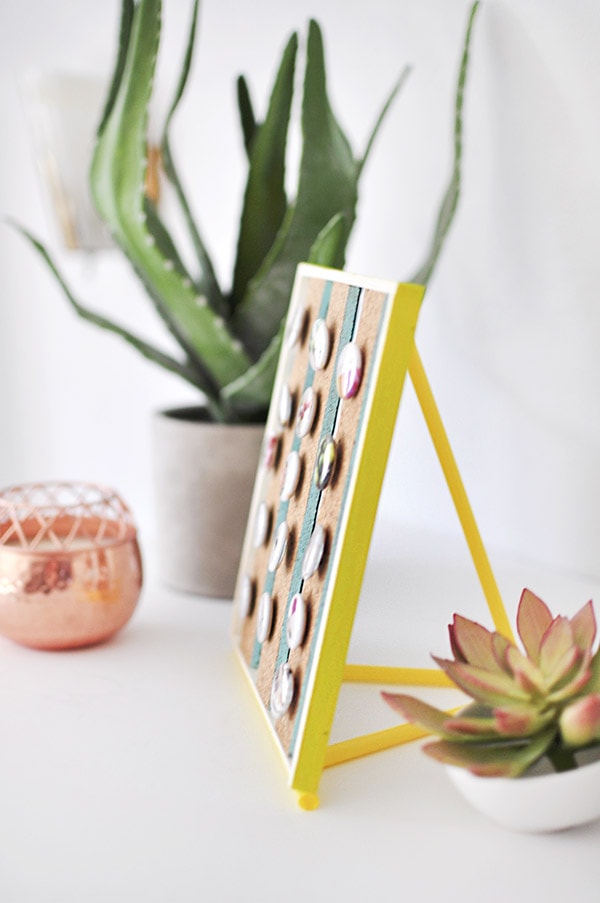
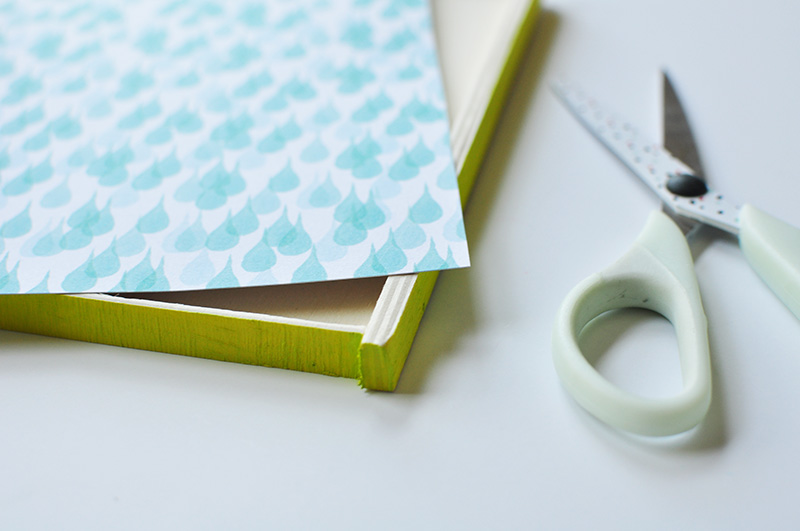
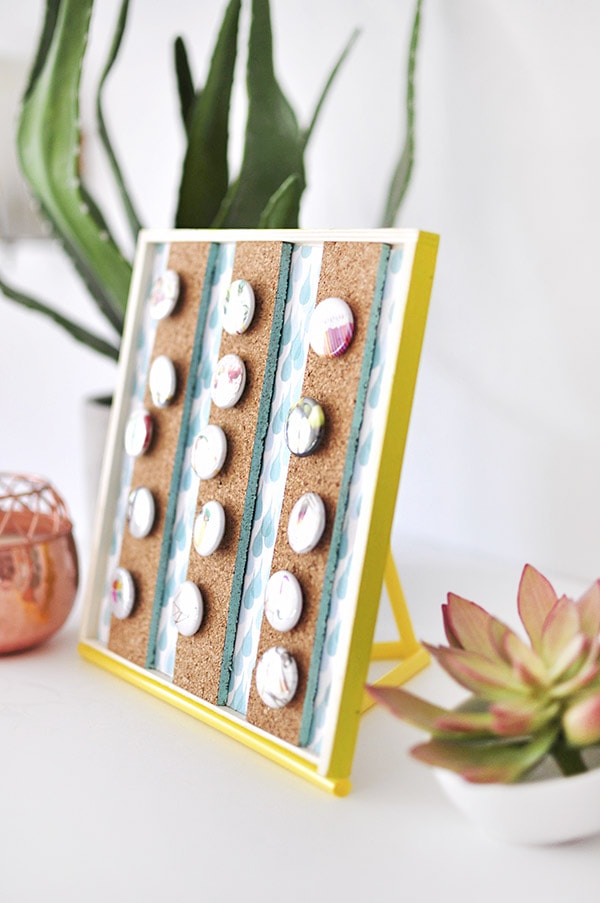
Paint the outside edge of your display box a bright fun color. I went with a lime green/yellow color.
While the paint is drying, cut a piece of scrapbook paper down to fit the inside size of the box and glue it down.
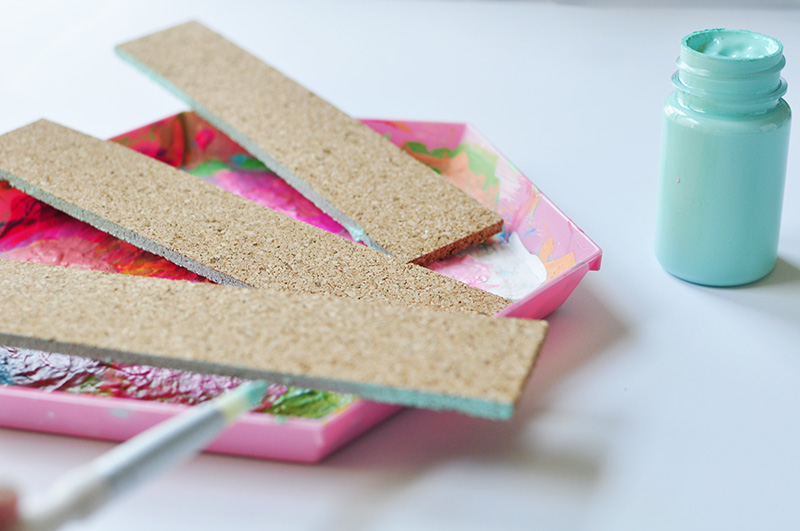
I also painted just the edges of my cork strips a matching blue color to the scrapbook paper because… I just can’t leave things alone and love little details like that.
Once the paint is dry, secure the cork board strips to the inside of your box using hot glue.
How to use enamel pins
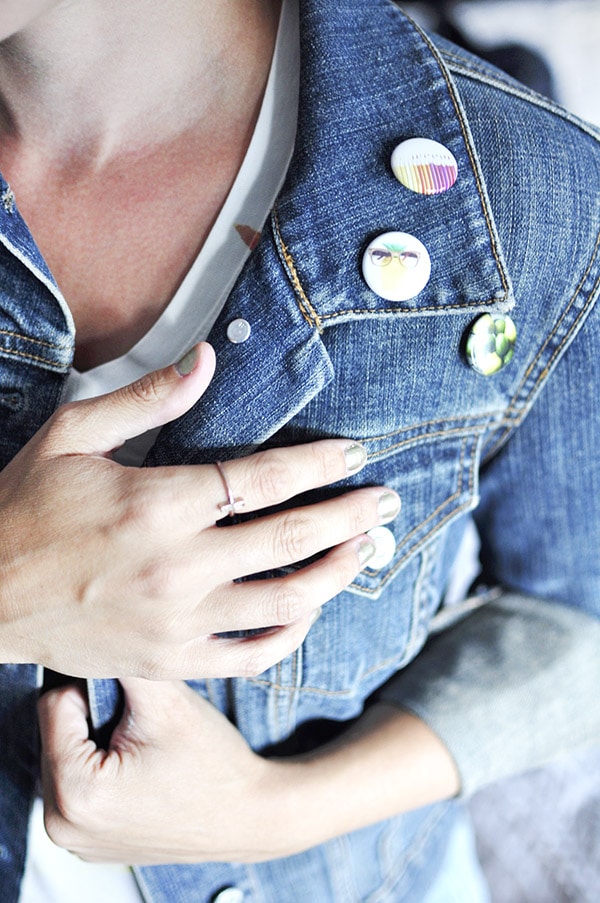
My daughter never wears her pins, but loves to collect vintage enamel pins in a jar. While my son uses a larger cork display version for his sports-themed buttons. And I like to go old-school and wear my favorite pins on my jean jacket.
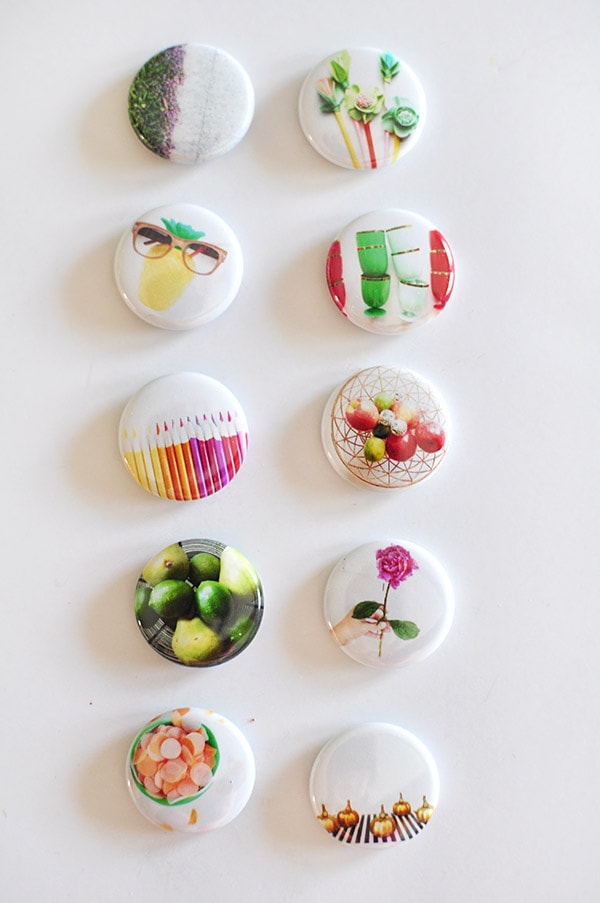
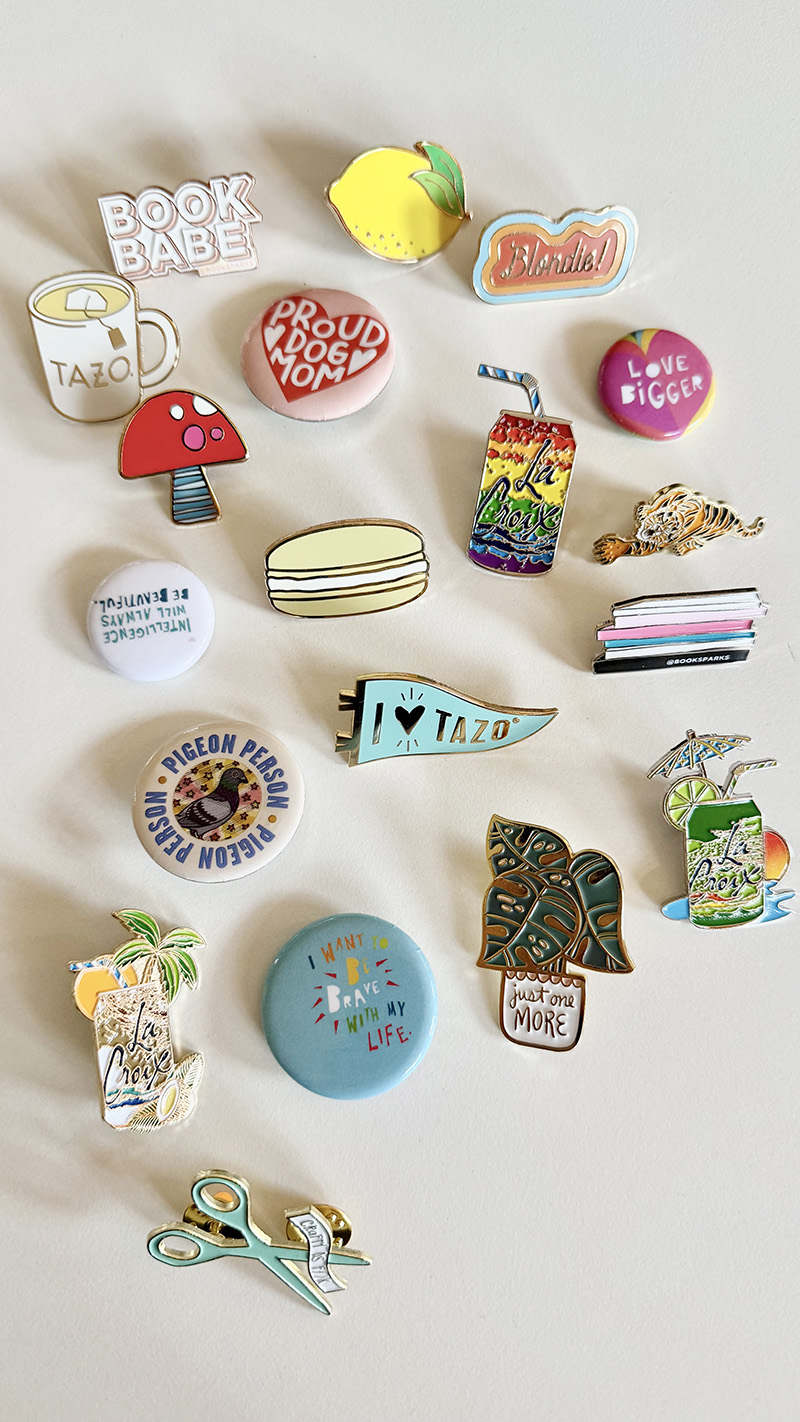
Here are just a few of my favorite different shaped enamel pins I have collected over the years! All the book and plant pins, thank you very much. (I went to a blog conference where La Croix was a sponsor, so now I have tons of fun La Croix pin merch!)
How to secure round pins to cork
To secure pins onto the cork holder, simply open the back of the button and the pin slips right into the cork!
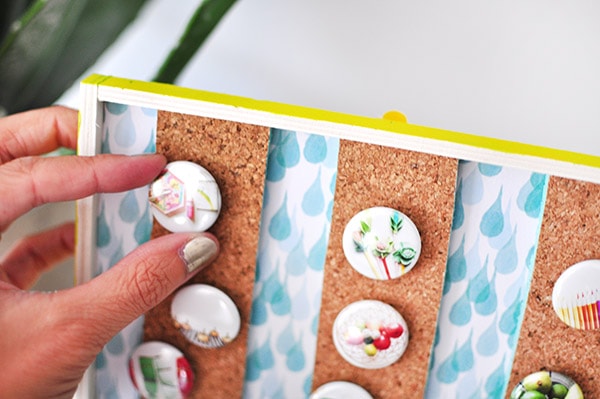
How to organize flair pins
When it comes to best pin organization tips, it really depends on how you use them most. You can group them by color, shape or your favorites all together.
Once you have determined how you want them to look, simply place on your cork strips in those patterns.
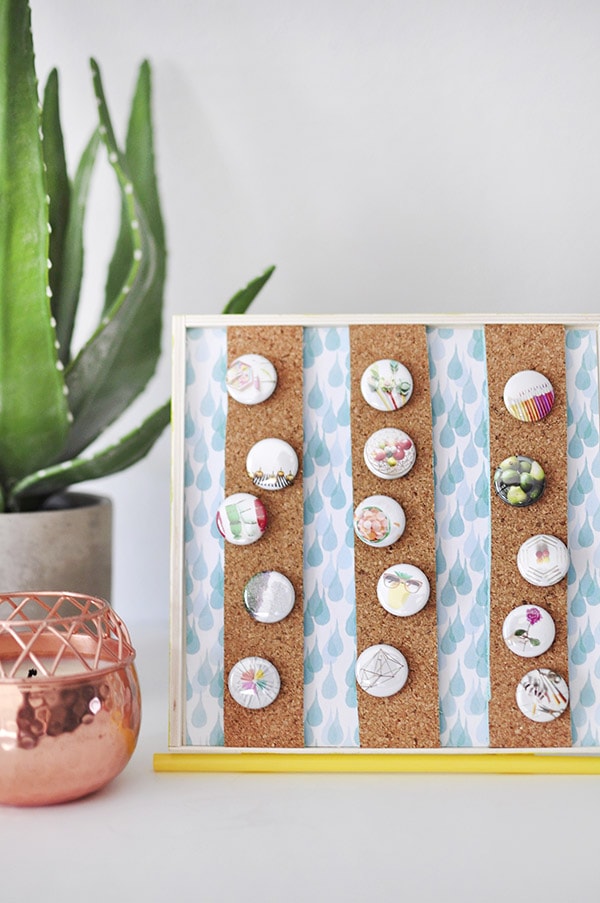
I love how this cork board display looks sitting out on my dresser. The cheerful colors makes it lovely from every angle!
This post was in collaboration with Social Print Studio.
They provided the product, but all opinions were 100% mine. Believe me, they are very cool.
Looking for some other fun craft ideas? Check these out…
The buttons are such a fun party favor idea, and I just love the holder that puts them out on display to enjoy!
Thanks, Lindsay! I love the party favor idea!!
This is such a great idea! Definitely going to make this for all of my Disney buttons!
Ah, such a great idea for your buttons!
Amy, this is so cute! I love the pattern and color, and the BUTTONS! Adorable!
Thanks, Marlene! It was so fun to play around with buttons… and I can’t help but always add in some color and pattern. 😉