Colorful Perler Bead Coasters
INSIDE : Learn how to create gorgeous negative space Colorful Perler Bead Coasters. They are fun for both kids and adults alike to play with.
This post contains affiliate links. See my full disclosure.
I have been intrigued with Perler Beads for years, but have never taken the time to play around with them. Well, my friends that all changed this week!
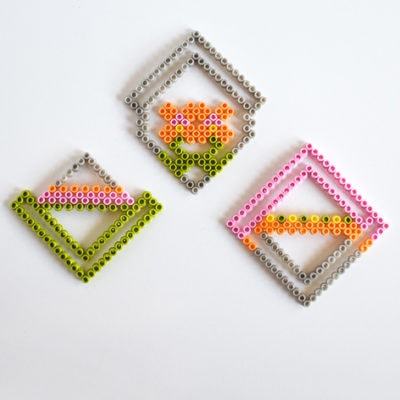
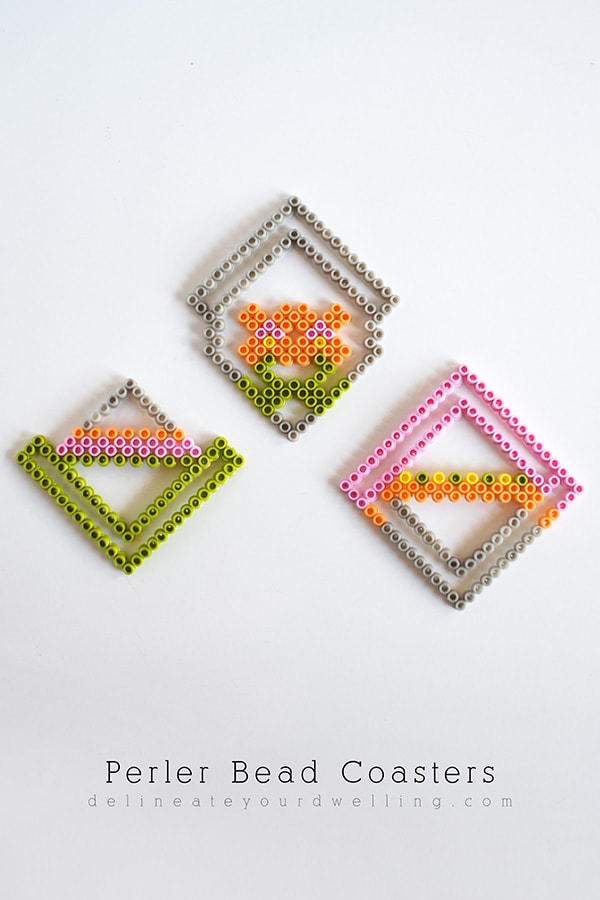
I finally caved and bought myself a huge container full of all kinds of cheerful color. I figured even if I wasn’t a fan of the beads, they would be perfect for my kiddos to play with. Happy day because we all ended up loving them. Today I am sharing how I made three simple and Colorful Perler Bead Coasters.
What are Perler Beads?
Perler Beads are small plastic tubular beads that when they are ironed on low heat, they fuse together. “Perler” is just one brand of several that sells these fun and crafty beads. The non-branded names are “fuse beads” and “melty beads”, and can be used interchangeably.
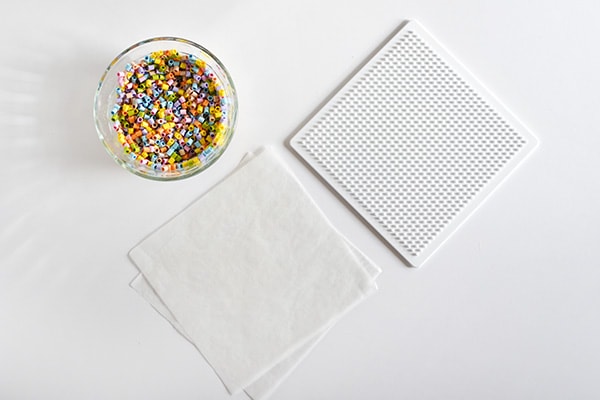
What do I need to make colorful Perler Bead coaster patterns?
- Perler Beads
- Pegboard
- Bead Tweezers
- Wax Paper + Iron
How to make Perler Bead coaster patterns
Perler beads are incredibly easy and fun to use and create with.
Note: I really had no plan before starting. I quickly realized you can do fairly then lines with the beads, but if you do vertical lines, you need to do a double thick line. This is so that when you are melting the beads, they can properly melt together.
Step one is creating your colorful perler patterns. Those beads are so dang tiny, so I would HIGHLY recommend using bead tweezers. I didn’t have any while doing this project and about lost my mind 100 times. (I’ve since ordered a pair and it has made creating patterns and designs SO much easier!)
Next, carefully cover your design with the wax paper included with your pegboards.
I gently ironed over the beads in slow circular patterns until the tops of the beads were all melted together.

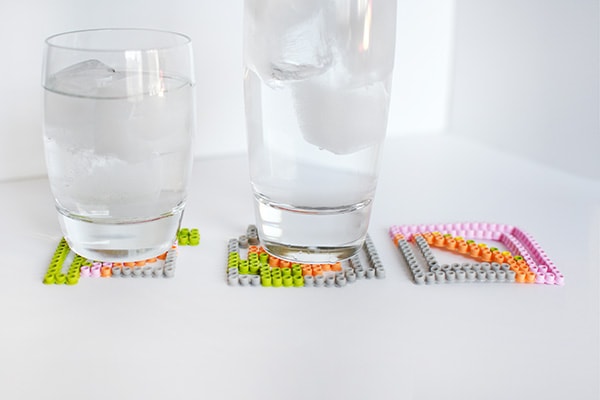
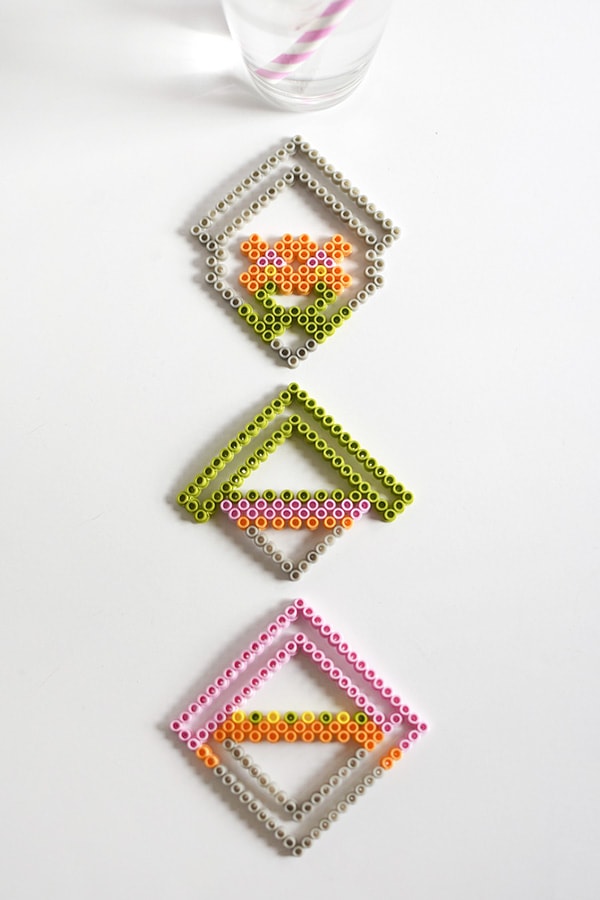
Perler Bead Coaster
You can use whichever side of the beads for the coaster that you prefer, but I like having the more melted beads facing down and the crisp circular beads facing up.
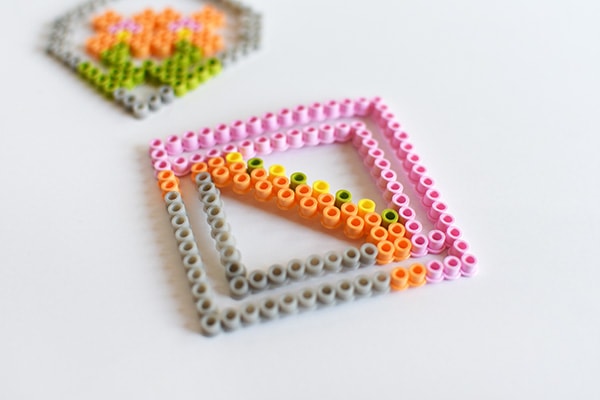
Traditionally, I’ve seen people making coasters with perler beads but they are completely filled in. However, I found leaving large negative spaces still worked just as well with condensation from my glasses.
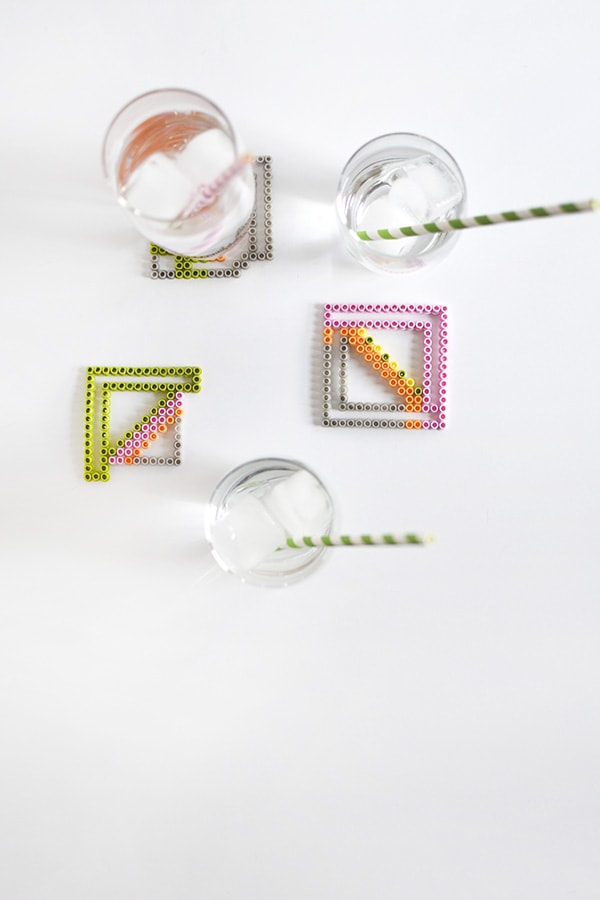
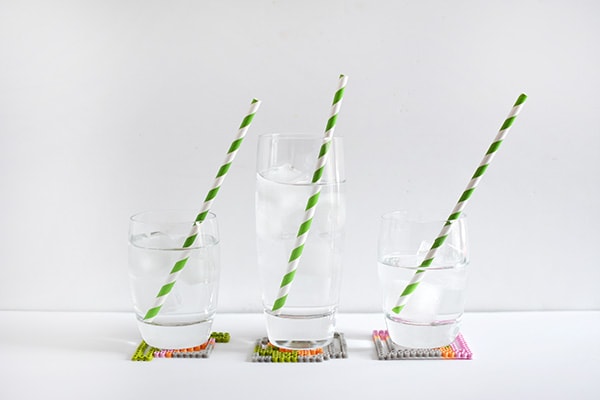
I love seeing the bright color popping out from my glass.
Other Perler Bead Pattern Ideas
There really are endless perler bead pattern options out there. However here are a few of my favorite…
Check out these creative perler bead pattern ideas to create something fun with your melty beads today!
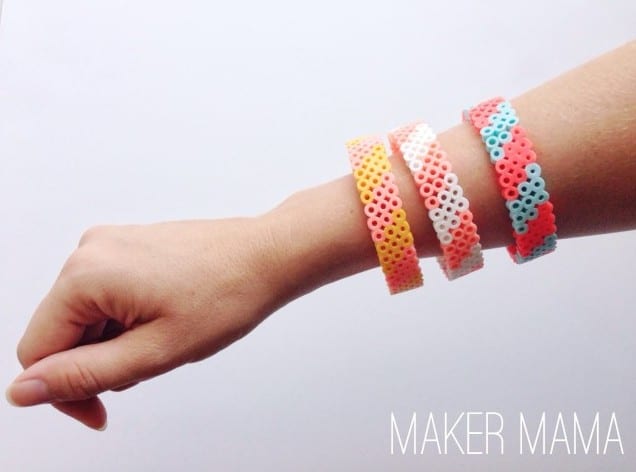
How to Make Bracelets with Perler Beads
How fun are these creative perler bead bracelets! Such a fun craft project for all ages.
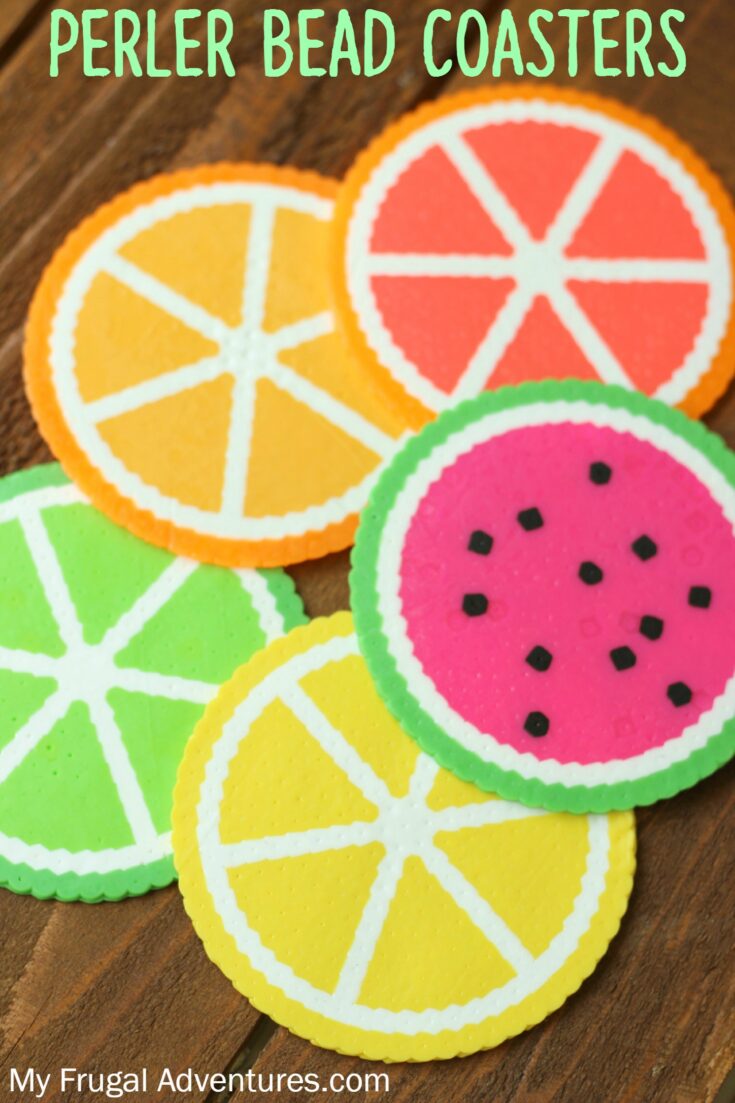
Citrus Perler Bead Coasters
This fun citrus perler bead coaster is so fun for a children's snack time treat!
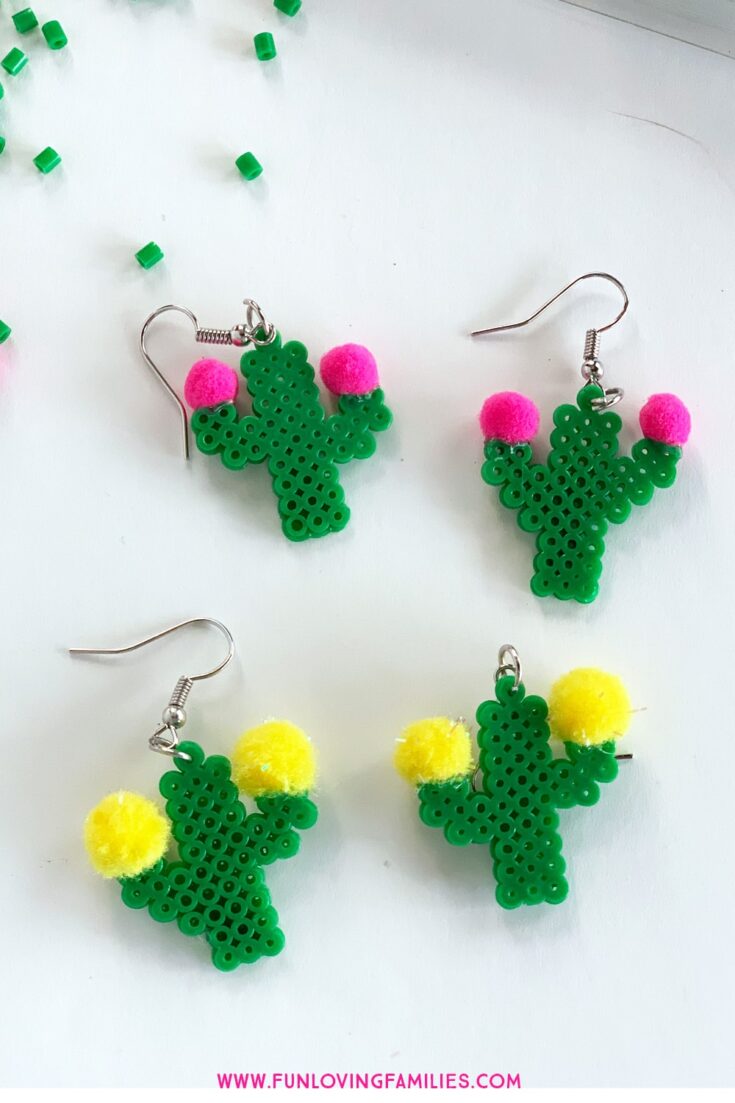
Make Cute DIY Cactus Earrings with Perler Beads
Learn how to make these adorable cactus perler bead earrings!
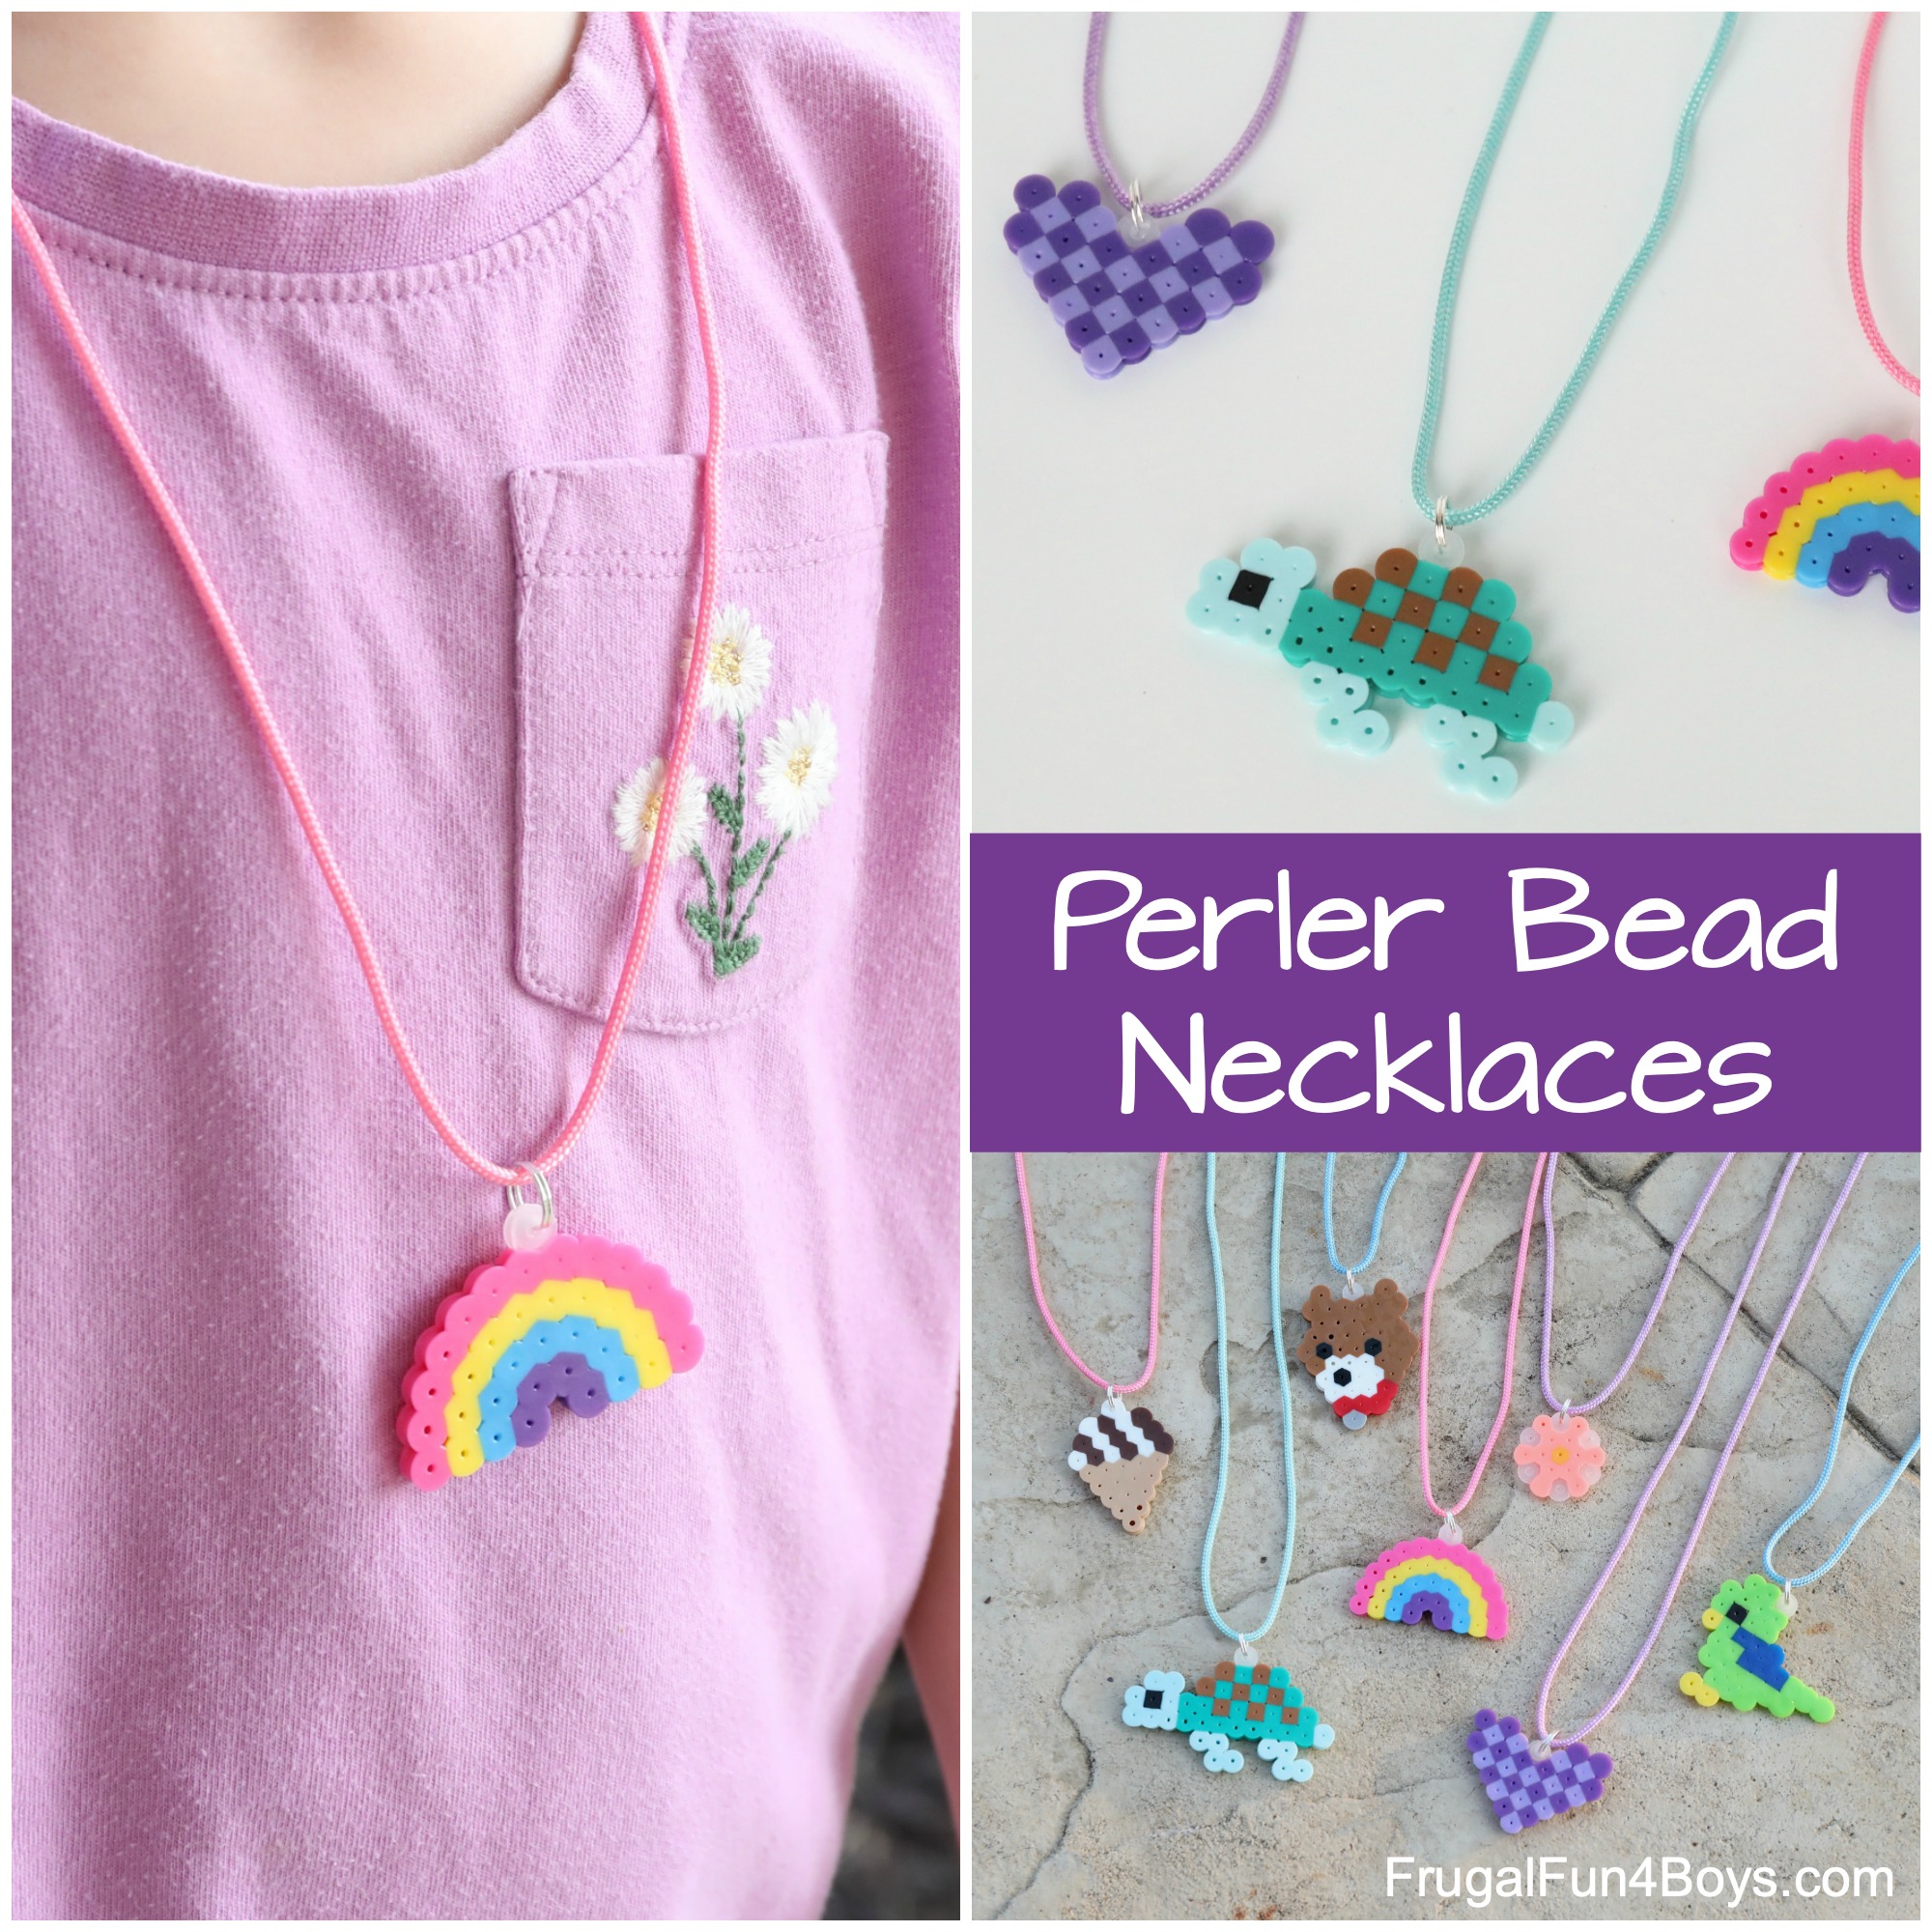
Perler Bead Ideas: Necklace Craft
Check out how to make these adorable perler necklaces! So fun for little kiddos!
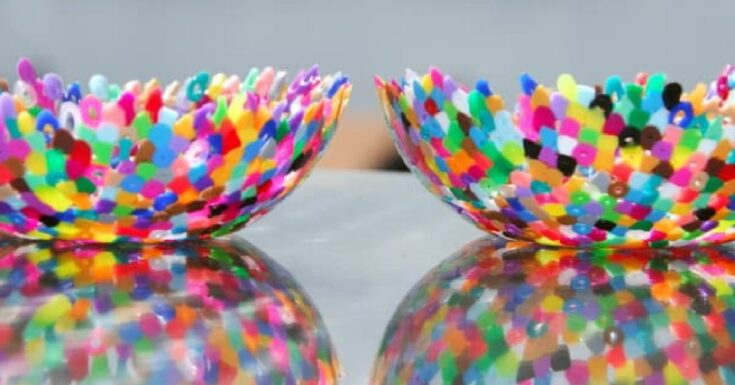
Plastic Perler Bead Bowls
Melt your perler beads into this colorful plastic bead bowl!
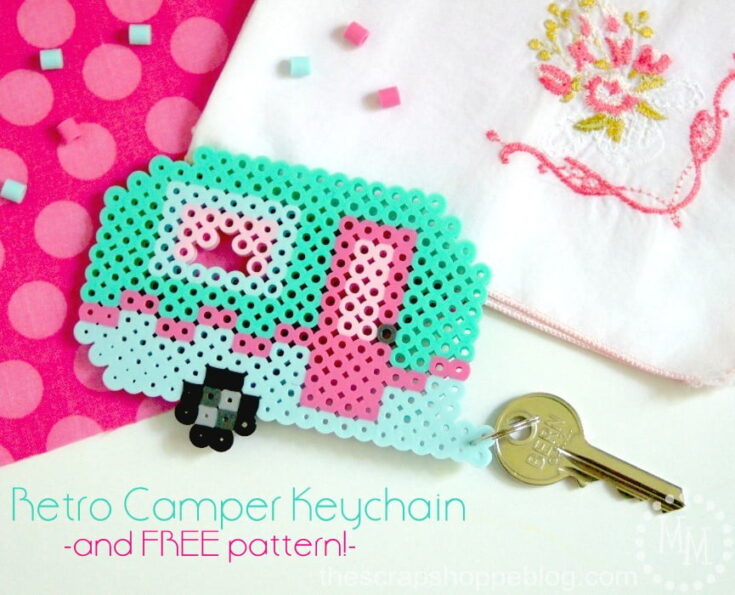
Retro Camper Keychain and FREE Pattern
Such a fun Camper keychain made from perler beads!
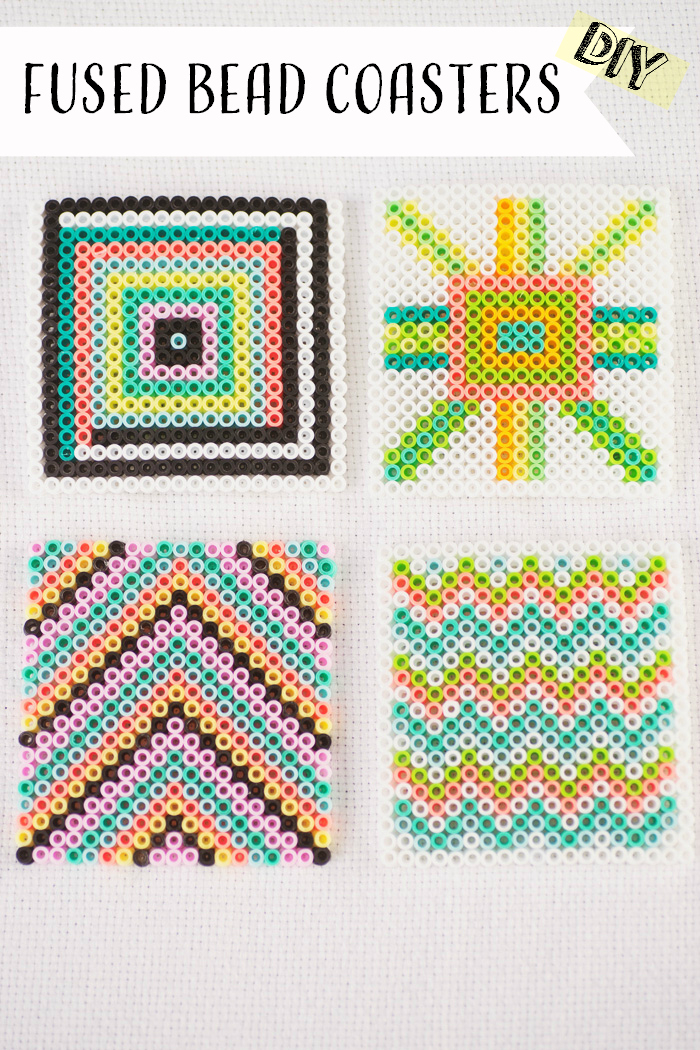
DIY Geometric Fused Bead Coasters
Learn to make endless creative bead coasters.
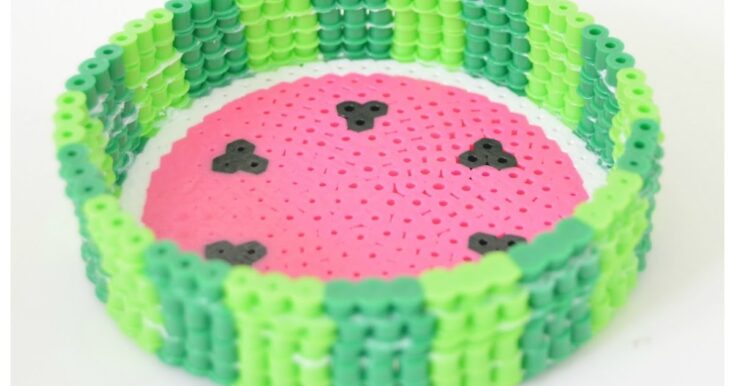
DIY Perler Beads Fruit bowl
Such an adorable Watermelon fruit bowl made from melty beads!
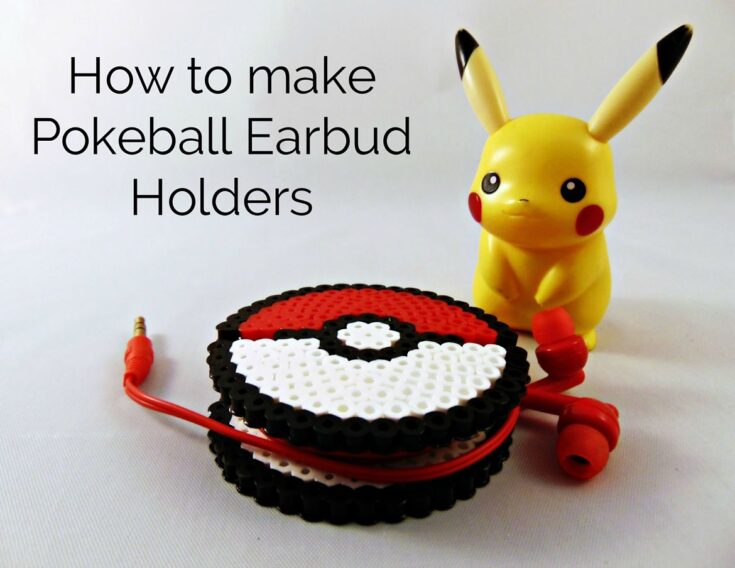
How to make a Perler Bead Pokemon Earbud Holder
Learn how to make a Pokemon Earbud holder with perler beads!
Have you used Perler beads before? What did you make?
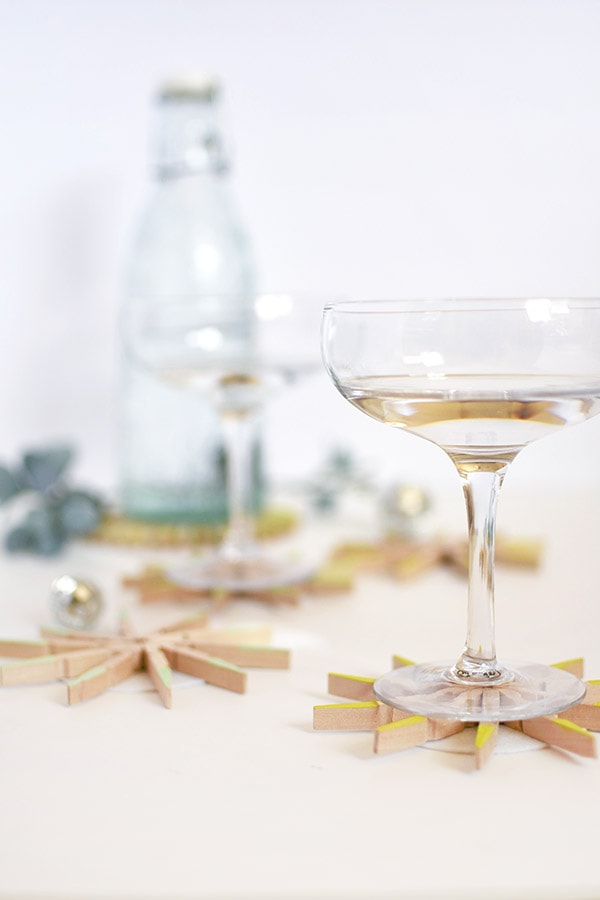
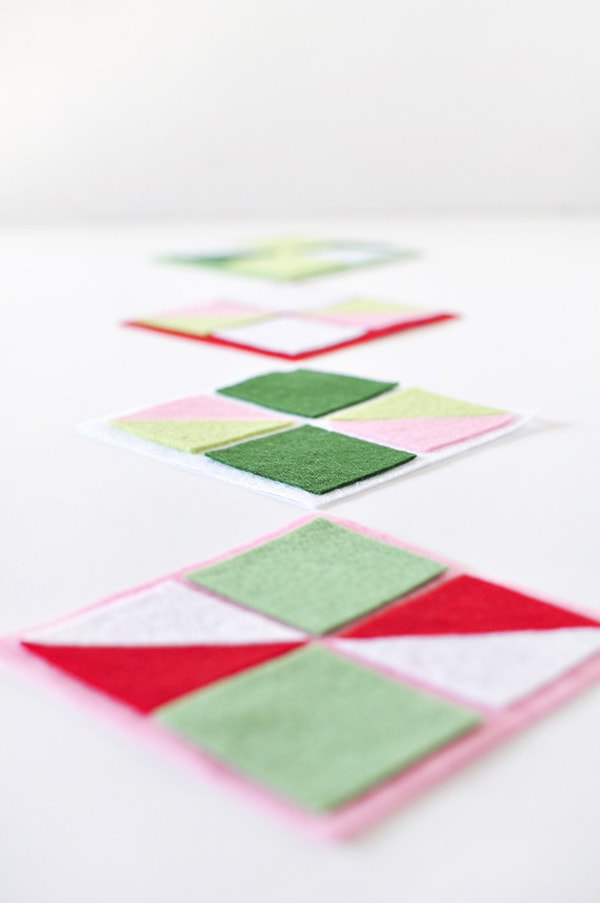
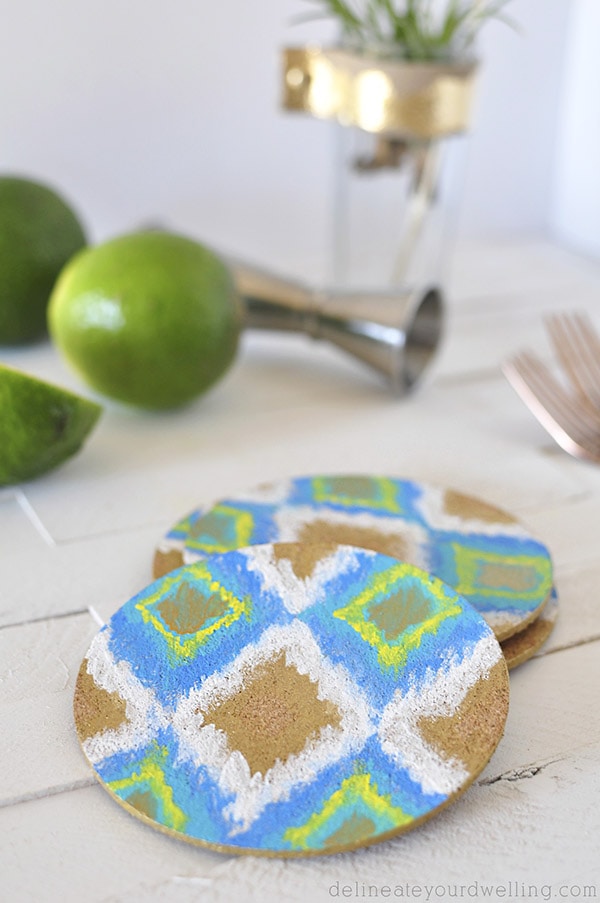
You might also like these fun coaster ideas…
Colorful Striped Cork Coasters

I used to LOVE playign with perler beads! But no not as a kid, as an adult when I worked at an after school care/summer camp. You’re never too old! I totally want to go get some and make coasters now
AH! Yay, so glad to hear you love them as an adult, too!!!! I’ve made like 10 coasters with my kids now… we might need to think up a new craft to make with them. 😉
Amy!! These are so fun! I love how the negative space makes them really modern! Love them!
Thank you, Marlene! I was definitely trying to “push the boundaries” with these beads… HA if that’s even possible! I appreciate your kind words. xo