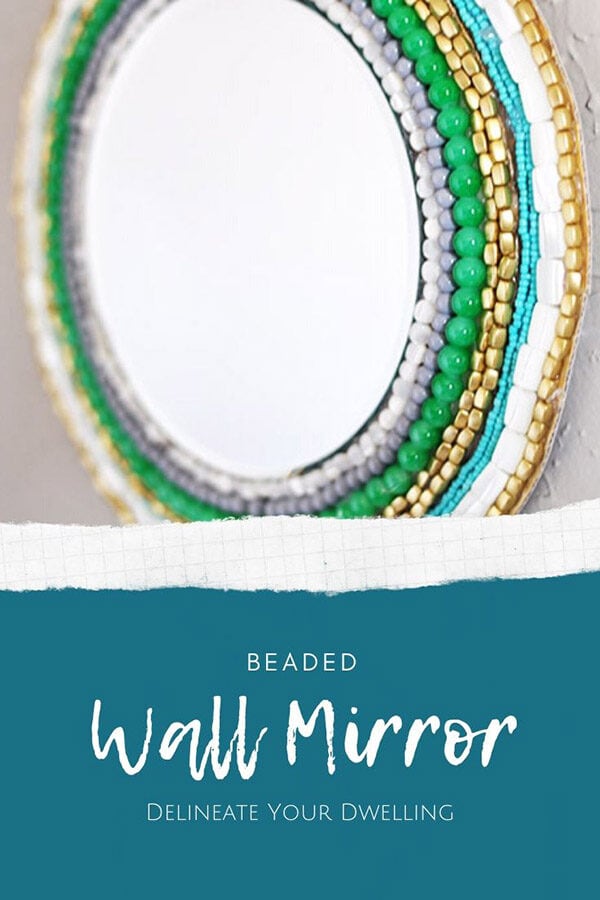
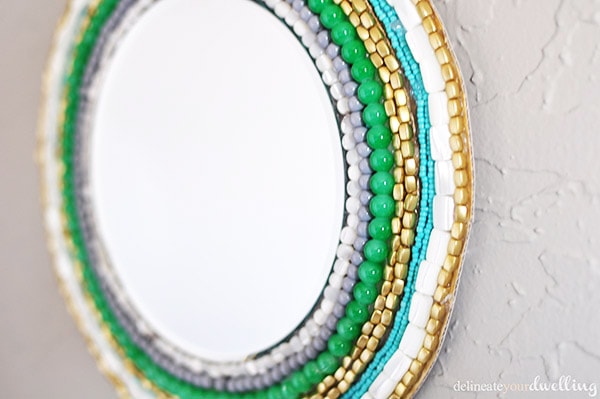
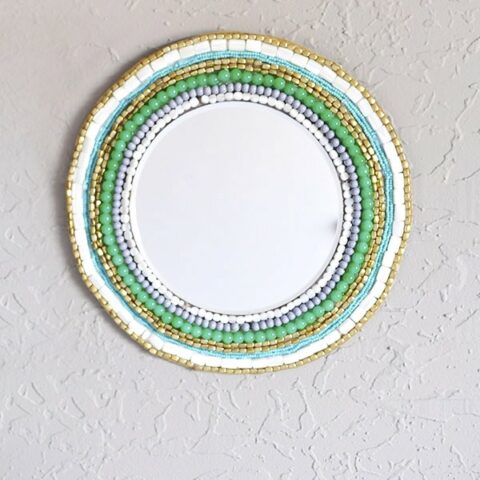
Beaded Wall Mirror
INSIDE : Learn how to create a stunning Round Beaded Wall Mirror using only a few simple materials! Hang this colorful DIY Mirror on the wall to admire every day.
A few weeks ago, I was in West Elm and about fell over when I saw the most lovely navy and white beaded mirror hanging on the wall. It was stunning and was hand beaded in India. I was not in love with the price, however. I promptly looked to my mother in law and said, I could totally make this! Today I am sharing my own West Elm inspired Beaded Wall Mirror.
This post may contain affiliate links. See full disclosure here.
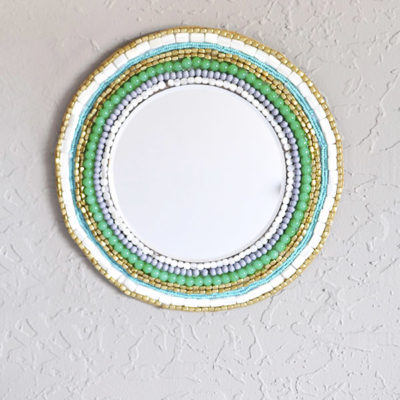
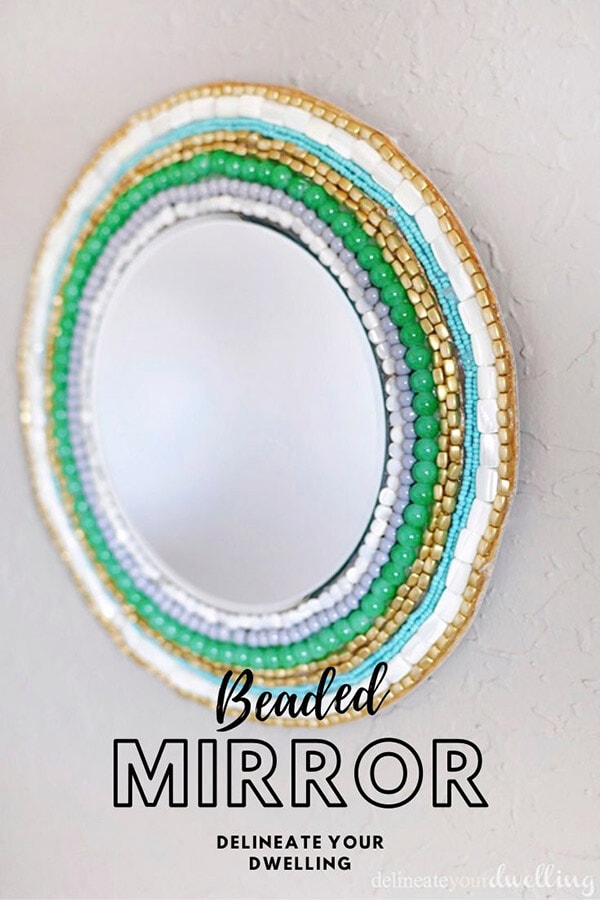
This mirror turned out better than I could have expected. It proudly hangs in our updated master bedroom. Goodbye to our old burnt orange colors and hello to calming blues, greens, gold and whites. Ah, guys it’s looking good so far.
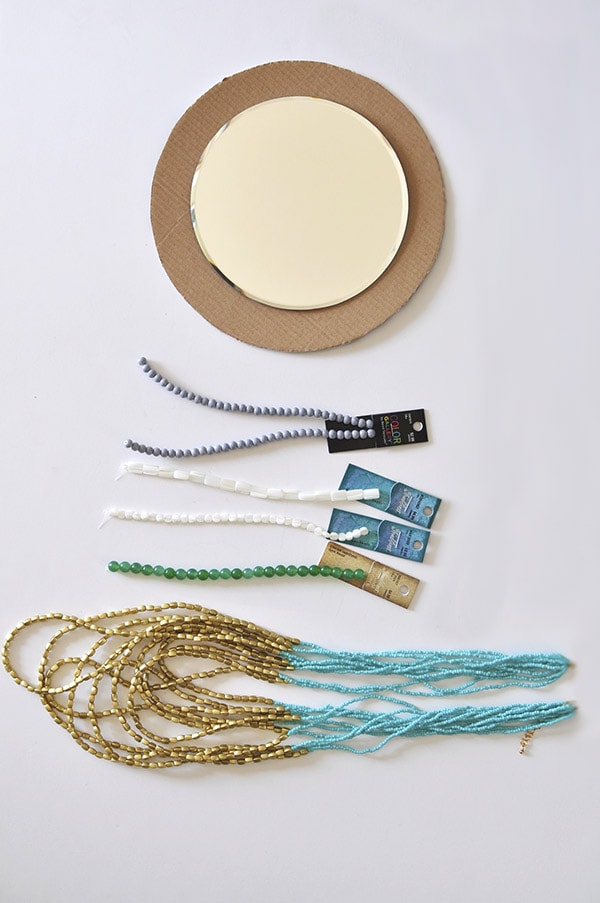
What supplies do I need to make a Beaded Wall Mirror?
-Cardboard Circle
–Round Mirror, 6-Inch
-Four different sets of decorative beads
(gray . green . white)
(the quantity of beads depends on how big your mirror and cardboard is)
I also used an inexpensive beaded necklace with gold and aqua beads.
-Color coordinating acrylic paints
-Hot Glue
-Xacto Knife
–Command Hooks to hang

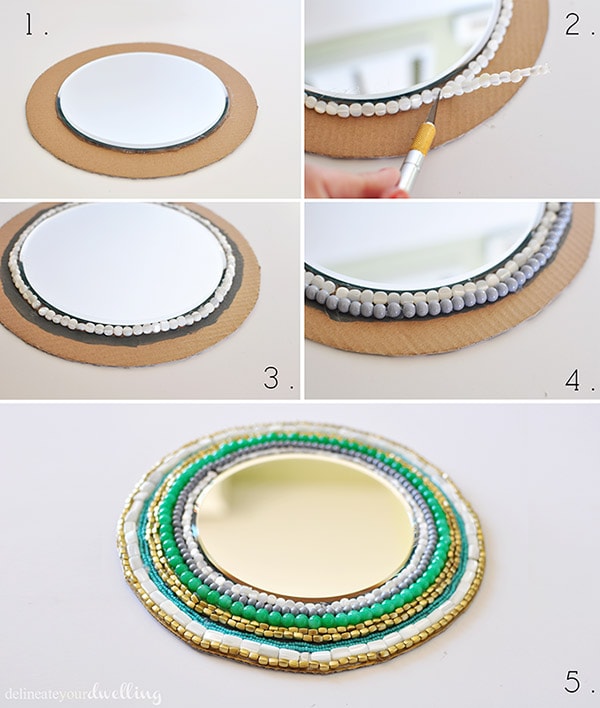
How do I make a Wall Mirror with Beads?
Using a large bowl, I traced a circle onto my cardboard and cut it out with an xacto knife. I used hot glue to secure the mirror back to my cardboard. I also added a line of hot glue to the mirror perimeter. (NOTE : If you are using a larger mirror, you should use a stronger adhesive glue like e6000.)
Before each row of beads that I glued down, I painted a thin strip of acrylic paint underneath it, so if any cardboard was seen, it would blend in with the beads. After the paint was dry, I simply glued the beads down section by section. It was easiest to just keep the beads on the strand that they came on.
Next was a gray bead, so I painted a gray line along the outside of the white beads.
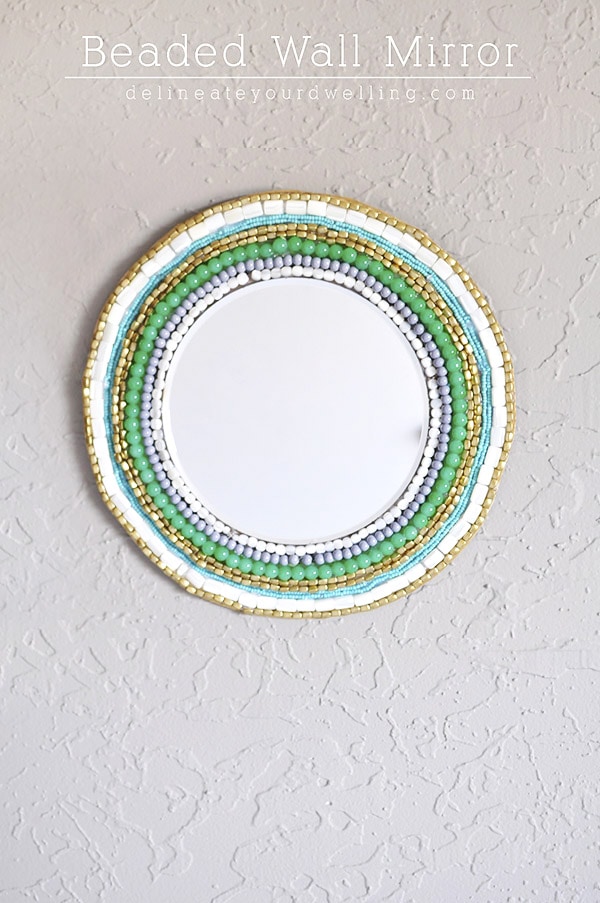
Row by row, this is how I created my mirror.
This was not a quick project. I worked on it off and on for two days. The painting takes time to dry and then I ran out of the green beads, so I had to go to the craft store to get more. It certainly could probably be done in an afternoon if you were uninterrupted.
Another tip I learned was to cut your cardboard bigger than you will need. I ended up having to cut an additional piece and glue it down so I could have a 3″-4″ strip of the beads. It ended up working just fine, but this was also part of the reason it took me so long.
DIY Wall Mirror
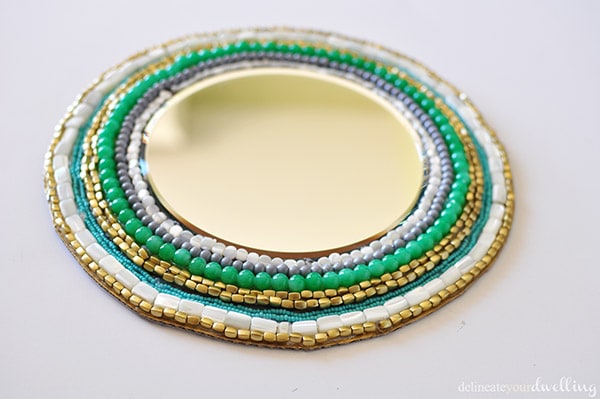
Once all the beads were in place. I simply took my Xacto knife and cut the cardboard right along the edge of my last row of beads.
I added a picture hanger to the back but it’s so light weight, I could have easily used a Command Strip, too. And after the fact, I think a command strip would have worked better.
How to make a Beaded Wall Mirror
Learn how to create a stunning Round Beaded Wall Mirror using only a few simple materials! Hang this colorful DIY Mirror on the wall to admire every day.
Materials
- Cardboard Circle
- Round Mirror, 6-Inch
- Gray decorative beads
- Green decorative beads
- White Decorative Beads
- Color coordinating acrylic paints
- Hot Glue
- Xacto Knife
- Command Hooks to hang
- e6000 glue
Instructions
- Using a large bowl, trace a circle onto your cardboard and cut it out with an xacto knife. I used e6000 glue to secure the mirror back to my cardboard.
- Paint a thin strip of acrylic paint where you plan to adhere your first few rows of beads. If any cardboard is seen through the beads, it will blend in with the beads.
- After the paint is dry, simply glue the beads down section by section. It was easiest to just keep the beads on the strand that they came on. Row by row, this is how you create your mirror.
- Once all the beads are glued down and in place, simply take your Xacto knife and cut the cardboard right along the edge of your last row of beads.
- Add a picture hanger or a Command Strip to the back of your cardboard to hang on the wall.
Notes
-Cut your cardboard bigger than you will need. I ended up having to cut an additional piece and glue it down so I could have a 3″-4″ strip of the beads around the mirror.
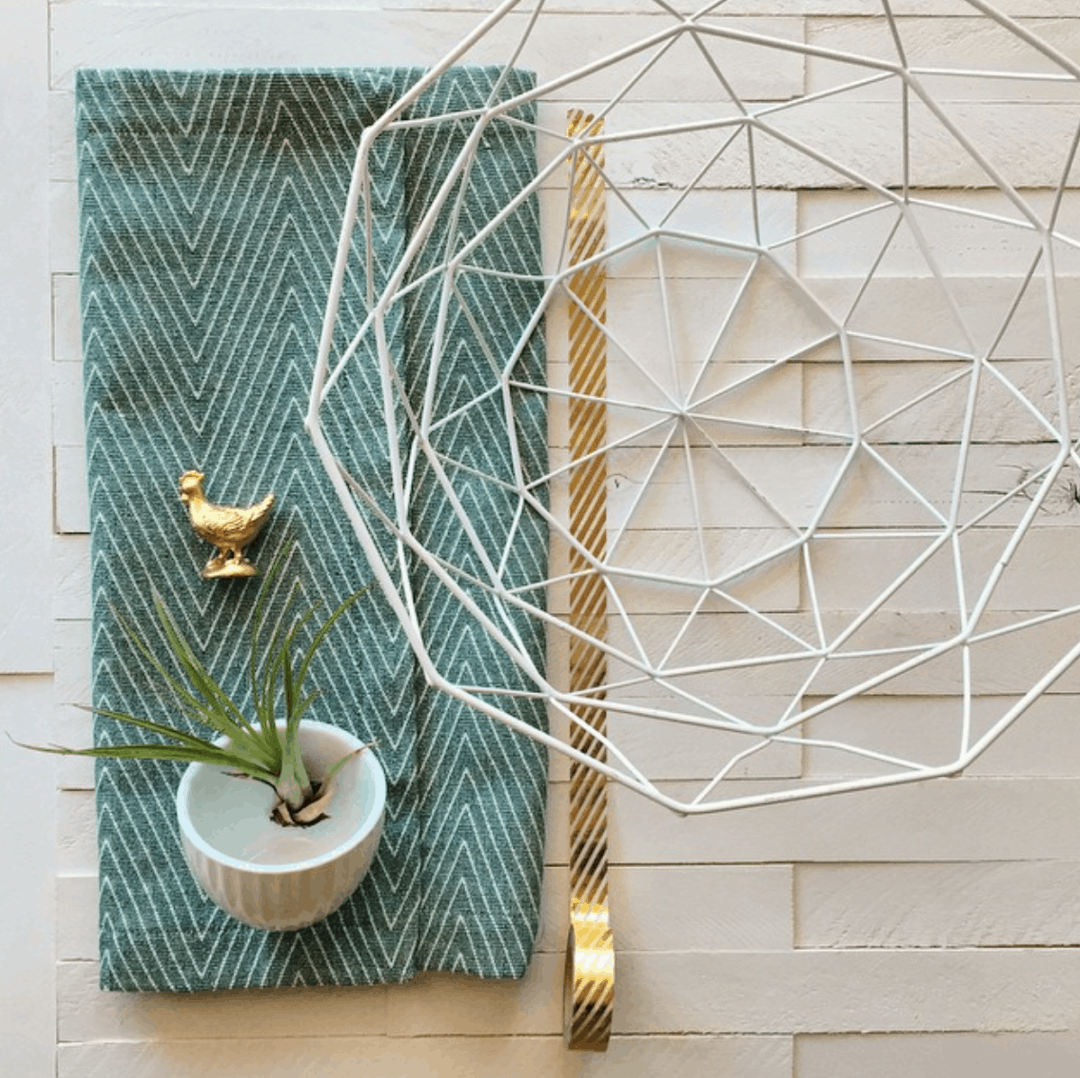
You might have seen on Instagram where I shared a sneak peek into our Master Bedroom plans.
Update : To see the completed room, go here!
Nice post. Thanks for sharing
Hi Love this mirror .Just an idea but you could also run a strand of beads along the outer edge so the cardboard is Completley hidden ?
I am a jewelry maker by trade so this is a great way to use up those extra strands of beads I bought but never used. I’m going to make this using Afew strands of pearlescent shell beads I have had sitting around in my beading box. If I can I will post a pic when it’s finished to show how it turned out . Thanks for the inspiration ! ??
Ah, great idea Jess! And yes you should definitely send me pics or tag me when you make your beaded mirror!!
Great tutorial. I made one using purple pearls, white, black and dark aqua crystal beads. It turned out really pretty. I have so many beads I think I’ll make a few more in different sizes and place them together.
Oh my, that sounds lovely! I keep wanting to make another one of these… I bet grouping them together would be beautiful!
You can use a cardboard cake round for the base.
Ah, that’s so smart! Great idea, Terisa.
Gorgeous! I recently saved a round mirror from being tossed by my friend because it had broken from the original setting and was now just a round mirror. I also make jewelry, so I have tons of beads sitting around. So this is PERFECT! Thank you! I will send photo when done! 🤗
Oh that sounds like the perfect little project then! Can’t wait to see how it turns out. Have fun.
I love that, now i know what to do with all the old beads i have. Thanks for sharing with us for The Sunday Brunch Magazine, we look forward to sharing your work, Bel & Eliza xx
This is amazing Amy, as always!! Thanks for sharing them with us at Work it Wednesday. We are featuring you this morning!
~Krista
Oh, how wonderful! I love being featured at your lovely party. Thanks, Krista!
This is so pretty! It makes me thing ancient Rome for some reason. Mirrors are so boring these days, they need a bit of glaming up.
I’d love it if you would link up your pinterest pin for it at our party! http://purfylle.blogspot.com/2015/03/our-favorite-things-pinterest-pin-party.html
I remember seeing a photo of your inspiration mirror a couple of weeks ago {Instagram I believe}, so I was really excited to see how fabulous your mirror turned out. Once again, you rocked it! Thanks for sharing at The Creative Circle!
I’m in love with this! Thanks so much for sharing on the #mondayfundayparty!
Oh thank you so much, Pauline!
This mirror is crafty, cute, and clever! I have a ton of beads that I’ve had for years. I need to put them to use!
Navy Wifey Peters @ The Submarine Sunday Link Party
Yes, this is a great project for tons of beads!!! Be sure to tag me on Instagram if you make one, I’d love to see it!
This is such a great idea and great color combo! Will definitely safe for my next room redo.
Thanks so much, Paola!
This is beautiful, Amy!
Thanks so much, Lisa!!
What a gorgeous mirror! I just love the colors you chose. We’ll be featuring your mirror over at Someday Crafts tomorrow 🙂
Thanks so much, Miranda! And thank you for the feature, too.
Love it! Such a creative way to decorate a mirror 🙂
Thank so much! I want to add pretty beads to everything now -ha!
OH my goodness, I just love this! What a great custom piece that really pops! I like it better than the West Elm one, for sure 🙂 Can’t wait to see your bedroom – that instagram photo has me jonesing to know!
Love it! Such a simple project that looks super expensive 🙂
Yes and I’m always up for looking expensive but isn’t – ha!
So creative!! Pinned!
Thanks sweet, friend!
This is lovely Amy! I have done the same thing myself when shopping with my mum, I am forever telling her….why would I buy that when I could make it? Nice to know I am not the only one.
Haha, yes there are many of us… it’s just finding the time for me! I’ve got a list a mile long of projects “I could totally make!”
Pretty! Love those green beads!
Thanks girl!