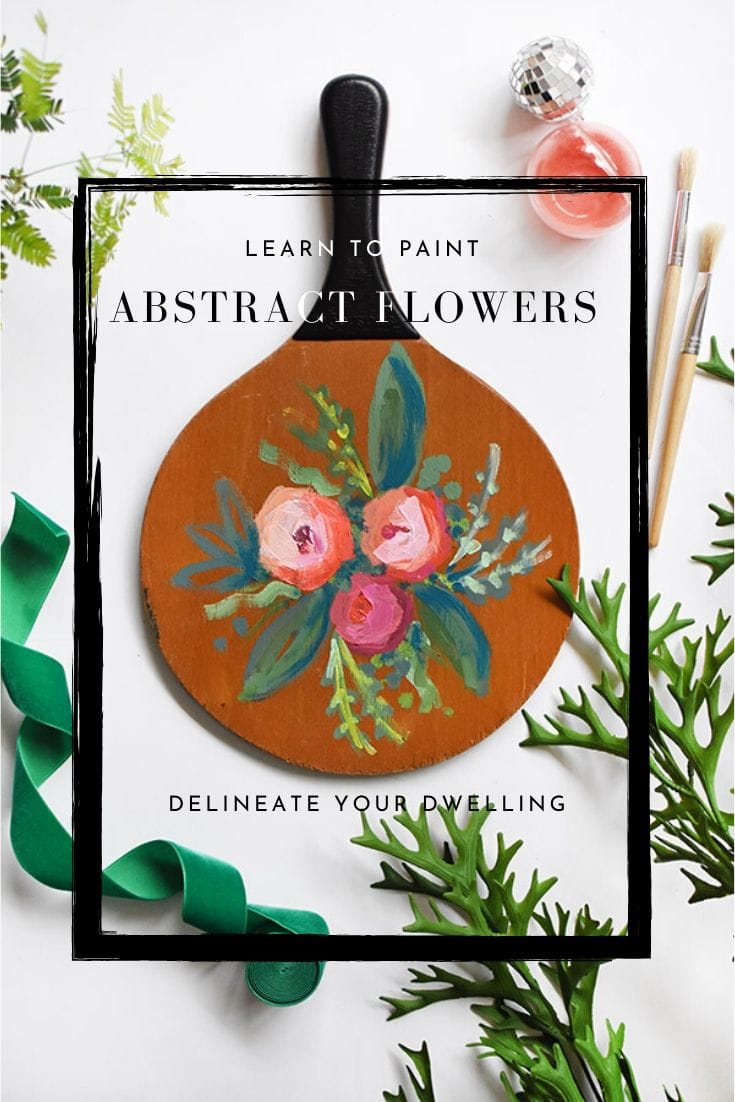
Create Abstract Flower Paintings
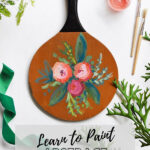
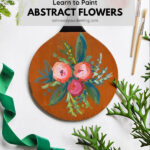


INSIDE : Learn how to create Abstract Flower Paintings in a few simple steps. And see how painting on unique and unusual objects can add interest to your home decor.
Did you know today marks that start of National Craft Week? I am celebrating by teaming up with some amazing makers for CRAFTWEEK, a full week of projects + giveaways. There is a different theme each day and I’m excited to be participating with PAINT today!
Today’s CRAFTWEEK post is sponsored by DecoArt. Be sure to scroll to the end of the post to see more of today’s projects!
Looking for more step by step How to Paint tutorials? People have really resonated with my simple, step by step instructions on how to draw and paint all different types of art. Here are some that I have done –
—Succulent and Cactus – whoa you all LIKED that one!!
—Paint a pumpkin
—Paint colorful Fall Leaves
—Peonies
—Watermelon
—Lemons
—Pumpkin bags
—Peaches
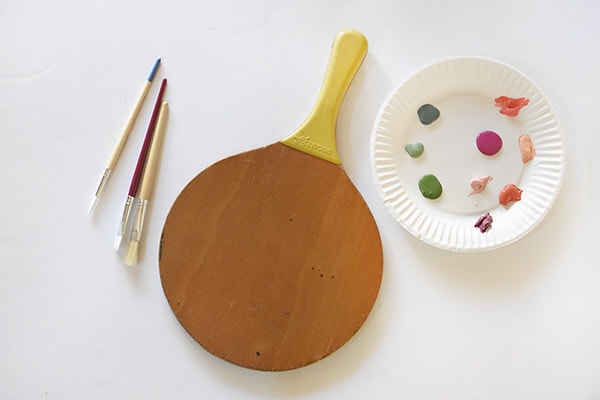
What supplies do I need to paint flowers on a wooden paddle?
Cheerful Acrylic Paint from Deco Art
Angled Paintbrushes
Goodwill found Wooden Smashball Paddle/Racket
Paper Plate
How to prep a wooden racket for paint?
To start this fun project off, I headed to my local Goodwill and found this old wooden Smashball racket. Once home, I gave the wooden surface a nice wipe down to clean off all the years of dust and grime that had accumulated on it.
Depending on the condition of your racket, it might be a good idea to also sand down some of the rough wood surface just a bit.
Picking paints for wood
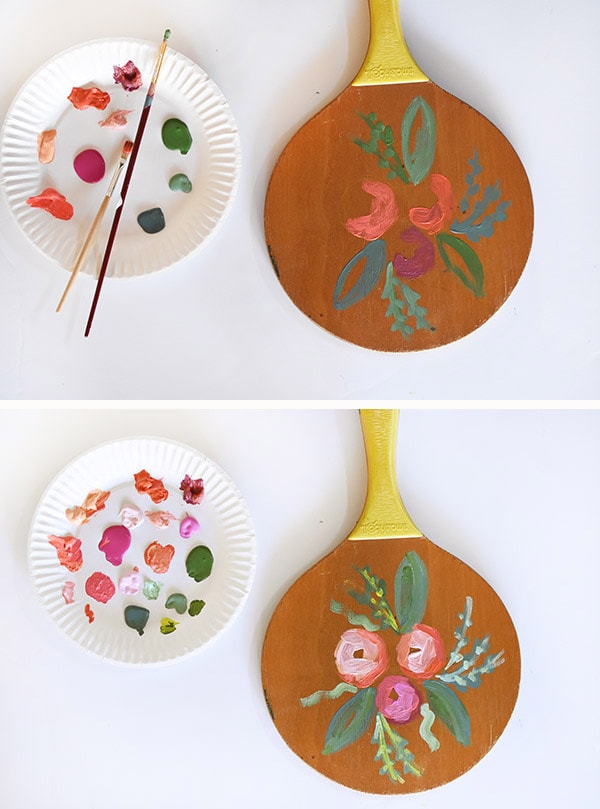
Next, I picked my paint palette of colors. I used Deco Art acrylic paints and selected a mixture of corals, peaches, oranges and fuchsias for the flower portion. Then I picked a few lovely jewel tone greens for the leaves (I ended up using a few lime green colors later on.)
I am a firm believer when painting abstract objects in using NUMEROUS paint colors. I love layering and mixing paints to create that loose look that so often goes with abstract painting. So be sure to give yourself the space to use a lot of paint and numerous paint brushes.
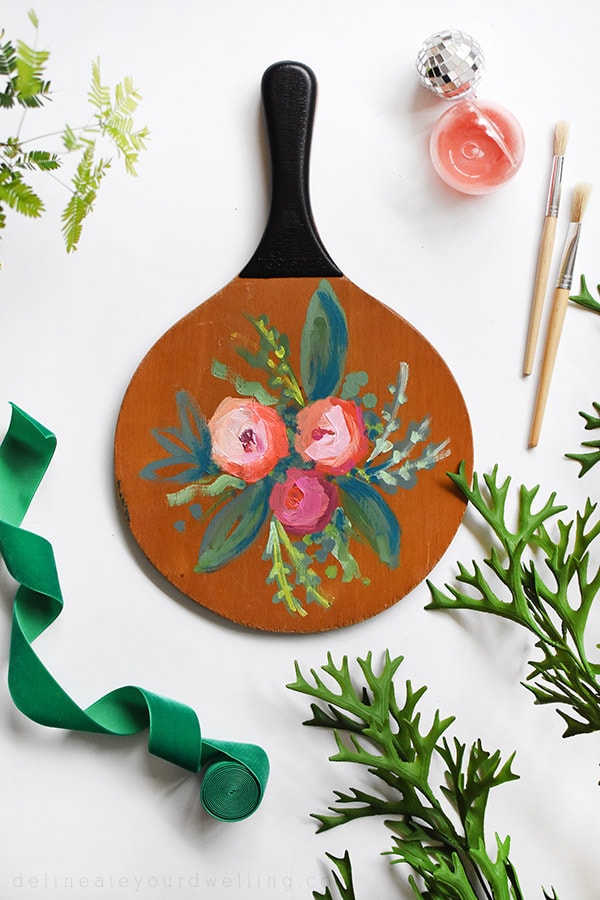
How to paint Abstract Flowers on a wooden racket?
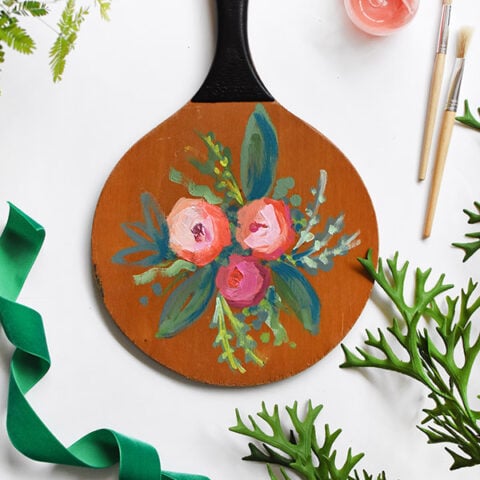
When painting abstract flowers, I always start with the flower’s base color. I did a deep orchid color, a dark orange and a softer coral color. I then use those colors and paint a loose “cup shape” on the lower right hand corner. This is the darkest shade area of your flower. If you like abstract flower painting, you should check out how I painted abstract Peony bags.
Do a similar painting technique for the greenery, creating loose shapes using your darker green colors.
Next, simply begin to layer on paint colors for both the flowers and the leaves. For each of the flowers, I choose a lightest coordinating color and completed the loose “cup shape” on the upper left hand corner. As that paint dried, I was able to start filling in the flower shape with a third complementary color (see second image below).
Note : It is important as you continue to layer on your acrylic paints that you allow some dry time in between. Your paint doesn’t need to be completely dry, but if you layer on wet paint, it can easily start to get muddy looking.
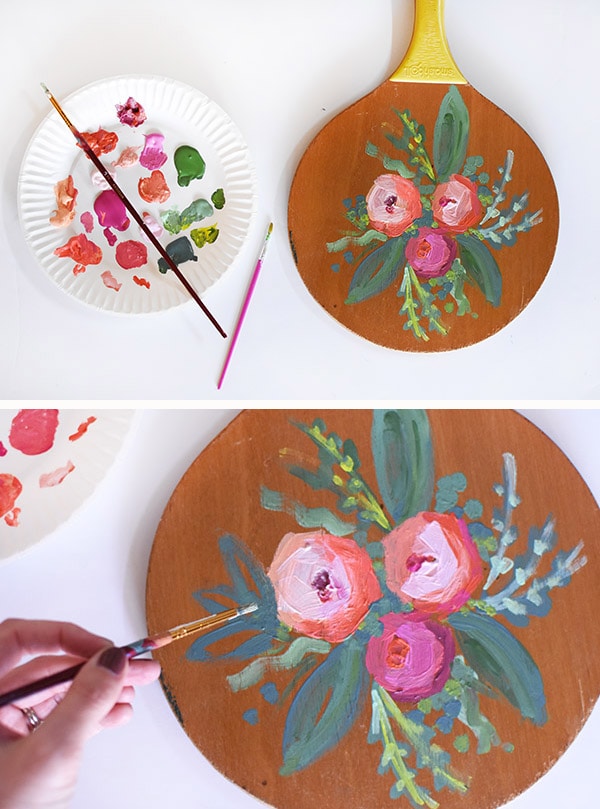
After I had my dark lower right hand corner, the lightest upper left hand corner and the third complementary color, there should only be one small center section that is still unpainted. Find your darkest color in a completely different color and this will be your flower’s center.
Continue adding layers and colors to your greenery. Think about where light may hit your leaves and add small spots of lime green paint to reflect that.
Painting a Wooden Handle
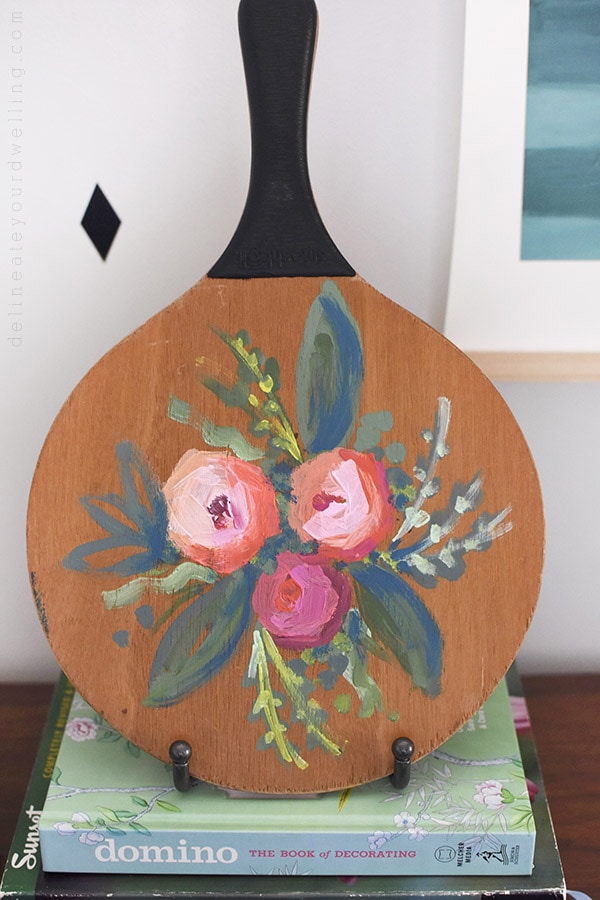
The final painting step for my wooden paddle Abstract flower project was deciding if I should leave the fun yellow handle color or paint it. Although I loved the cheerfulness the yellow brought to the project, yellow is not a color that you can find much of in my home. So, I decided to let the colorful flowers be the show stopper and painted the handle black.
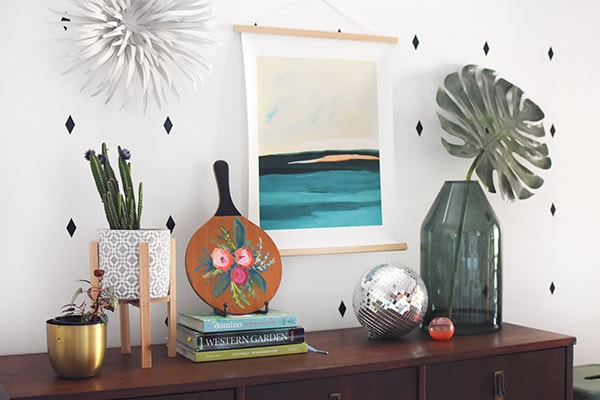
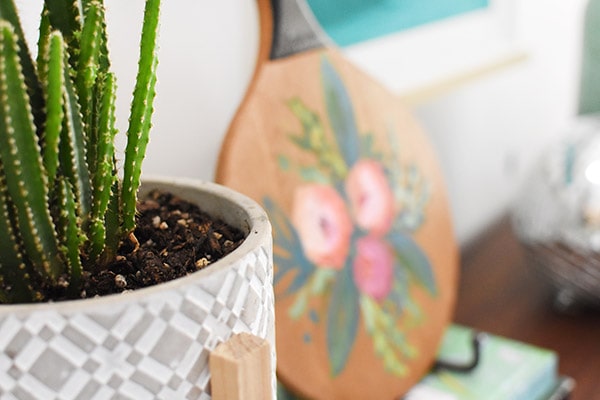
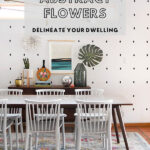
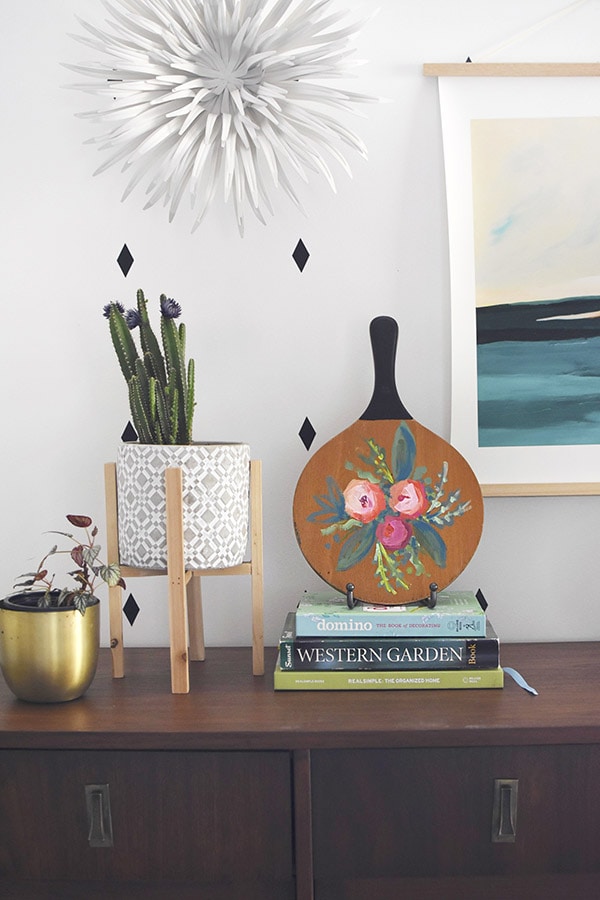
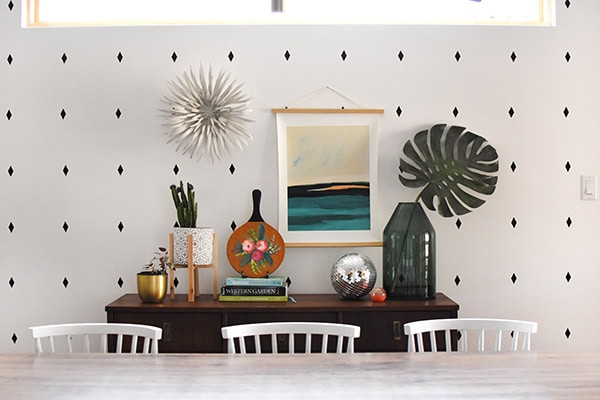
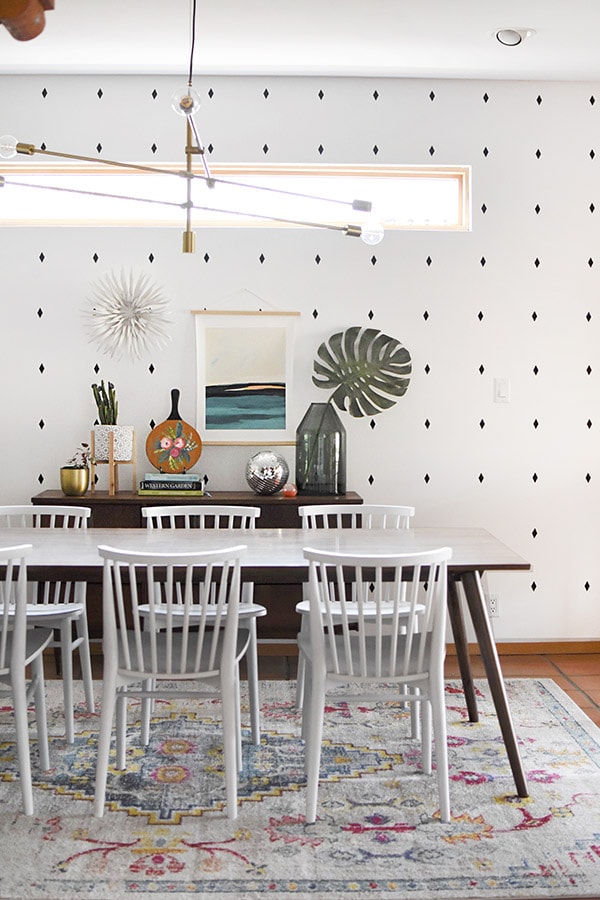
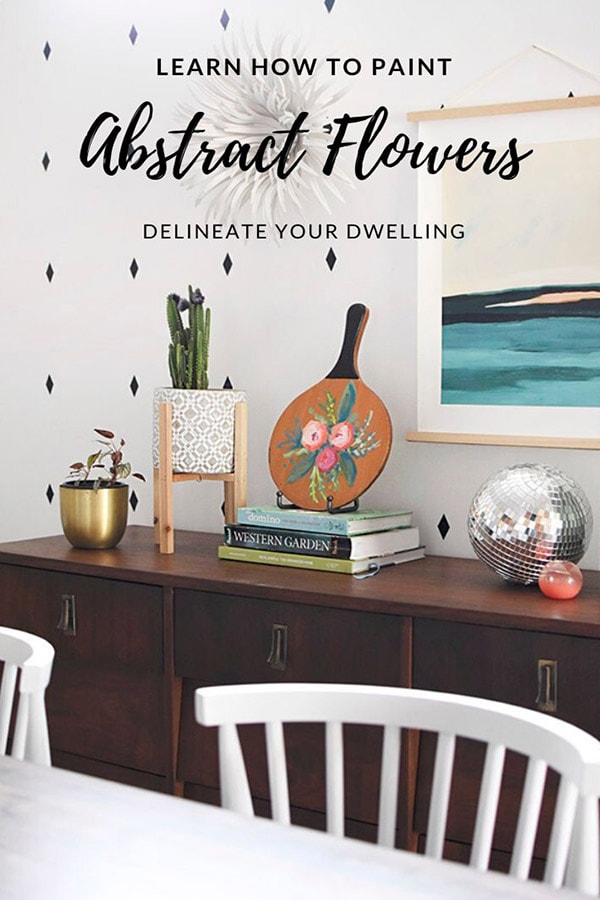
I allowed the paint to fully dry and then did some rearranging in my dining room for a fun springy feeling display. I love the colorful pop it brings to the room.
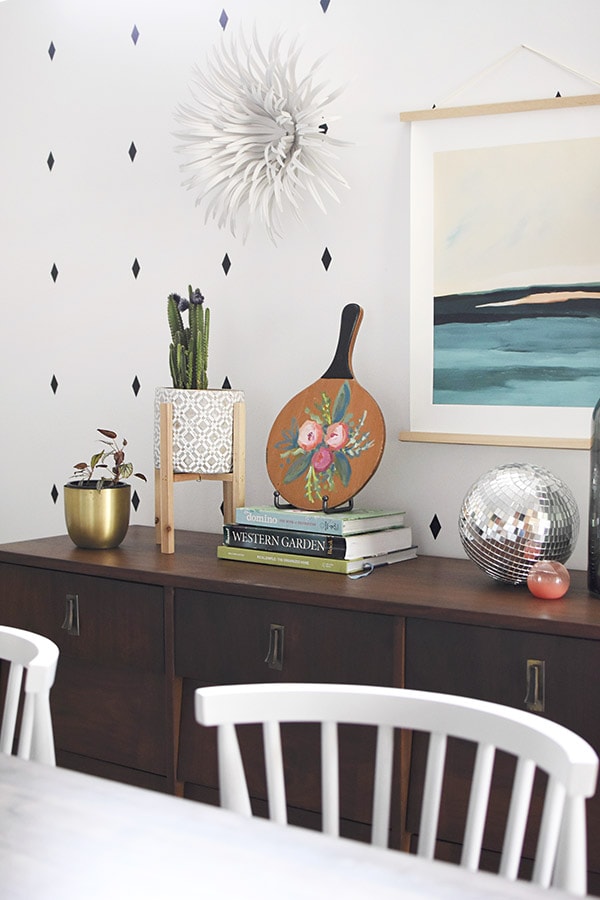
And I may eventually install some sawtooth hooks to the back of my wooden racket and hang it on the wall. But for now, my abstract flower paintings work perfectly in little plate stand sitting on my thrifted buffet.
Create Abstract Flower Paintings
Learn how to create Abstract Flower Paintings in a few simple steps. And see how painting on unique and unusual objects can add interest to your home decor. Delineate Your Dwelling
Materials
- Cheerful Acrylic Paint from Deco Art
- Angled Paintbrushes
- Goodwill found Wooden Paddle/Racket
Instructions
- Start with your flower's base color paint. I used a deep orchid color, a dark orange and a softer coral color. Using those colors, paint a loose "cup shape" on the lower right hand corner. This is the darkest shade area of your flower.
- Do a similar painting technique for the greenery, creating loose shapes using your darker green colors.
- Next, begin to layer on paint colors for both the flowers and the leaves. For each of the flowers, use a light coordinating color and complete the loose "cup circular shape" on the upper left hand corner.
- As the paint dries, start filling in the flower shape with a third complementary color.
- At this point, there should only be one small center section that is still unpainted on your flower.
- Find your darkest color in a different color, this will be your flower's center.
- Continue adding layers and colors to your greenery. Think about where light may hit your leaves and add small spots of lime green paint to reflect that.
Notes
It is important as you continue to layer on your acrylic paint colors that you allow some dry time in between. Your paint doesn't need to be completely dry, but if you layer on wet paint, it can easily start to get muddy looking.
Be sure to check out below some of my fellow creatives and the fun projects they are using with Deco Art paint.
More CRAFTWEEK Paint Projects :
Creative Paint Projects
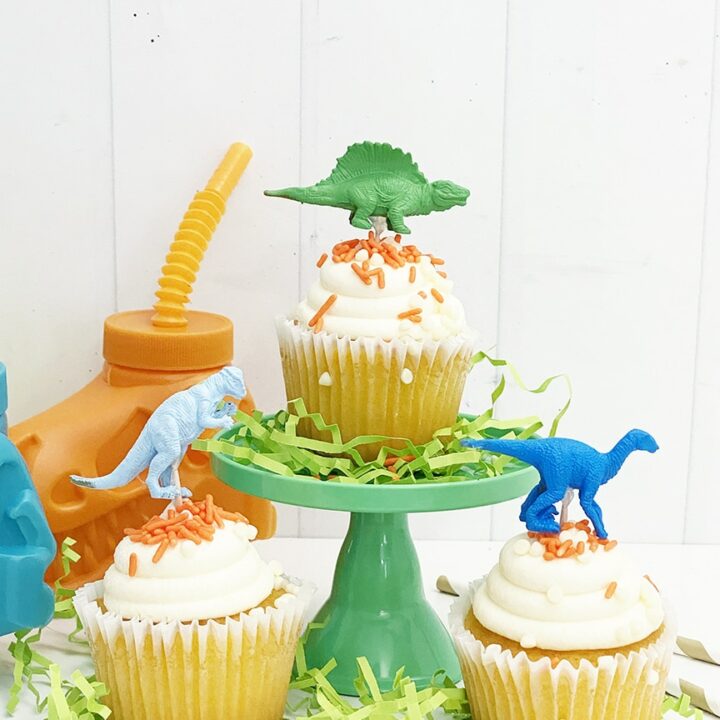
DIY Dinosaur Cupcake Toppers
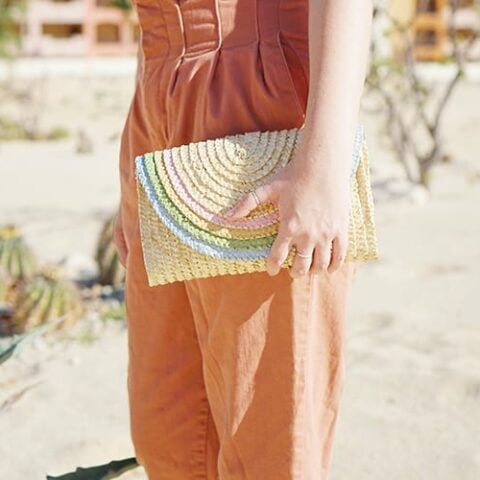
DIY Rainbow Clutch Purse for Spring and Summer
How to Make Painted Handle Cutting Boards
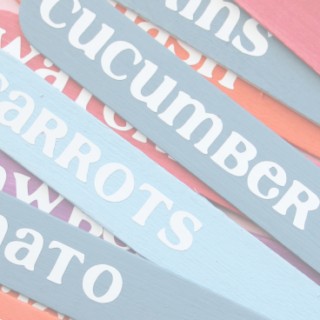
Easy Garden Markers with DecoArt {tutorial}
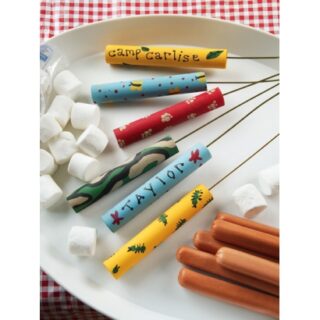
Easy to make bonfire roasting sticks for camping - 365 Days of Crafts.