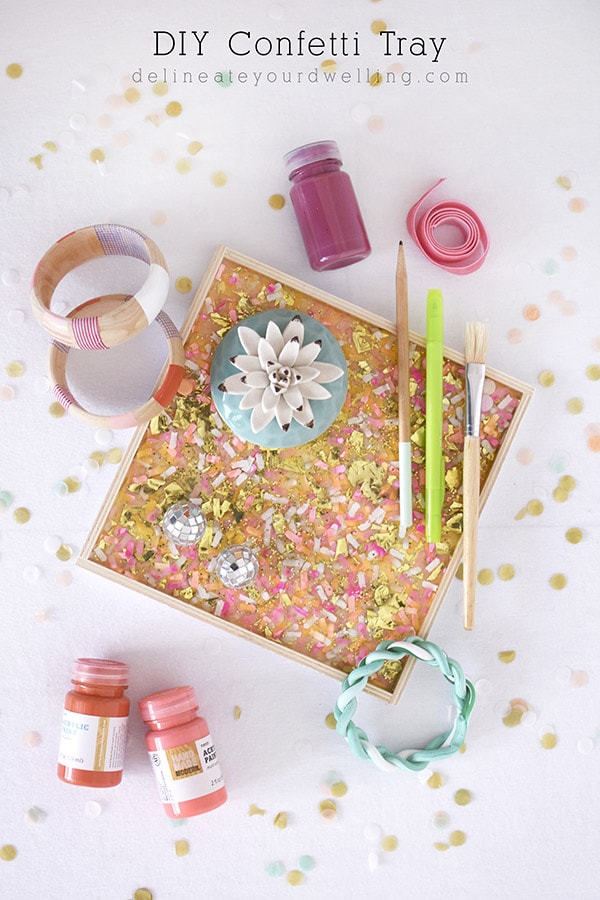
DIY Confetti Tray

INSIDE : Check out the simple steps for how to make a colorful DIY Confetti Tray! There is a secret ingredient supply that really makes this a unique craft project that you can set out on display in your home.
This post may contain affiliate links. See my full disclosure here.
This post has been republished since it’s original live date of 2016.
I love confetti. My love for confetti is very similar to my love for felt. Confetti is such a simple material, but it instantly adds a little more fun to any project, party or space that you use it in.
Today, I tried out a brand new product and paired it with confetti. It really does not get much better than this! I will be showing you how to make a super fun DIY Confetti Tray ( and it is so perfect for a quick DIY gift idea, too!).
Keep reading through the post for the full SUPPLY LIST!
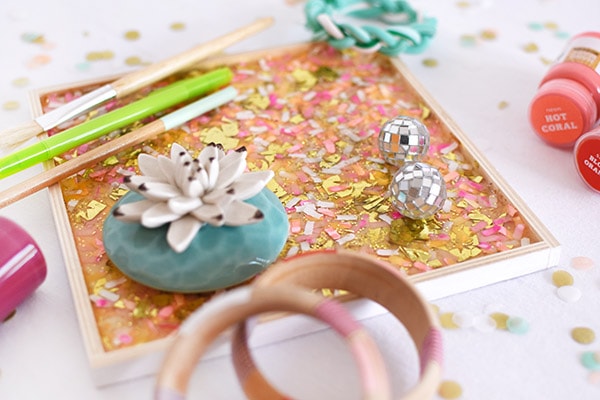
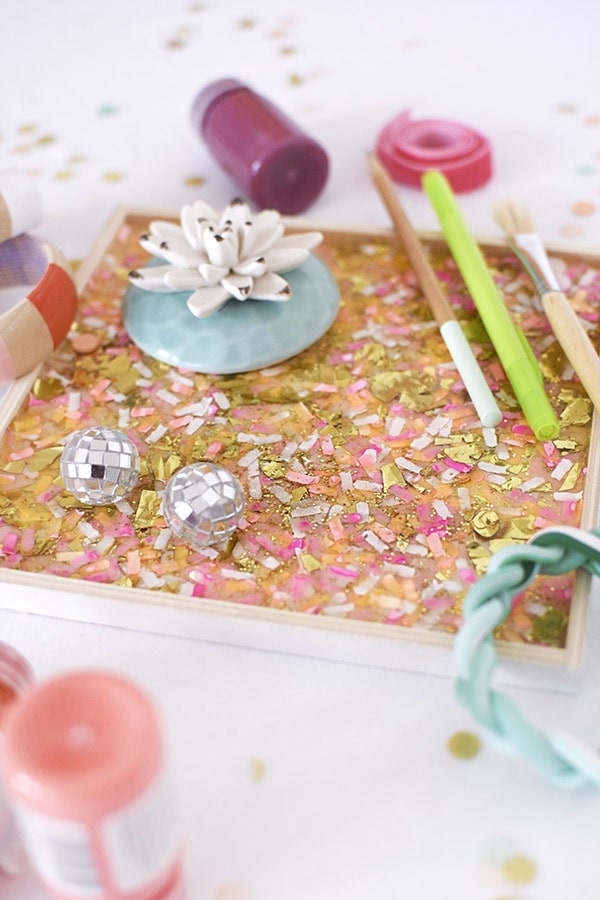
NOTE : I wanted to make mention of the huge difference in color from the top image to the below image. I decided to take new pictures of this project (now 2018) because it’s now been over two years since I did this Confetti Tray (originally did the project in 2016).
The paper has completely dried, giving the tray an entirely different look from when I originally created it. It currently looks so much more like the actual confetti paper I had bought – more coral colors and less PINK! Still fun, both ways.
3D Magic Tray
First of all, have you all seen Mod Podge Dimensional Magic Glue before? The stuff is pretty amazing and it appears like there are about 2 million different applications you can use it for! I have wanted to try to try it for so long.
I bought two bottles of it and have been waiting for just the right project and was really excited with how this project turned out when I was all done with it.
How to make a DIY Confetti Tray?
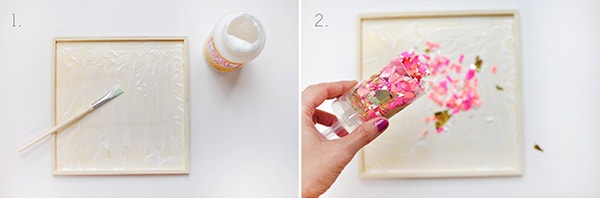
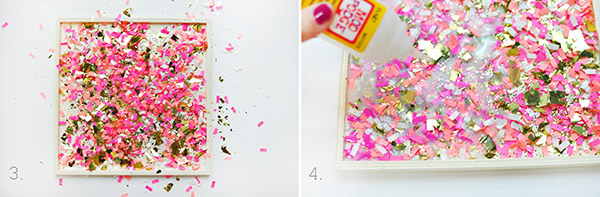
First, start by applying a generous layer of regular Mod Podge to your wooden tray surface to help keep the confetti more or less in place as you move to the next step.
Next, pour in your confetti! This was a fun step. I had two confetti push pops from a previous project, so I popped them open and filled up my tray.
I also added just a little bit of gold glitter because… well, brightly colored confetti clearly was not enough bling for this project. HA.
Once the tray was full of confetti, using my hands, I patted and smashed down the confetti so that most of it stuck to the mod podge bottom.
Next, open your Mod Podge Dimensional Magic Glue and slowly fill up the tray. Note, do not shake the magic glue before using, as this will cause air bubbles in the glue. I ended up using two bottles of the mod podge glue to cover all my confetti.
The glue changed the color of the papers to a bit more purple but once it all dried the original colors came right back! Also, don’t worry but the glue comes out a cloudy white color but it dries clear.
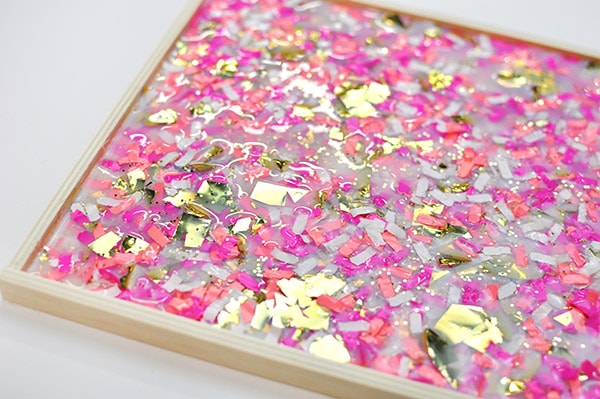
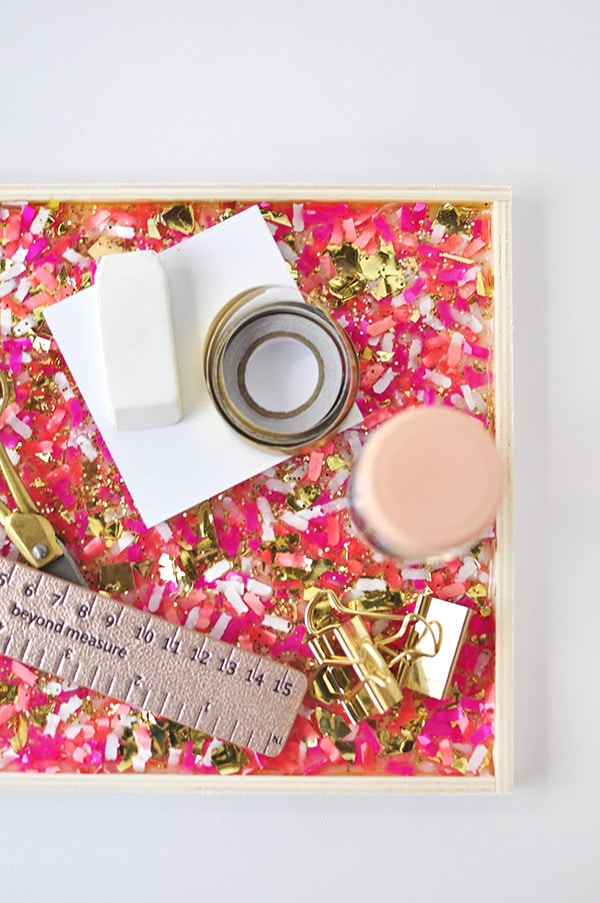
I set my tray on a level spot and allowed it to cure for a full 24 hours. Once it was dry, it truly did seem magical.
I also love that this dimensional glue is a non-toxic material.
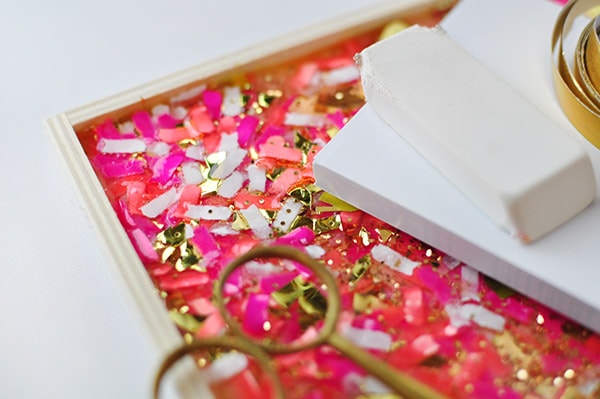
It’s hard to tell from the pictures, but I painted the outside edge of my tray with white acrylic paint and left the very top edge raw wood.
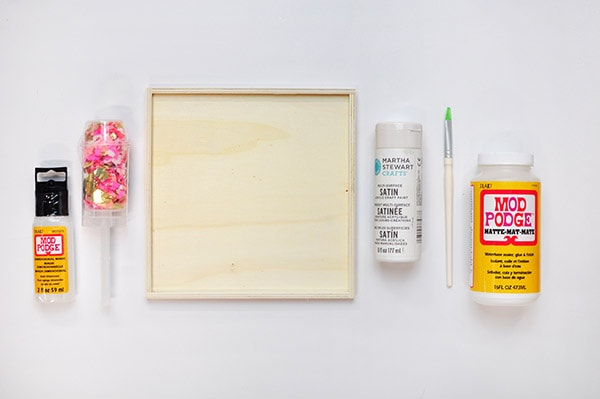
What supplies do I need to make a tray filled with confetti?
Mod Podge Dimensional Magic Glue
Push-Pop Confetti
Wooden Tray
White Acrylic Paint + Brush
Mod Podge


DIY Confetti Tray
How to create a gorgeous and colorful DIY Confetti Tray in just a few steps!
Materials
- Mod Podge Dimensional Magic Glue
- Push-Pop Confetti
- Wooden Tray
- White Acrylic Paint + Brush
- Mod Podge
Instructions
- Apply a generous layer of regular Mod Podge to your wooden tray surface to help keep the confetti more or less in place as you move to the next step.
- Next, pour in the confetti and a little bit of gold glitter.
- Once the tray was full of confetti, pat down the confetti so that most of it sticks to the mod podge bottom.
- Next, open the Mod Podge Dimensional Magic Glue and slowly fill up the tray. Plan to use two bottles of the mod podge glue to cover all my confetti.
- The glue changed the color of the papers to a bit more purple but once it all dried the original colors came right back! Also, don’t worry but the glue comes out a cloudy white color but it dries clear.
Notes
- Do not shake the magic glue before using, as this will cause air bubbles in the glue.
Shop this post and get all the supplies!

Okay, now head out and give this cool stuff a try for yourself! Believe me, it’s very addicting.
Can you do this on a plastic card tray? I want to make a custom canasta tray so I ordered the plain one and wanted to do something just like this but not on wood on plastic!
Hm… I think it should work the same on plastic. Good question. Maybe just double check on the directions to be sure. Let me know how it goes!
I love this project and I’m anxious to try it. I bought 2 wood trays at Target, not knowing what I would do with them, just thought it would make a neat project, so I will have to try one soon. I have a question, when it asks for my password, do I use my own, or is there one specifically from your website? Thanks so much.
Oh, yay! This is such a fun project… have fun giving it a try!
As for the password, are you talking about after signing up for my newsletter and getting access to the printable library? That password is given on the confirmation email. Let me know if you have any troubles.
What an amazing DIY tutorial!
The confetti link sends you to Amazon, but I love the colors you used. What’s the link for pink and gold confetti?
Yes! Please provide us with the link to the confetti you used
First, Thank you for sharing your God given talents with others!
I’m tryin to think of any way to incorporate a wedding invitation into a tray. I really like the colors but wondering if the invitation could be put in the middle? Also, when dried is this tray flat? Could you put a drinking glass on it?
Thank you,
Jacquie
Thank you for your kind comments Jacquie! I will be honest, I am not sure how this product would work with an invitation… for the paper confetti I used, it discolored it a bit, so I would be worried it might do the same thing to your wedding invitation. And yes, as long as you allow the tray to dry level, the tray is flat. I believe you could easily set a glass on it.
Is it heat resistant once dry if say you wanted to use as a tea tray? Water resistant too?
You know, I would imagine it can withhold some heat… but you should probably read the label to make sure. 😉
Where did you buy the tray?
I believe my tray was from Michaels, but I’ve seen similar styled wooden trays at all the big craft supply stores.
When dry is it tacky or smooth? Thanks for the share I’m going to pin it now.
After the glue has dried, it’s completely smooth. No tackiness at all. I have my jewelry sitting on it and it’s just lovely!
Thanks so much for the fast response.
This is so cute! Love it!
Thanks so much, Eden!
Where did you get your confetti? I love the colors. What is it made out of?
Thanks, Sarah! There is a direct link to the confetti I used on the post, it’s from Etsy. 😉
Also, where did you get your wooden tray from. I like how your’s is flat and doesn’t have handles.
Caroline, I got the tray at Michaels! And I know Hobby Lobby often carries similar wooden trays, too.
Ooo, how pretty! Does it set hard, almost like a resin? or is it a bit squishier than that? That’s going on my shopping list for playing with for sure!
Julie, it’s really a neat product! It sets hard like a resin.
So is this something that can be used in setting silk flower stems in clear containers? I’ve seen the “fake water” arrangements and wondered how I could make my own.
Hobby Lobby I know for sure and probably Michael’s sell actual resin kits for making the fake water. I have not bought any of this Modge Podge Dimensional Glue yet, because the store is closed for the night or I would be heading out to get some supplies, so I do not know how it compares with the cost of actual resin which can be a little pricey. Hobby Lobby keeps it up front by the vases and floral. Check it out before deciding.
Quick and easy projects are my favorite! Not to mention how fantastically colorful this tray is ~ LOVE it!
Thanks so much for sharing your creativity at the The DIY Collective this week! Please come back next week to show off your latest project!
Have an awesome weekend!
~ Ashley
Aw, thank you Ashley! I’ll be back for sure. =)
Awesome idea.. Love the colors! – Marni
Thanks so much, Marni!
Very cute! Thanks for sharing on Monday Funday!
Holly @ Creatively Living
Your tray turned out gorgeous! Will have to check out Michaels for some confetti 🙂
Cannot wait to try this. Great tutorial. Thanks for sharing!
cloclocreative.com
Oh yay! It’s really such fun, I think you’ll love it.
I’veve also never heard of dimensional glue. Very cool! And what a fun tray!
This. is. awesome!
Confetti all the things! Love this, Amy, so cute!!
I love this!!! I haven’t even heard of the dimensional glue but I’m adding it to my shopping list. The confetti colors are spot on too. So good, Amy!
I think I’m going to try a ring next, I’m excited about all the potential this little glue has in it!