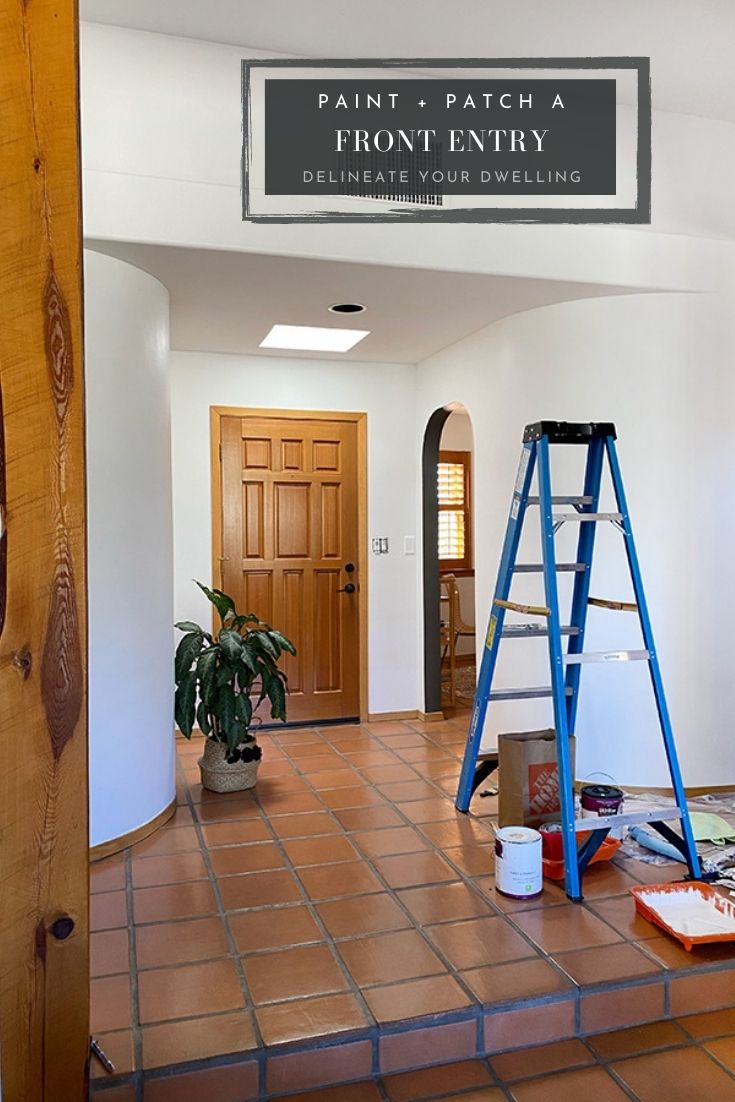
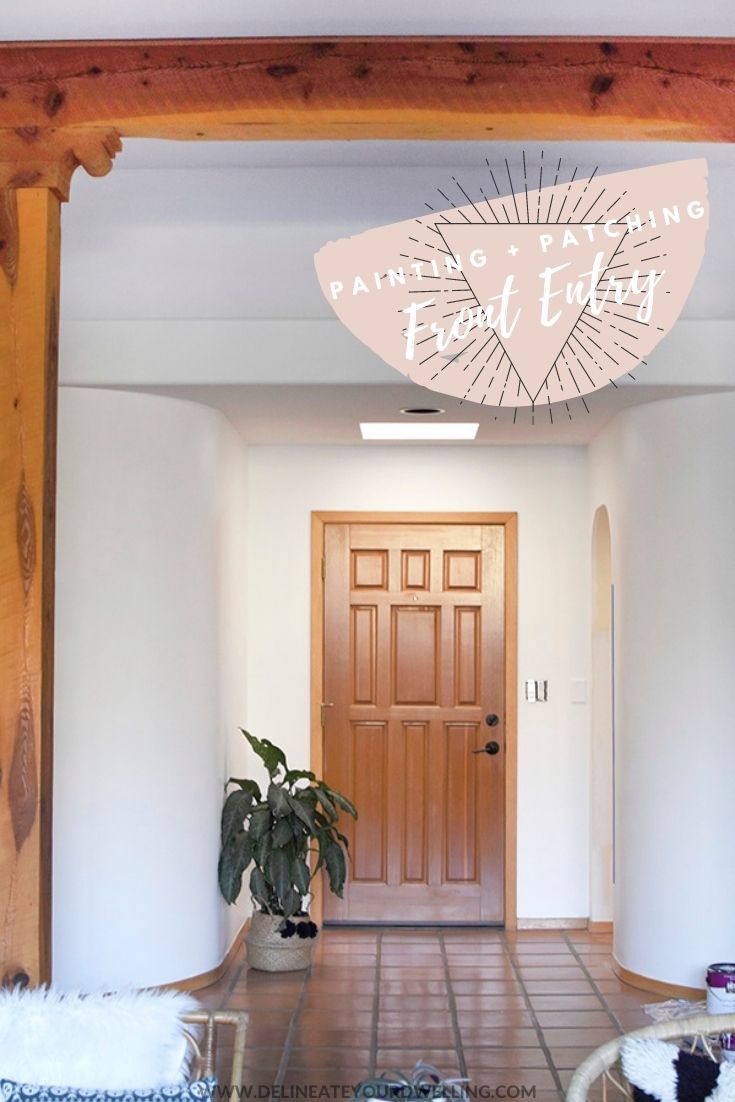
Painting and Patching a Front Entry
INSIDE : Check in on Painting and Patching a Front Entry for week 2 of the New Year, New Room challenge. See the colors I’m painting and how to patch a wall.
This post may contain affiliate links. See my full disclosure.
Welcome back to the second week of our New Year, New Room Refresh Challenge hosted by Stephanie of Casa Watkins Living. Last week I shared my overall plan for our Front Entry and today I will be talking paint + wall patching.
Over the course of the next 2 weeks, seven bloggers and I are all “refreshing” a room in our home. Each Tuesday this month, we are sharing progress update posts. The final reveal is on January 26th, so keep checking back.

Supplies needed to paint a Front Entry Foyer:
Plastic Drop Cloth
Behr Premium Plus, Paint + Primer in One – Bit of Sugar
Wooster Shortcut Angle Paintbrush – This is my FAVORITE brush and I use it ALL the time.
Roller
Plastic Paint Tray
Painter’s Tape
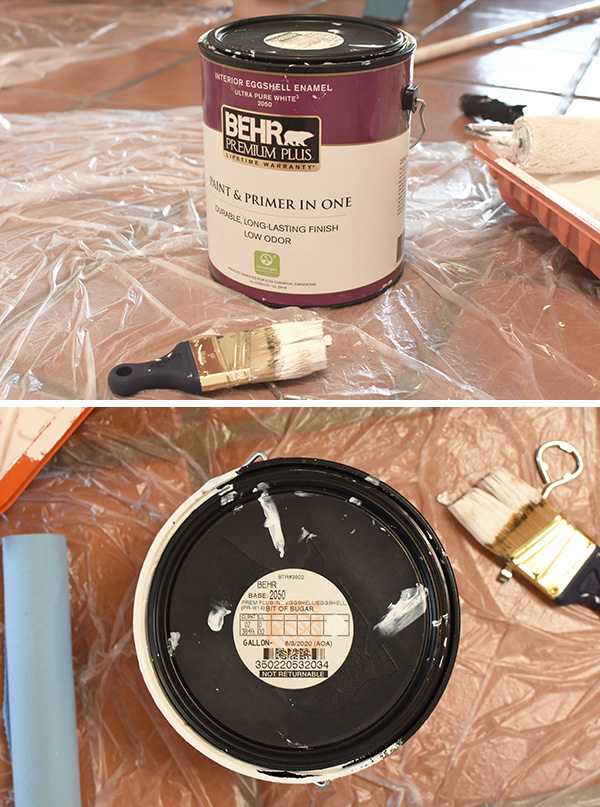
I have been a long fan of Behr paint and picked up two gallons of Behr Premium Plus Ultra ‘Bit of Sugar’ from Home Depot and was excited to use it again in our Front Entry.
How to paint a room:
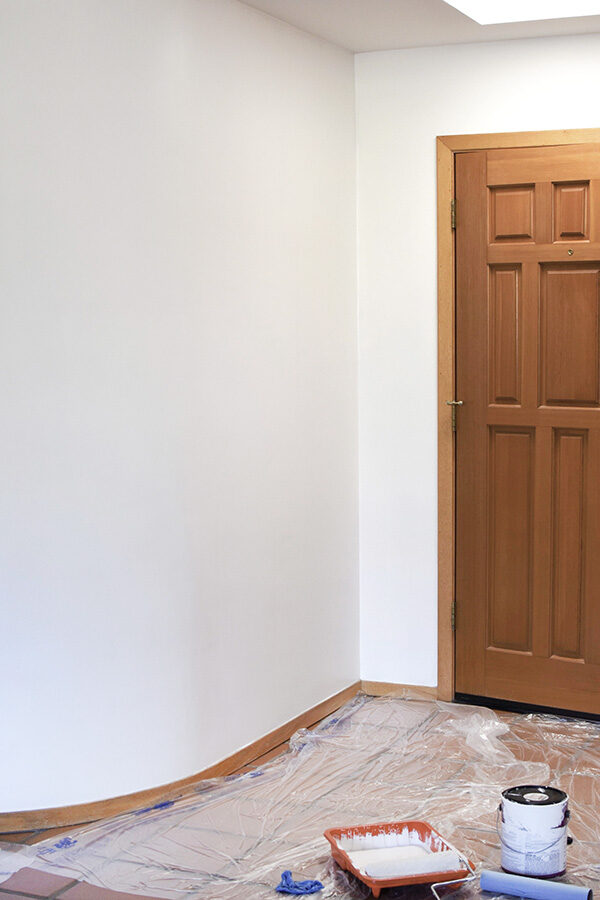
Whenever you are painting any room, it is best to start by painting the trim. Whether you put down plastic drop clothes and use painter’s tape for this step or not, is your choice.
I used to always tape everything off, but as I’ve gotten better at painting (and done quite a bit of it), I find myself doing fairly well without some of those beginning steps.
Also, I think using the Wooster Shortcut Angle Paintbrush really helps me keep my lines nice and straight along both the top and the bottom trim areas.
Interested in learning more about the Best Beginner DIY Tools? Check out this post!
There is quite a bit of unique Southwest detail in our entry way and the Wooster Shortcut Angle Paintbrush really makes it so much easier.

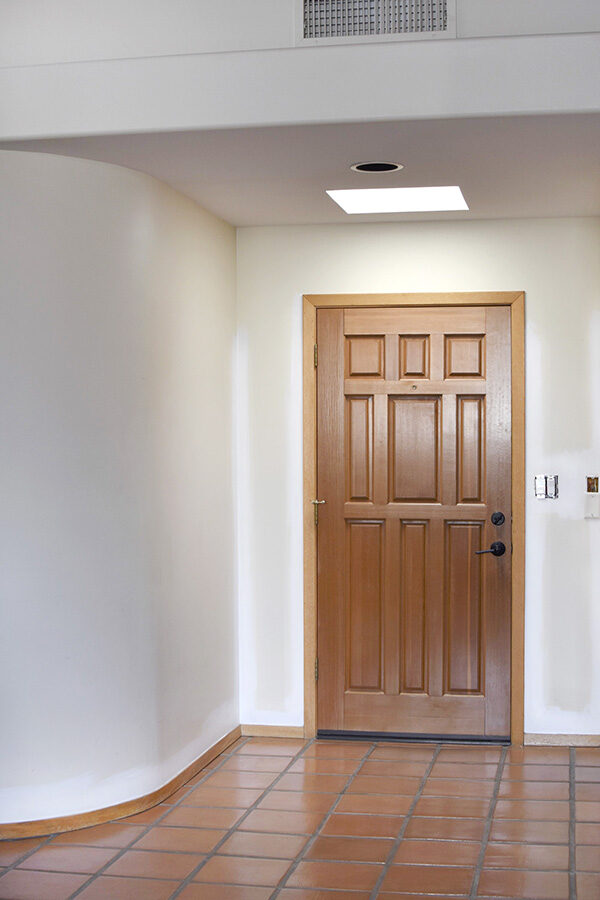
Once the trim areas have been painted with two coats of paint, it is time to use the roller and get to work on the bigger flat walls.
Although I was painting from cream to white, I still decided to do two coats of paint.
How to remove Cowboy Swinging Doors and patch door trim
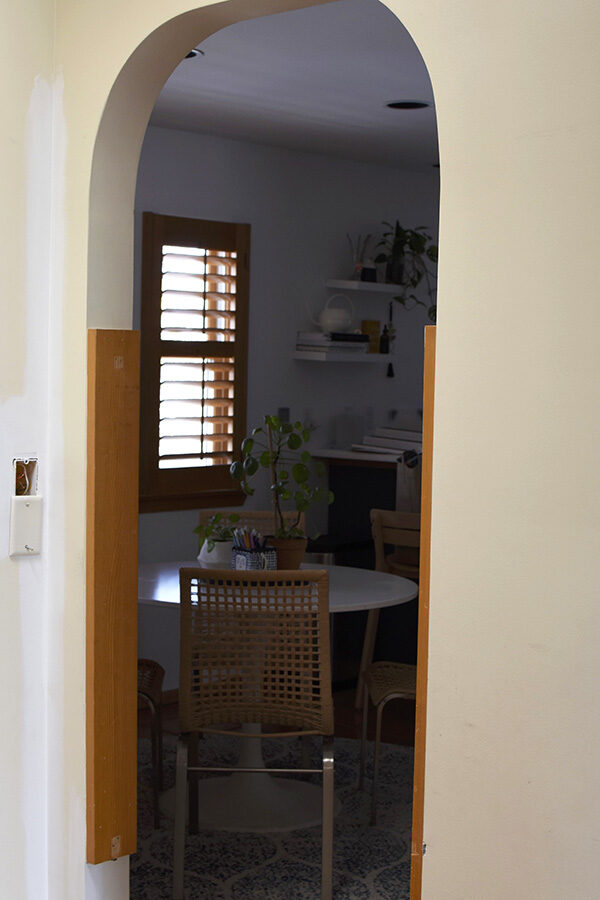
Are you ready? When we moved into this house, there were double Cowboy Swinging doors heading from our entry into the kitchen. WHY is what I want to know?
No surprises here, the FIRST day of home ownership we took those double swinging doors down. However, we left the two wood frames that were nailed into our arched pass through. But not for long…
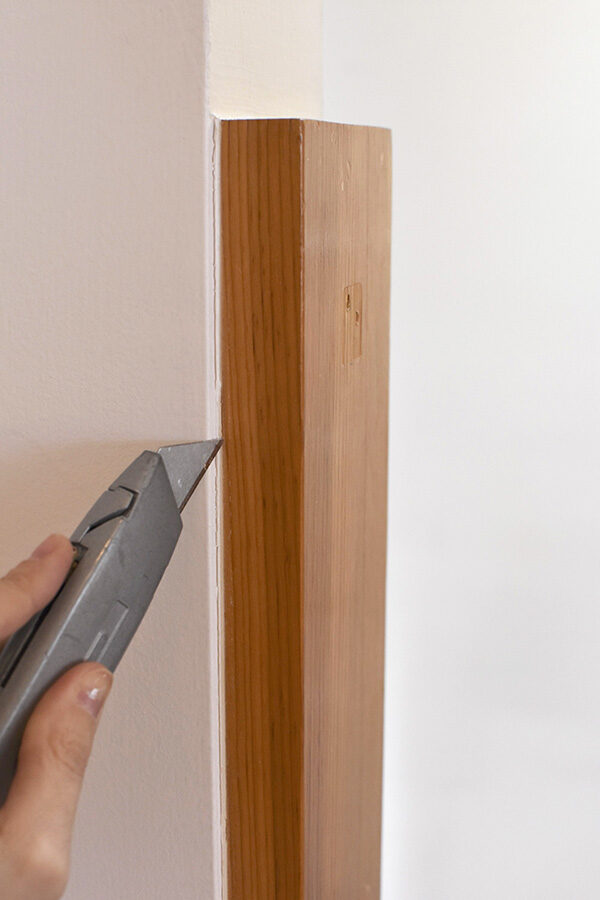
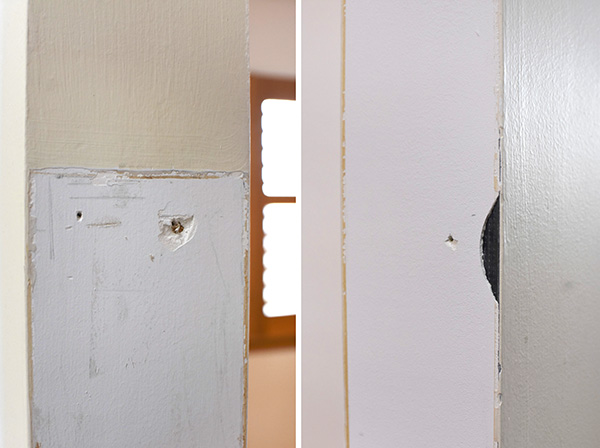
Removing an old Door Jam
The first step to removing our wood bases was to use a utility knife to score all along the edges where they had used caulk.
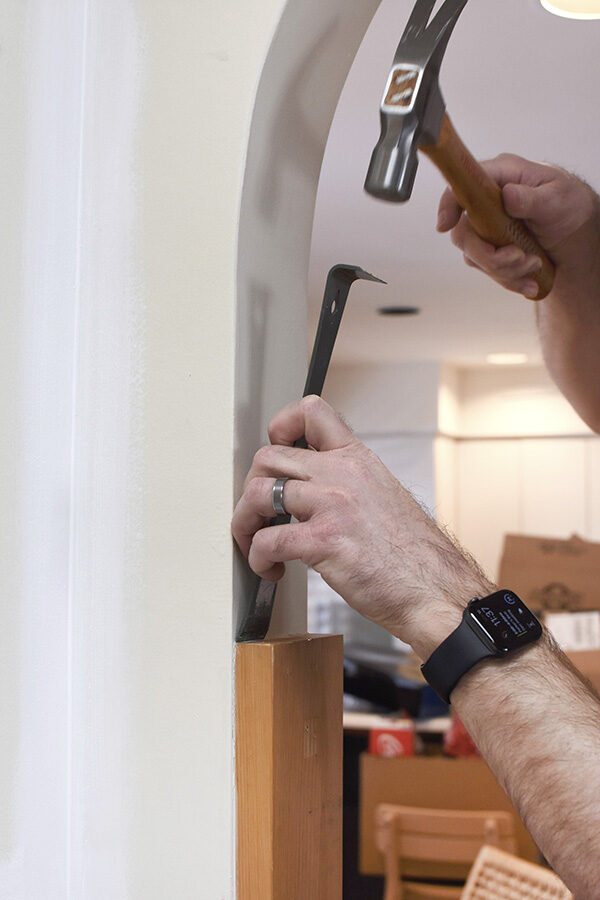
Next, using a hammer and pry-bar slowly start prying up the wood. We had about 8 or so nails in each board. So, slow and steady was the theme for getting the nails loose without damaging much of the drywall behind it.
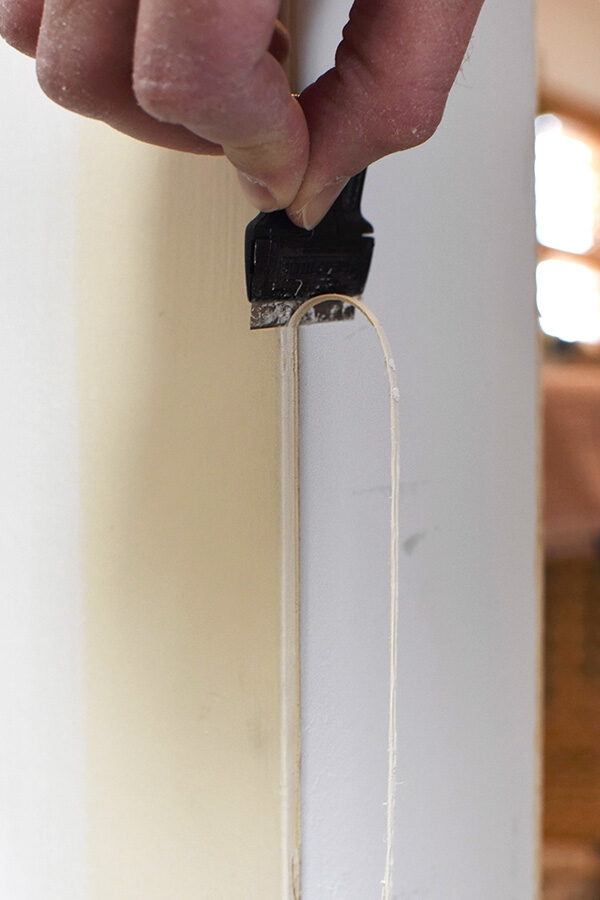
Once the wood jams were off, we used a small utility knife to scrape the excess caulk off the wall corner to give us a cleaner edge to work with.
Even with slow and steady prying, there was some dry wall damage. Not severe, but minor. And it needed to be patched before I painted over it.
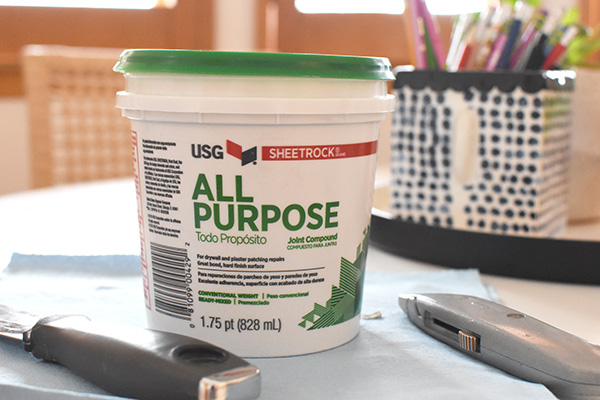
How to use All Purpose Joint Compound
I used this Sheetrock All Purpose Joint Compound and a putty knife.
Follow the instructions on your joint compound. I mixed ours and then generously applied to all the damaged drywall areas. Then using the putty knife, slowly scarped the areas as flat as I could.
Then allow to dry.
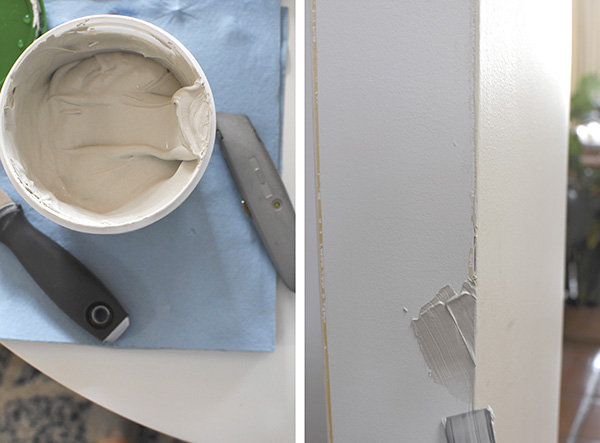
I think I ended up doing maybe three or four layers of joint compound until the area felt adequately built up and secure. Then, using a fine bit sanding block, I sanded all the joint compound areas unil they were completely smooth and flush to the wall.

Once the compound was dry and sanded, it was time to add a little fun design detail!
I applied painter’s tape along the straight portions of our arch doorway. And then slowly, I added tape along the curved portions. This took some time.
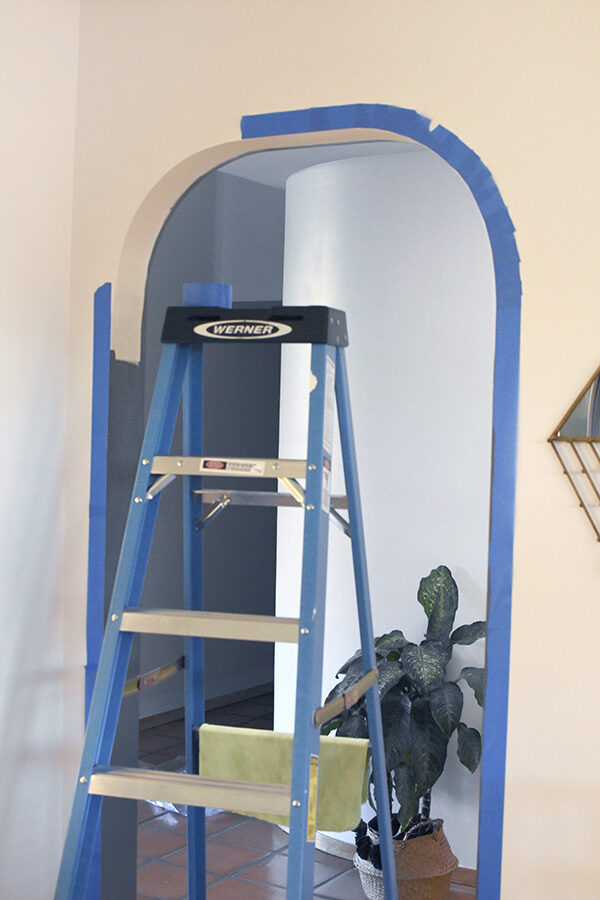
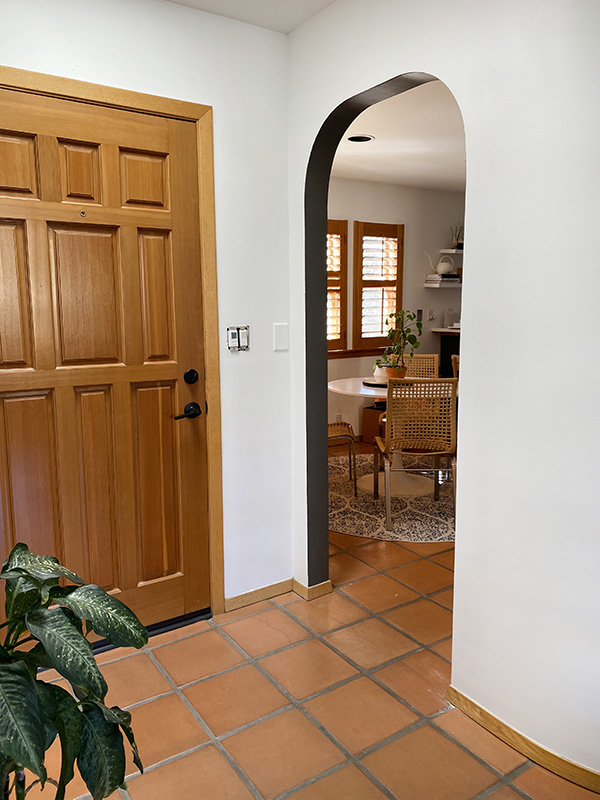
After the tape was all up, I painted the arch area a dark gray color! Be sure to remove your painter’s tape while the paint is still slightly wet.
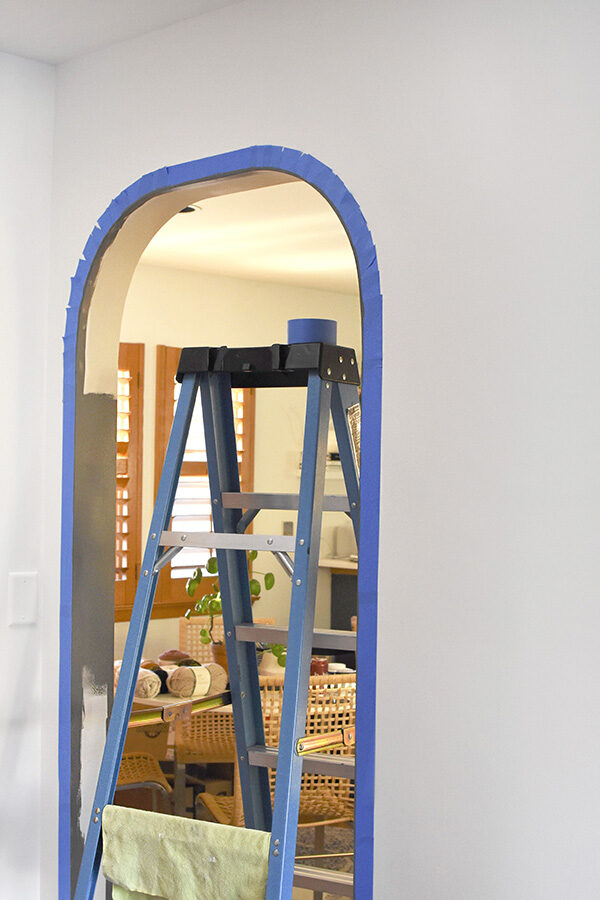
I think this small detail will connect our kitchen to the entry foyer really nicely. It will tie in the dark blue color I painted our kitchen island with the yarn art piece I will be creating on the entry wall.
Completed Room updates :
Week 1 Front Entry Refresh Plan
Week 2 Painting + Patching
Front Foyer To-Do List:
-Paint the cream walls a fresh white-Patch holes from Cowboy Swing Door
-Replace the crazy winter coat situation with something more sleek, maybe
-Create an art/yarn focal point
-Replace rug with something less “southwest” feeling
Be sure to check out the other amazing Room Refresh plans from the other participating bloggers! I can’t wait to see what they all will be working on.
Casa Watkins Living // Up To Date Interiors // House by Hoff // Our Fifth House // Jeweled Interiors // Blue I Style // Domicile 37 // Delineate Your Dwelling
It already looks so much better! Love a good angle brush. 😊
Everyday I’m so shocked at how bright it is just with the white paint!