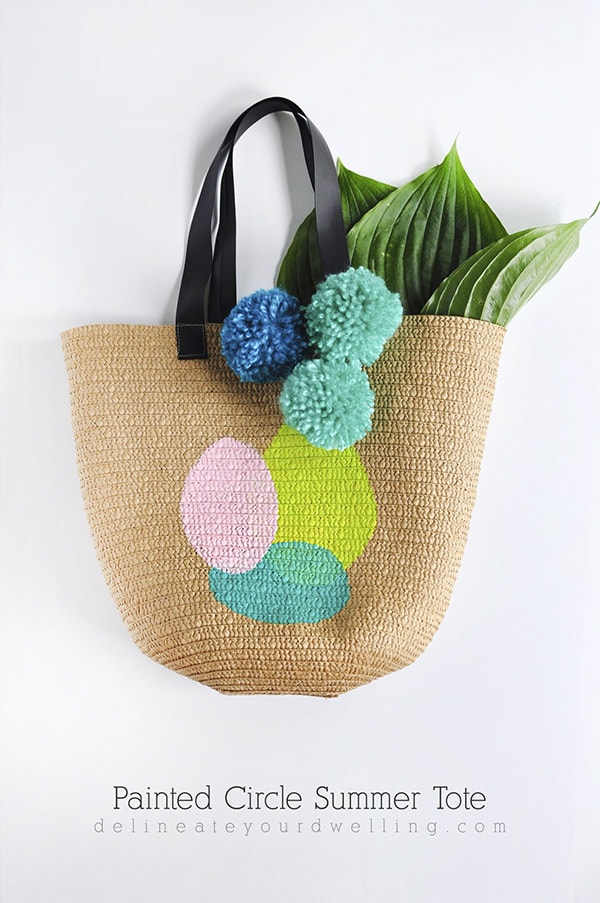
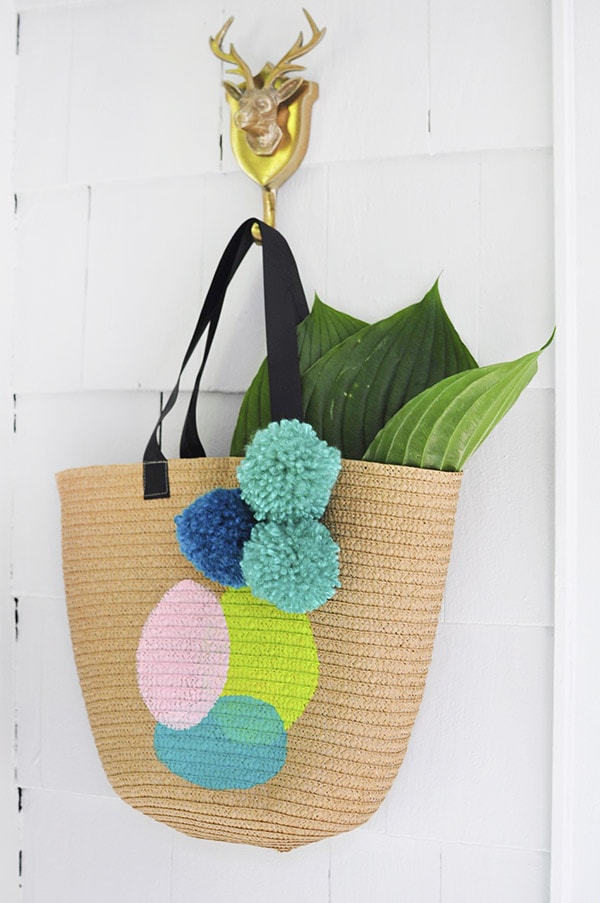
DIY Painted Circle Summer Tote

INSIDE : Learn how to make a DIY Circle Painted Tote bag to carry around all your goodies this summer. Find out what supplies are best to use and how to apply acrylic paint to totes.
This post may contain affiliate links. See full disclosure here.
This post has been updated since it’s original May 2016 publish date.
Summer is officially on it’s way, if it has not already arrived in your part of the country! And with warm summer weather comes picnics in the park, lunches at the pool and evening walks. Ah, the easy living joys of summer time!
While it’s helpful to have something to carry all your summer essentials in, it is not always practical to buy “another cute tote” at Target for $35 – I know because they always make me drool.
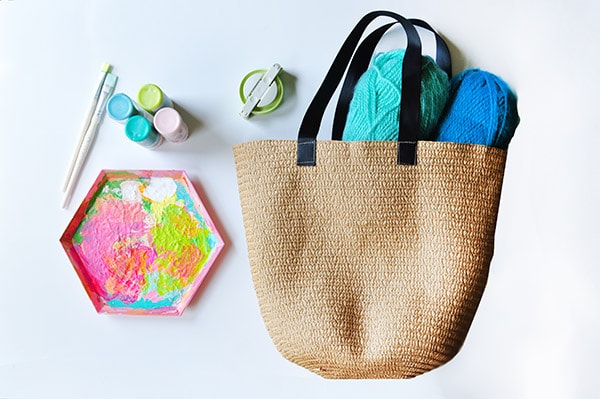
Luckily, I have a big stash of plain canvas bags, straw bags and miscellaneous totes from various craft stores and dollar stores. Today, I am going to use one of those bags and share how to create the perfect DIY Painted Circle Summer Tote.
What kind of paint do you use on a Tote bag?
- Acrylic Paints
- Textile Medium
- Craft Paint Brushes
- Pom Pom Maker
- Yarn
- Tote Bag
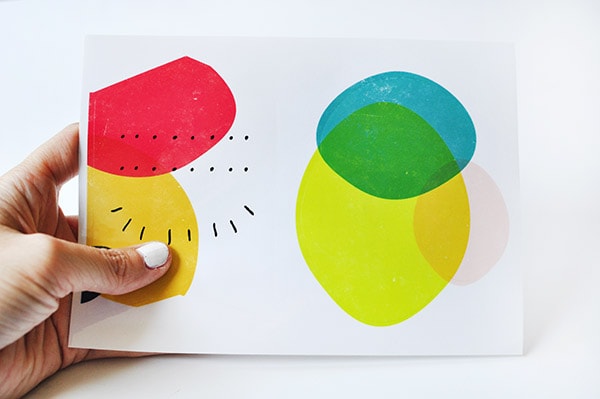
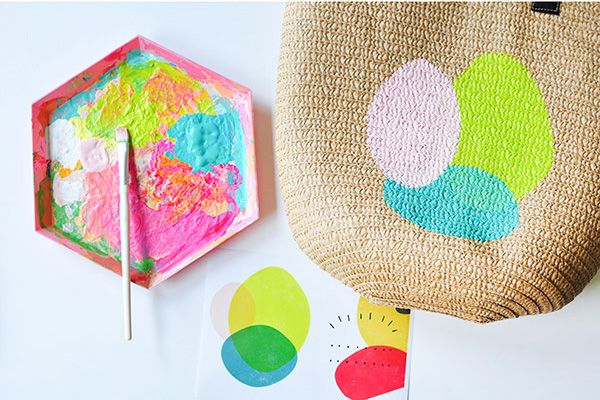
Inspiration Sticker Shapes
Last year, I bought these colorful stickers from Ikea. They came in a pack and I loved the colors and shapes, so the circles on the right side were my inspiration for this tote bag painting!
How to keep acrylic paint on Tote Bags
There are a few ways to keep paint on a tote bag.
One way is to set your paints with an iron. Once you have completed your project and it is fully dry, you can set your iron to medium to hot setting depending on your tote bag fabric. If possible, iron on the (non painted) backside of your tote. Then, run the iron over the painted area for a few minutes, moving it around constantly so you don’t burn the fabric.
The second way to keep paint on your tote bag is by using Textile Medium. Textile Medium is added to your paints before you start to paint on the fabric. It helps your paint not crack when the fabric is bent and moved. And after mixed with acrylic paint, it becomes permanent and machine-washable. Using textile medium is what I normally do.
Painting on a tote
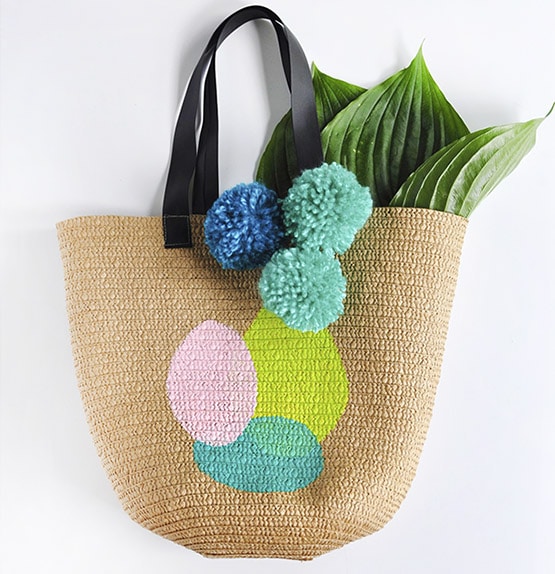
Start with the bright citrus color first and paint it directly on your tote. If you know me at all, I’m not a “perfect circle” kind of gal, so I embraced the oblong non-perfect shapes that were on the Ikea stickers. I tried to replicate that with paint on my tote. You can easily trace perfect circles if that is more your style.
Allow that paint to fully dry and then paint the teal blue shape.
I added just a tiny bit of water to my acrylic paint when painting over the citrus color, to give the translucent appearance.
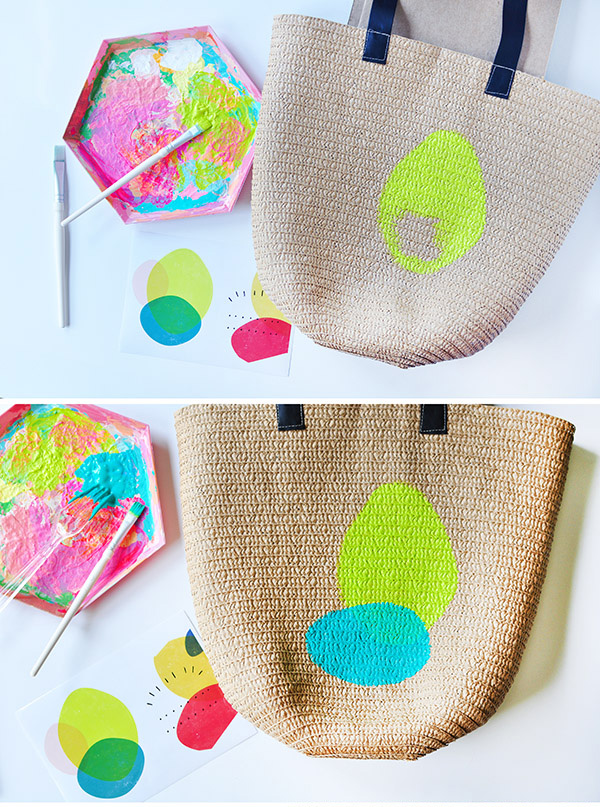
Next up was the pink shape.
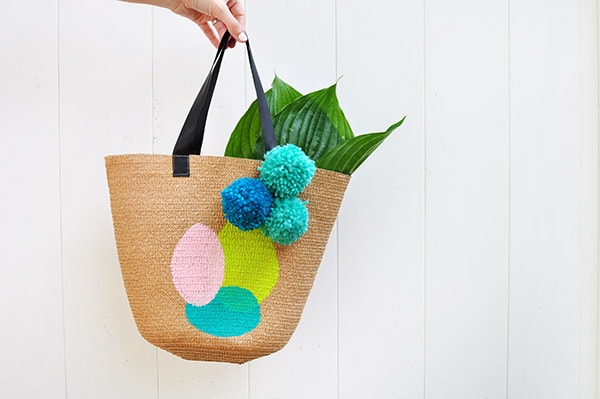
Adding Pom Poms to a tote bag
Add all things are better and much more summery with pom poms, so….. I made three big bold pom poms for my bag!
If you don’t have a pom pom maker, I HIGHLY recommend one. They are not expensive and you can crank out a near perfect pom pom in 5 minutes without thinking twice.
There are other methods like on a fork or a piece of cardboard, but believe me. The pom pom maker is the way to do it.
If you are looking how to use the Pom Pom maker, check out my post on making a Pom Pom Throw Blanket.
Once I had my three pom poms, it’s as simple as tying the pom poms together and tying them around my tote bag’s strap. I think they make the perfect addition to my Painted Circle Summer Tote!
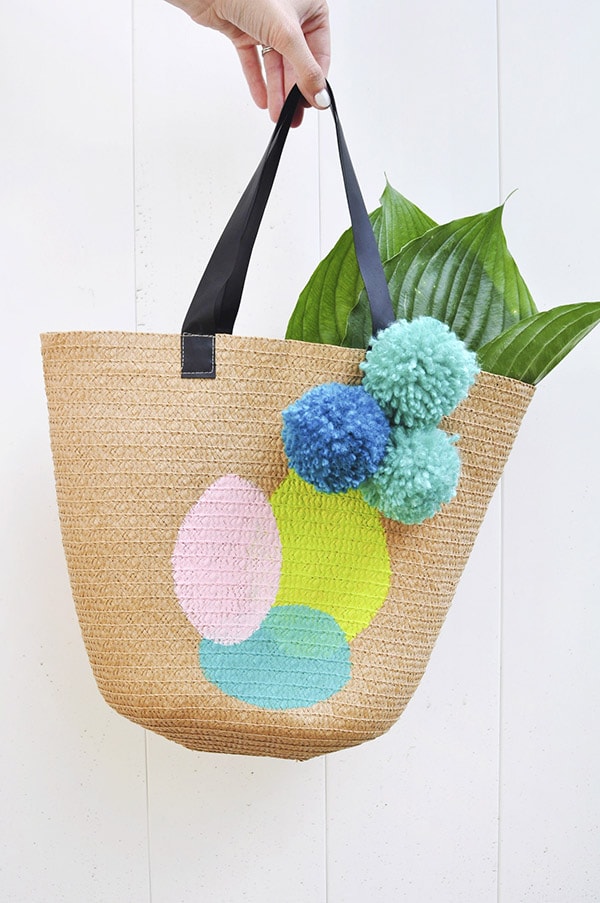
DIY Painted Circle Summer Tote
Learn how to make a DIY Circle Painted Tote bag to carry around all your goodies this summer. Find out what supplies are best to use and how to apply acrylic paint to totes.
Materials
- Acrylic Paints
- Paint Brushes
- Pom Pom Maker
- Yarn
- Tote Bag
- Textile Medium
Instructions
- Start by painting the brightest citrus color first directly on your tote bag. If you aren't confident hand painting, you can trace perfect circles on the tote bag before painting.
- Let that dry and next paint on the teal blue shape. Add just a little bit of water to your teal paint when painting over the citrus color, to give the translucent appearance.
- Follow the same directions for the pink shape.
- Next, is adding the pom poms! If you don’t have a pom pom maker, I HIGHLY recommend one. There are other methods like on a fork or a piece of cardboard, but the pom pom maker is by far the easiest.
- Once you have created three pom poms, tie them together and then around the tote strap.
A few others easy tote bag painting ideas could be to paint stripes, polka dots or even diamonds on your bag.
Can you wash a painted Tote Bag?
This is a great question. If you have either set your paint with an iron or used textile medium (see above for both options) then yes, you can wash your painted tote bag.
Set your washing machine temperature to cold, especially if your bag is 100% cotton and add your canvas tote bag. On the first wash, it’s recommended to wash your bag by itself to ensure no color transfer color.
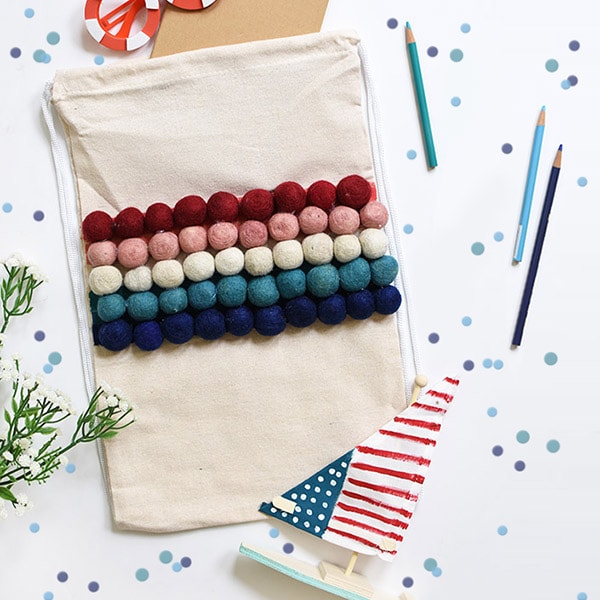
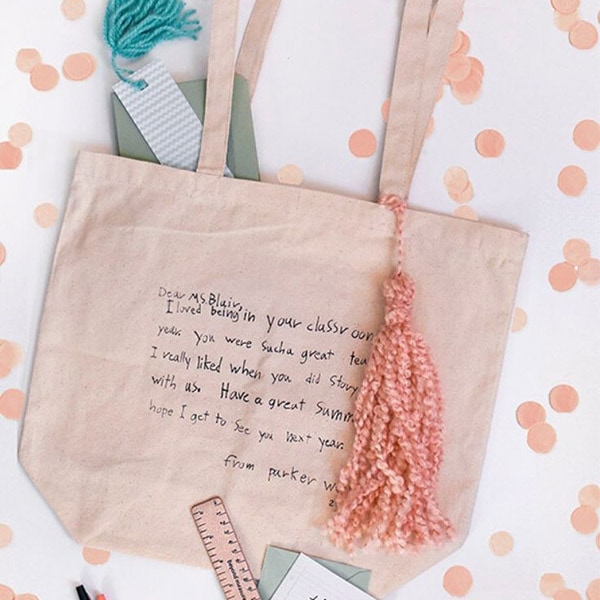
Tote Bag Painting Ideas
There are so many fun things you can paint on a tote bag. And if your bag is canvas, then there are even more options! Here are a few things below…


Love this tote, Amy! Makes me ready for summer.
You and me, both! Bring on summer. =)
You are Awesome, so talented and I really love your work your inspiration are so FANTASTIC Well done. Christina xxx
You are too sweet Chrstina! xo