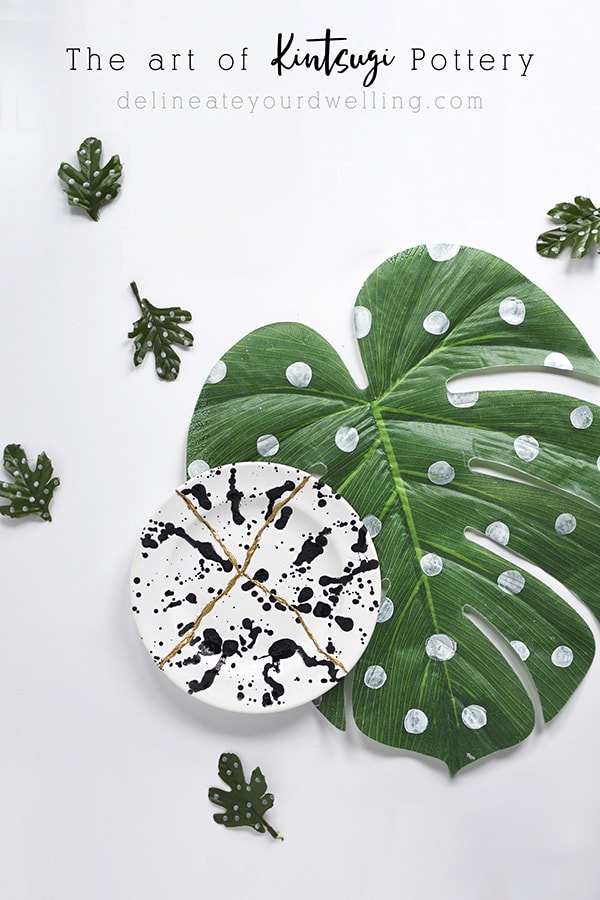
The Art of Kintsugi and realizing your REAL beauty
INSIDE : Learn how to create beauty from brokenness through the art of Kintsugi pottery. Your DIY piece will become more beautiful and valuable because it has been broken and has a history. Let’s take this craft skill and then apply it to our life!
Keep reading for the full DIY tutorial below.
What does the Art of Kintsugi even mean?
The first time I heard about Kintsugi I was completely taken by the idea. Kintsugi is the Japanese Art of Recognizing Beauty in Broken Things. Take a moment and let that sink in. Today, I am not only sharing how to create a gorgeous piece of Kintsugi art but also how we all can see beauty in broken things.
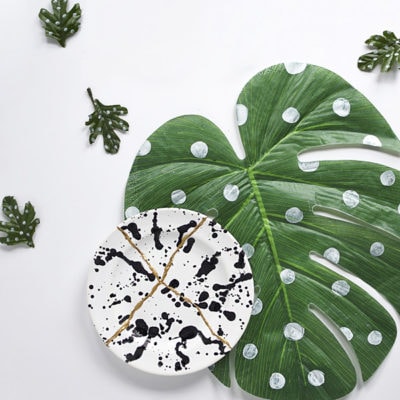
The centuries-old Japanese art of fixing broken pottery with a special lacquer dusted with powdered gold, silver, or platinum is a true art form. Beautiful seams of gold fill in the cracks of ceramic ware, giving a unique and lovely appearance to the piece.
The thing I love about this art form, is that the piece becomes more beautiful and valuable because it has been broken and has a history. I love that you are filling the pottery cracks with gold.
How many of us feel damaged or broken due to various things or moments in our life?
That is such a powerful and moving thought. What an entirely wonderful perspective to think, that instead of being less than or a failure in some way, that instead the path that you have taken, actually brings MORE to you!
I have a friend who has become so dear to my heart and we often talk of the path our lives have taken. She sometimes struggles that she is not as far along in particular places that she feels she should be (although she’s rocking it, I think). She talks about her past and shares missed opportunities and what she perceives as failures.
It’s amazing how we can see our own failures so clearly but others can often bring such a different perspective. Because when I look at her path, I see nothing but moments in time that have brought her so much more clarity and knowledge about where she wants to be going. Those are the cracks… the cracks that make our life more interesting, more beautiful, more wise.
“There is a crack in everything. That’s how the light gets in.”
Leonard Cohen
And by the way, I made this for my sweet friend as a going away gift… because she is my people and I will miss her so.
This post contains affiliate links. See my full disclosure.
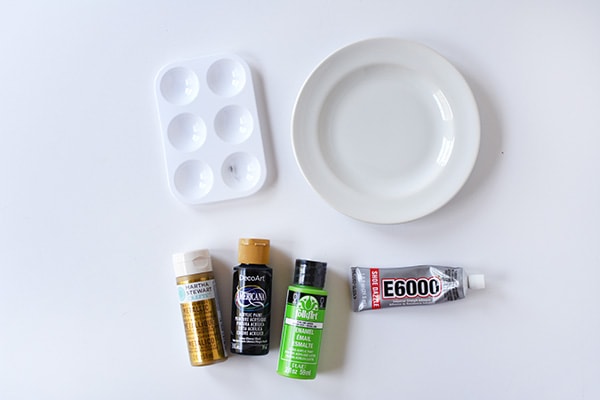
What supplies do I need to make a piece of Kintsugi art?
White Ceramic Plate
Gloss Enamel Paints
Paint Palette (or even a paper plate)
Paint Brush
E6000 glue
Toothpick
Hammer
How can I make a piece of Kintsugi art?
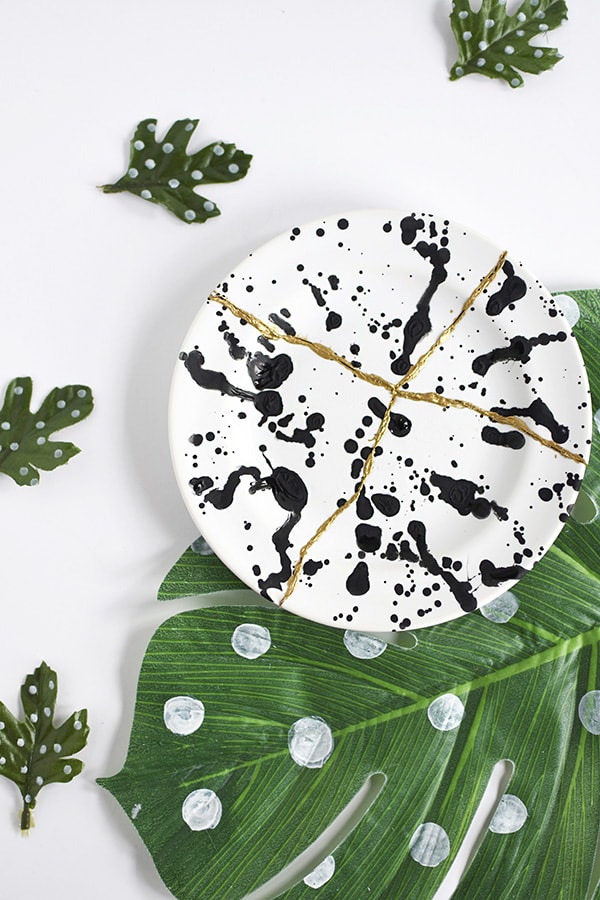
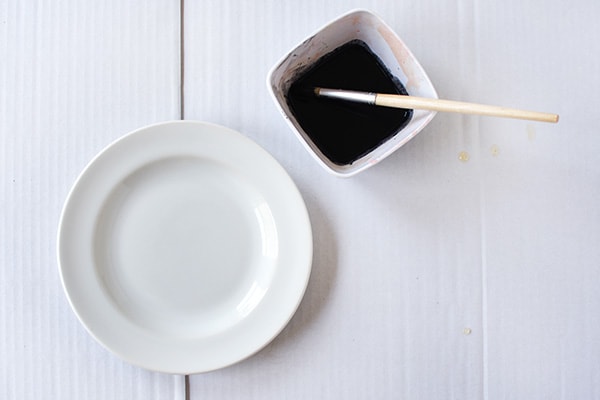
The first step was to clean off the plate surface with rubbing alcohol. I wanted to create a simple black paint splattered look, so I took my black enamel paint and just slightly watered it down.
The next step is the most fun. You basically take your paint brush and just splatter away until the pattern is as dense as you would like.
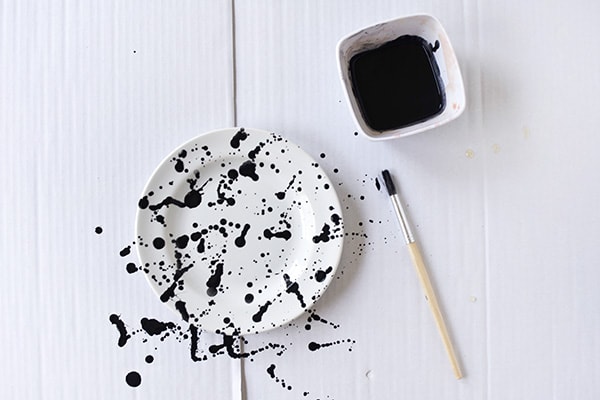
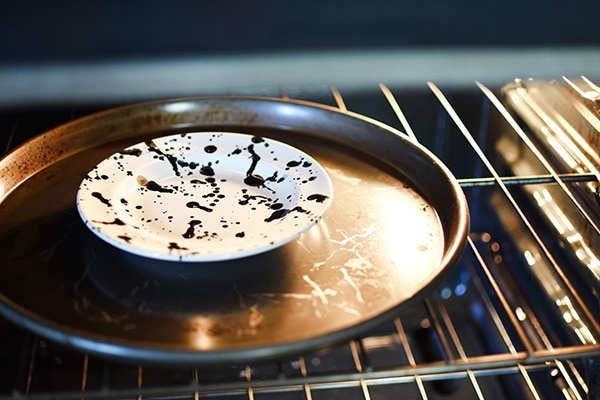
Then, follow the directions on the enamel paint bottle. Mine said to allow for air drying for an hour. Then, I placed my plate on a cookie sheet in the oven and baked at 350’F.
After baking for the allotted time, turn off the oven and slightly open the door to allow for slow cooling. Do not remove the baked plate until it is completely cool to the touch.
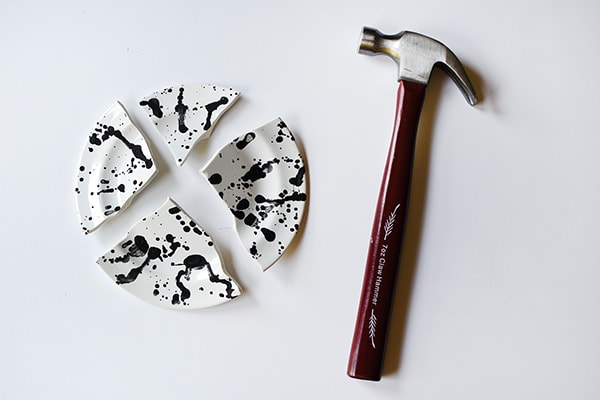
After your plate has entirely cooled, it’s time to break the plate. This is a scarier step than you would anticipate. After all the work of painting the plate, I was so nervous I would completely shatter the plate with one hit of a hammer… but it actually went better than I thought it would.
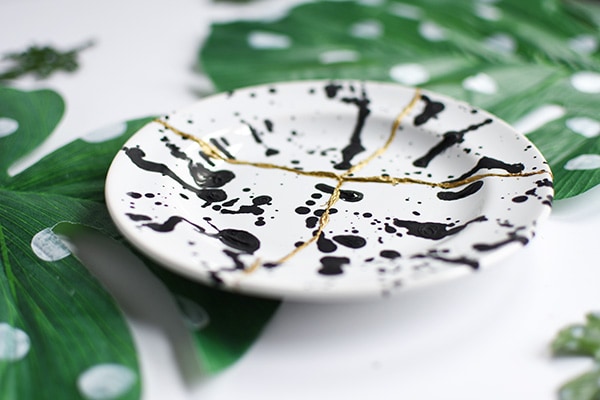
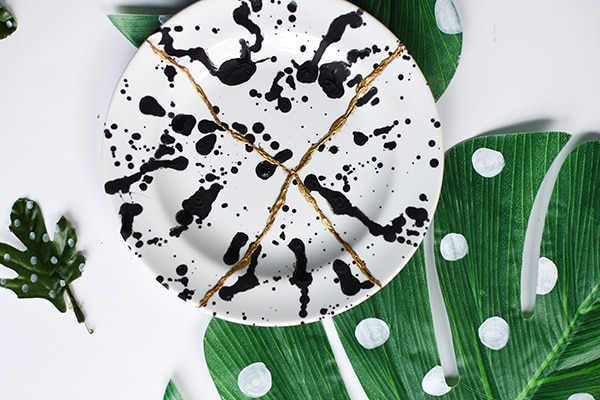
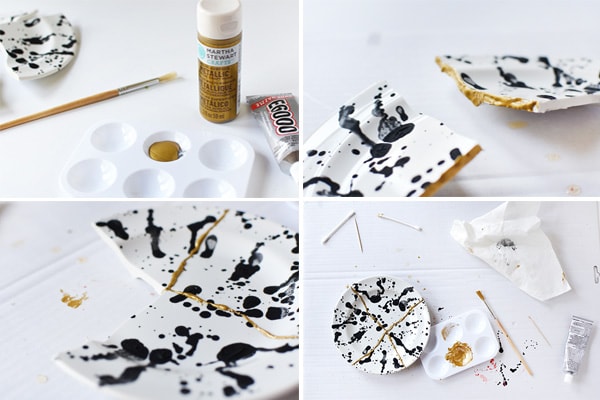
Next, squeeze out a nickel sized amount of E6000 glue and add gold paint. Mix mix mix it up and apply the mixture to two edges of the shattered plate. I had tried to do multiple sections at once and believe me, it was a hot mess.
Once the plate starts to dry, you’ll see that the oozing glue+gold mixture really does add such a beauty to the art piece.
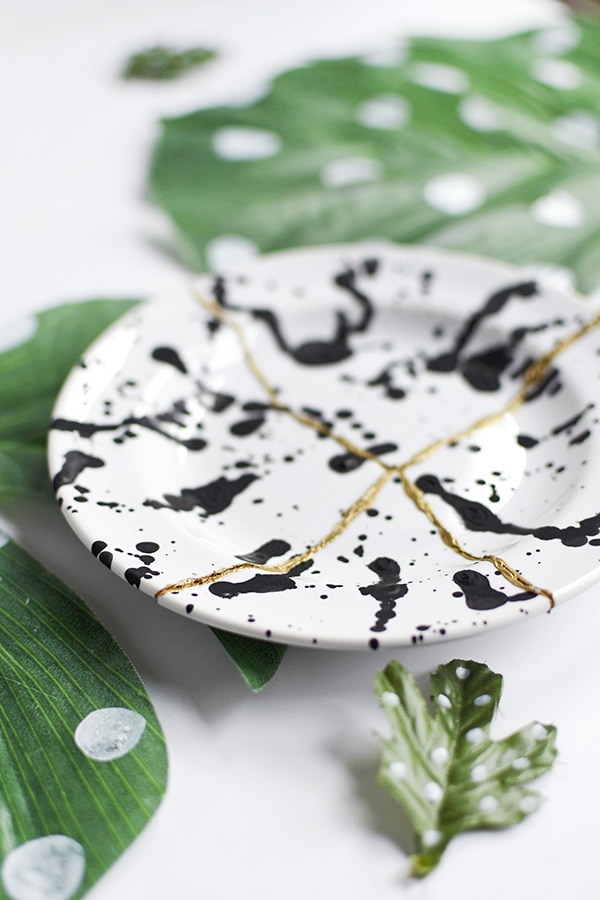
It really does celebrate each piece’s unique history by emphasizing its fractures and breaks instead of hiding or disguising them and I just love that.
[jumprope code=”x2u26agy” products=”top” displayformat=”blog-post” structureddata=”true”]
Kintsugi makes the repaired piece even more beautiful than the original, revitalizing it with new life, just as we should always strive to do in our very own lives!!
Now go immediately and create a piece of Kintsugi yourself and keep it as a reminder of the beauty in your own life.
If you are looking for more Easy DIY Artwork, you might want to check out these simple tutorials I put together for other paintings.
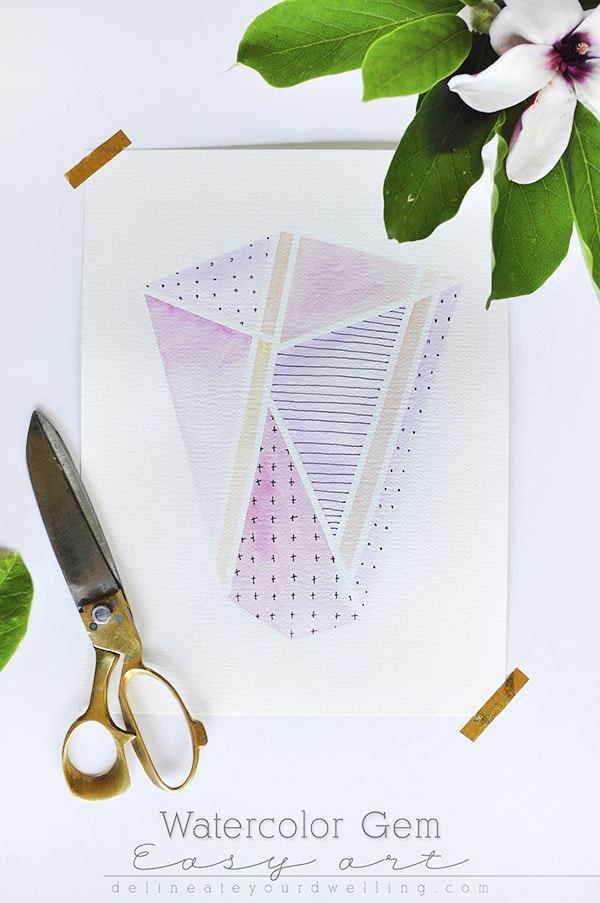
Watercolor Gem Art piece
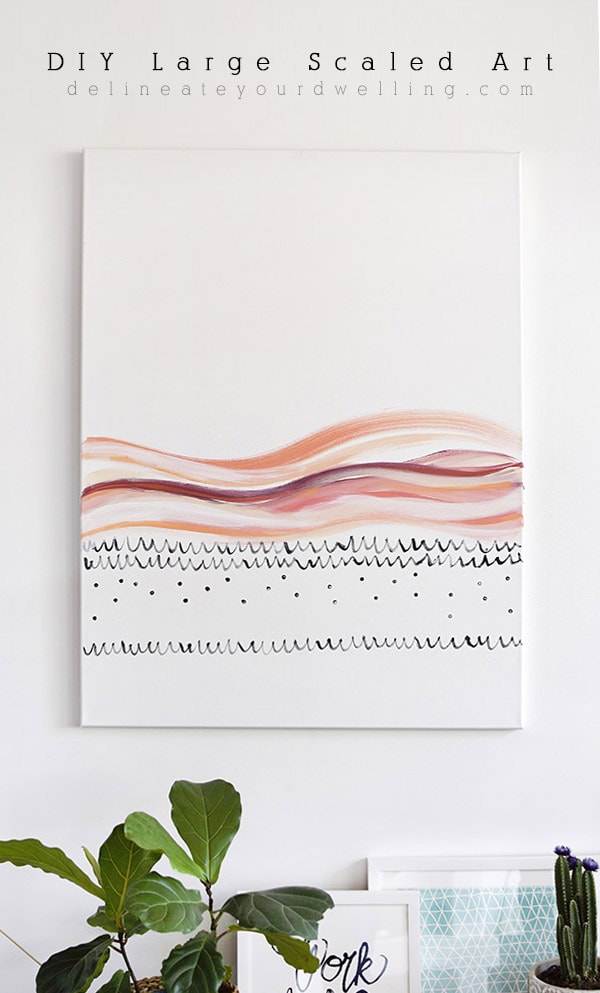
DIY Large Scale Art
Such a beautiful piece of art! With such history as well! I love it, thank you so much for sharing!
I’m glad you enjoyed it, Diana! Thanks for stopping by. xo
This is so beautiful! Love everything about this post, friend.
I love what this represents. Thanks for sharing! You said to bake it at 350 degrees but didn’t state how long to bake it ( or I missed it ?). Help please!
Thanks mama!! So you bake it per the directions of your enamel paint. Also you can do this with a premade plate. I did one for Emily with just a pretty plate. And then I made this one for me and did the paint splatters myself.
All the feels. ????
All. The. Feels. for sure!