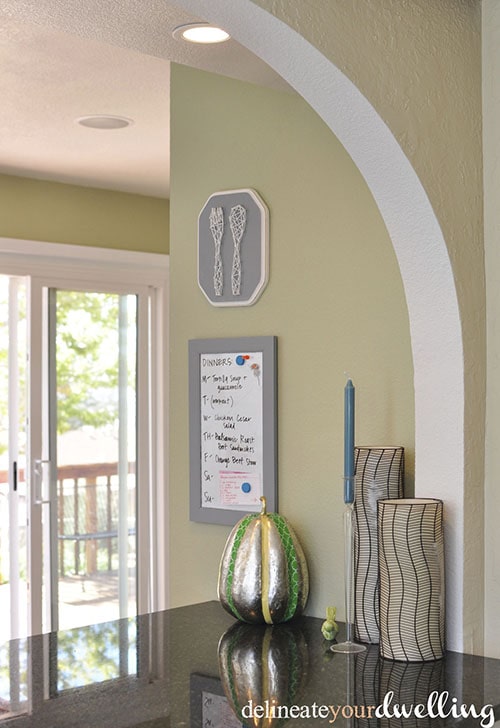
I love creating art for my walls and today I am sharing this easy Kitchen Nail String Art project. It only took me an hour and looks perfect on the wall!
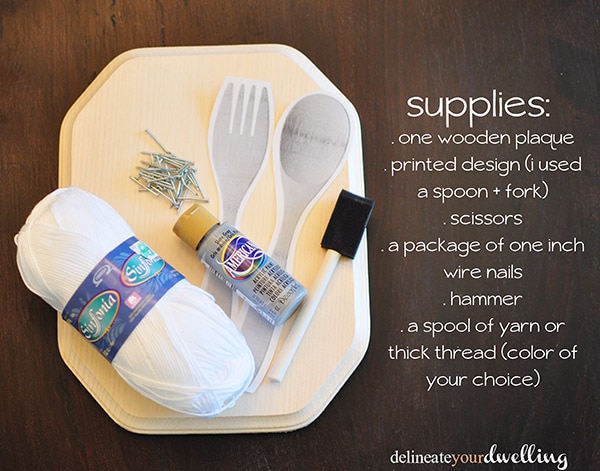
Supplies:
. one wooden plaque
. printed design (i used a spoon + fork)
. scissors
. a package of one inch wire nails
. hammer
. a spool of yarn or thick thread, color of your choice
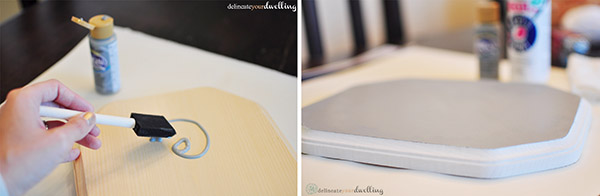
I bought a raw wood plaque at my local, Hobby Lobby. My first step was to paint the wood. I used Slate Grey Americana Acrylic paint and then added a white trim border.
Then, I searched the internet to find the perfectly shaped fork and spoon image. Once I found my image, I printed and cut them out.
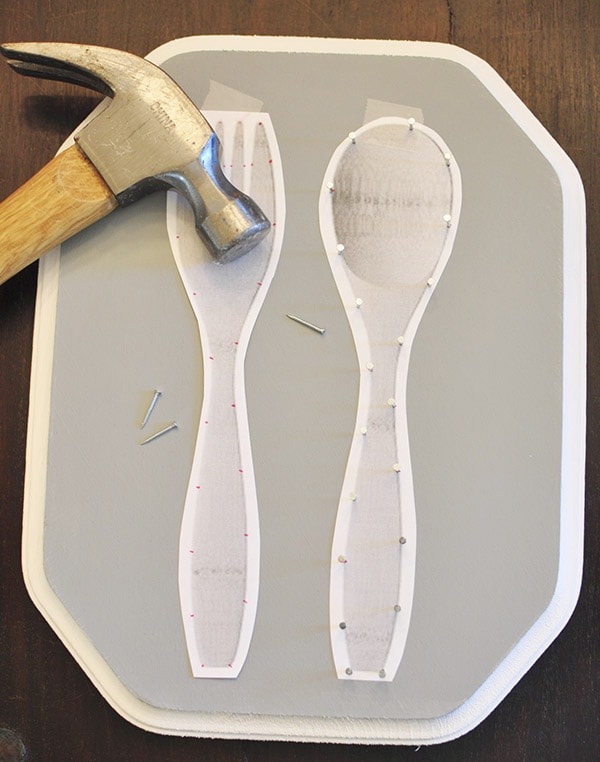
After cutting out the fork and spoon, I taped them onto the wood. Starting in the bottom corner, I marked along my paper, an inch at a time along the perimeter. (small pink dots shown in picture)
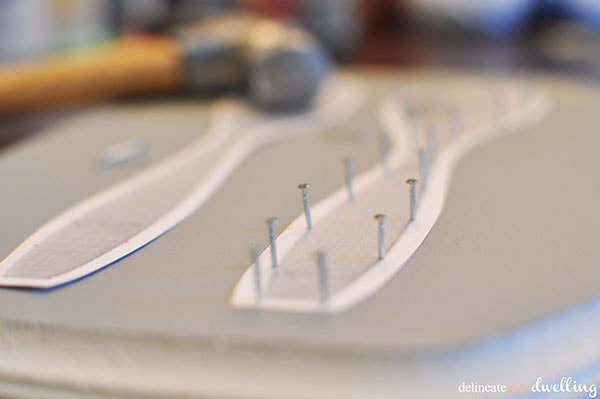
Using the pink dots as a guide, I started hammering in my nails for the main structure of my string design.
After you have all the nails in place, you can remove the paper.
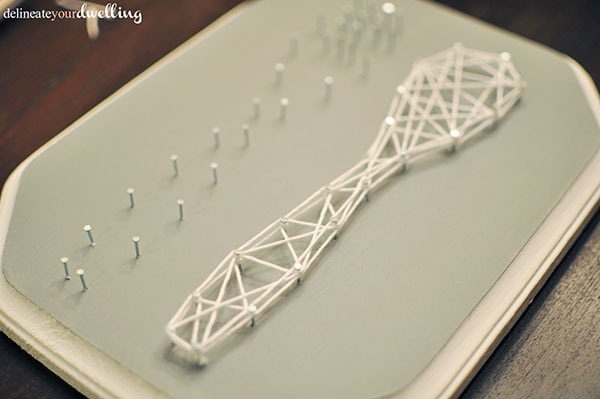
Then, I tied a small knot at the end of my string and wrapped it around a lower bottom nail. Slowly, I wrapped along the perimeter of my spoon + fork. I circled each nail a few times to make sure the perimeter was really secure.
Once the perimeter was completed, it was time for the fun! I wrapped back and forth and then I zigged and I zagged. This takes a bit of eye-balling to make sure there isn’t too much string around certain nails or it’s not visually too “thick” looking.
After you feel your string is adequately wrapped, tie off the string and cut it as close as you can to the nail. I ended up putting a small dot of hot glue on the beginning and end of my string, just to give it some extra holding power.
If you are looking for moreEasy DIY Artwork, you might want to check out these simple tutorials I put together for other paintings.
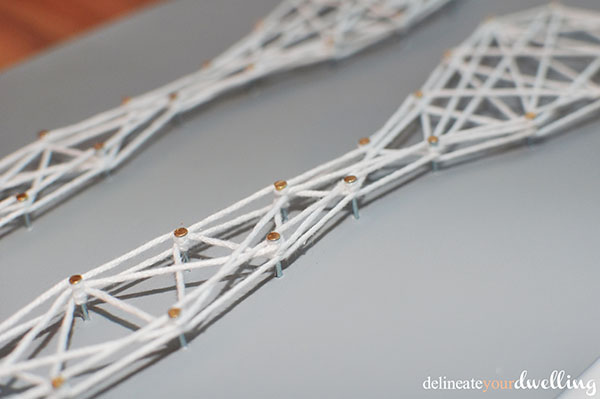
After my project was completed, I LOVED it but felt it seemed just a tiny bit dull. I had recently purchased a gold foil paint pen because like the rest of us, I’m living in a gold crazed world. I painted just the tips of the nail heads with a small glimmer of gold.
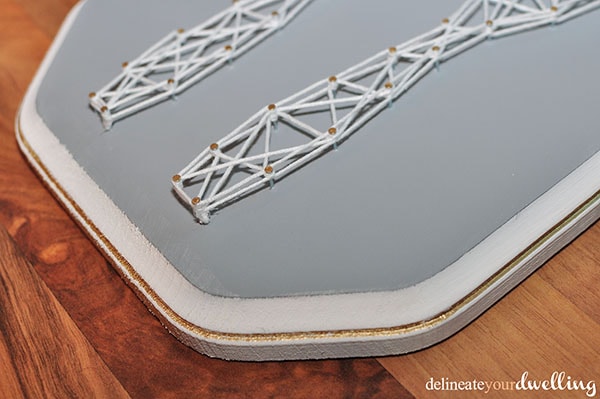
Then, I added a small outline of gold around the trim of the wooden plaque.
Perfection. I love it.
If you are looking for moreEasy DIY Artwork, you might want to check out these simple tutorials I put together for other paintings.
This was such a simple and fun DIY. I honestly can’t wait to start another Nail String art project! What about you, what Nail String project will you be starting?